How to Use Infusible Ink Markers on Mugs
Get easy tips for using infusible ink markers on mugs. Create unique mugs with these easy-to-use markers that have a permanent finish.
If you’re new to infusible ink, be sure to check out this post on using a mug press.
This post contains affiliate links. By purchasing an item through an affiliate link, I earn a small commission at no extra cost to you. As an Amazon Associate I earn from qualifying purchases.
Infusible ink gets more impressive every time I use it. I love the results so much! If you’ve been struggling with putting vinyl on mugs, infusible ink will make you so happy.
Infusible ink is super easy to use and creates a permanent design that is dishwasher safe.
All About Infusible Ink Markers
Infusible ink markers work on products that are treated with a special coating to bond with the inks. Rather than sitting on top of the surface, like vinyl, it melts into the surface.
The markers can be used freehand or can be used with the drawing capability on Cricut. (If you draw freehand, keep in mind that the design needs to be mirrored.)
I have the 30-pack of markers, but they are also available in smaller packs.
Cricut makes blanks that work with infusible ink, but you can also buy sublimation blanks.
What paper do you use for infusible ink markers?
You just use regular computer paper. The directions say to use laser printer paper, but I just used my normal computer paper and it worked fine.
Can you use any mugs?
No, they must be coated with a special coating to bond properly. Look for Cricut mugs or sublimation mugs.
Keep in mind that if you use other brands, the size may vary, so you may need to resize pre-made designs.
What materials can you use infusible ink markers on?
You can use them on any of the Cricut blanks. These include mugs, t-shirts, wine bags, makeup bags, tote bags, coasters, and pillowcases.
How to Use Infusible Ink Markers on Mugs
Supplies Needed:
- Mugs ( I used Cricut mugs)
- Infusible Ink Markers
- Copy Paper
- Cricut (I used my Cricut Maker 3)
- Cricut Mug Press
- EasyPress Mat
- Heat Resistant Tape
- Butcher Paper – this is really important!
- SVG (link is at bottom of post)
Cricut Mug Sizes
Cricut mugs currently come in 3 different sizes. The 10 oz size is a set of stackable mugs.
If you want to make your own designs, here are the sizes.
When setting up your design in Cricut Design Space, you can go into the project section and search for “mug design set up.” Be sure to choose the right size. Click customize to add your design.

If you design your own mugs, start with solid shapes and when you select draw operation, Cricut Design Space will convert it to line drawings.
Using Infusible Ink Markers with Cricut
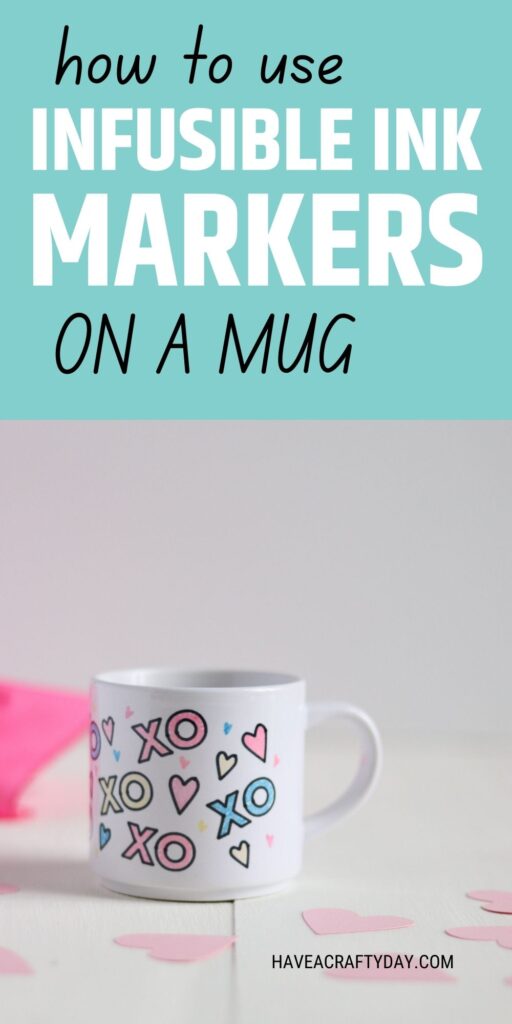
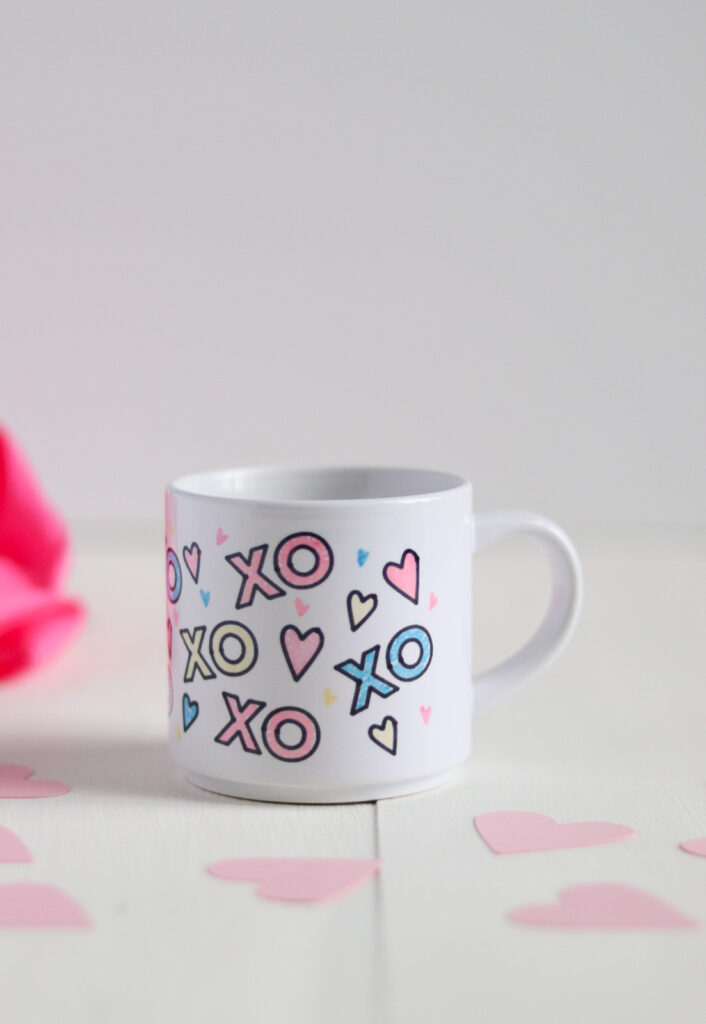
For this mug, I had the Cricut draw the heart shapes in black and I colored them by hand since it can’t fill in shapes. I also drew tiny hearts in the design.
The colors I used are bubble gum pin, coral, butterscotch, and sky blue. The coral was much more subtle than I expected.

Tip: Color on scrap paper to select the right colors. They are a bit more vibrant when heat is applied, but they don’t change drastically.
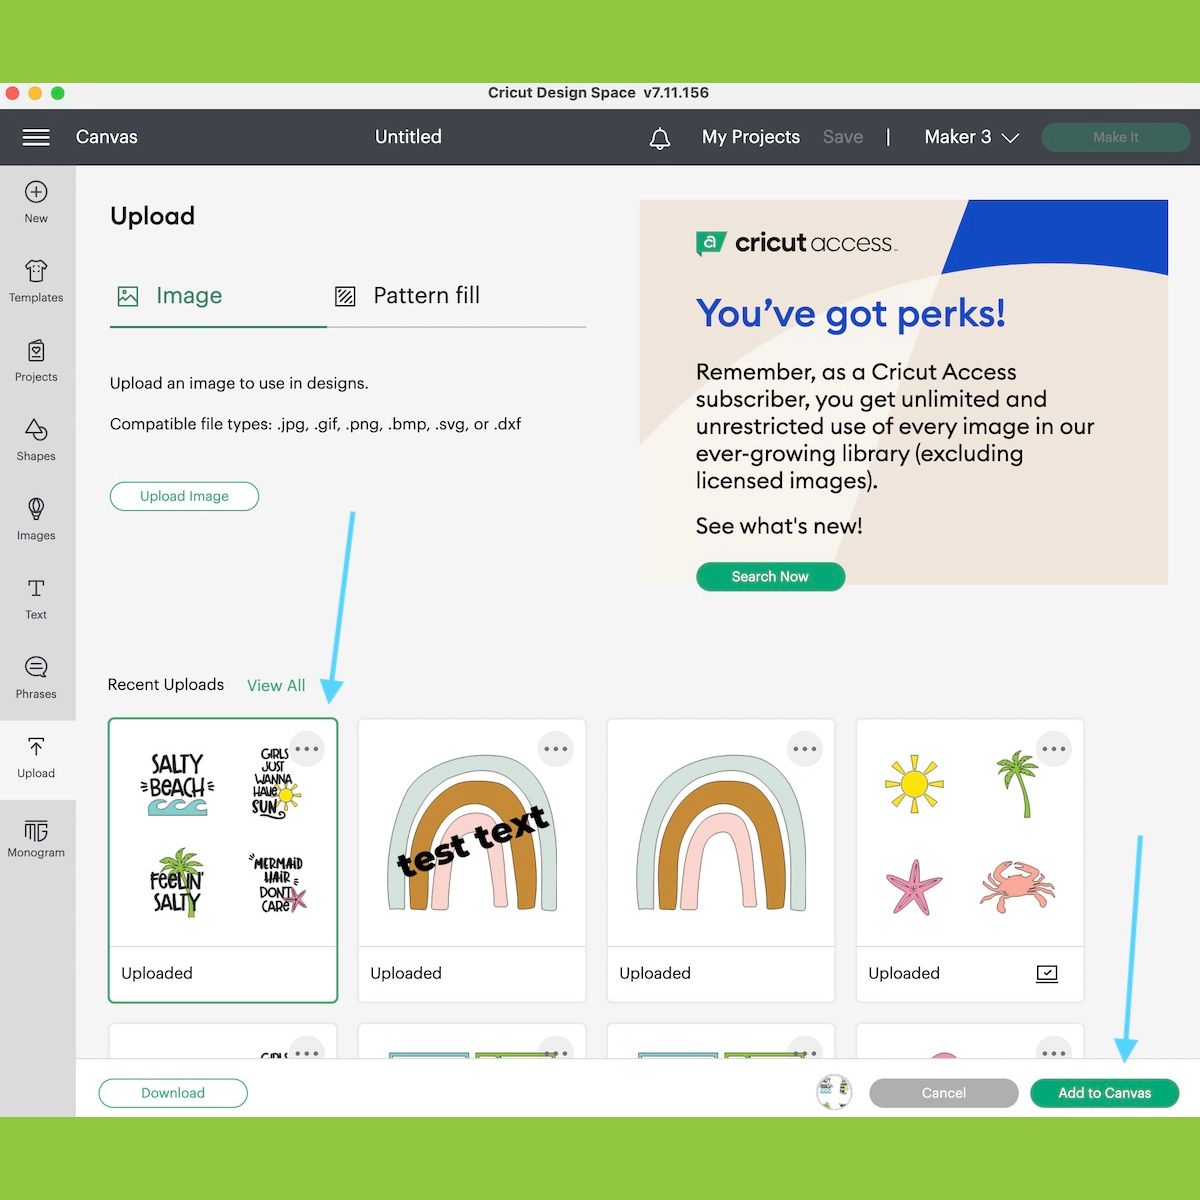
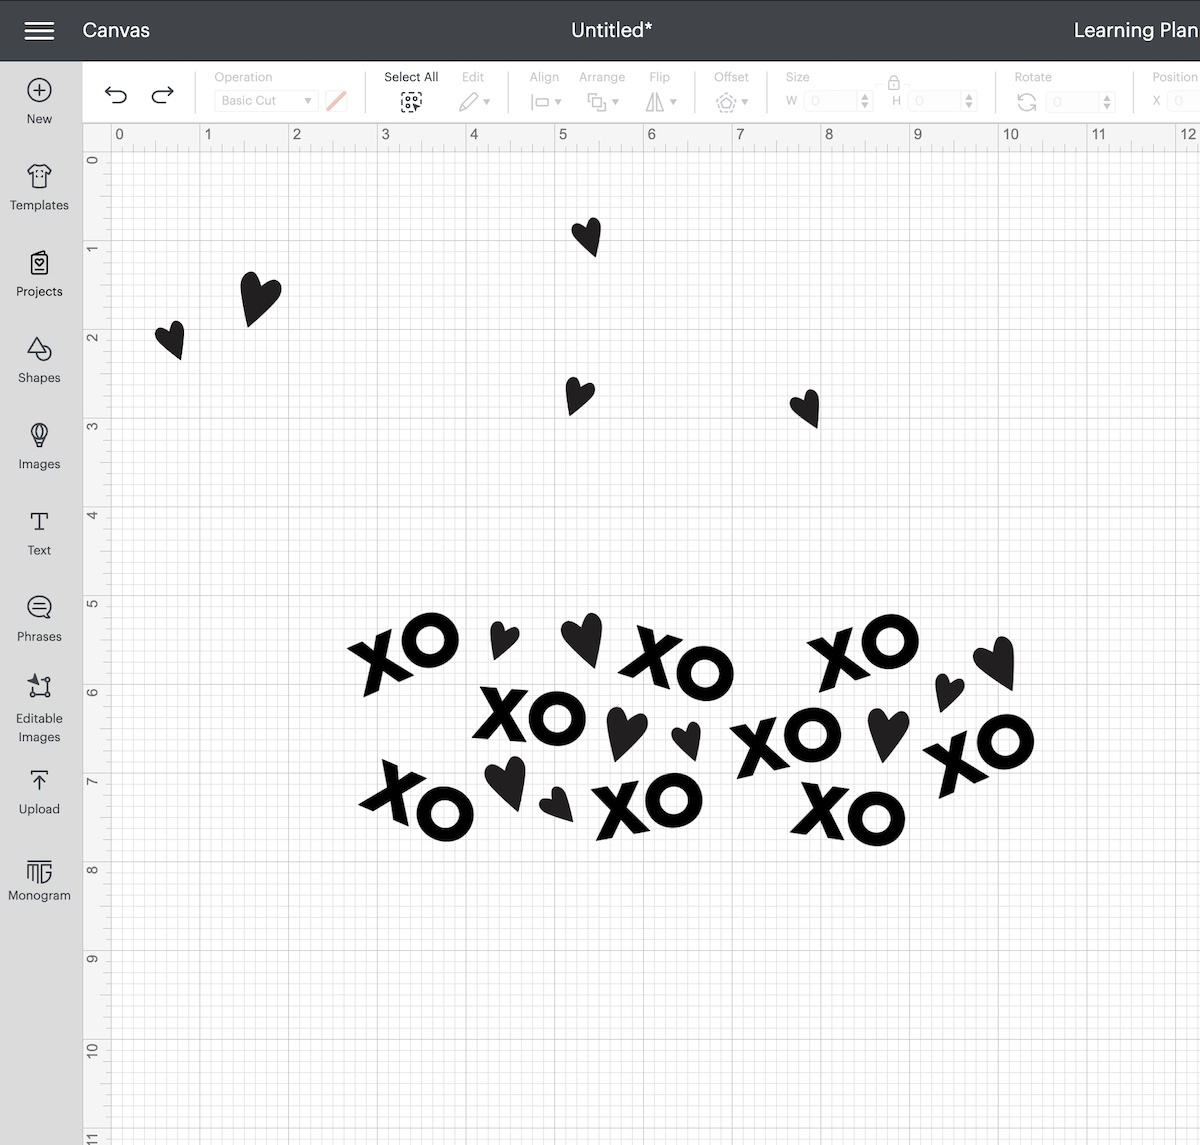
- Upload your design as usual. If you use the SVG below, it might separate part of the design. Just move the other layer into place and group the layers.
- Be sure that the operation type is set to draw for the design part.
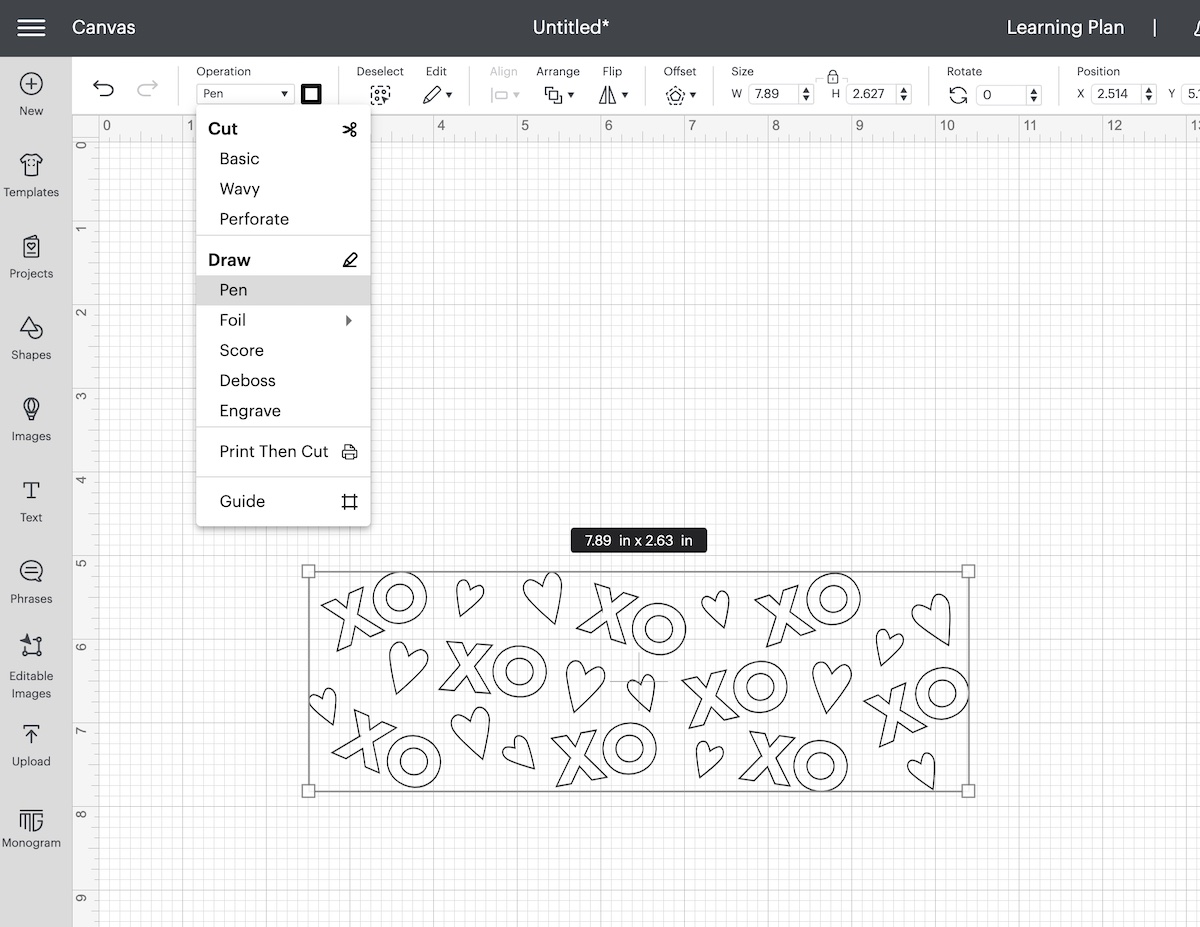
- The mug outline should be set to cut.
- You can change the color of the design by changing the marker color.
- Attach all of the design elements.
- Click Make It when you’re ready.
- On the mat setup page, be sure to mirror the design.
- Select the right size of paper.
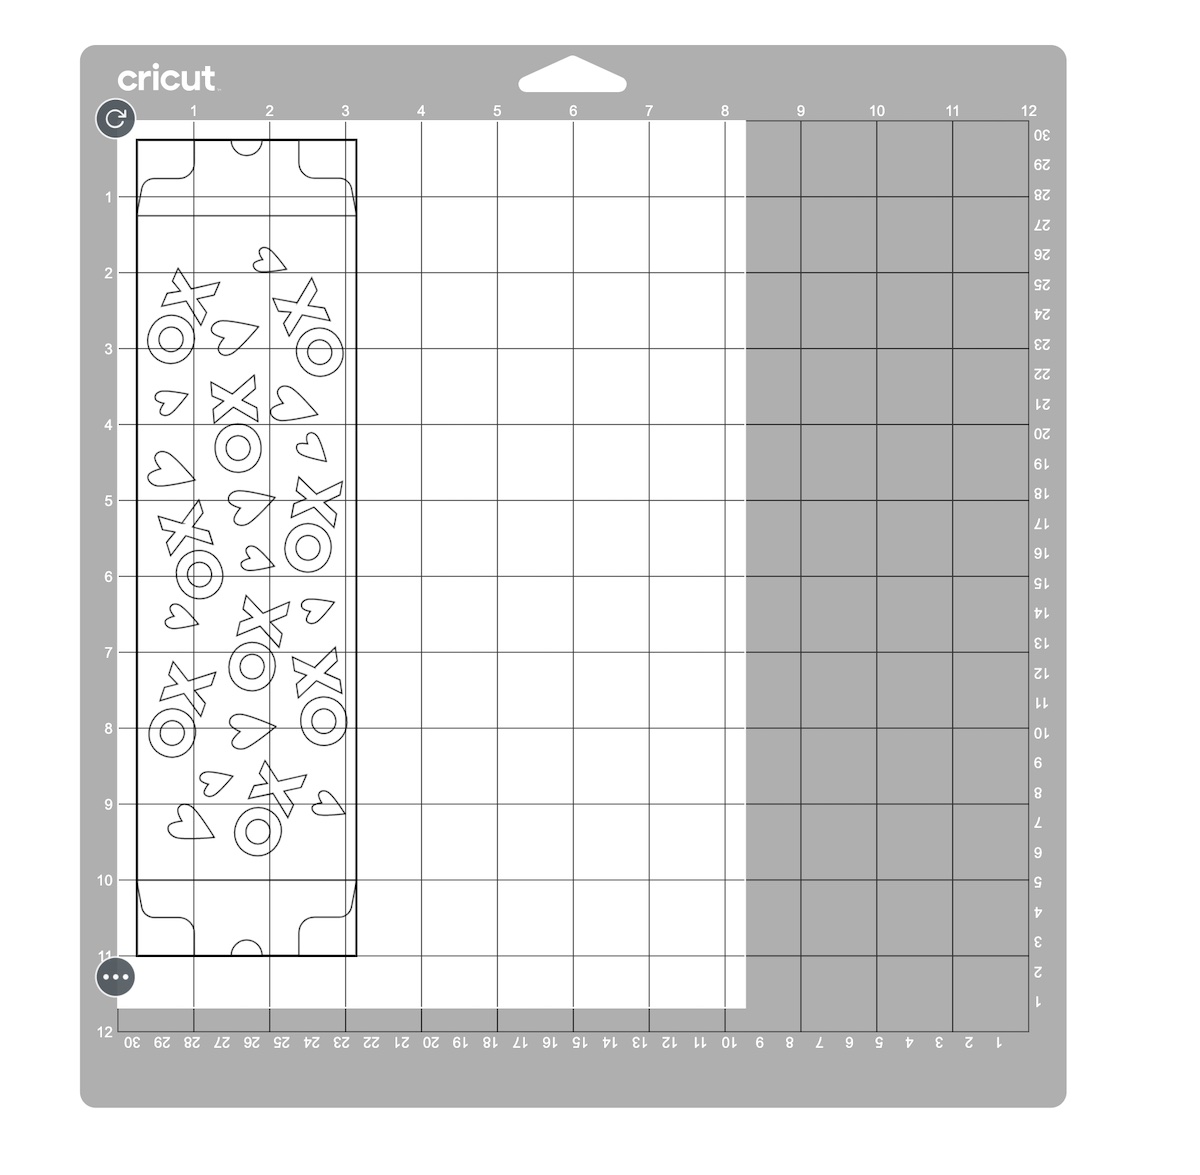
- For materials, choose “copy paper 20 lbs.”
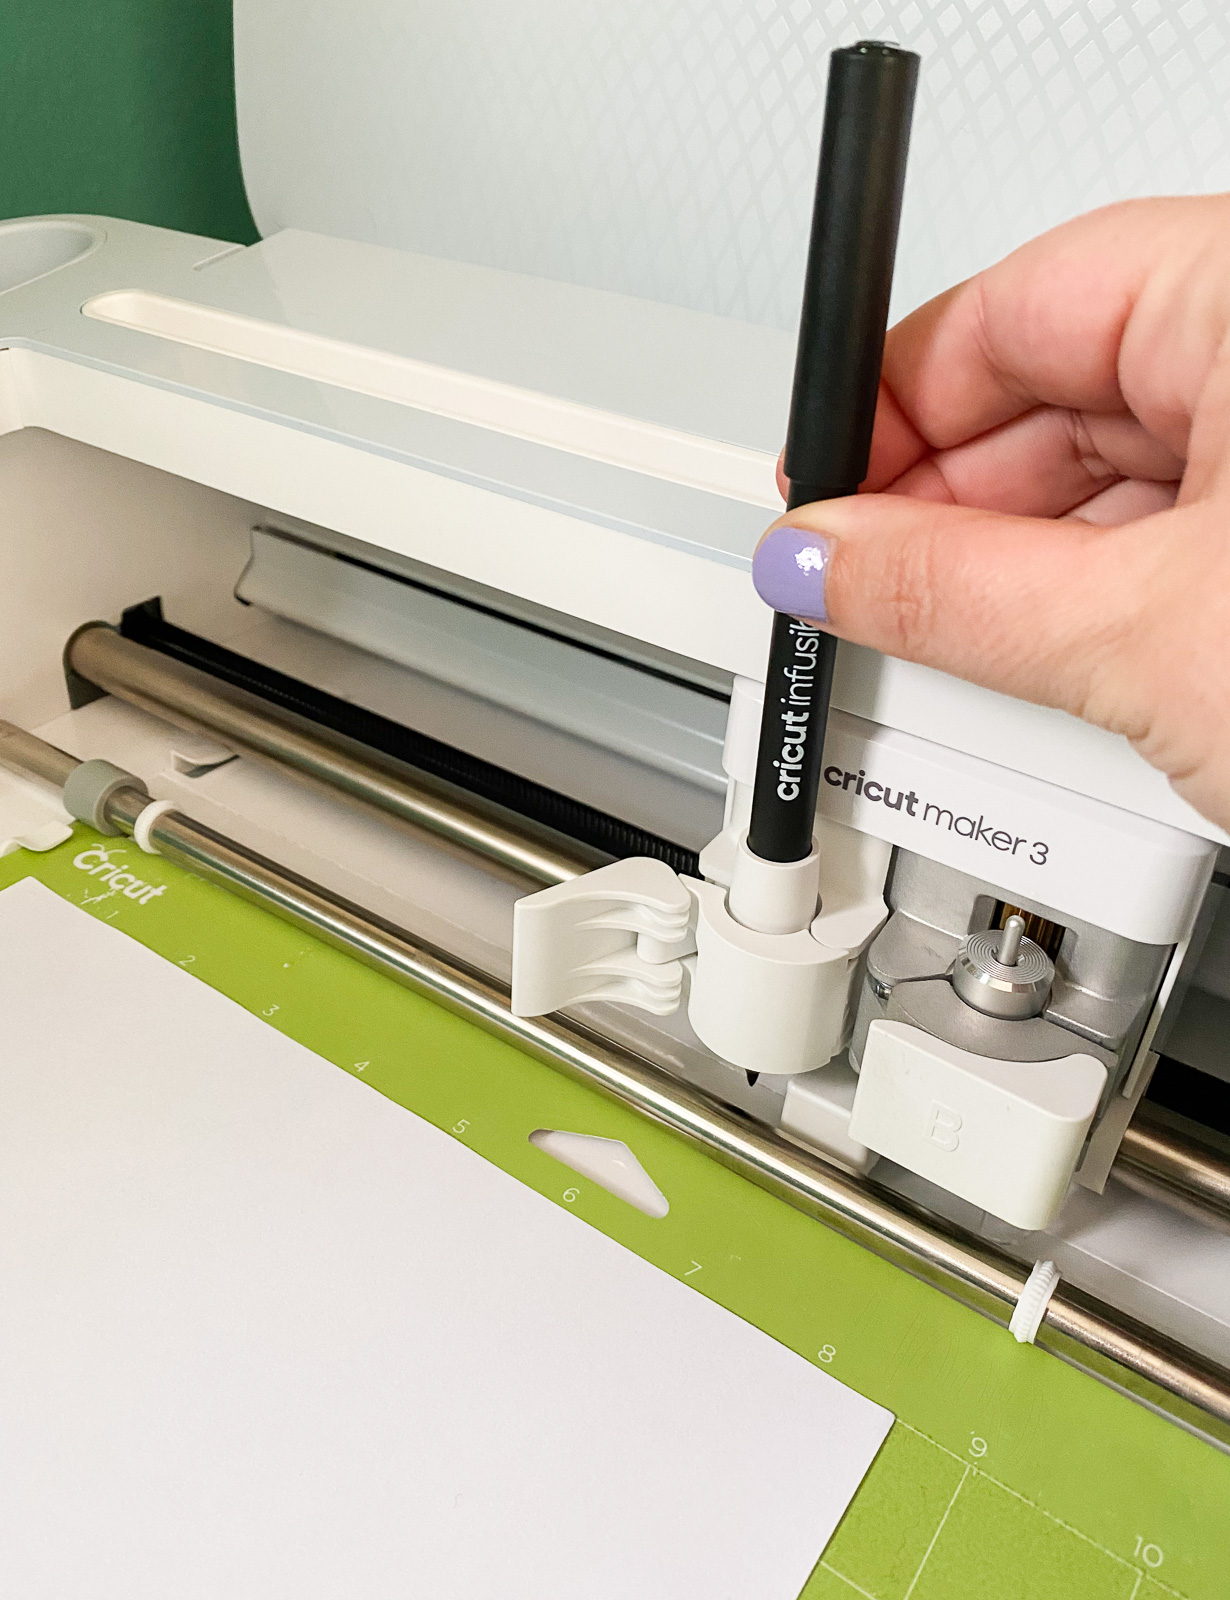
- Place the marker into Clamp A. The marker should click and you shouldn’t see the arrow. Be sure to close the latch.
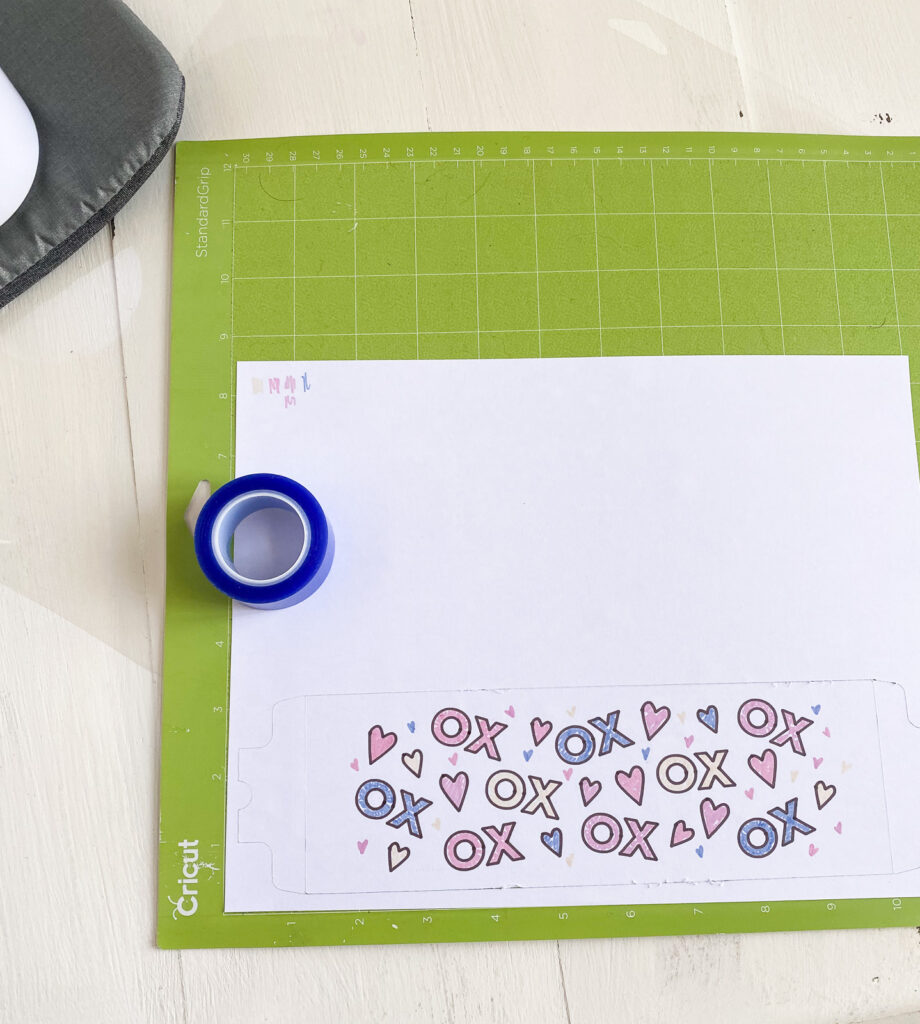
- Place your copy paper on the mat in the correct location as shown on the screen.
- Load the mat and click the go button.
- When the Cricut is finished, unload the mat as usual.
- You can color the design while on the mat or you can remove it first. If you’re doing a lot of coloring, remove the mat to ensure that the ink doesn’t bleed.

- Peel the mat away from the paper to avoid curling the paper.
Using the Mug Press with Infusible Ink Markers
Step 6 is really important! The 3 layers of butcher paper protect your mug press from getting stained.

- Place the mug press on the EasyPress mat.
- Turn on the mug press to let it pre-heat while you prepare the mug.
- Clean the mug with rubbing alcohol to remove any lint or oils from the surface.
- Place the cut-out design onto the mug. The design should not be near the handle. This area does not get heated with the mug press.

- Secure with heat-resistant tape.
- IMPORTANT: Place 3 layers of butcher paper around the design to protect the inside of your mug press. The ink from the markers leaks a ton when used. It leaked through two layers onto the 3rd layer.
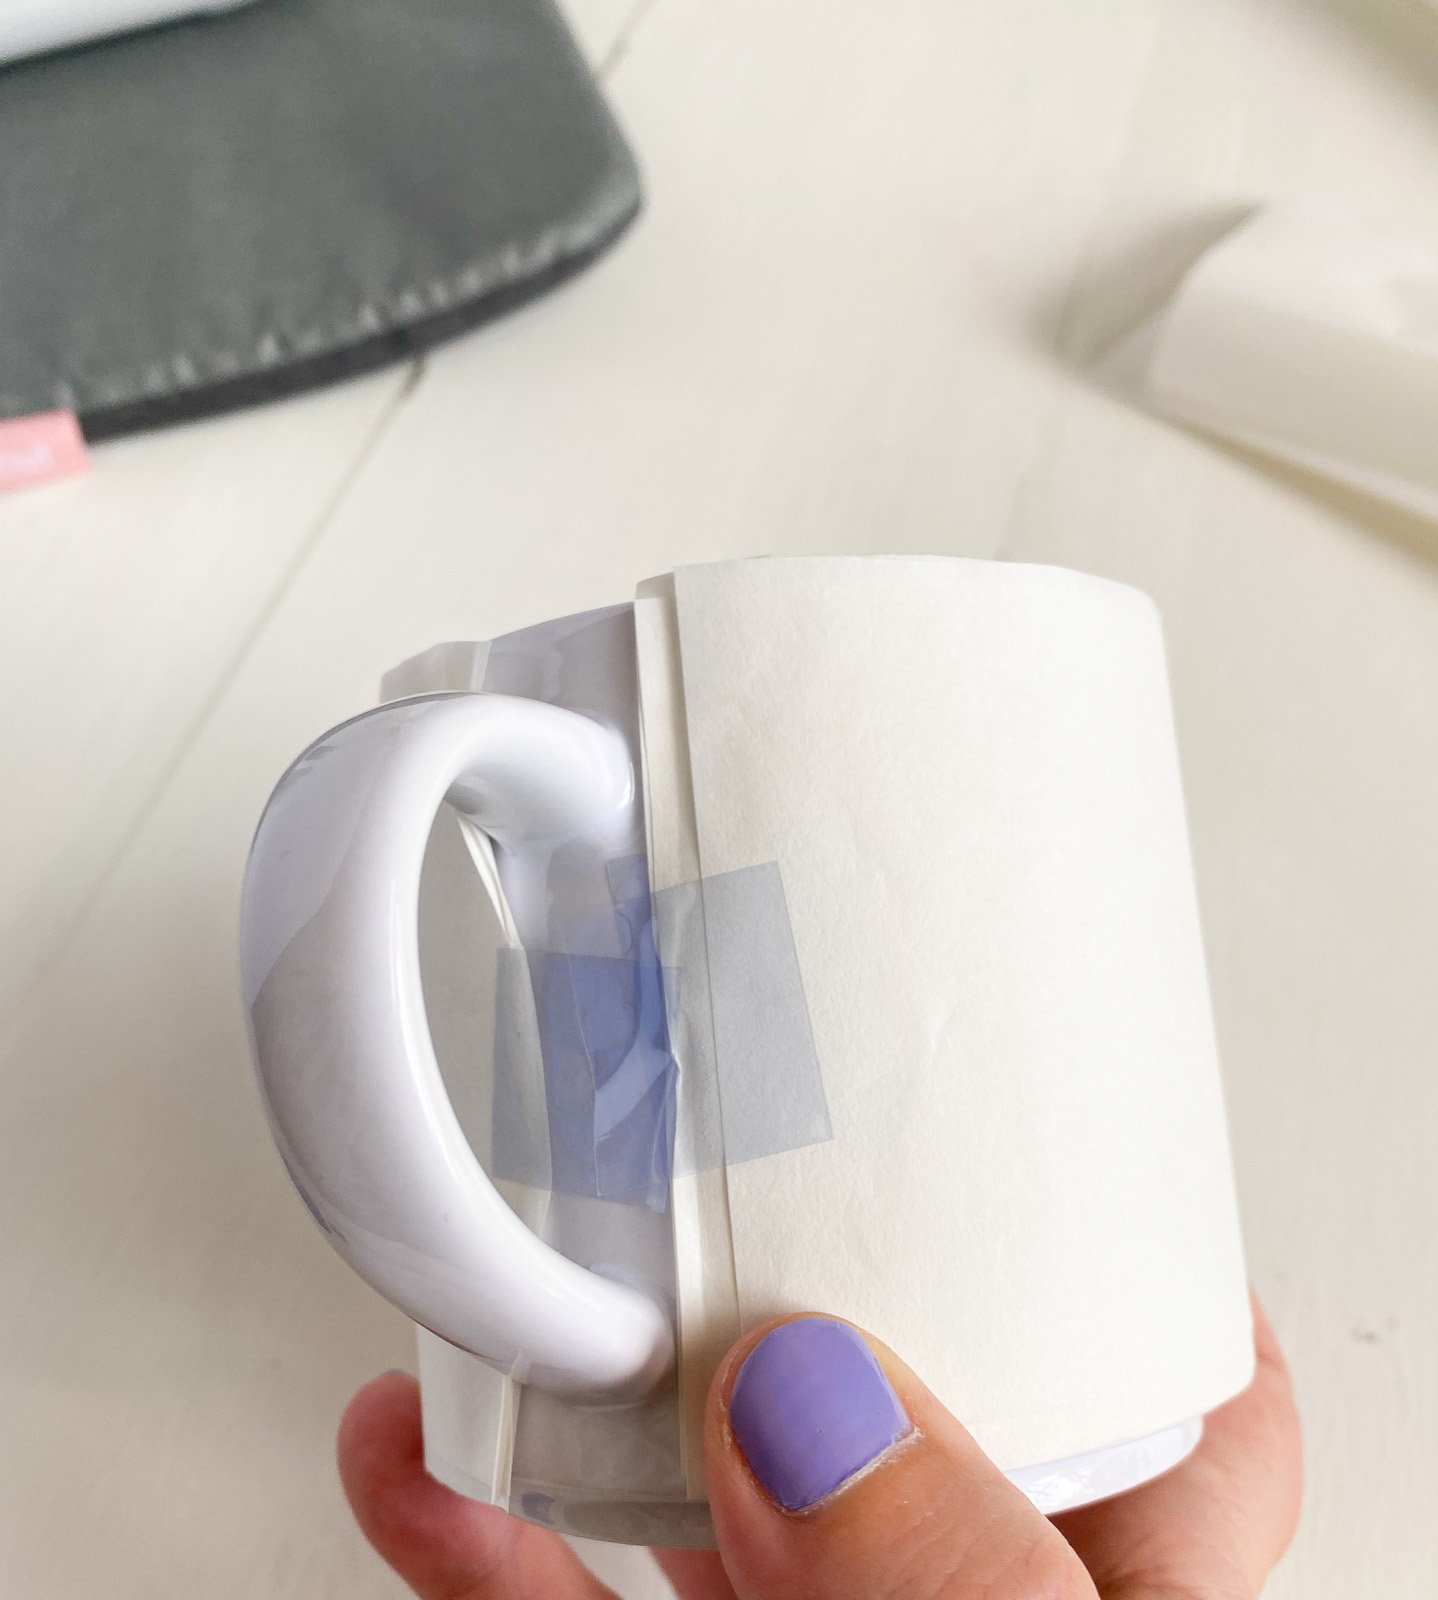
- Use tape to secure everything.
- When the mug press is ready, place the mug into the mug press and shut the lever to get it started.
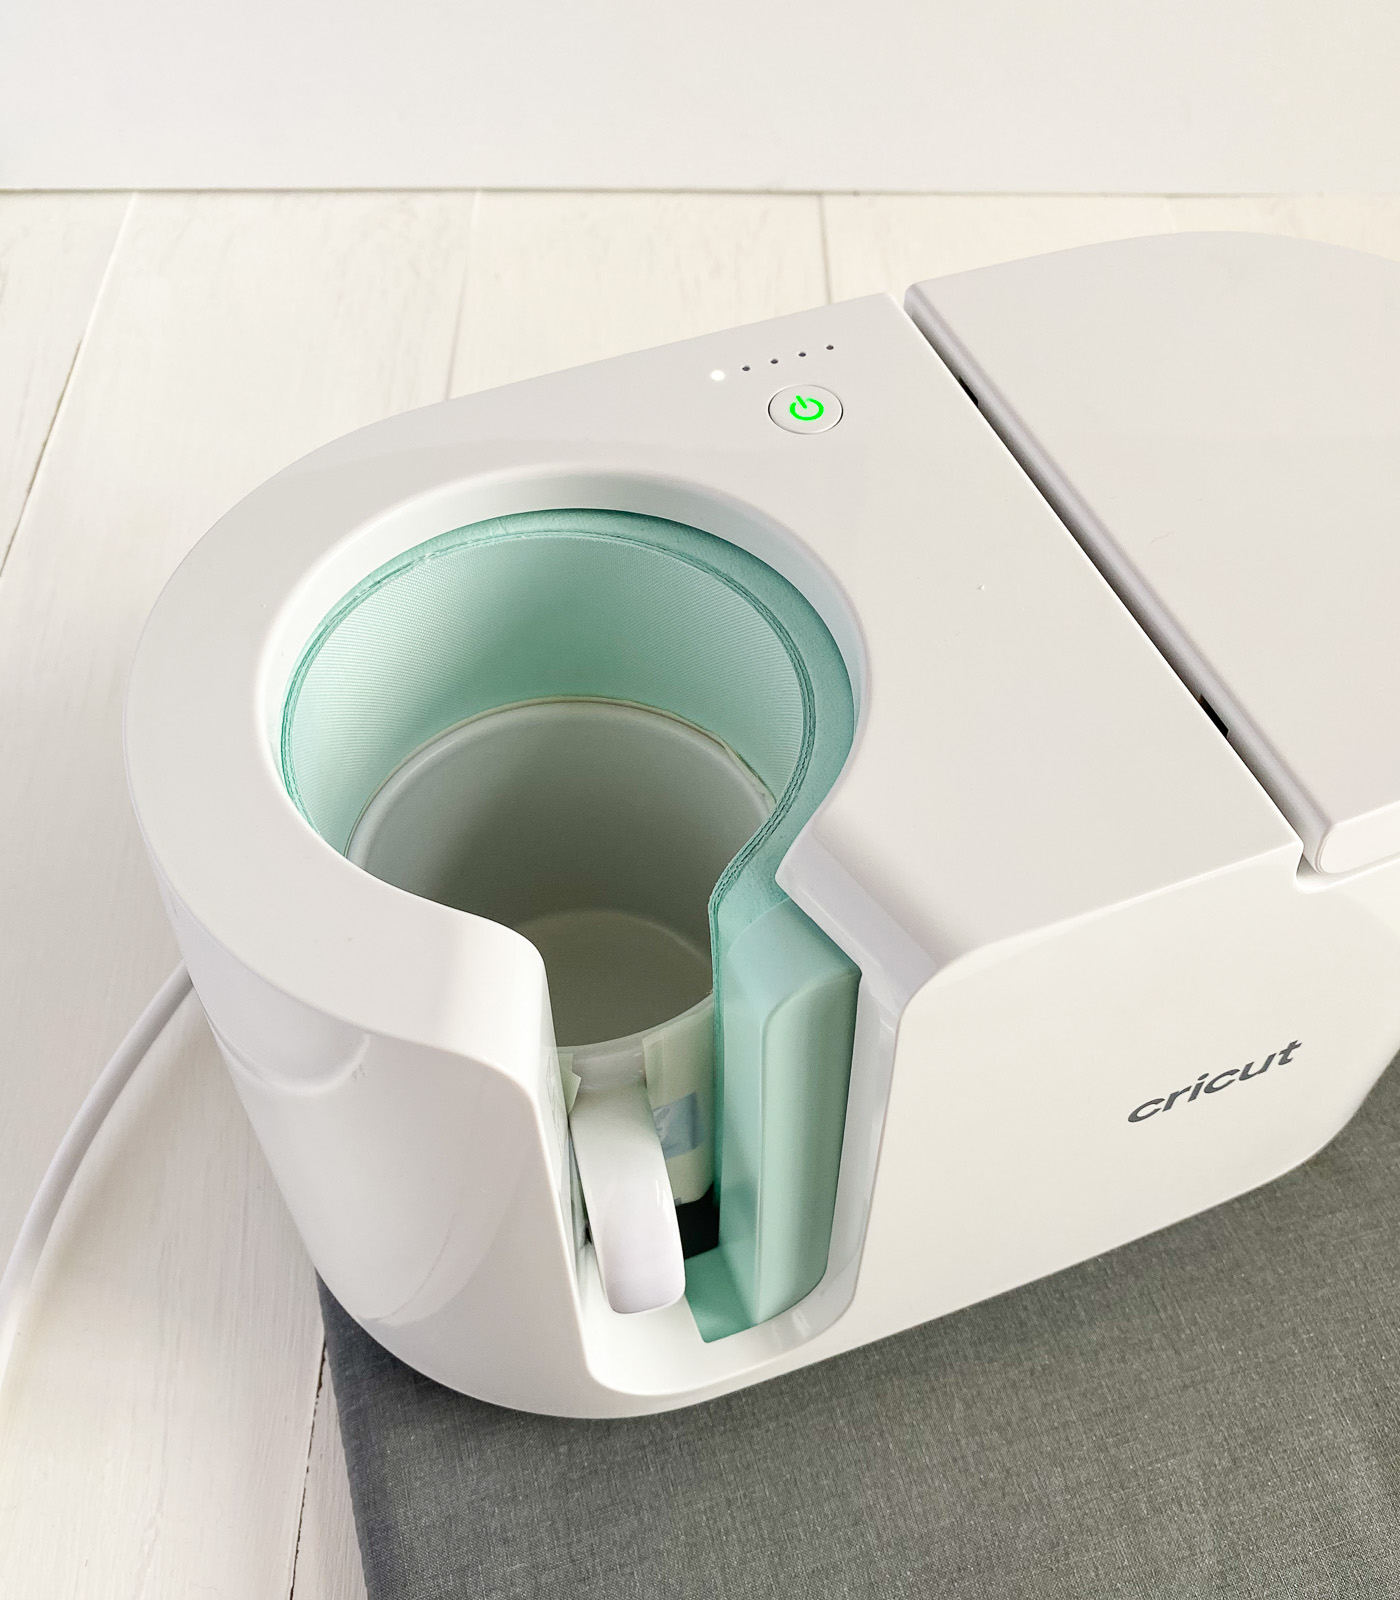
- It takes a few minutes to finish.
- When it beeps, carefully remove the mug from the mug press and let it cool on the mat. It will be HOT, so be careful!

- When it’s cool, you can remove the butcher paper and the paper design.

- Enjoy your mug.
It’s okay if the paper is slightly brown when you take it out.
Care for Mugs
Mugs made with infusible ink are dishwasher and microwave safe.
Other Valentine’s Day Projects
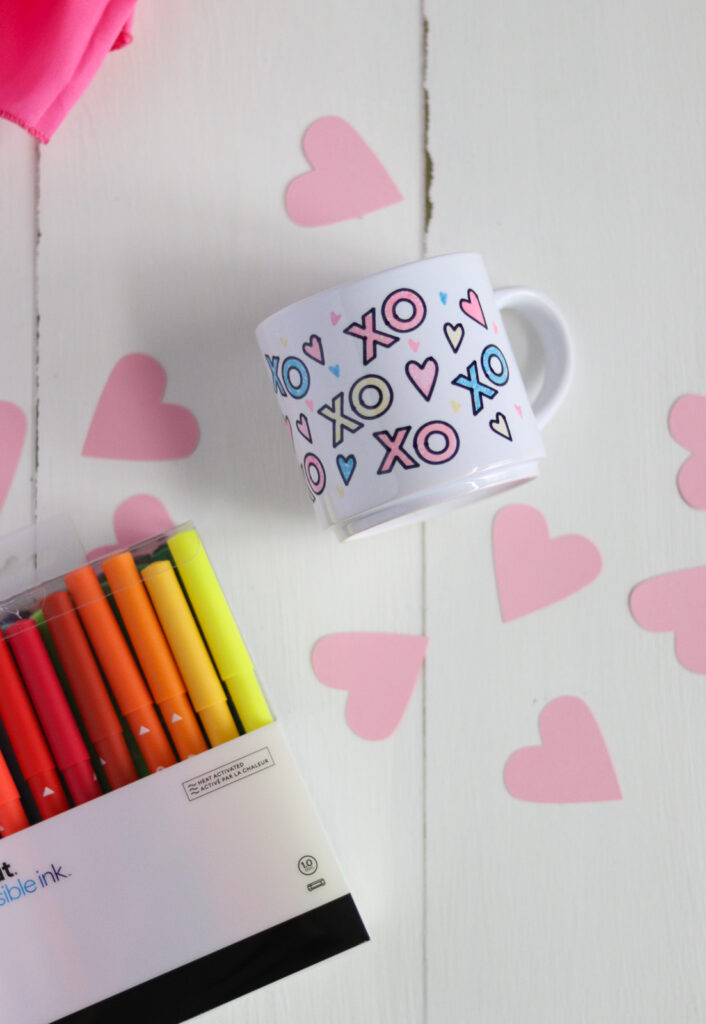
Download this SVG
You might need to resize this design to fit your mug. See sizes above.
Free downloads are for personal use only. Please do not redistribute or sell.
Pin for Later!


