Making Coasters with Cricut
Get ready for summer sips with these DIY coasters. Get easy tips for making coasters with a Cricut.
If you’re new to Cricut, you might want to check out this post on using vinyl.

This post contains affiliate links. By purchasing an item through an affiliate link, I earn a small commission at no extra cost to you. As an Amazon Associate I earn from qualifying purchases.
Making Coasters with Cricut
Supplies Needed:
- Cricut (I’m using the Cricut Maker 3)
- Weeding tools
- Standard mat
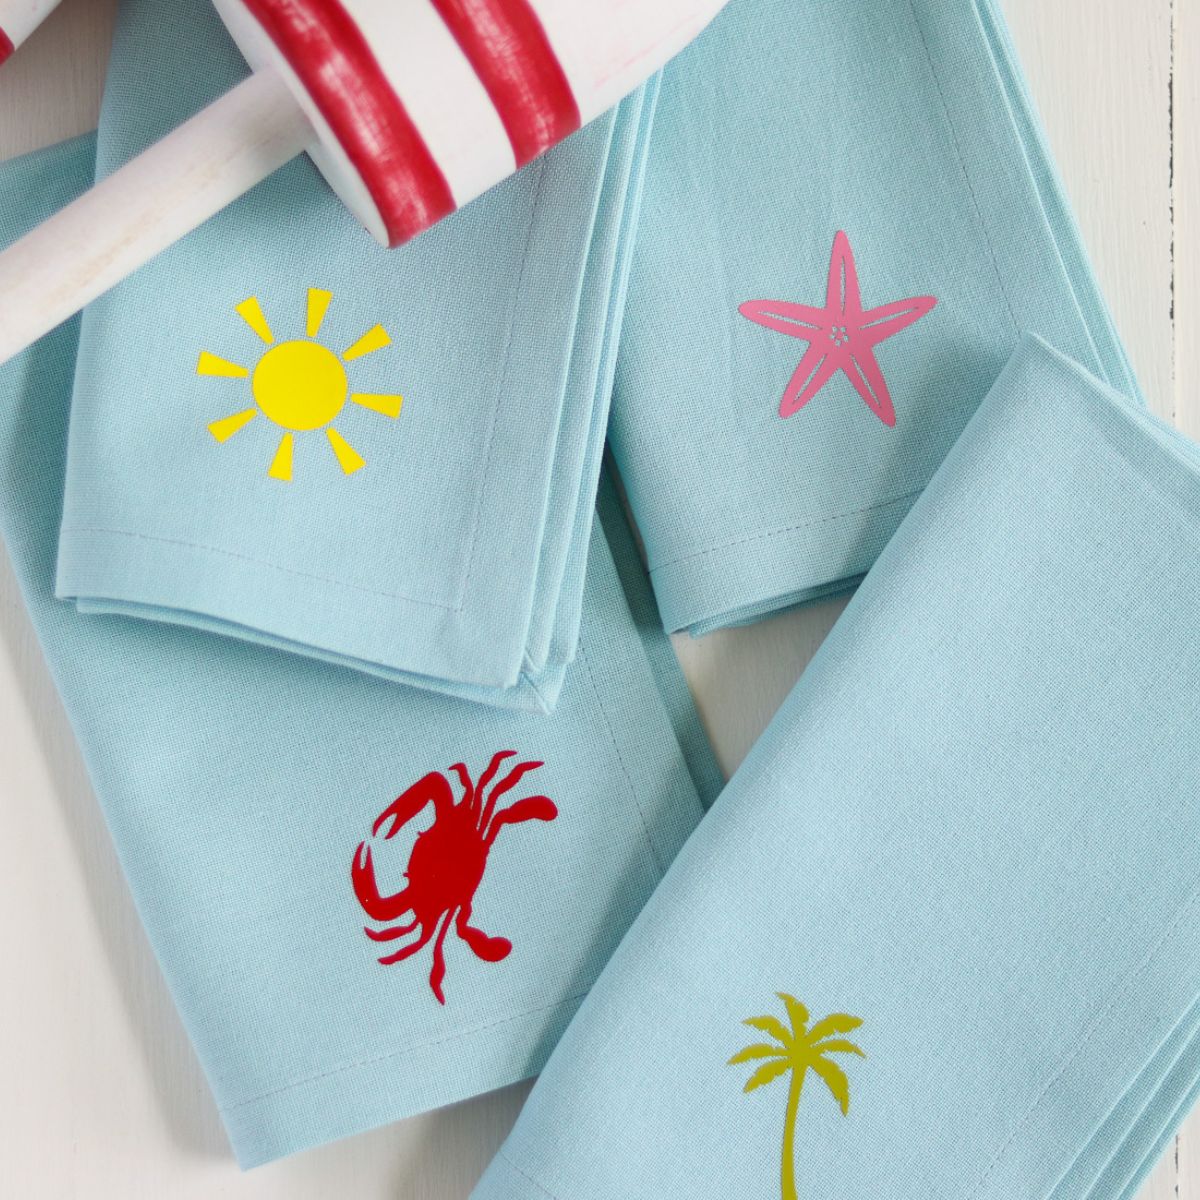
- Permanent vinyl
- Transfer tape
- Coaster tiles
- Rubbing alcohol
- Coaster SVGs (link at the bottom of post)

The vinyl I used was a combination of Oracle 651 and Cricut permanent vinyl because that’s what I had on hand.
I didn’t seal these coasters because I made a different version months ago and they have held up really well. The permanent vinyl really makes a huge difference!
If you want to seal the vinyl, you can use a few coats of Polycrylic or even epoxy if you need a more durable finish.
The coasters I linked above include felt that you can use to the bottom of the cork to protect your tabletop.
Cutting the Vinyl
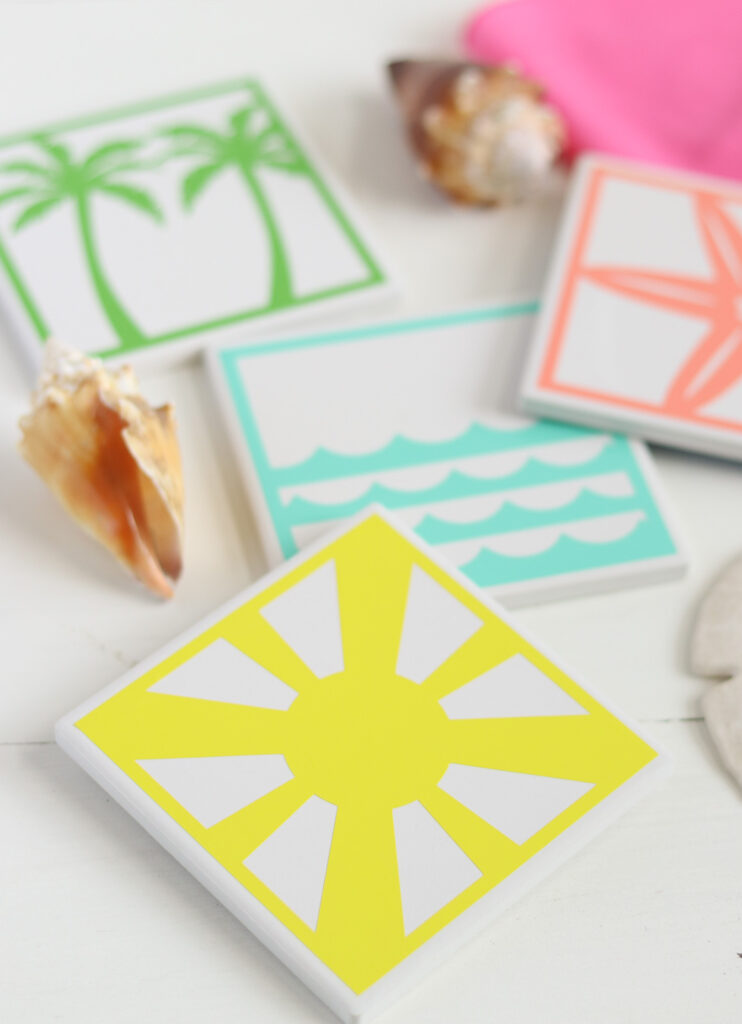
If you make your own coaster designs, the tiles are about 4″ x 4″. I made them a little smaller because most tiles have a slightly beveled edge.
My coasters are 4 colors, but if you want them all the same color, change the color in Cricut Design Space.
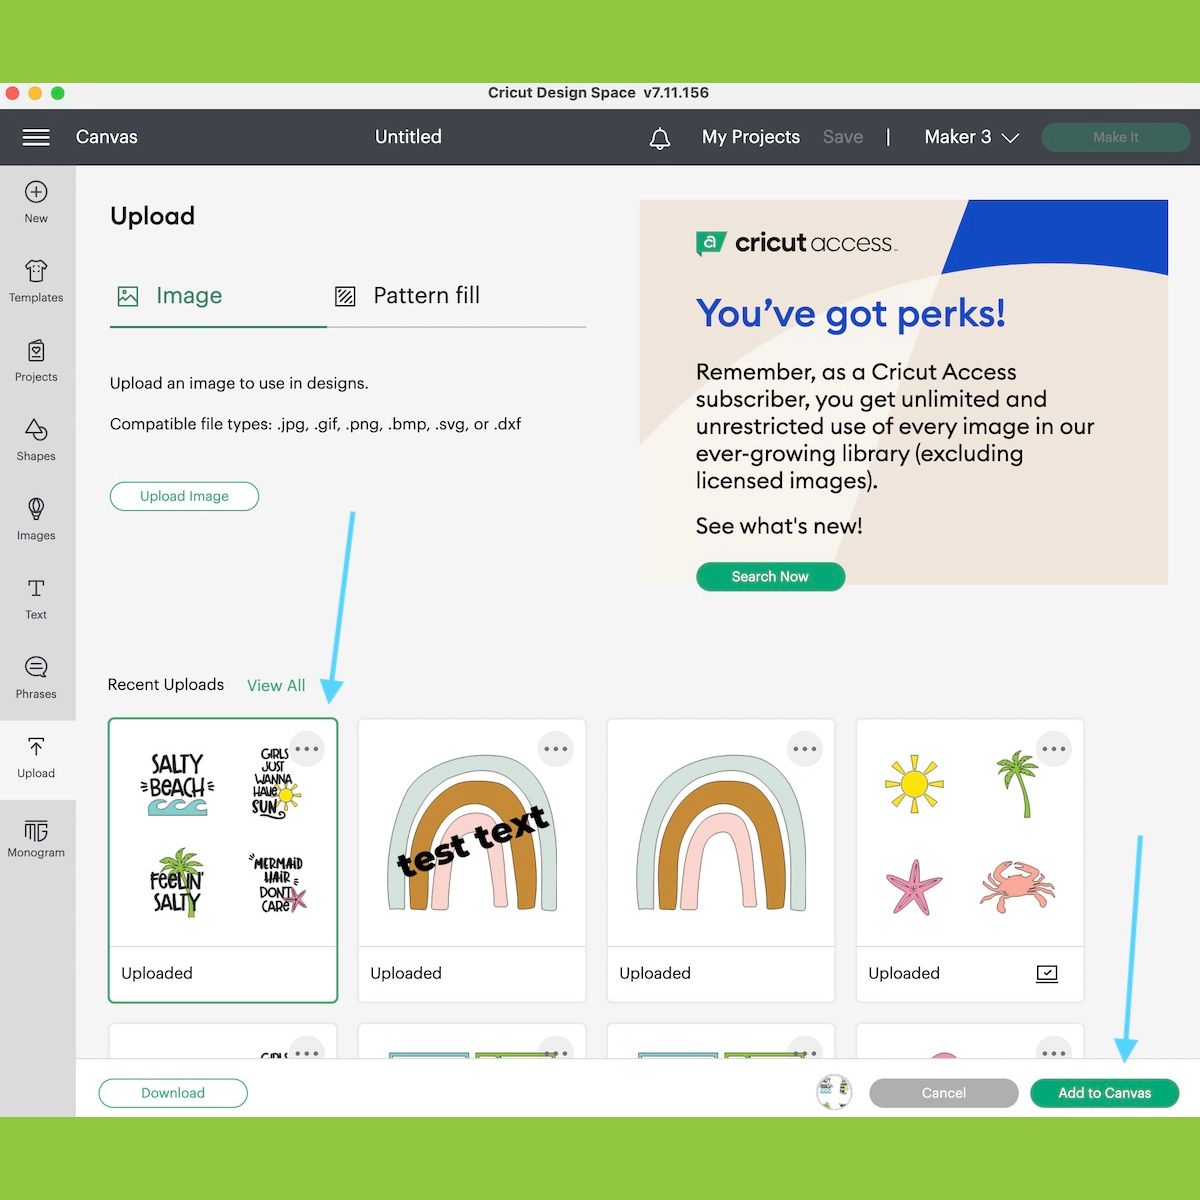
- Upload the design to a new project on Cricut.
- Click make it.
- Cricut Design Space will tell you which color to use first.

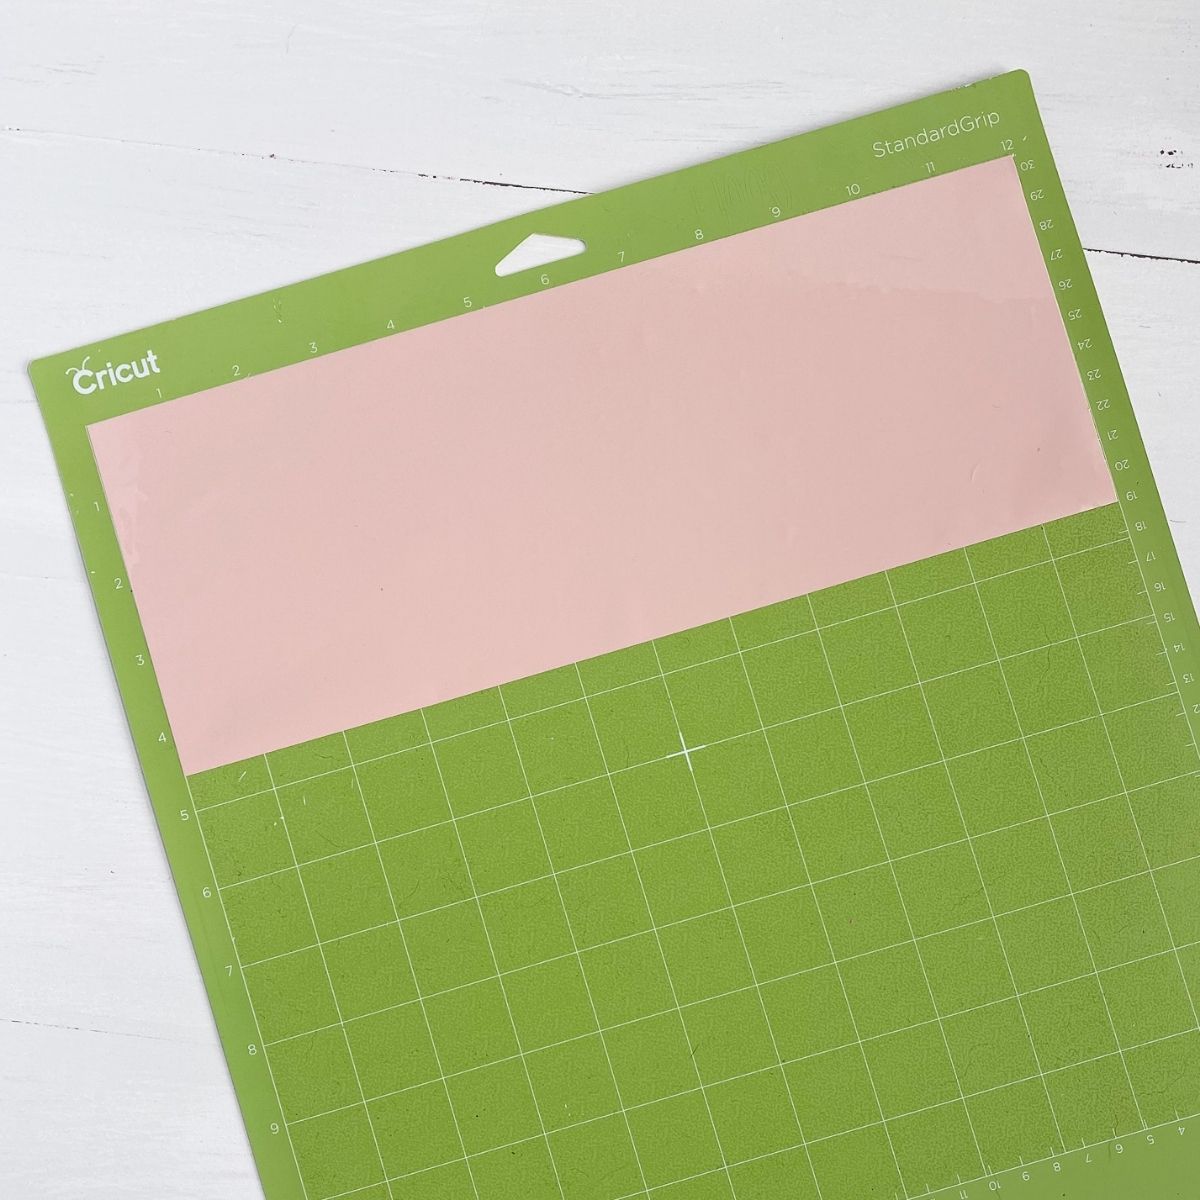
- Apply that color to the standard mat. (I like to cut my vinyl about an inch longer than I need before applying it to the mat.)
- Select your materials. I chose premium vinyl – permanent glossy.

- Make sure that your blade is correct.
- Load your mat and press the start button.

- Unload the mat when it’s finished.
- The software will tell you which color to use next.
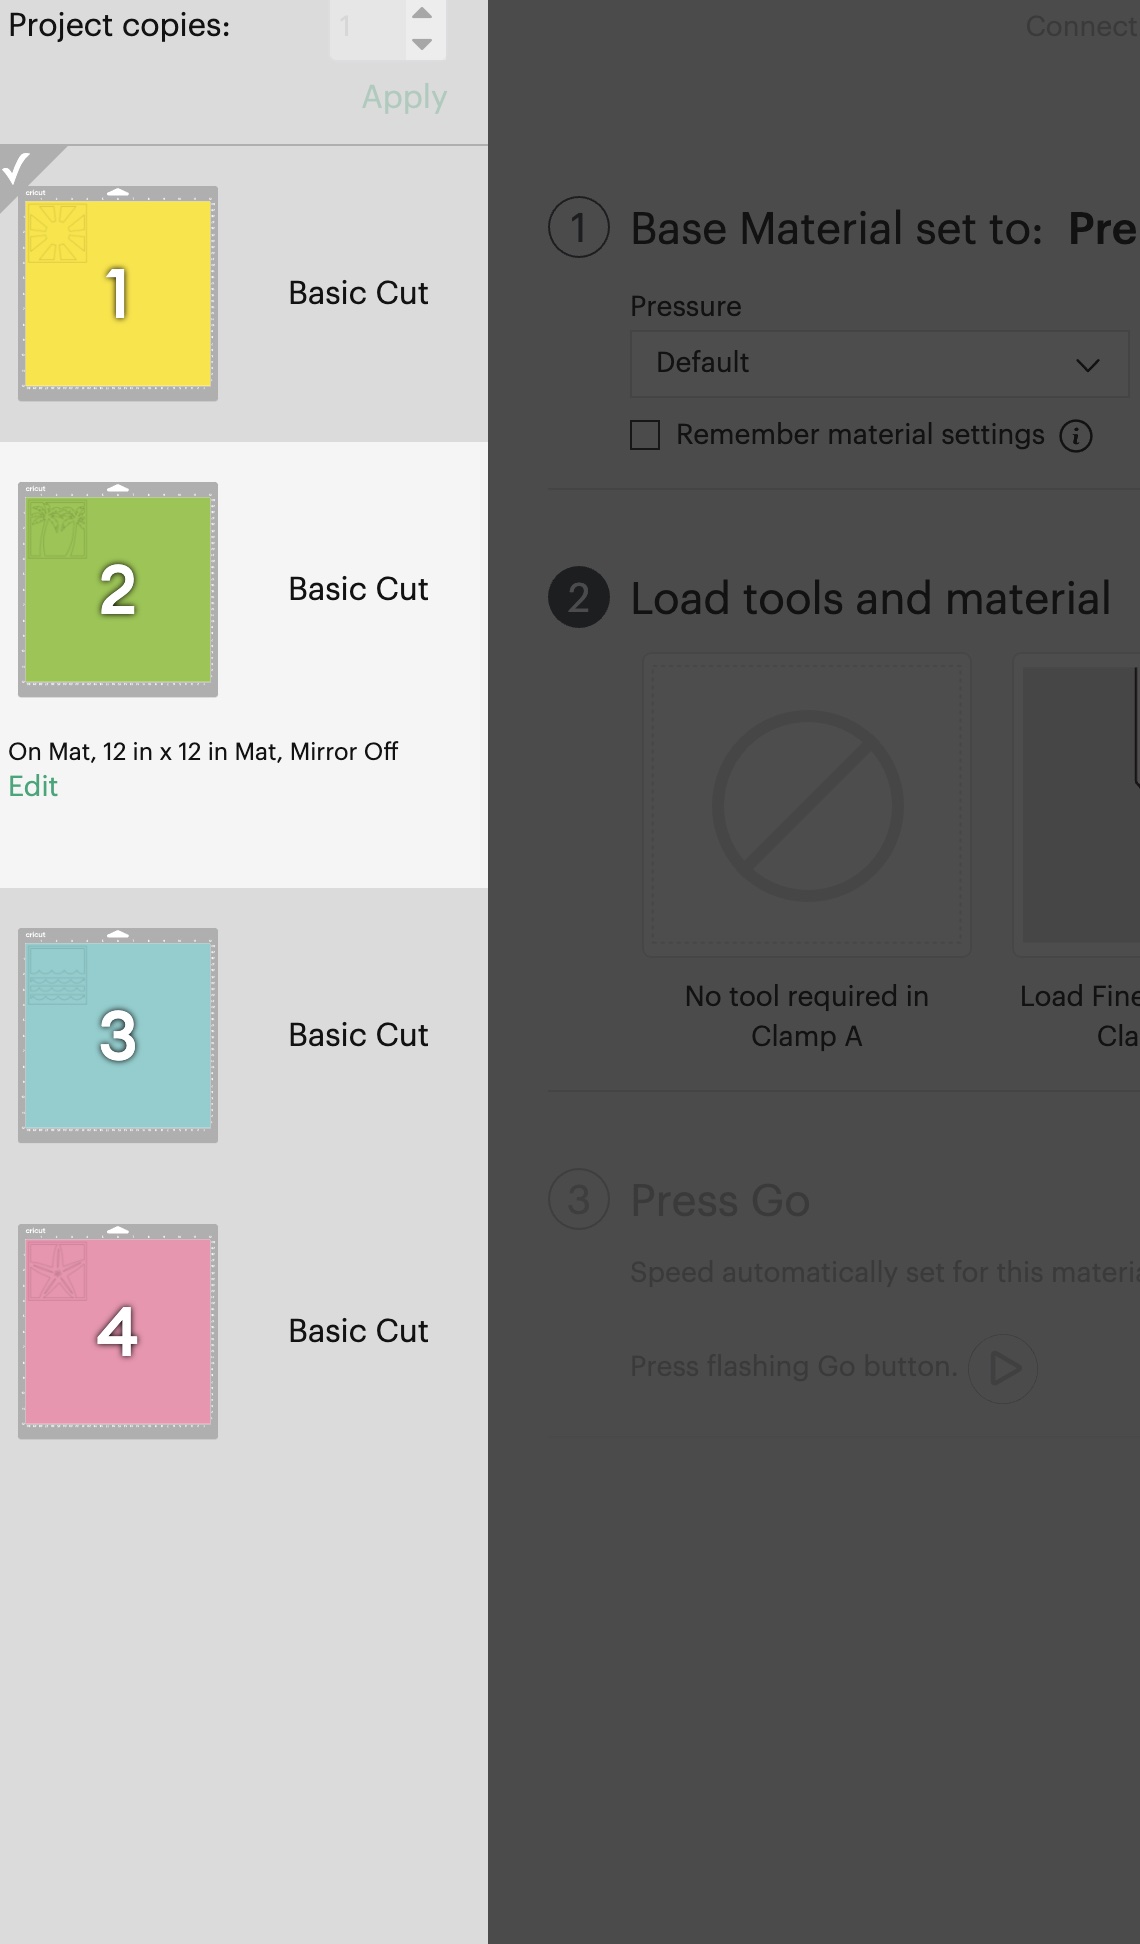
- Repeat these steps for the other 3 colors.

Applying the Vinyl to the Coasters
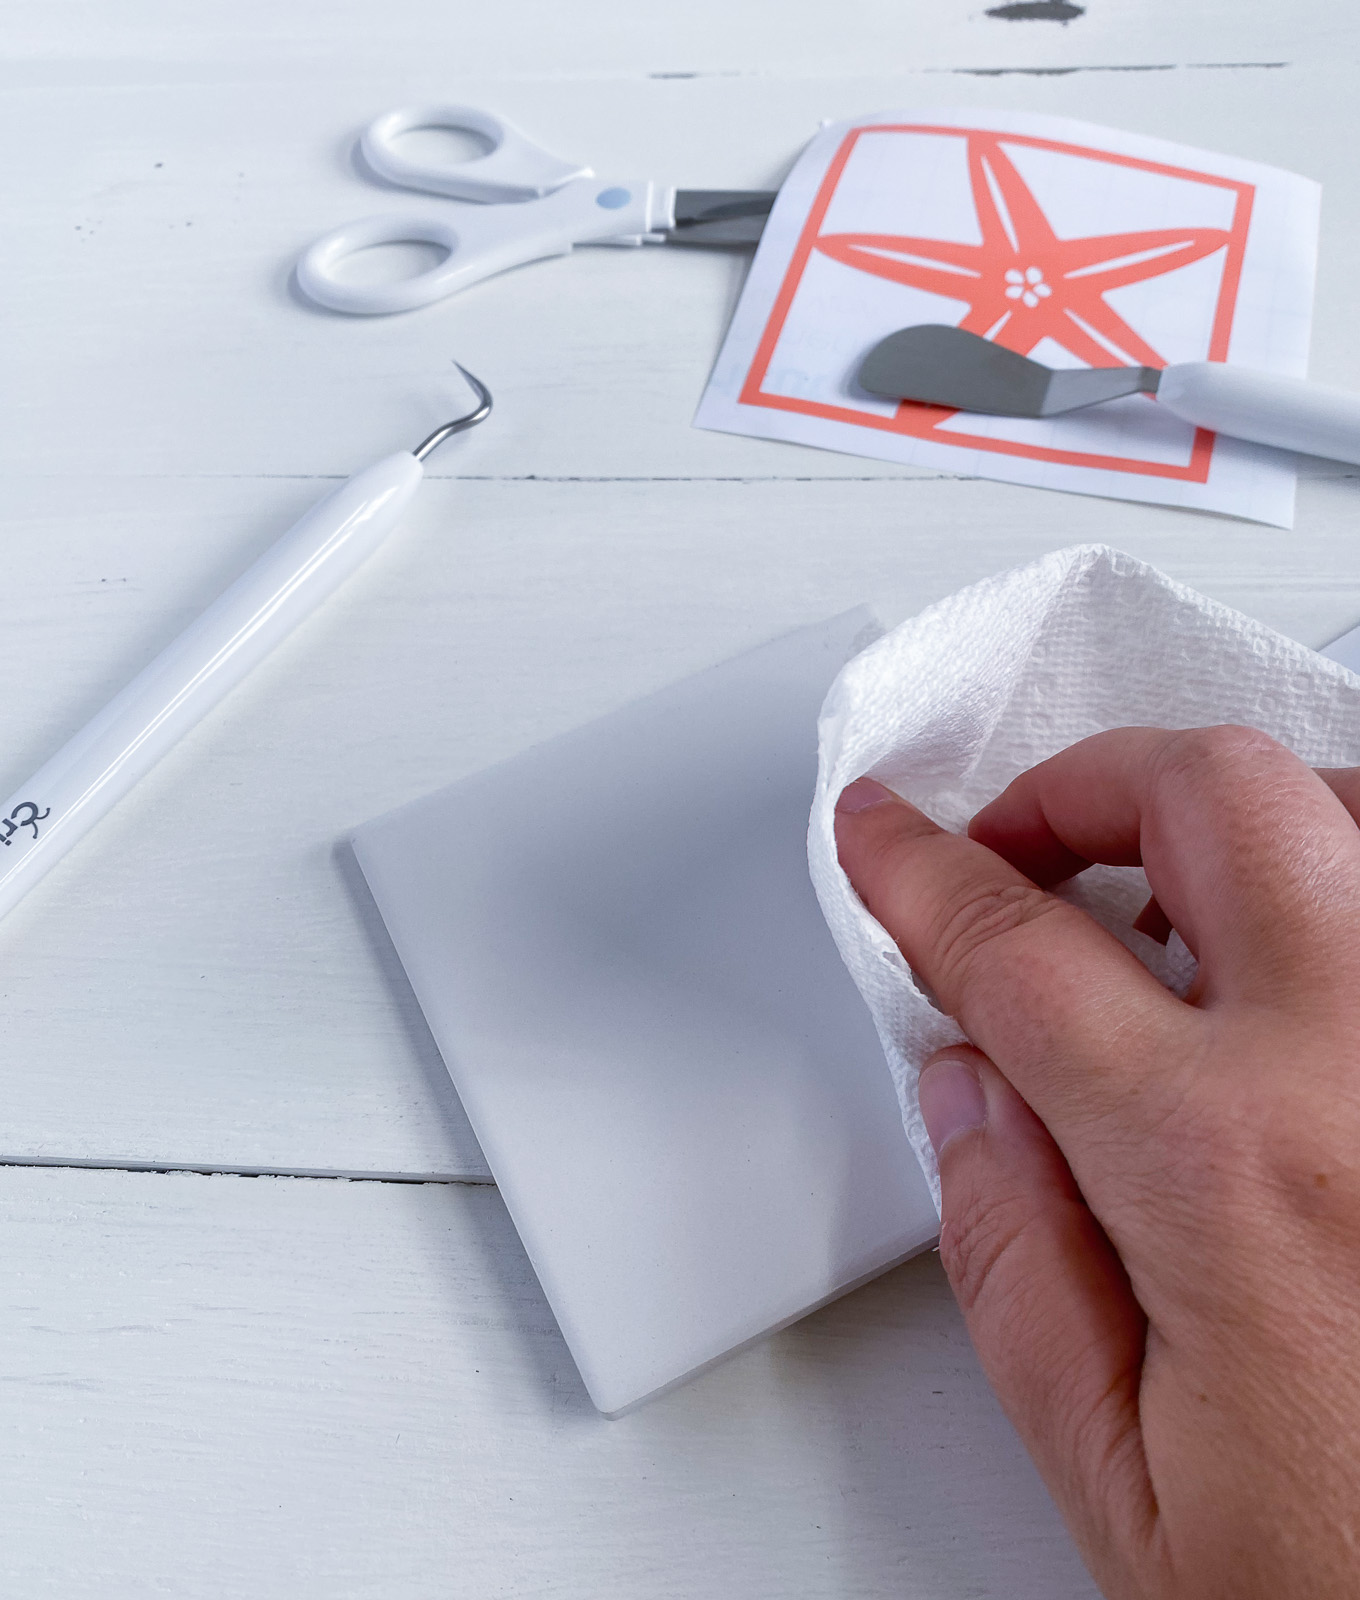
- Weed the vinyl as normal.

- Clean the coasters with rubbing alcohol. This removes any oils from your skin that prevent the vinyl from sticking.
- Cut a piece of transfer tape a little larger than the cut design.
- Remove the backing from the transfer tape and apply it to the front of the vinyl design.

- Rub the transfer tape. I like to use the backing that I just removed. The design should peel away onto the transfer tape.

- Remove the transfer tape with the cut vinyl design.

- Place the design onto the tile and rub the design on the tile to make it stick.

- Remove the transfer tape from the vinyl and tile. You can use the pick tool on problematic areas.
- Transfer tape can be used several times (it’s actually nicer to work with when it has been used.)
- Rub the vinyl one more time to ensure that it is sticking well.
- Repeat for the other coasters.
Care for Your Vinyl Coasters
As with any vinyl project, do not place your coasters in the dishwasher. Soaking them in water is also a bad idea.
Instead, wipe them with a damp cloth.

Other Vinyl Projects to Make
Download the Summer Coaster SVG Files
Free downloads are for personal use only. Please do not redistribute or sell.
New to Cricut? Here’s how to import SVG files.
Pin for Later!