How to Make Cupcake Toppers with a Cricut
Learn how to make cupcake toppers with a Cricut. Use your Cricut to create fun decorations for cupcakes.
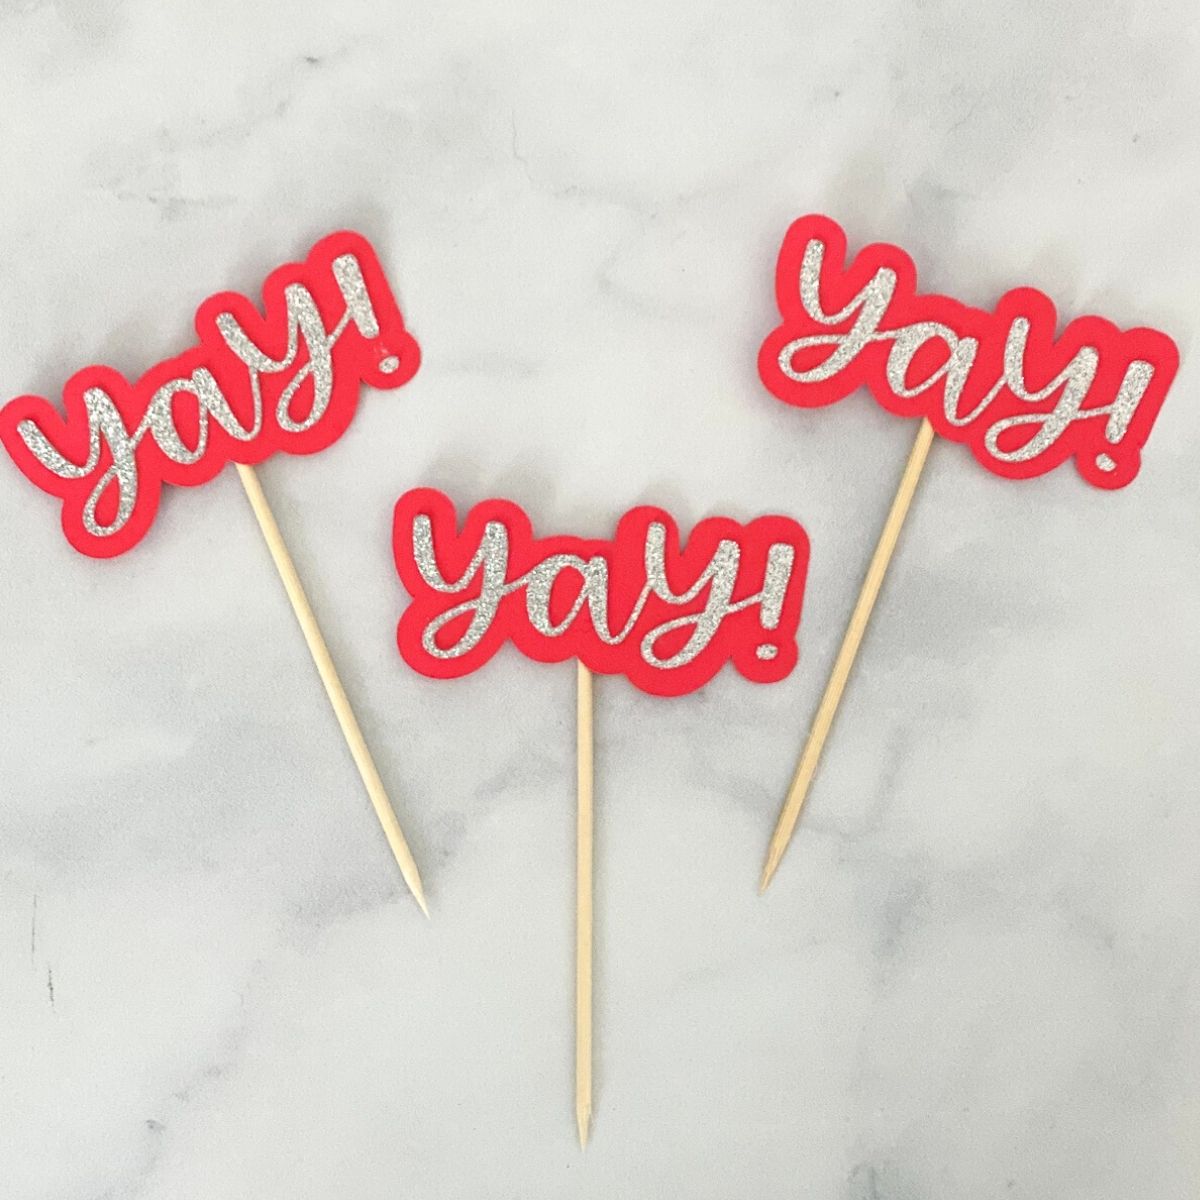
Cupcake toppers are an easy way to make a celebration even more festive.

This post contains affiliate links. By purchasing an item through an affiliate link, I earn a small commission at no extra cost to you. As an Amazon Associate I earn from qualifying purchases.
How to Make Cupcake Toppers with a Cricut
Supplies Needed:
- Cricut (I’m using a Cricut Maker 3)
- LightGrip Mat
- Glitter Cardstock
- Regular Cardstock
- Mini bamboo skewers
- Glue
- Hot glue gun and glue stick
- Yay SVG

A Lightgrip mat works great with glitter cardstock.
If you don’t have a LightGrip mat, be sure to unstick your mat a bit with a towel before placing your cardstock onto the mat. In the past, I’ve ruined projects by using too sticky of a mat with cardstock.
I used a glue pen to make my cupcake toppers, but you can use normal glue, as long as it dries clear.
If you’re making these cupcake toppers for small children, lollipop sticks are safer than bamboo skewers.
What Type of Cardstock Should I Use for Cupcake Toppers?
Cupcake toppers should be made with sturdy cardstock. Layering helps.
I used Recollections glitter cardstock from Michaels for the word part of the design and 65 lb cardstock for the background shape.
What Size Should Cupcake Toppers Be?
Ideally, your cupcake toppers should be less than 3″ square. If they are larger, they might need 2 picks to hold them up.
Making the Design in Cricut Design Space
- Open a new project in Cricut Design Space.
- Use the text tool to type out your word. (I used a 2nd uppercase Y because I wanted it to look a certain way.)

- Change the fonts by highlighting the letters and clicking on the font box.
- If you don’t have Cricut access, you can use the fonts on your computer by selecting “System.”

- If you don’t have fancy fonts on your computer, you can get free ones from places like DaFont.com or you can buy premium fonts from Creative Marketplace. I’m using the Girl Talk font.
- When choosing a font, look for one that has the style you want to convey, but is thick enough to show up. This is really important with glitter paper because it needs a thicker font to make an impact.
- After choosing the font, ungroup the word and move each letter to touch other letters.

- Then weld the letters together to make it one shape. I left the dot for the exclamation point separate because it wasn’t too awful to deal with on its own.

- Add an offset cut.

- This is the layer behind the word, so I wanted it to be as simple as possible. Increase the size until there are no cuts in the center of the space.

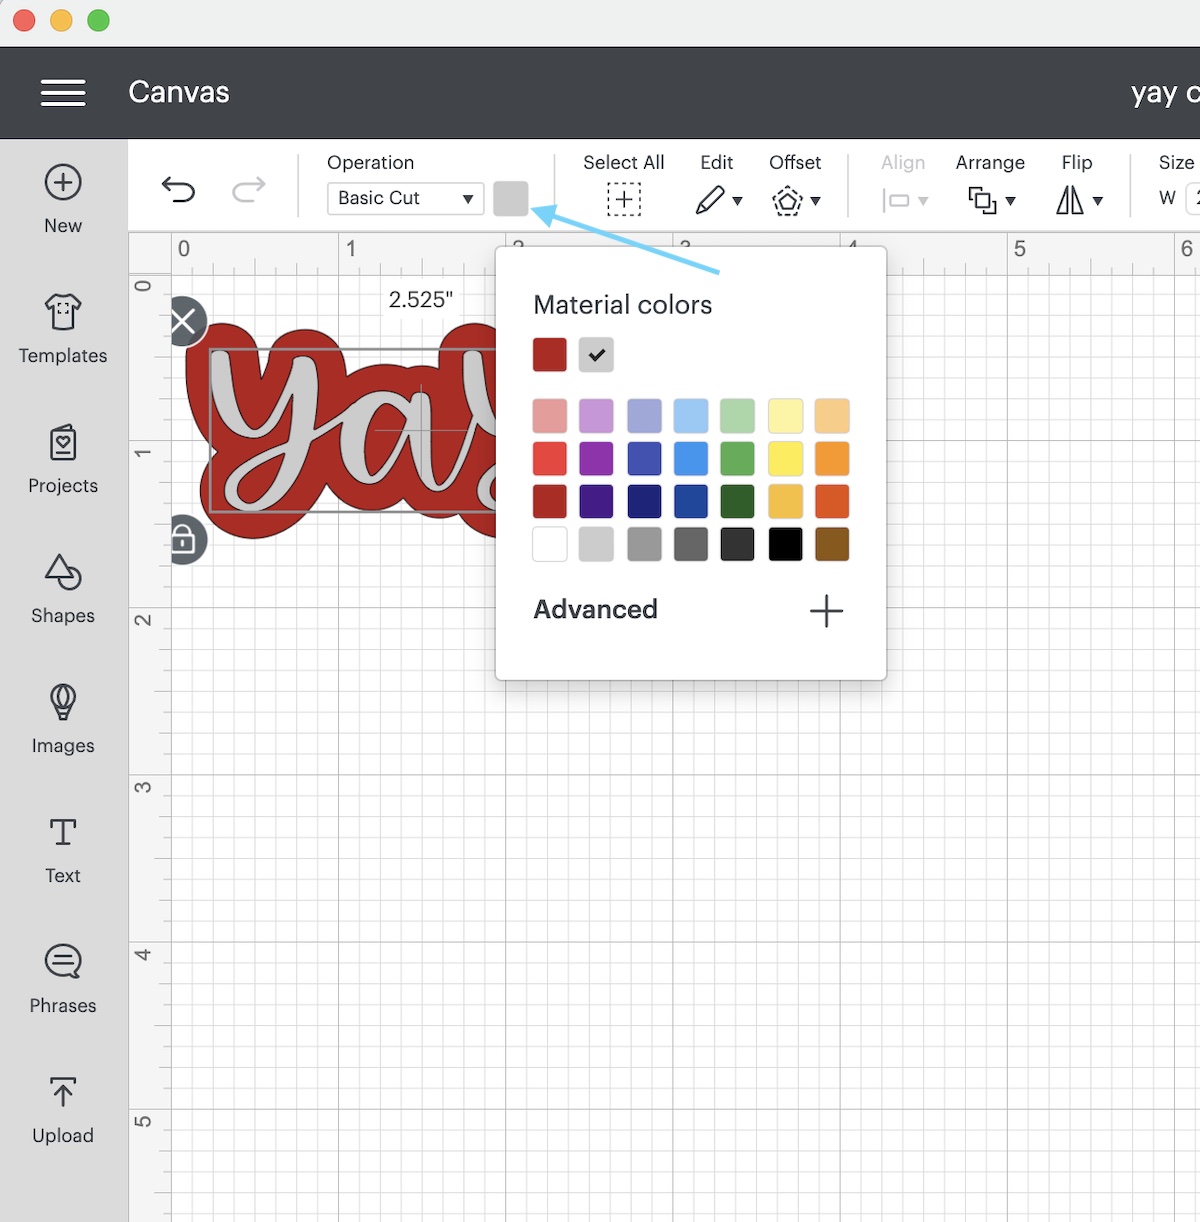
- If desired, you can change the colors of the design to represent your paper choices. This makes it less confusing, especially if you use more than 2 colors.
Cutting the Cupcake Topper with the Cricut Maker
When your design is finalized, it’s time to make the cut.
If you’re new to cutting glitter cardstock with a Cricut, here’s some tips to get started.
- Select “Make it”.
- If you have a Cricut Maker 3, a dialog box will ask if you’re using a mat. Since I’m not using Smart Materials, I chose the mat option.

- Make sure your mat size is correct.
- Increase the number of copies to the correct amount and click apply. This duplicates your design. You can change the spacing if you want.

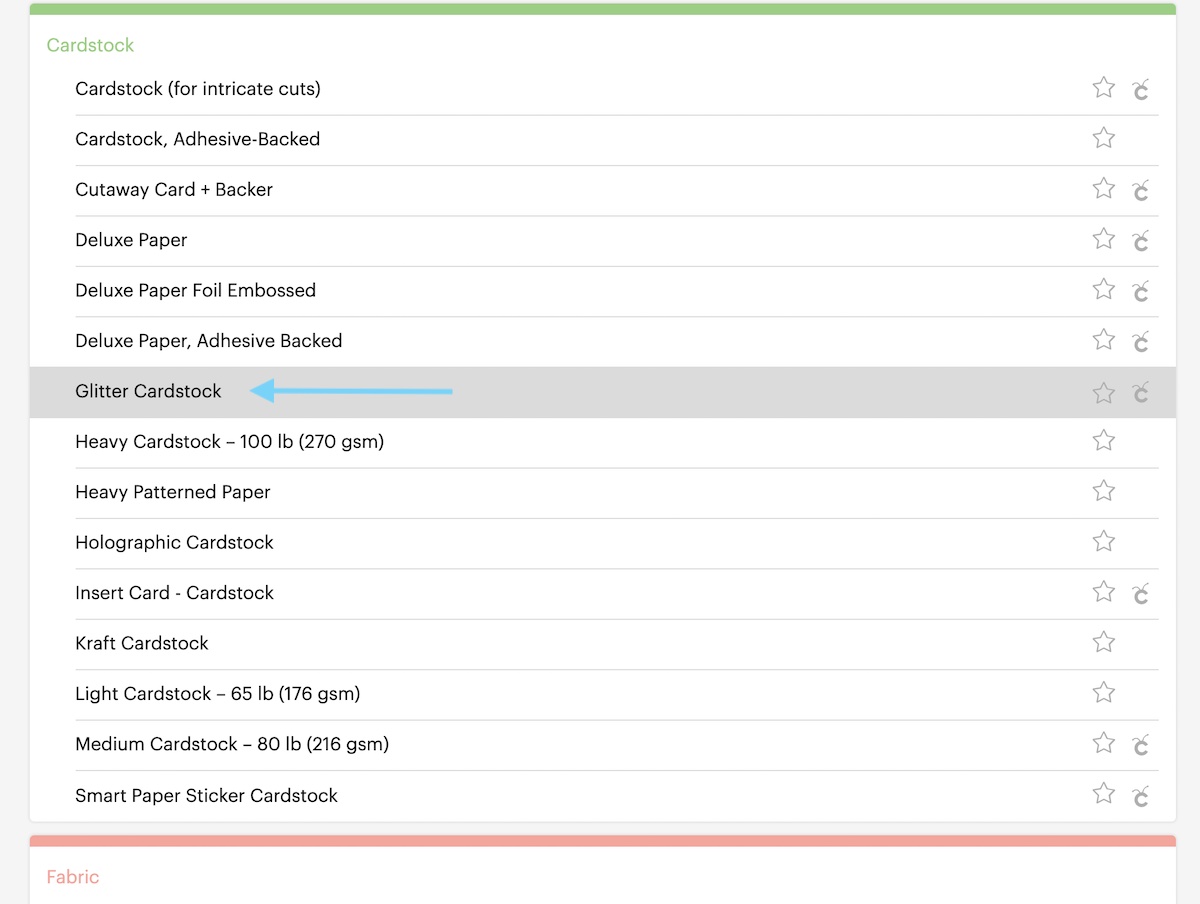
- Select your material. I chose glitter cardstock under the cardstock option.
- The Cricut was already loaded with a fine point blade, so I was good to go.
- Place the glitter paper on the LightGrip mat, smoothing it as you go to make sure that it’s attached. (If your mat has lost its stickiness, you can use painter’s tape to hold it in place.)
- Load the mat and press the start button to start cutting.

- When the cut is finished, make sure that the paper cuts all the way before unloading the mat.
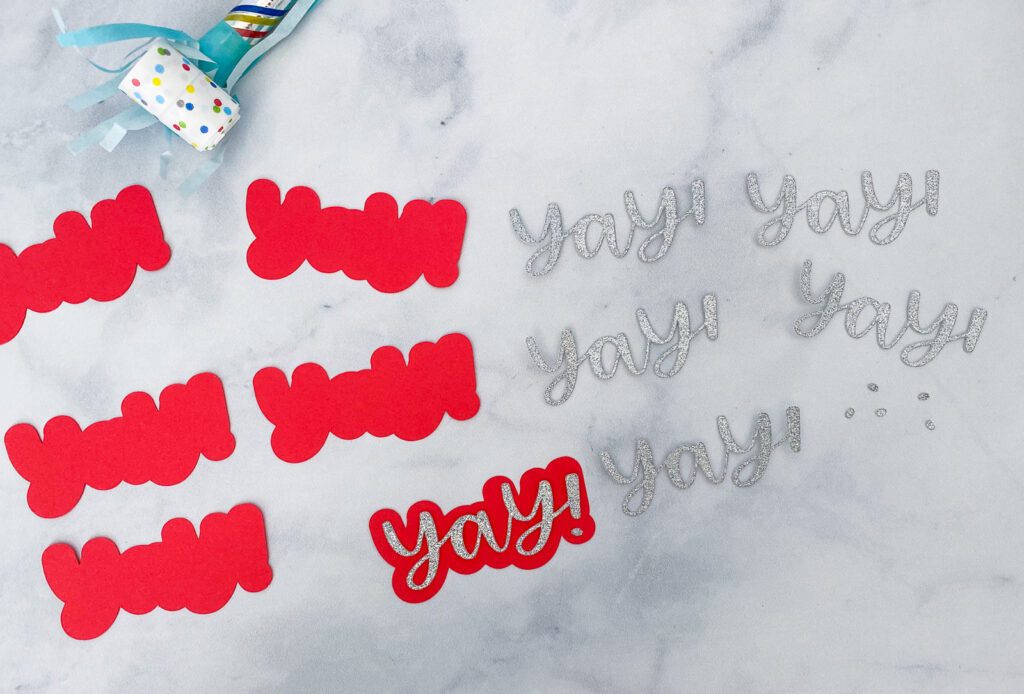
- Remove the glitter paper by peeling the mat from the paper to avoid curling it.

- Use the same motion and a spatula tool to remove the letters. I made sure to set the dots for the exclamation points to the side as I worked.

- Use the scraper tool to remove any leftover paper.

- Load the 2nd color of cardstock onto the mat and load it into the Cricut.
- Press start to cut the 2nd design. I used the medium cardstock option for this cut.

- After the design cuts, unload the mat and remove the paper as before.
Making the Cupcake Toppers
- Glue the glitter word onto the cardstock layer. I used a glue pen on the thicker parts of the layer.

- If the paper curls up after gluing, you can stick something heavy on top to make them dry flat.

- You can use tweezers to add the tiny exclamation point dot.
- After they dry, flip the paper over.
- Apply hot glue to the back of the design and quickly place the stick onto the hot glue.

- If desired, you can add an extra dot of hot glue on top of the stick.
- Remove any hot glue strings as you go.
- Let the glue dry completely before placing it in a cupcake.


Get Access to Free SVG Files
Free downloads are for personal use only. Please do not redistribute or sell.
Get easy tips for using SVG files with Cricut.
Other Paper Crafts
Pin for Later!