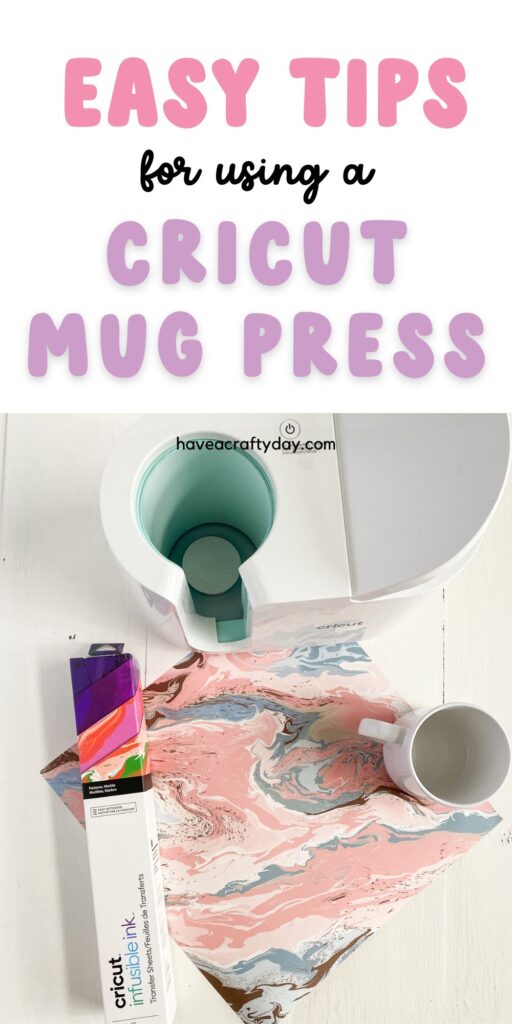
How to Use Cricut Mug Press with Infusible Ink
Learn how to use the Cricut mug press with infusible ink to make beautiful custom mugs. The mug press allows you to create permanent designs on mugs that make perfect gifts for your friends and family.
If you’re new to Cricut, be sure to check out these other simple tutorials.
This post contains affiliate links. By purchasing an item through an affiliate link, I earn a small commission at no extra cost to you. As an Amazon Associate I earn from qualifying purchases.
All About the Cricut Mug Press
If you love making mugs with your Cricut, you will love the mug press. No more worrying about sealing vinyl or being careful when washing the mugs!
Plus the mug press is easy to use!
What is the Cricut Mug Press?
The Cricut mug press is used to create permanent designs on ceramic mugs. It works with infusible ink (sheets or markers) or sublimation designs.
What Do You Need for the Cricut Mug Press?
It depends.
It’s possible to use the mug press with sublimation designs, so you would need the designs and possibly a sublimation printer if you want to make your own designs. (You can buy sublimation designs on Etsy.)
Otherwise, you can use a Cricut, infusible ink, and the Cricut mugs. Heat-resistant tape is also useful when working with the mug press.
You will also want a heat-resistant mat to place the mug on while it cools.
What Kind of Mugs Should You Use with the Mug Press?
You can use Cricut mug blanks or mugs for sublimation. These mugs have a special coating that works with the ink.
Regular mugs may result in lighter designs or not sticking at all.
What Kind of Ink Can You Use with the Mug Press?
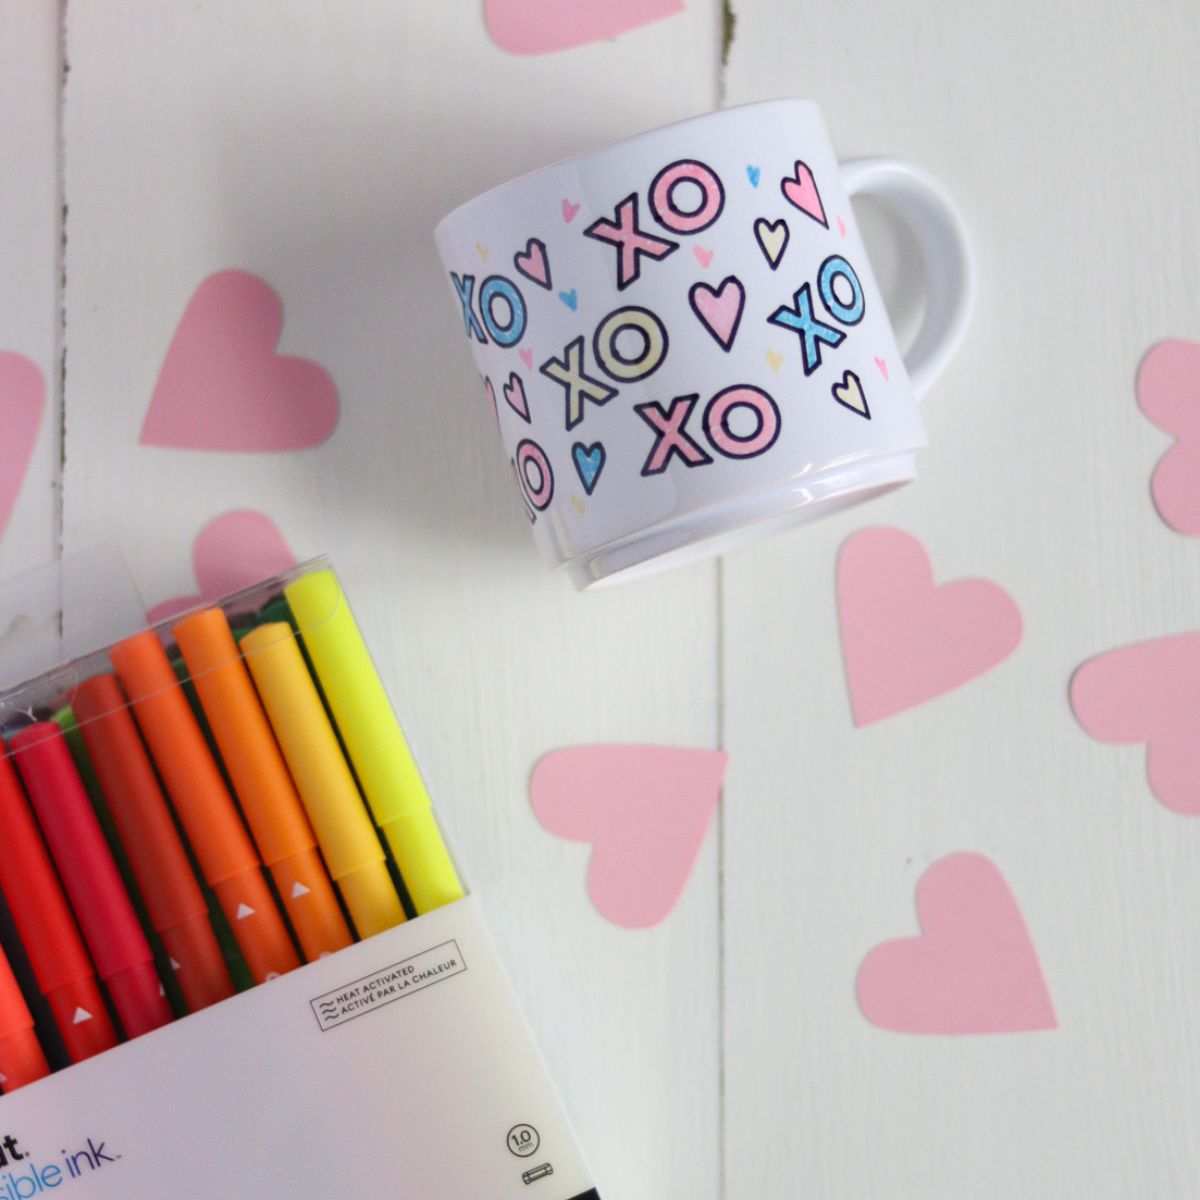
You can use Cricut infusible ink sheets and markers with the mug press.
Infusible ink is compatible with all Cricut machines. There are even small sheets for the Cricut Joy.
It’s available in solid colors and patterns.
You can also use anything created with sublimation ink.
There are tons of Etsy sellers who sell sublimation designs or you can buy a sublimation printer to print your own.
Be sure to check out this post on using infusible ink markers on mugs.
Can You Use Iron-on or HTV with the Mug Press?
No. The mug press is designed to be used with infusible ink, which requires a much higher temperature than iron-on.
Using the mug press for iron-on vinyl may result in dangerous fumes due to the heat.
Is the Mug Press Dangerous to Use?
The mug press is not recommended for children to use because it gets very hot. The machine and the mug remain hot even after it’s finished.
The instructions also recommend using it in a ventilated area because it might smell a little.
I didn’t notice a bad smell at all. It just smelled like I was cooking tortillas. Maybe I was just hungry though.
How Do You Set Up the Mug Press?
The first time you use your mug press, you will need to set it up with a computer. It’s really easy to do.
You will need to log in to Cricut Design space to set up a new machine. Choose heat press and then mug press.
Connect the USB cord to your computer. Plug it into the wall.
Note: My computer is in a different room than my crafting area, so I brought the mug press into my office and plugged it into my computer. It didn’t get hot, so it was safe to do this.
Also note that if you use a Macbook, you will need an adapter. Make sure you get one that works with Mac. Most are made for Windows. Ask me how I know.
Designing for the Cricut Mug Press
Although Cricut Access has many cute projects, I enjoy making my own designs. It’s part of the fun of owning a Cricut.
If you’re like me and want to make your own designs, here are a few things to keep in mind.
If you’ve never used infusible ink, it’s very thick. Use a simple design for your first project. (A lot of the tiny details in the lettering got lost in my mug.)
There are currently 3 sizes for mugs. Make sure that your design fits the mug. (I had originally designed mine to fit a 12oz mug, but then I realized I had bought the 10 oz ones by mistake.)
You don’t need to use an entire mug wrap (unless that’s how you want your design.)
A centered motif work just fine. The infusible ink sheet backing adheres to the mug and you can use heat-resistant tape to make it stick a little better if needed.
Be sure to make your design a little smaller than the actual area. I usually allow for at least 1/4″ on each side.
- The design area for a 10 oz mug is 8.75″ w x 2.89″ h
- The design area for a 12 oz mug is 8.75″ w x 3.79″h
- The design area for a 15 oz mug is 8.75″ w x 4.25″ h
If you design in Cricut Design space, you can also search “custom mug” in the projects section and find the mug setup file.
This is a free file to use. You don’t have to have a Cricut Access subscription to use this.
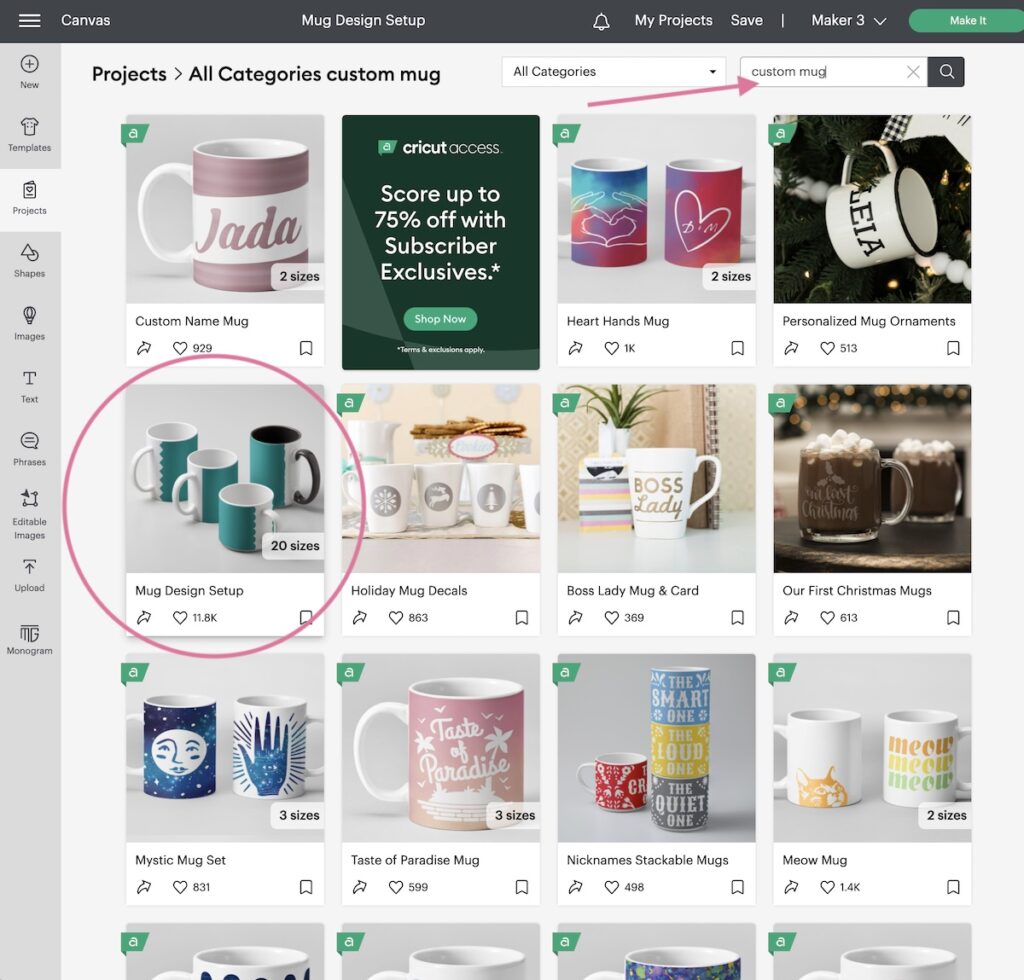
(Make sure you choose the correct size!)
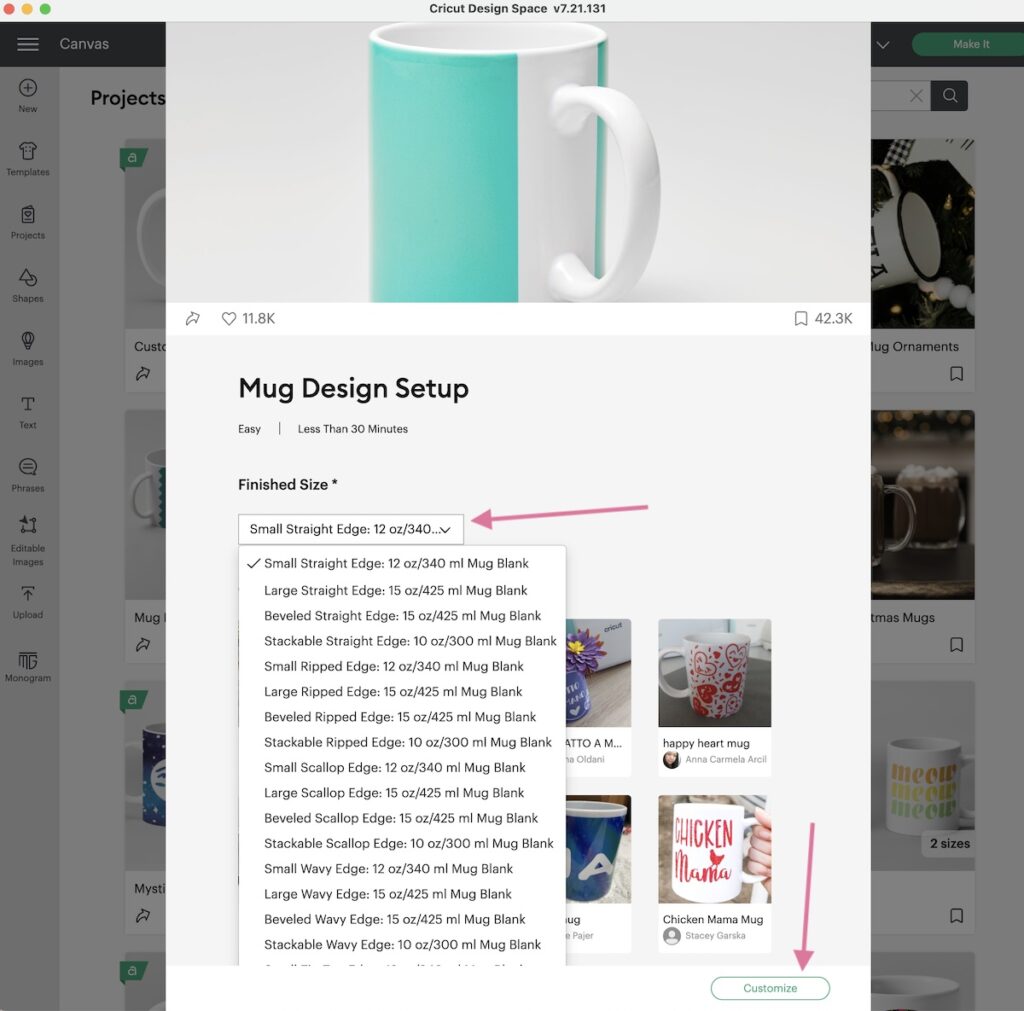
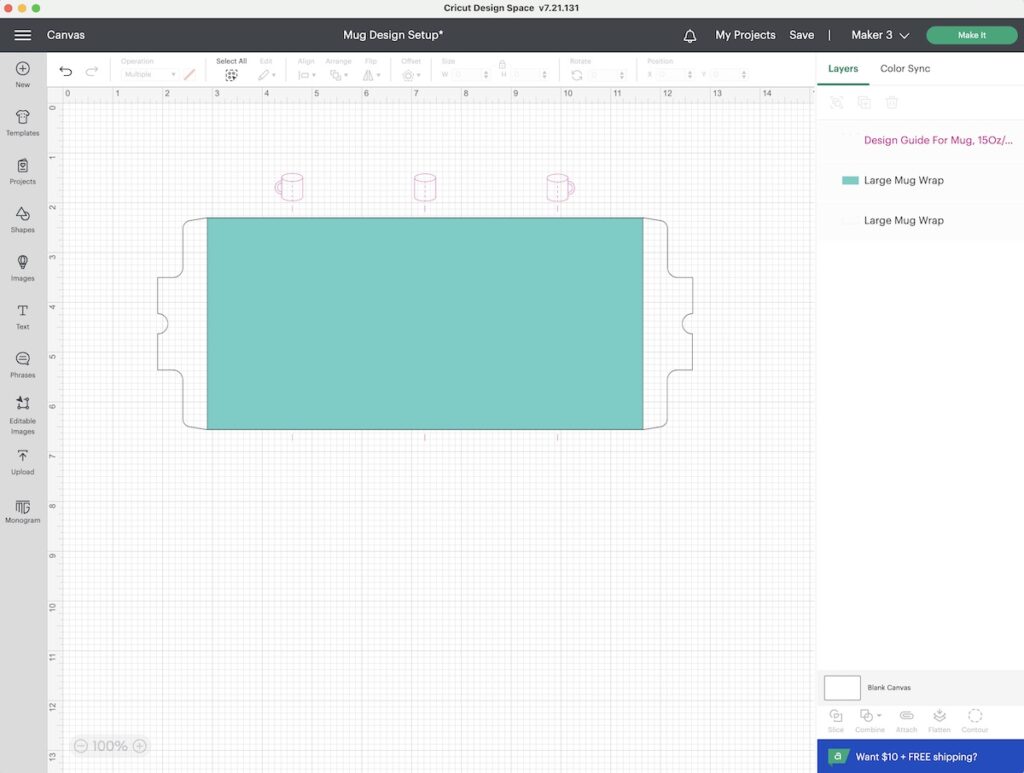
Select “customize.” Then delete anything that you don’t want and add your own design.
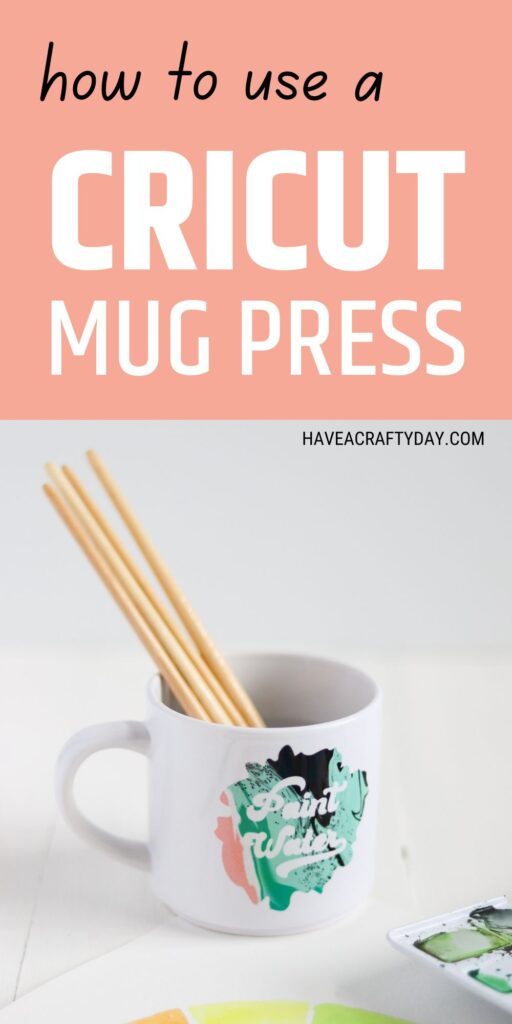
How to Use the Cricut Mug Press with Infusible Ink
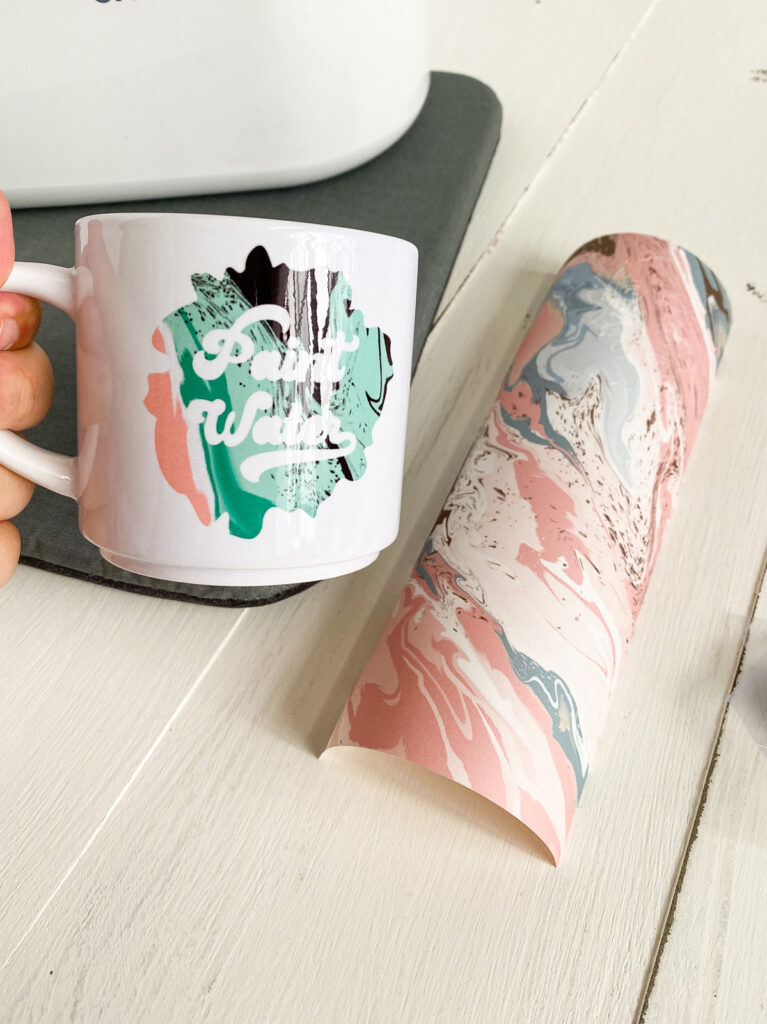
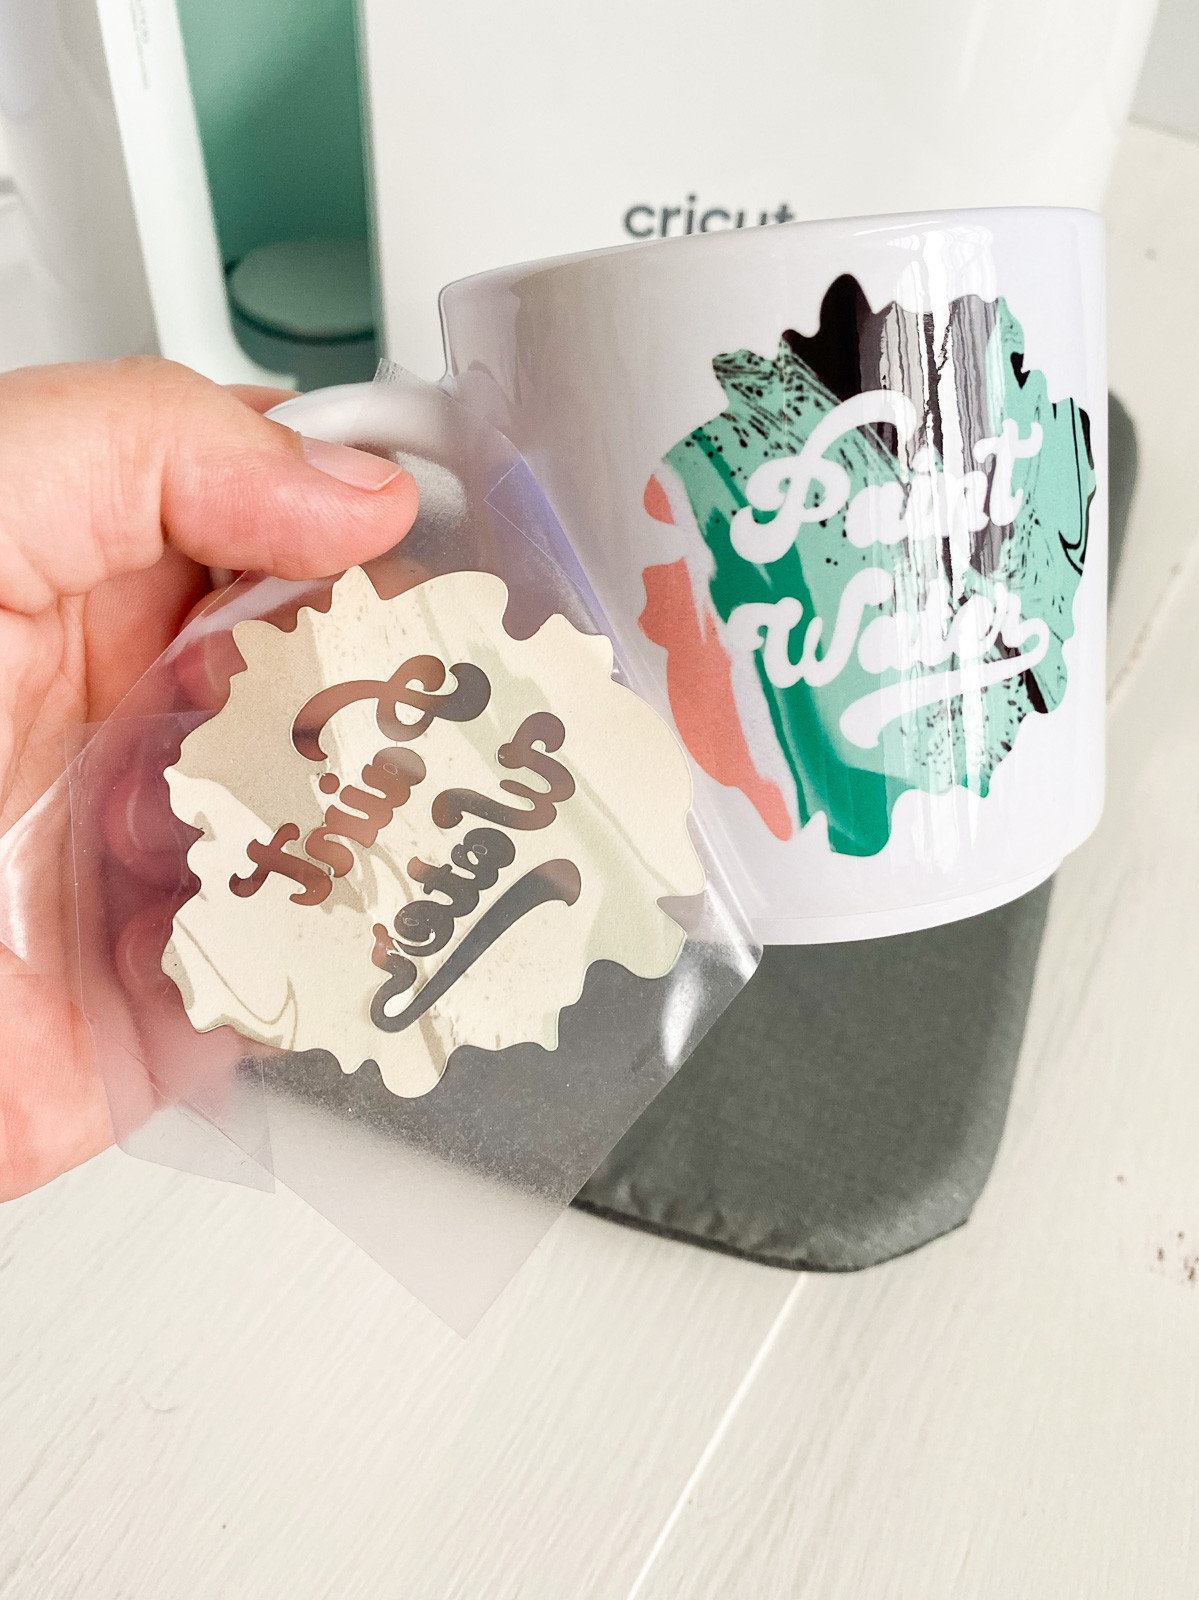
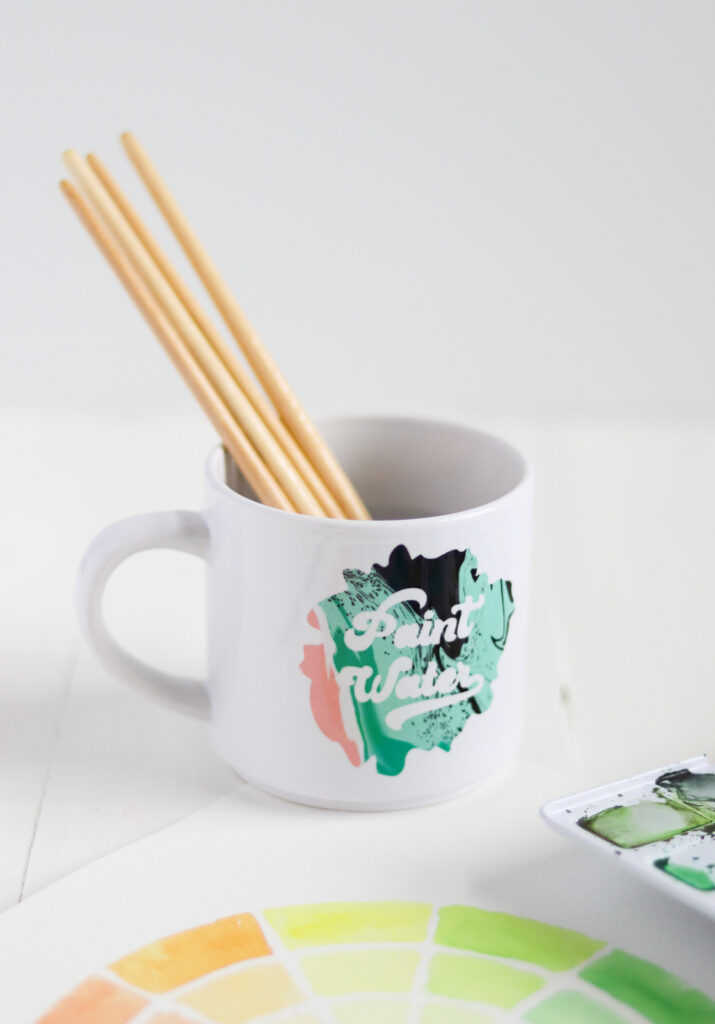
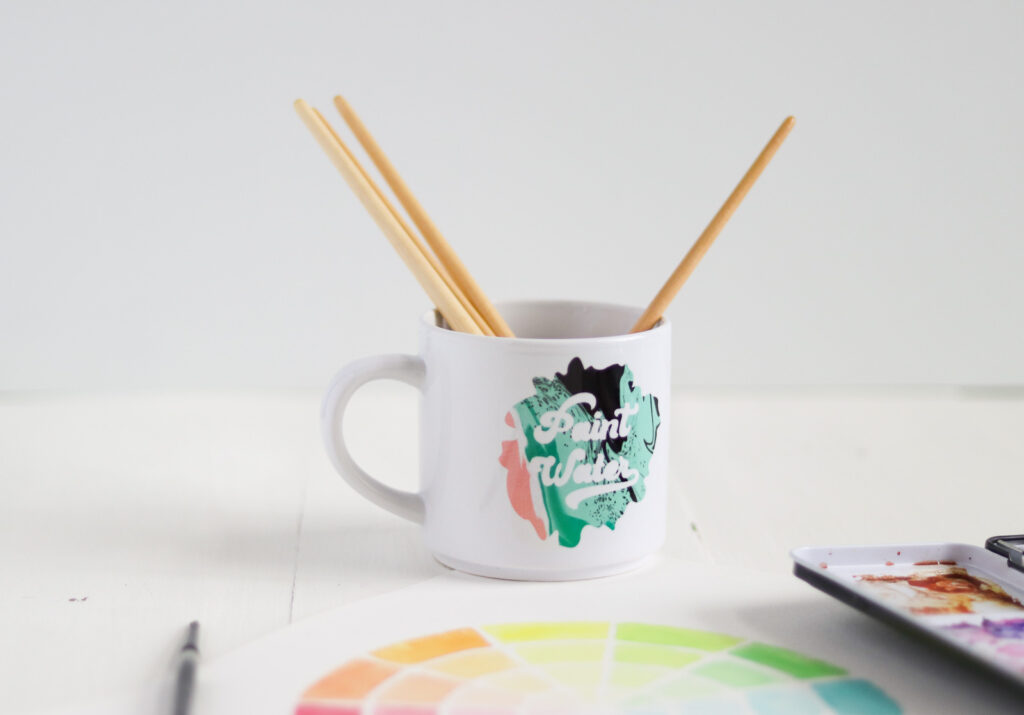
I made this “paint water” mug to use when I paint with watercolors. There is a watercolor print infusible ink sheet, but I chose the marbled sheet instead to add more colors.
You can get the free SVG below.
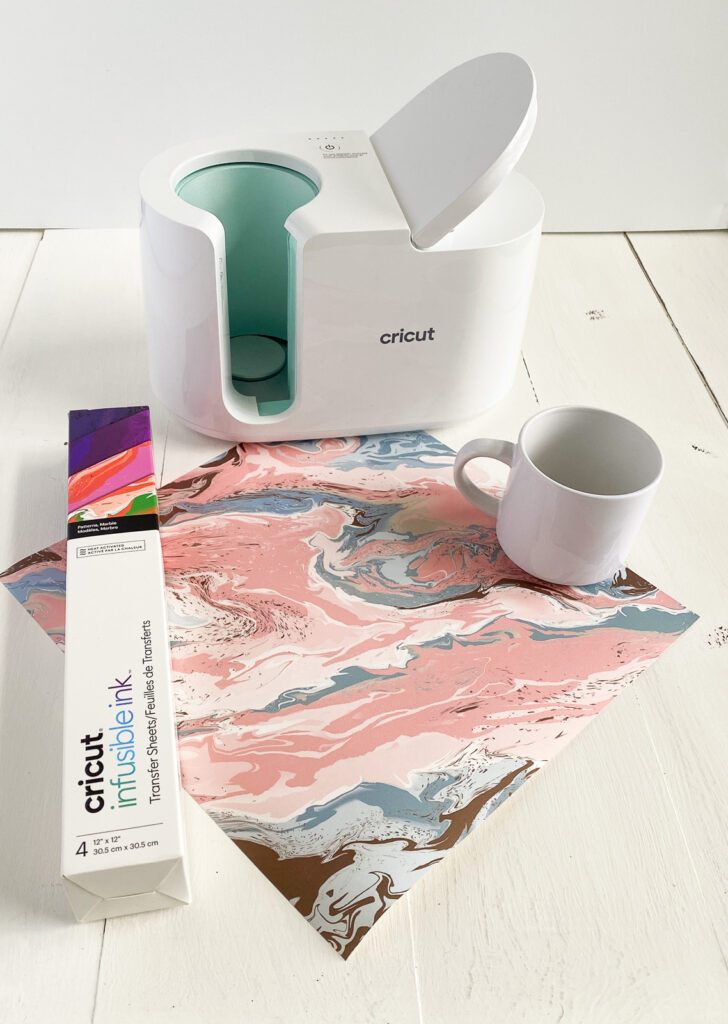
Supplies Needed:
- Cricut Mug Blank
- Infusible Ink Sheet (I used this marble design)
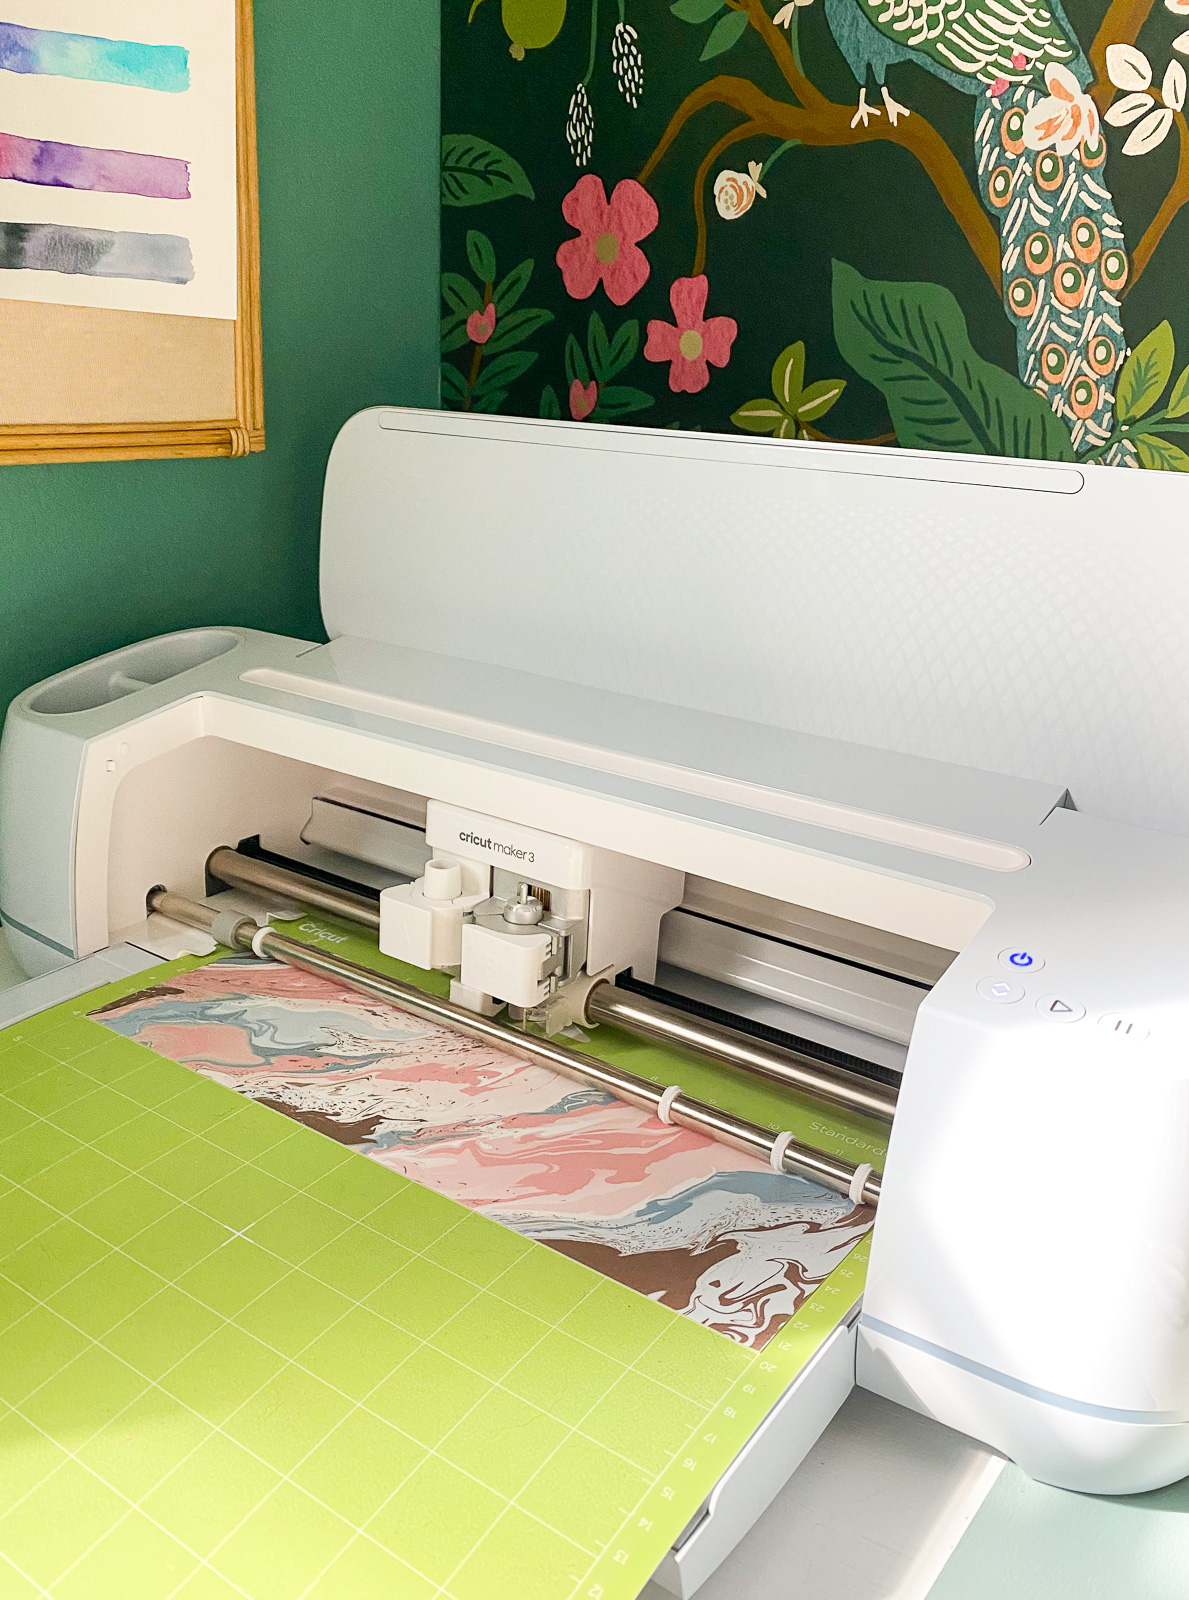
- Cricut (I’m using my Cricut Maker 3)
- Heat Resistant Tape
- Cricut Mug Press
- Cricut EasyPress Mat
Please note: infusible ink is not vibrant until it’s pressed with heat. Look at the difference!
Cutting the Infusible Ink
- Upload or create your design as usual.
- Resize it to fit your mug size.
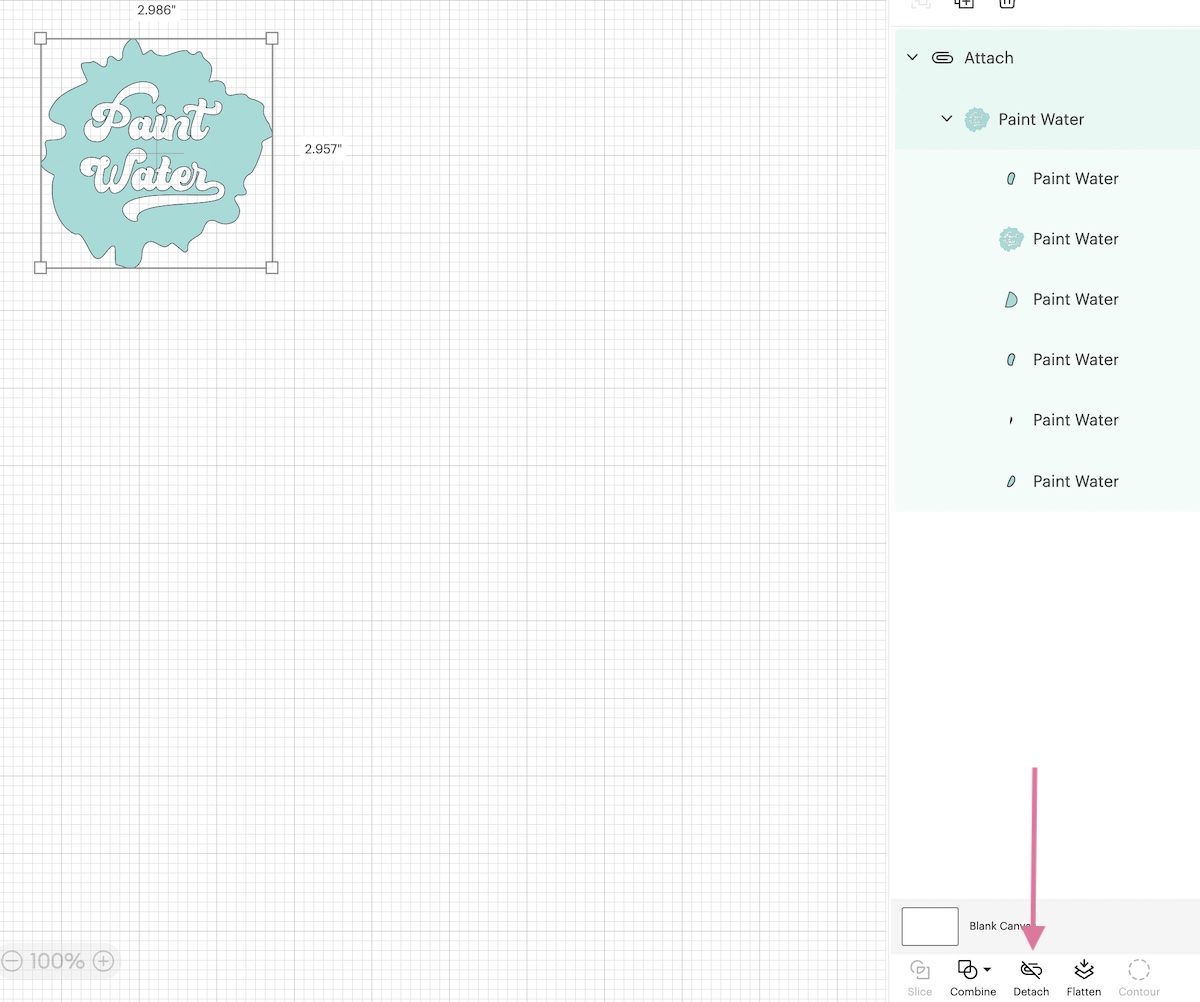
- Be sure to attach it to keep the design in place.
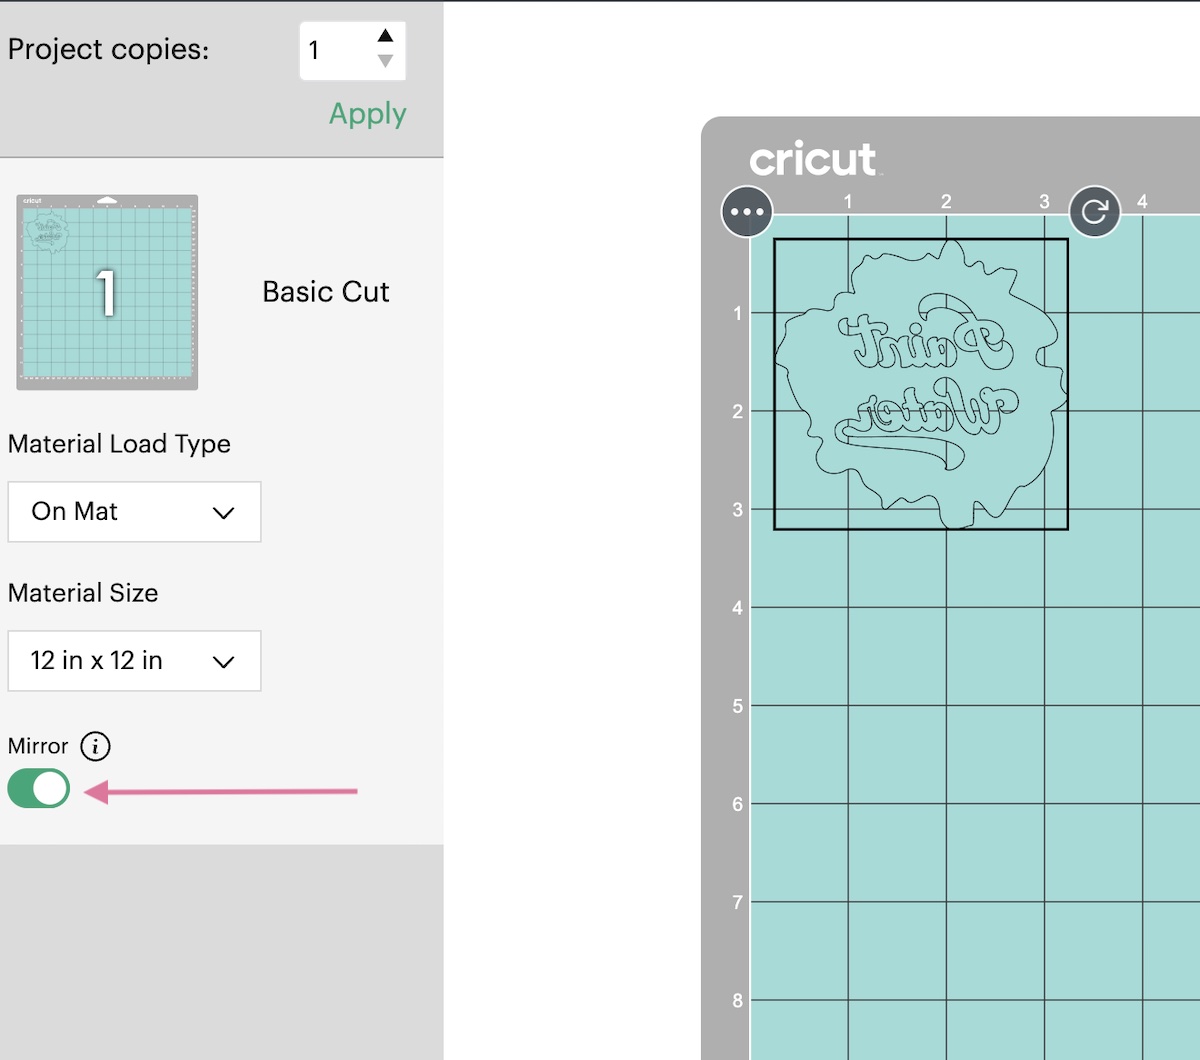
- Click make it.
- Toggle on “mirror.”
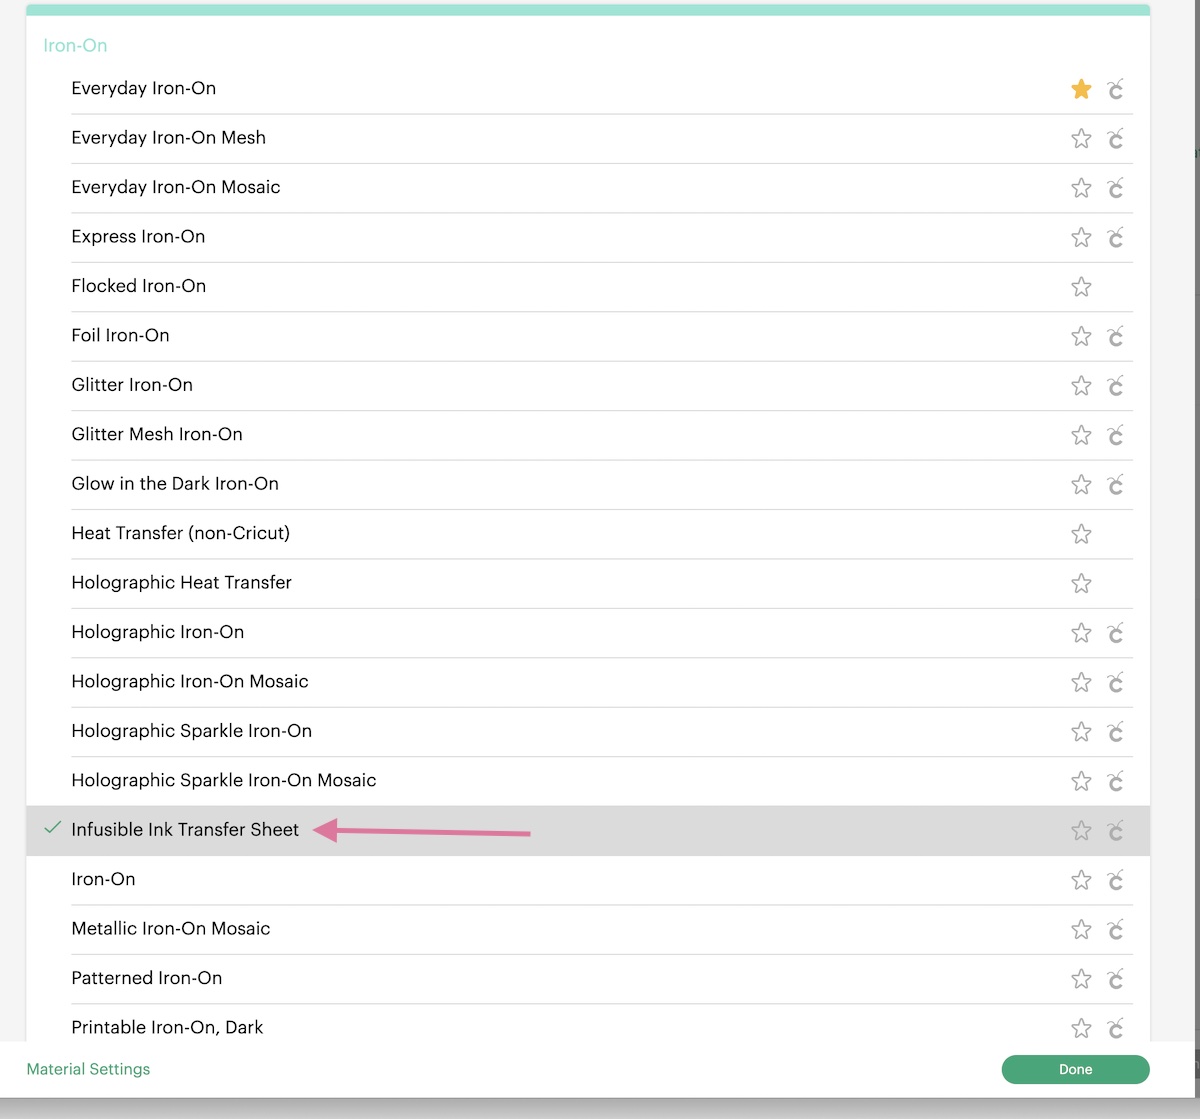
- Choose “infusible ink sheet” (it’s located under “iron-on”.)
- Cut the infusible ink sheet to size. I always make mine about 1″ longer than I need.
- Place it on the standard mat, lining side down (colorful design up.)
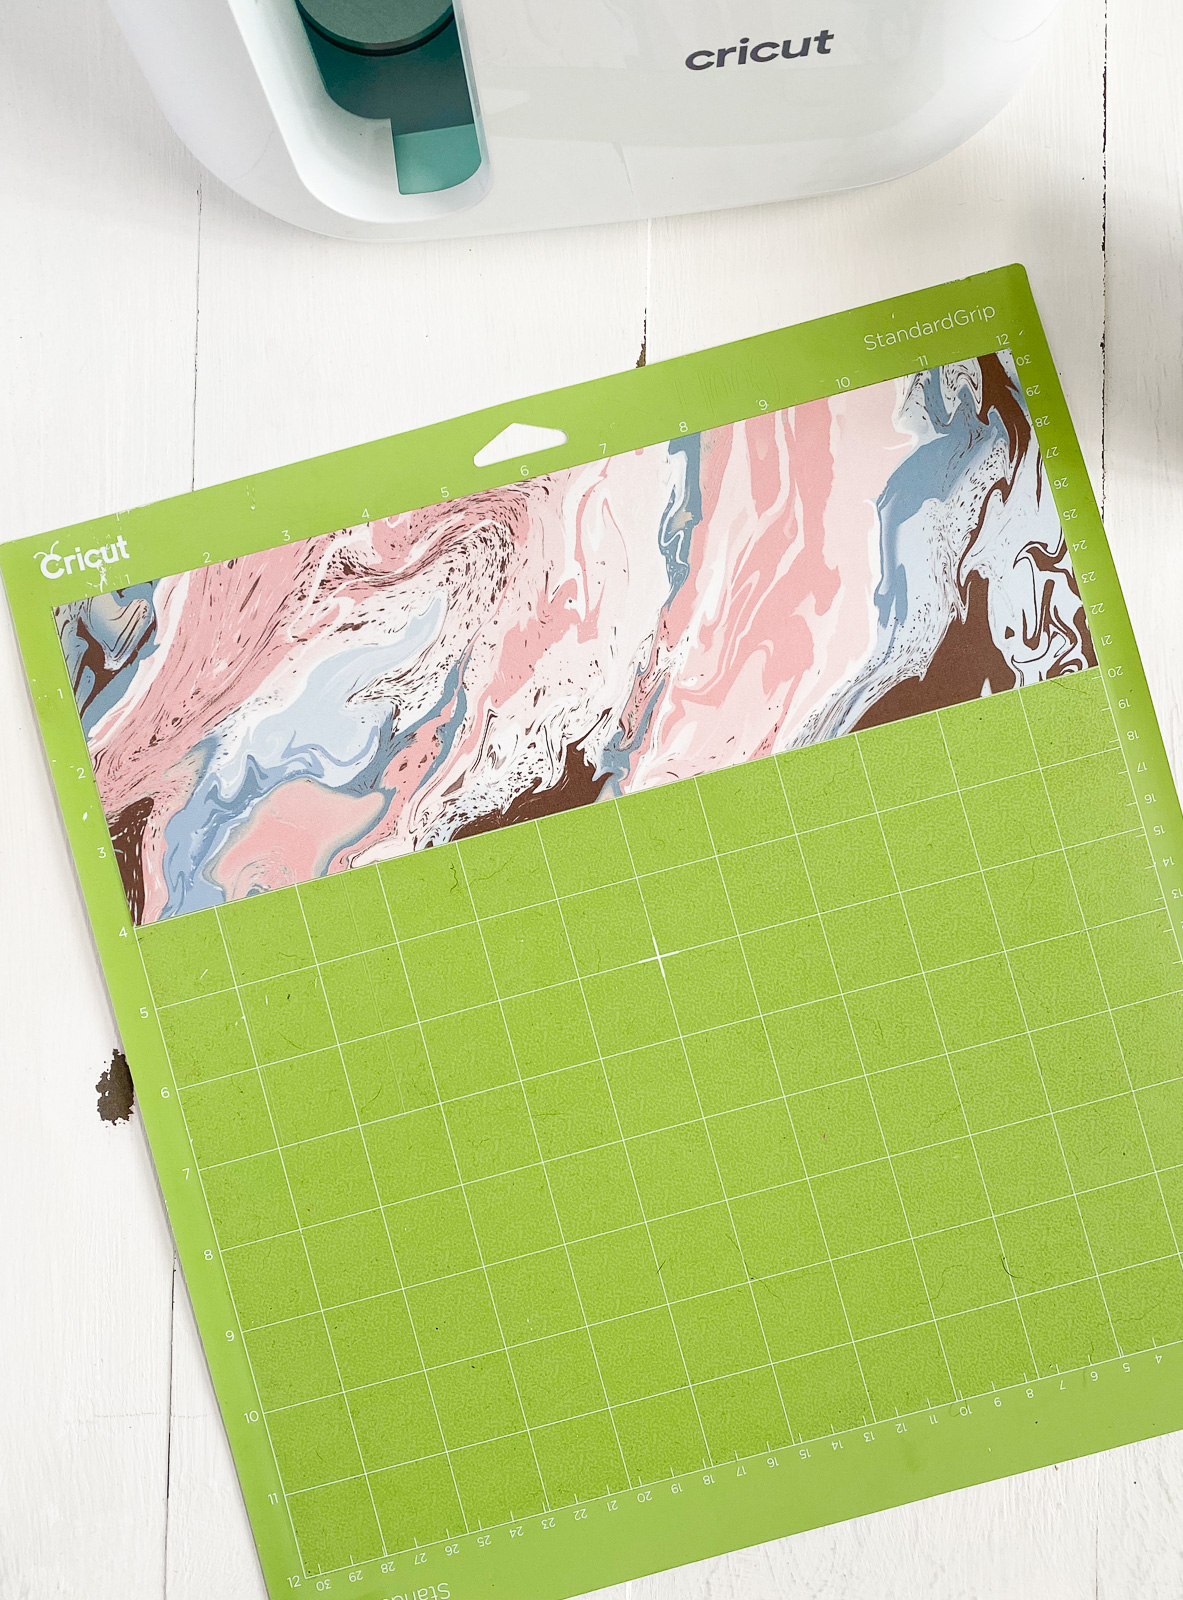
- Load the mat.
- Press the start button.
- Unload the mat when the design is finished cutting.
Weeding the Infusible Ink and Applying It to the Mug
- Place the heat press on the EasyPress mat to avoid damaging any surfaces.
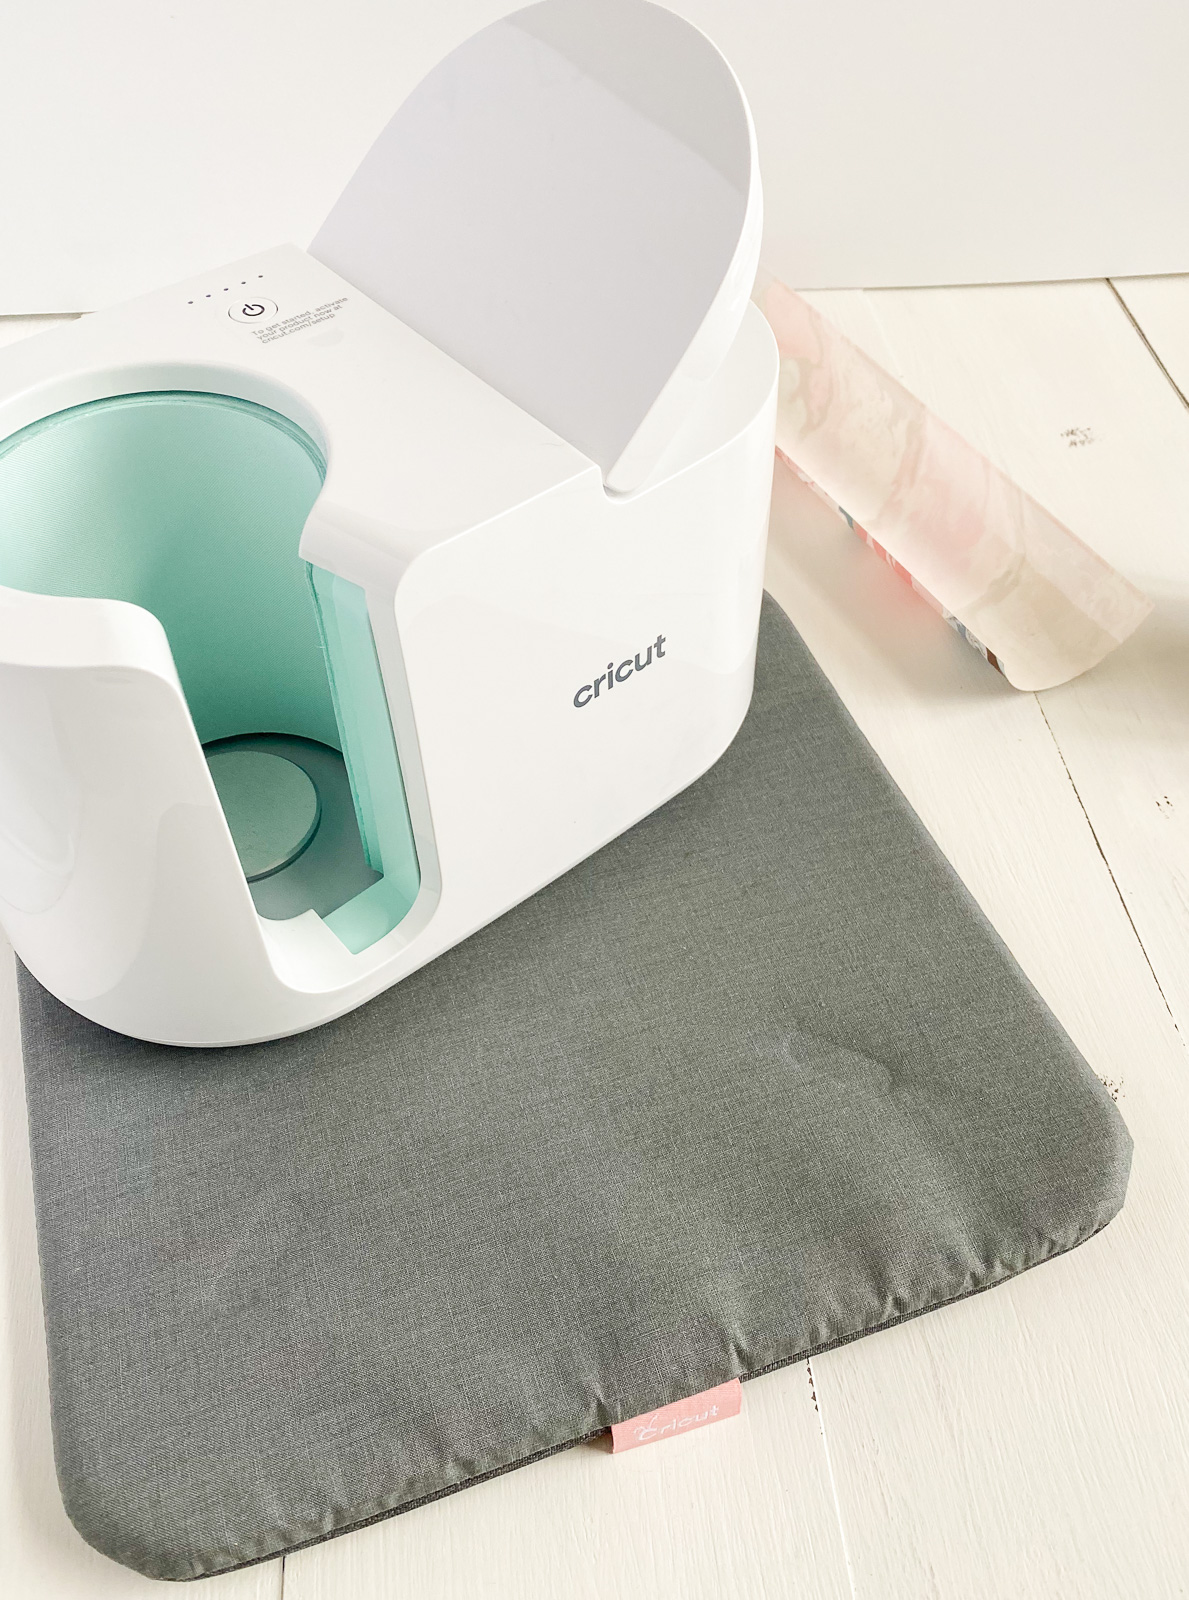
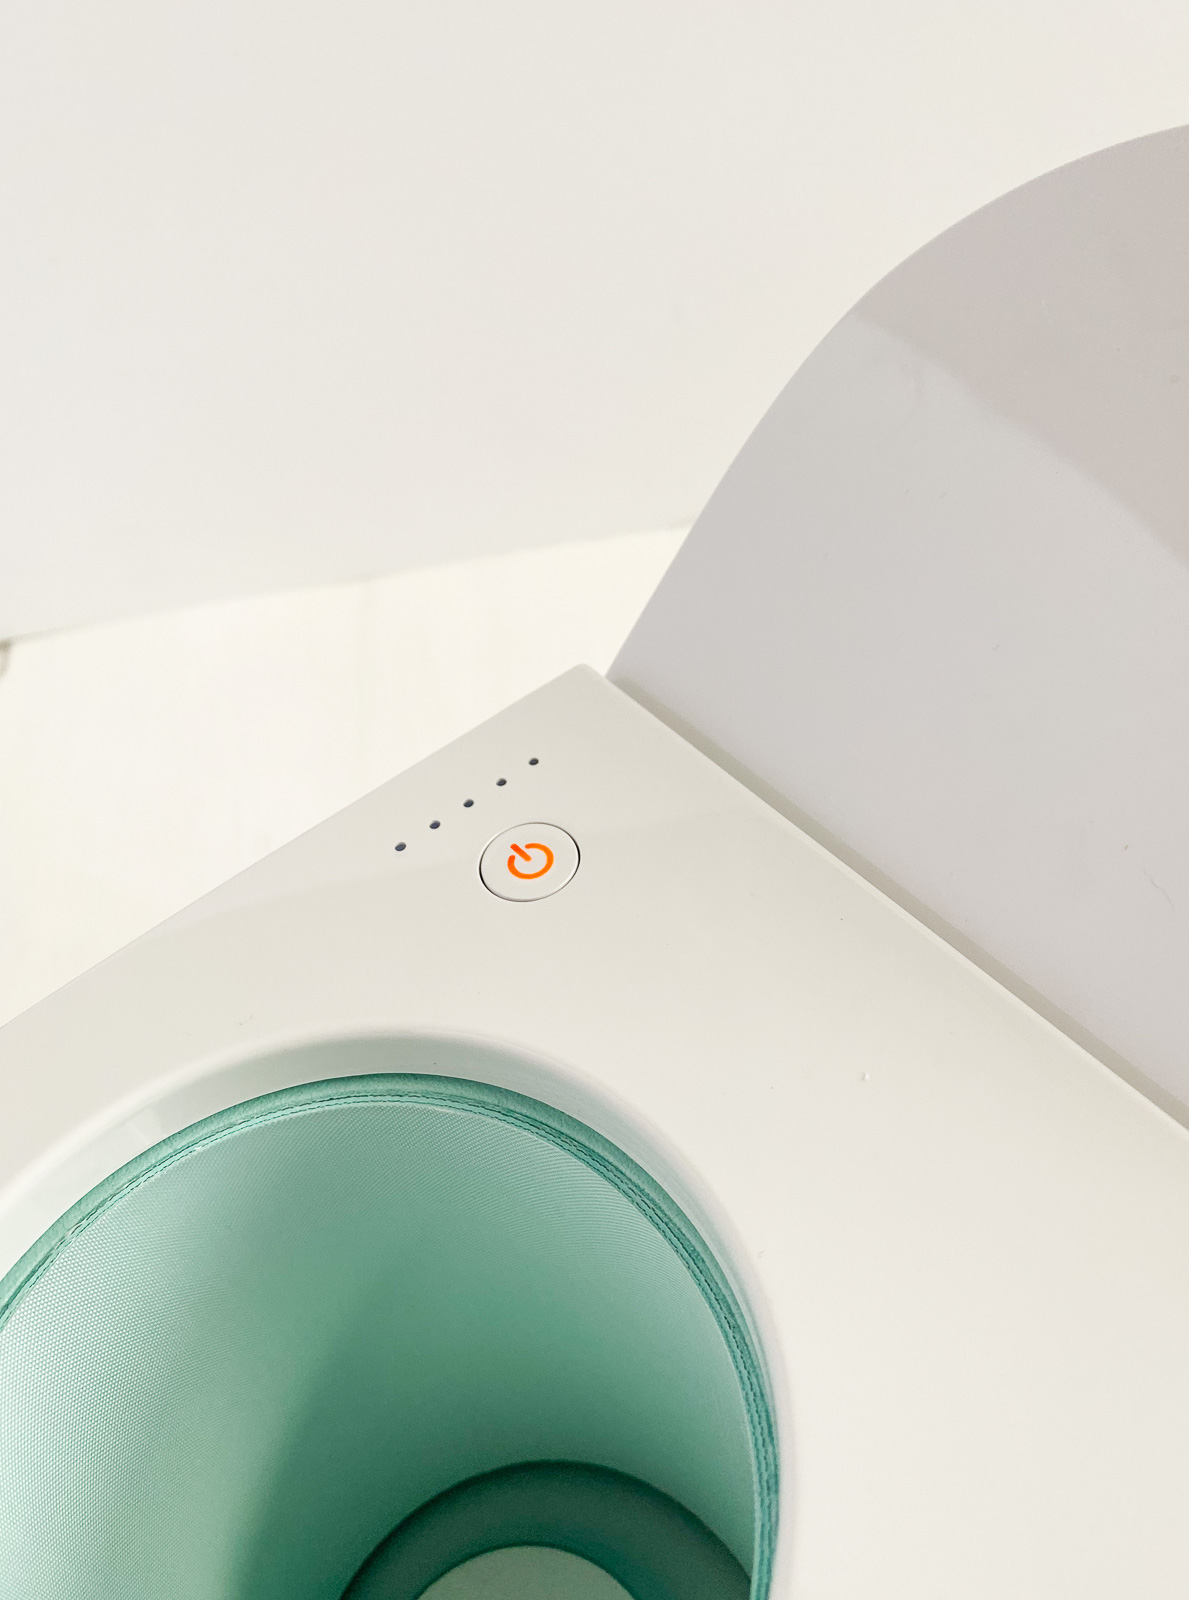
- Turn on the mug press and let it start heating up. It takes a few minutes, so it’s good to turn it on while you’re weeding.
- Peel the mat away from the sheet to avoid curling it.
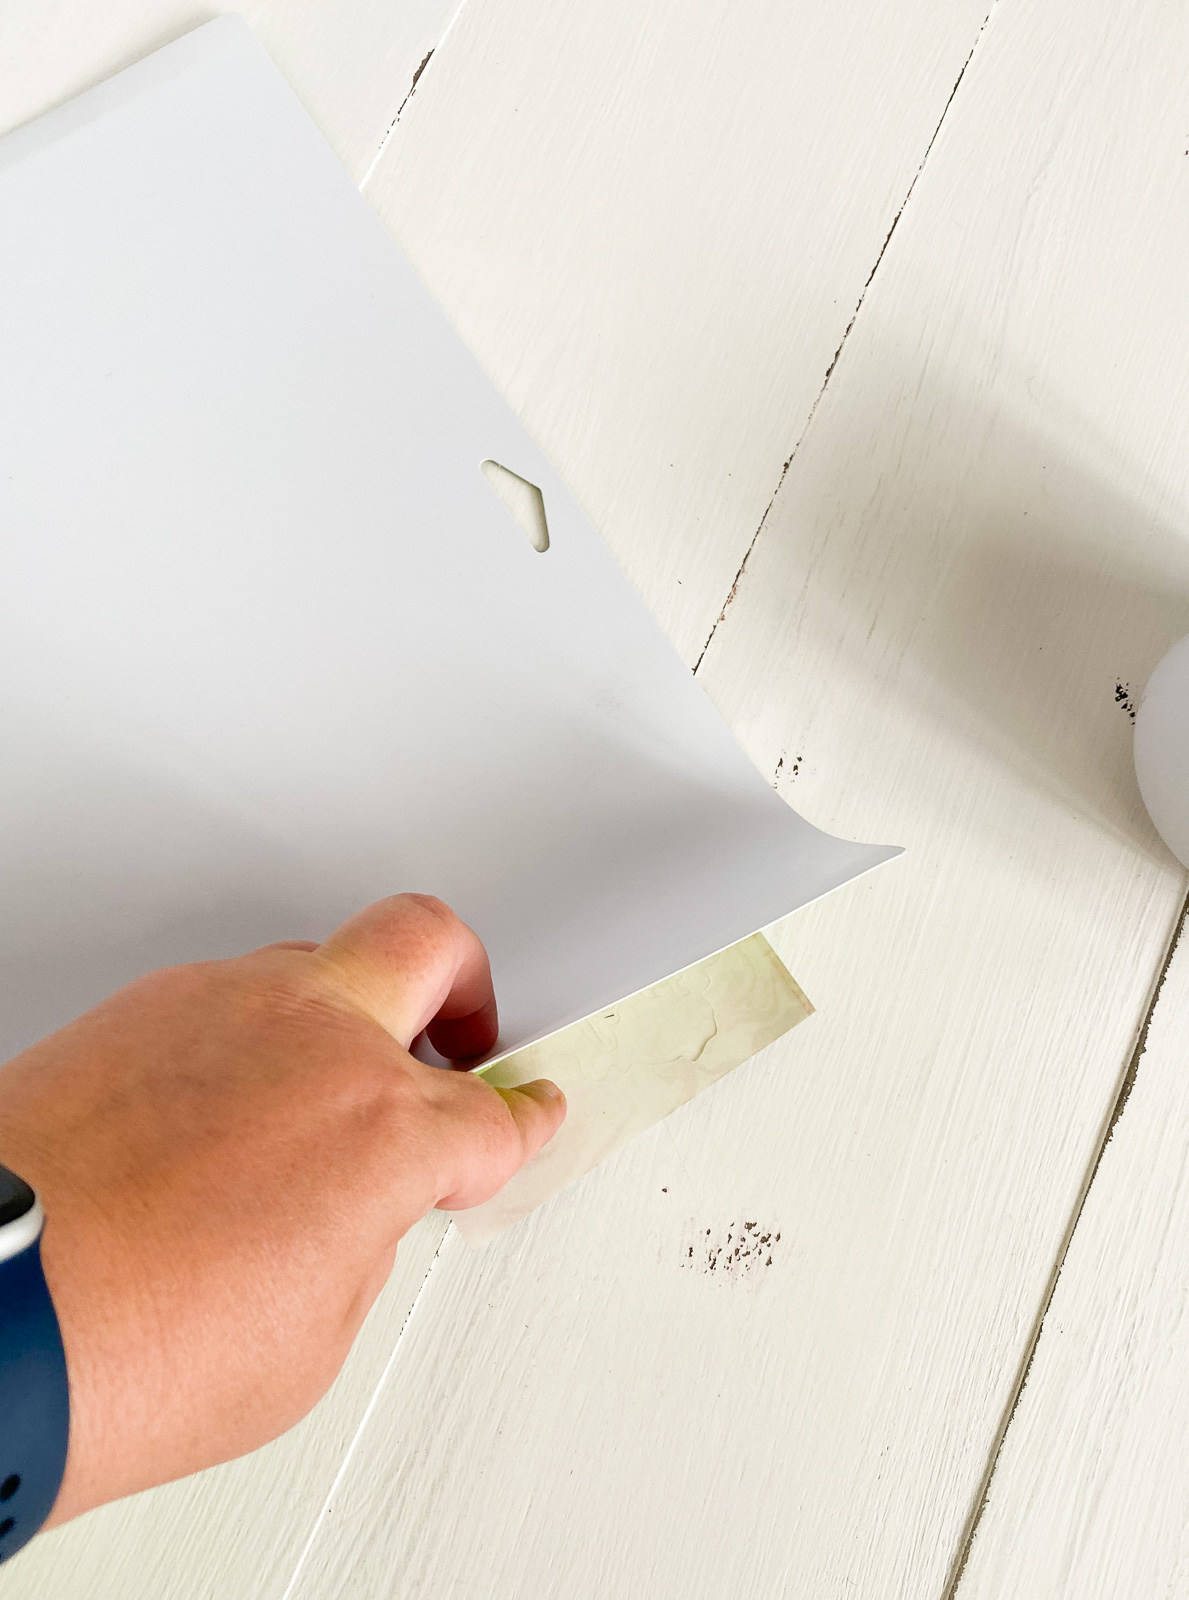
- Roll the design a bit to get it ready for weeding. It makes a cracking noise.
- Use your fingers to peel away a corner of the unwanted area. Try not to use weeding tools because they can damage the infusible ink sheet.
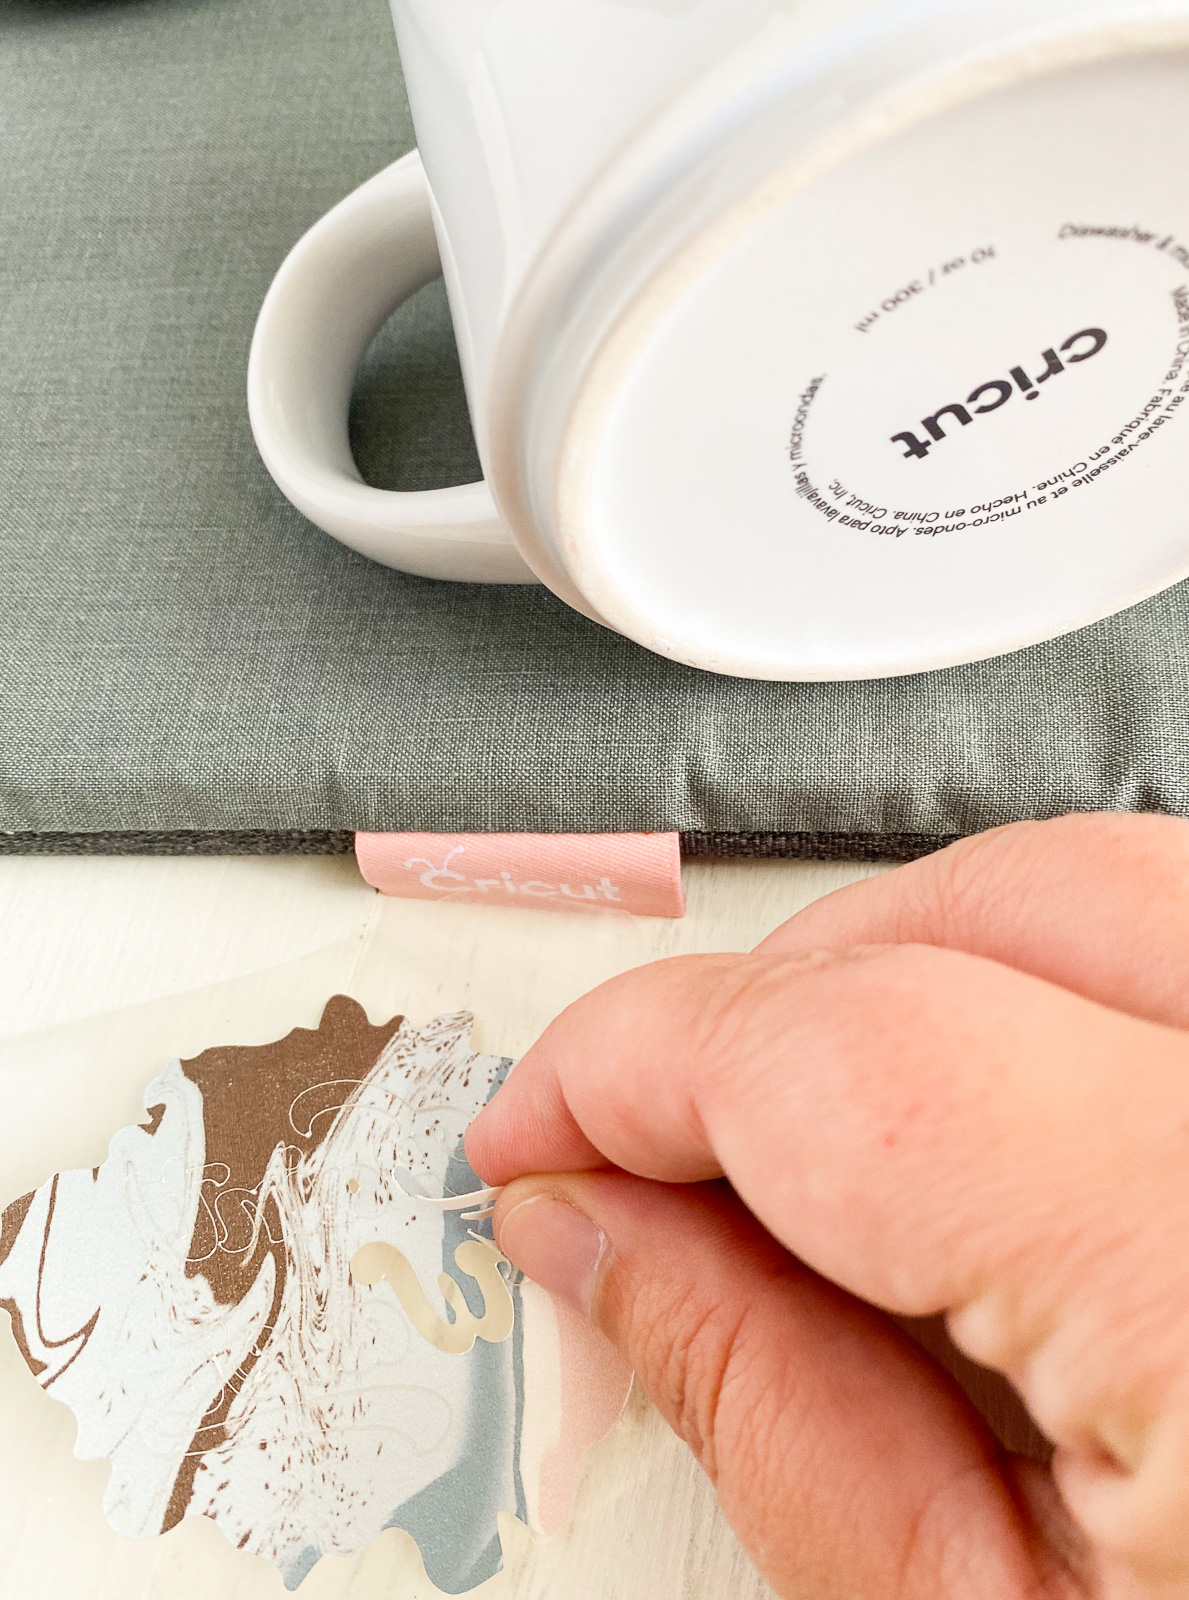
- Keep weeding using your fingers. If you’re having a hard time with the small areas, rolling the design will allow the area to pop up a bit.
- Clean the mug with rubbing alcohol. This removes any oils from your fingers.
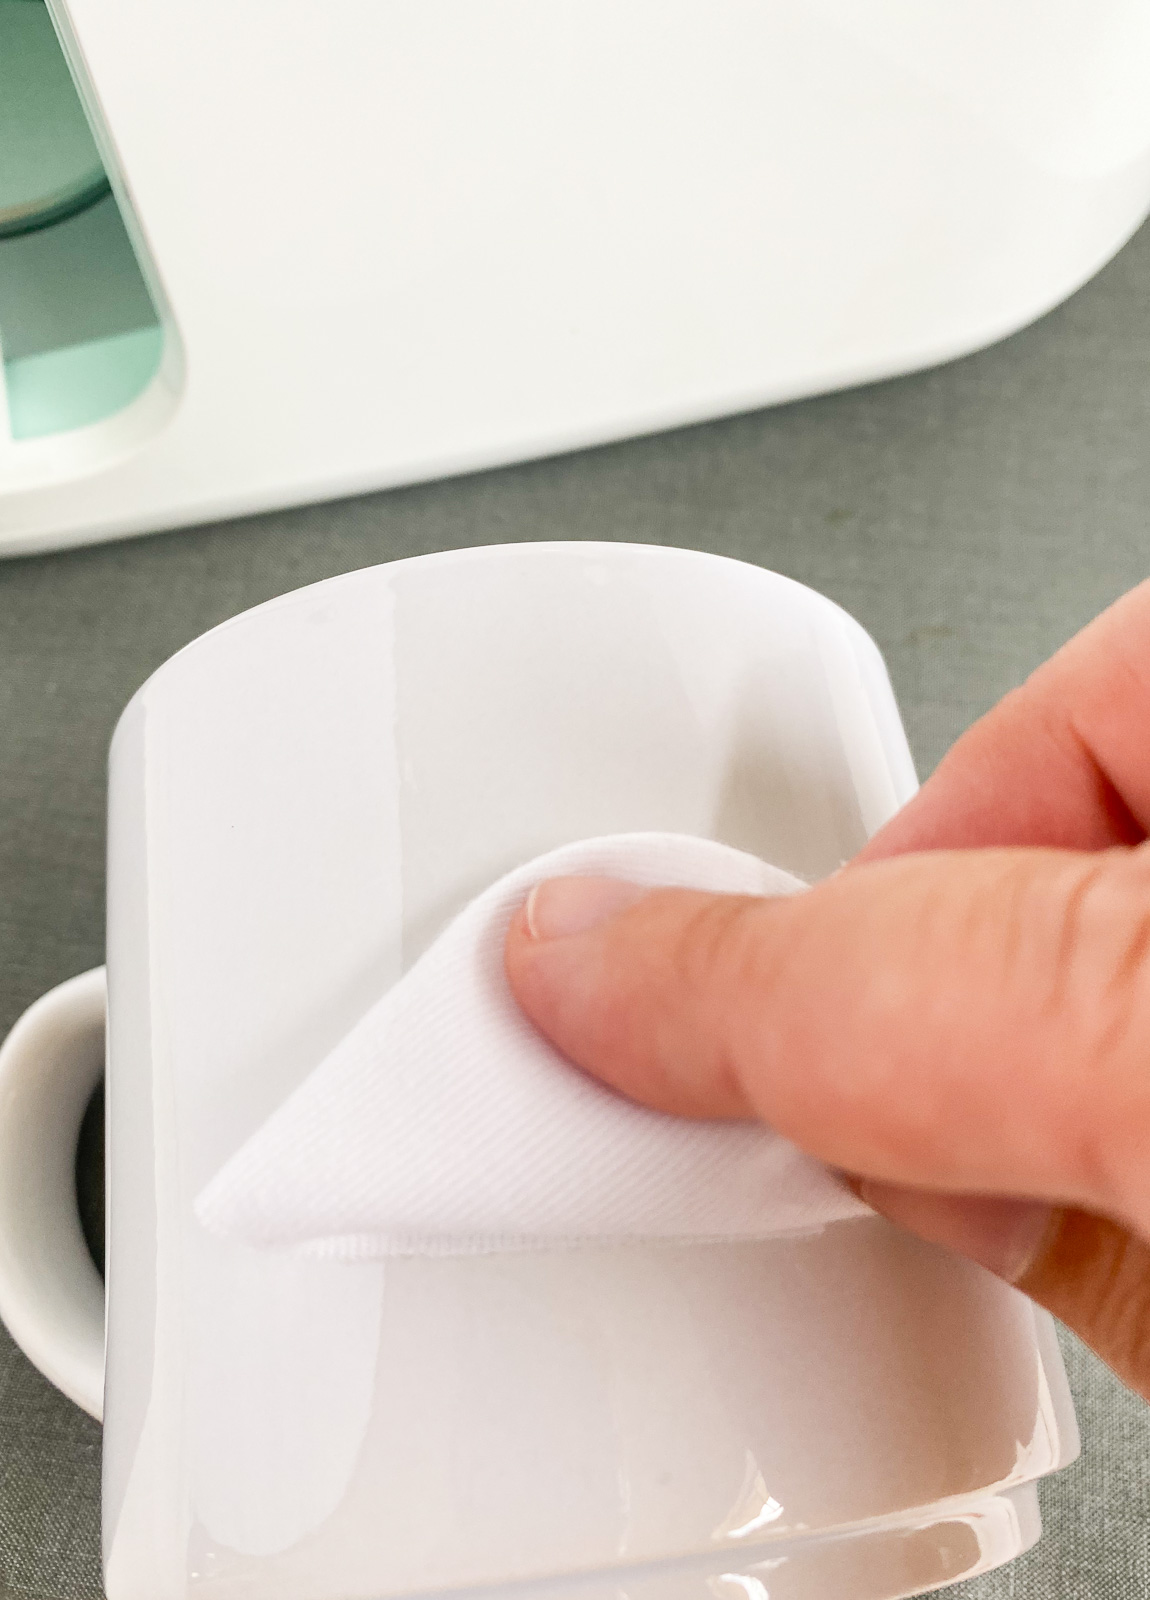
- Use a lint roller to remove any lint from the surface.
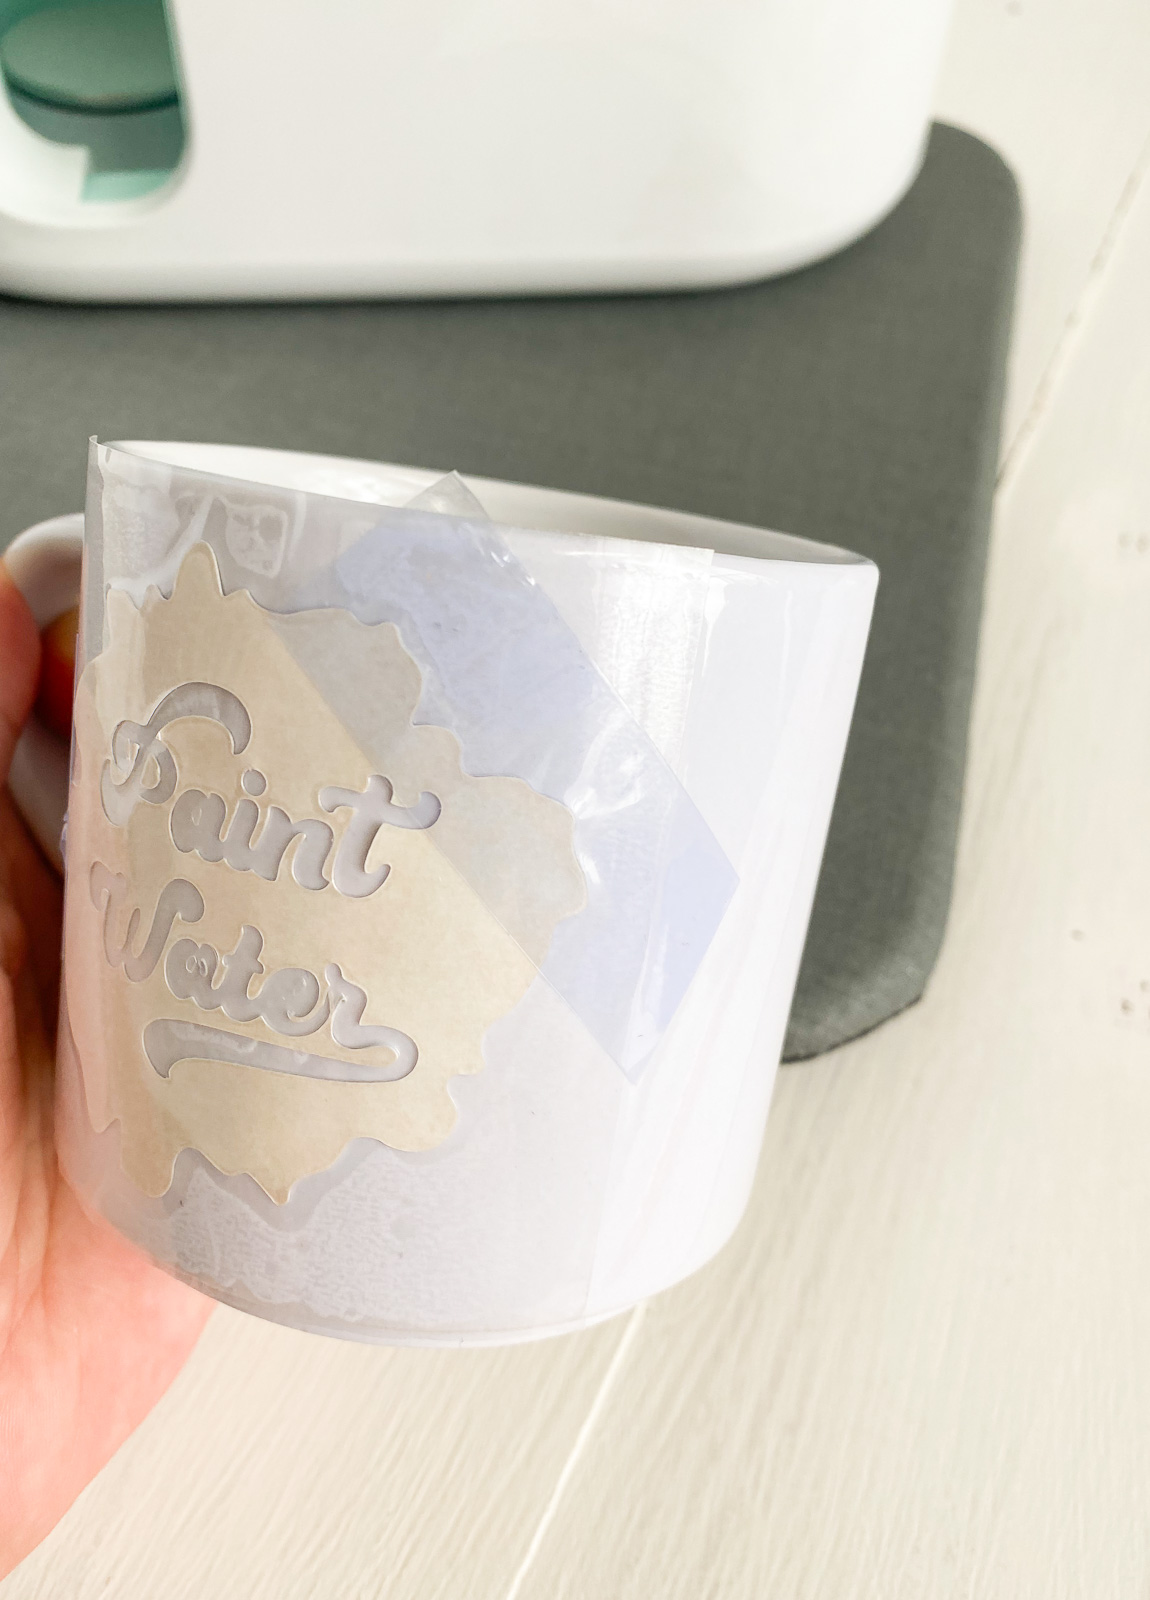
- Place the design on the mug, making sure to smooth bubbles as you go. You can peel it off and start over if needed.
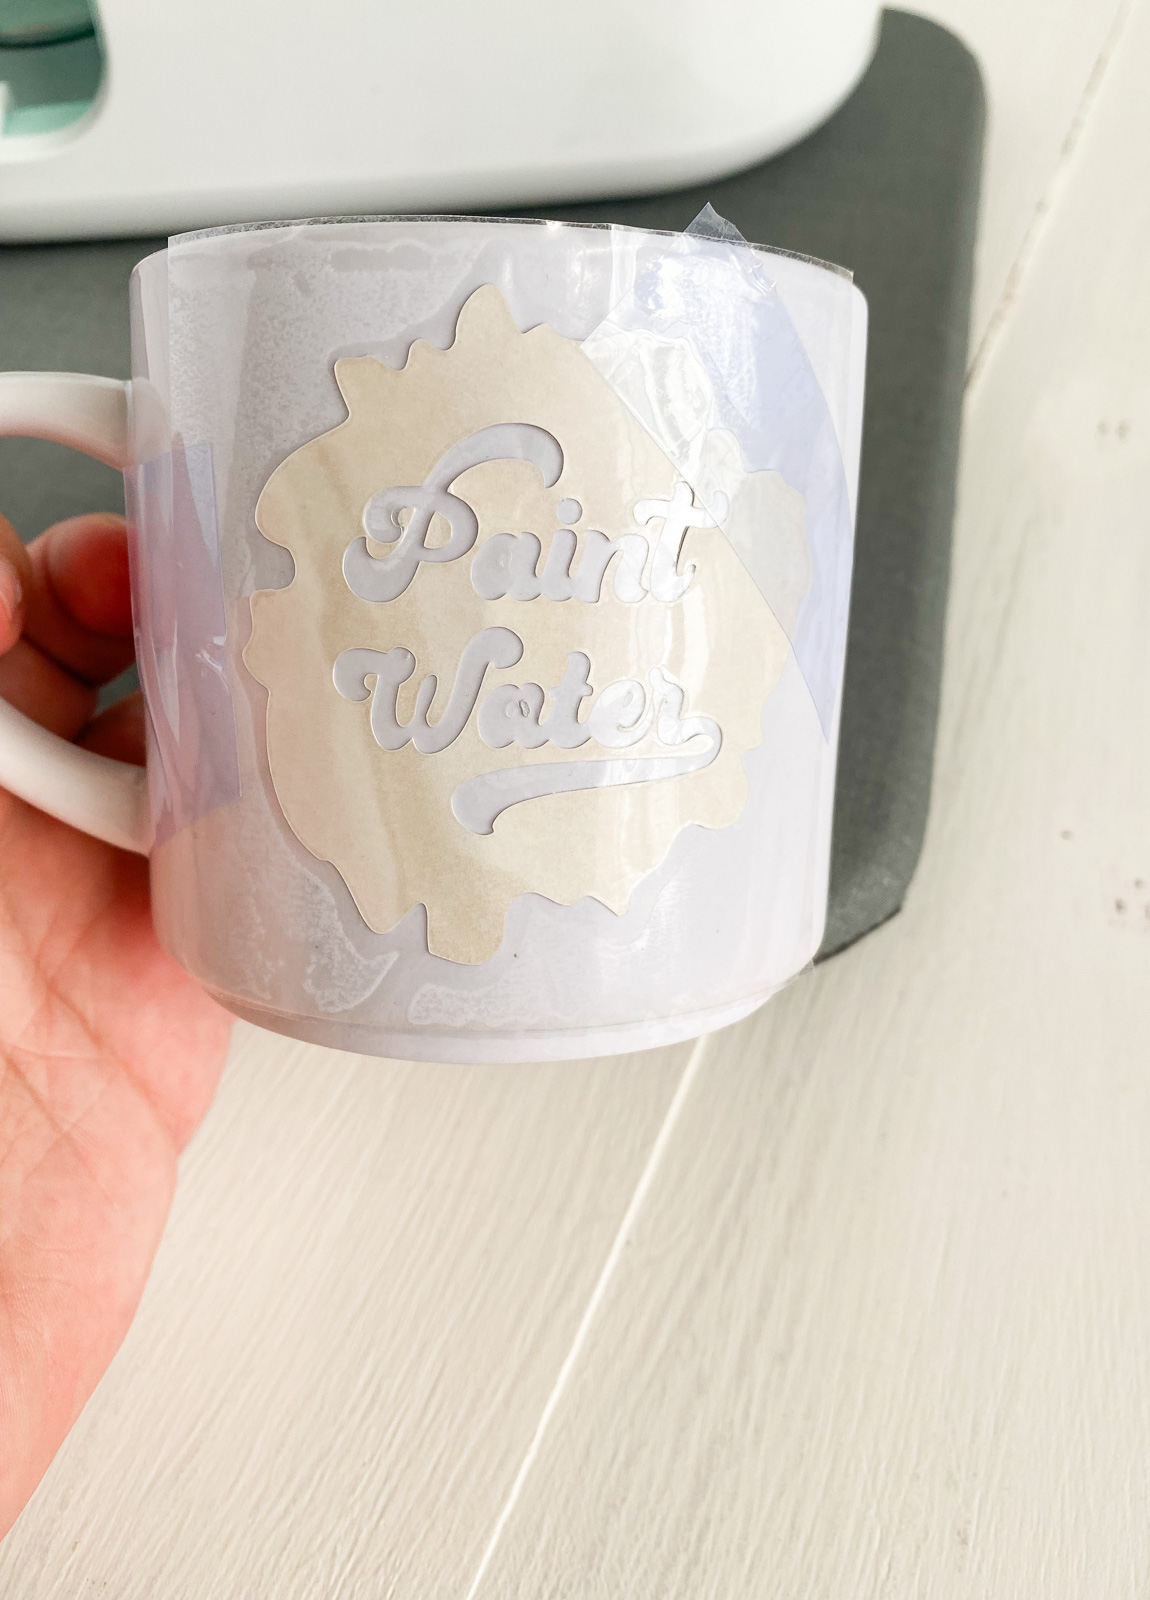
- If needed, use heat-resistant tape to make trouble areas stick down more.
Cricut Mug Press Tutorial
- The mug press is ready when it turns green and beeps.
- Place the mug in at an angle to avoid catching the design.

- Make sure that the design isn’t exposed around the open handle area.
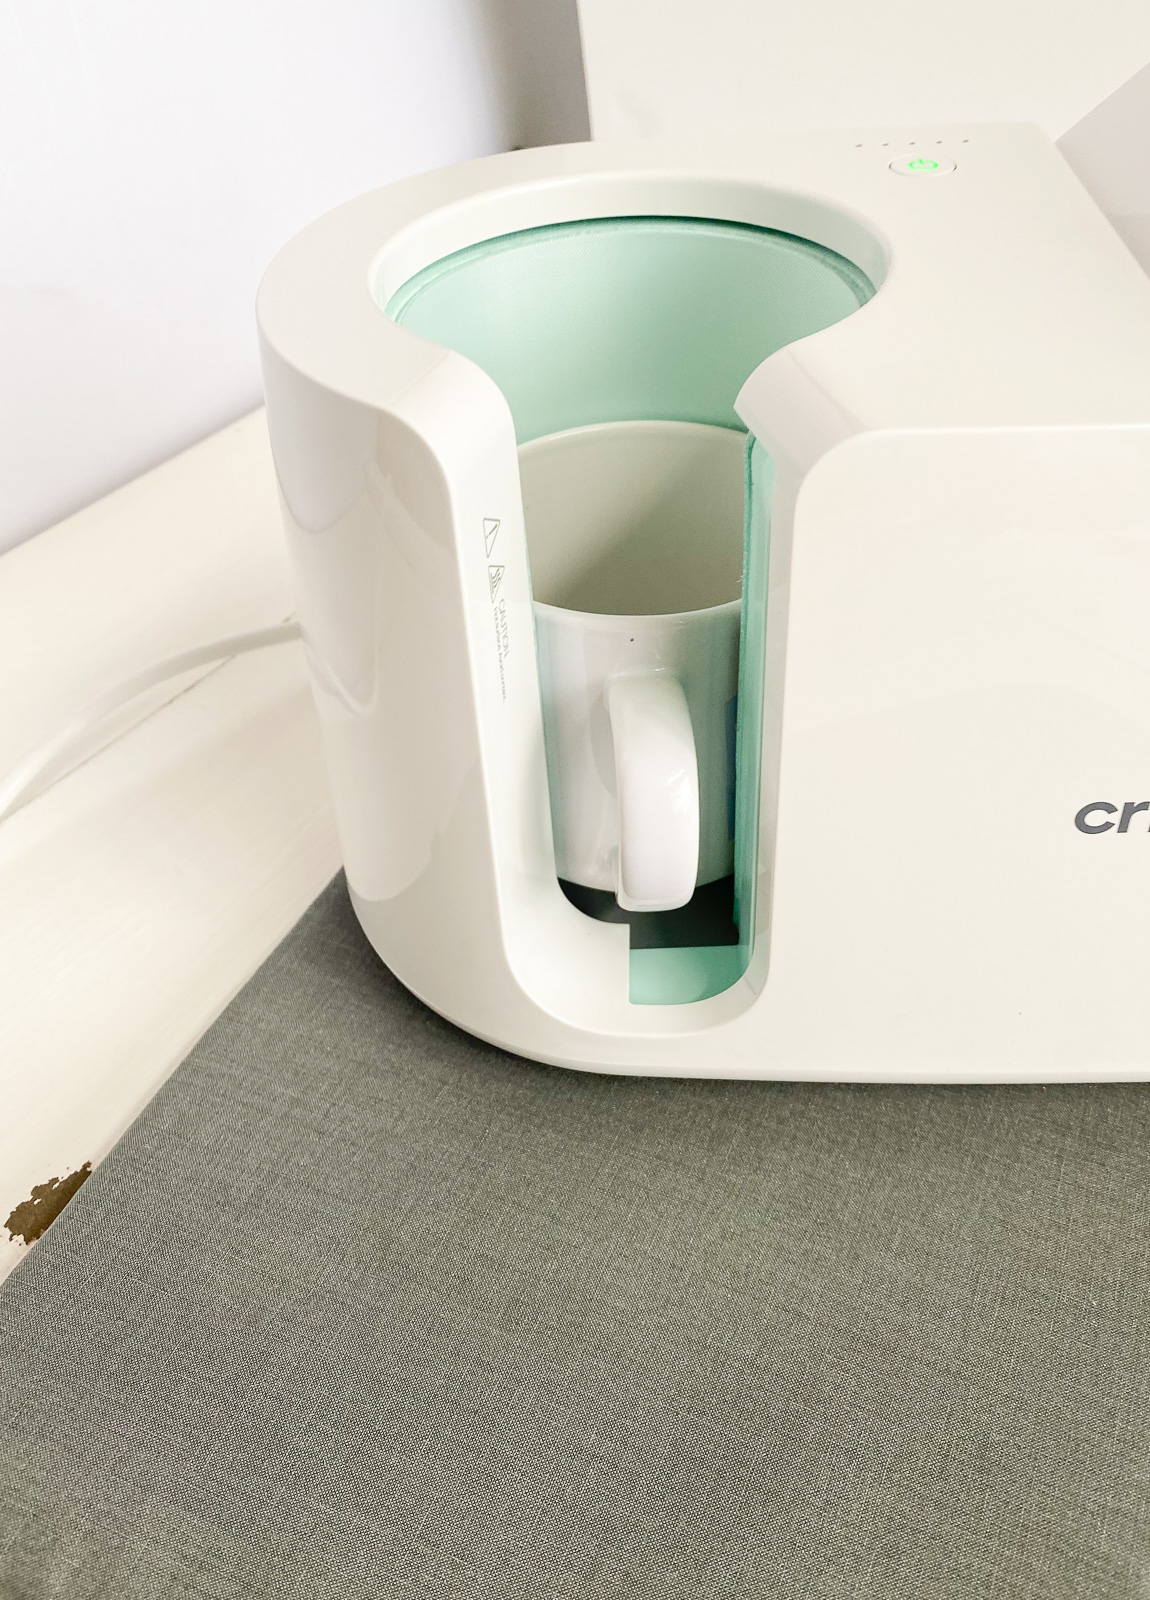
- Push down the lever and wait. It will beep when it’s ready.
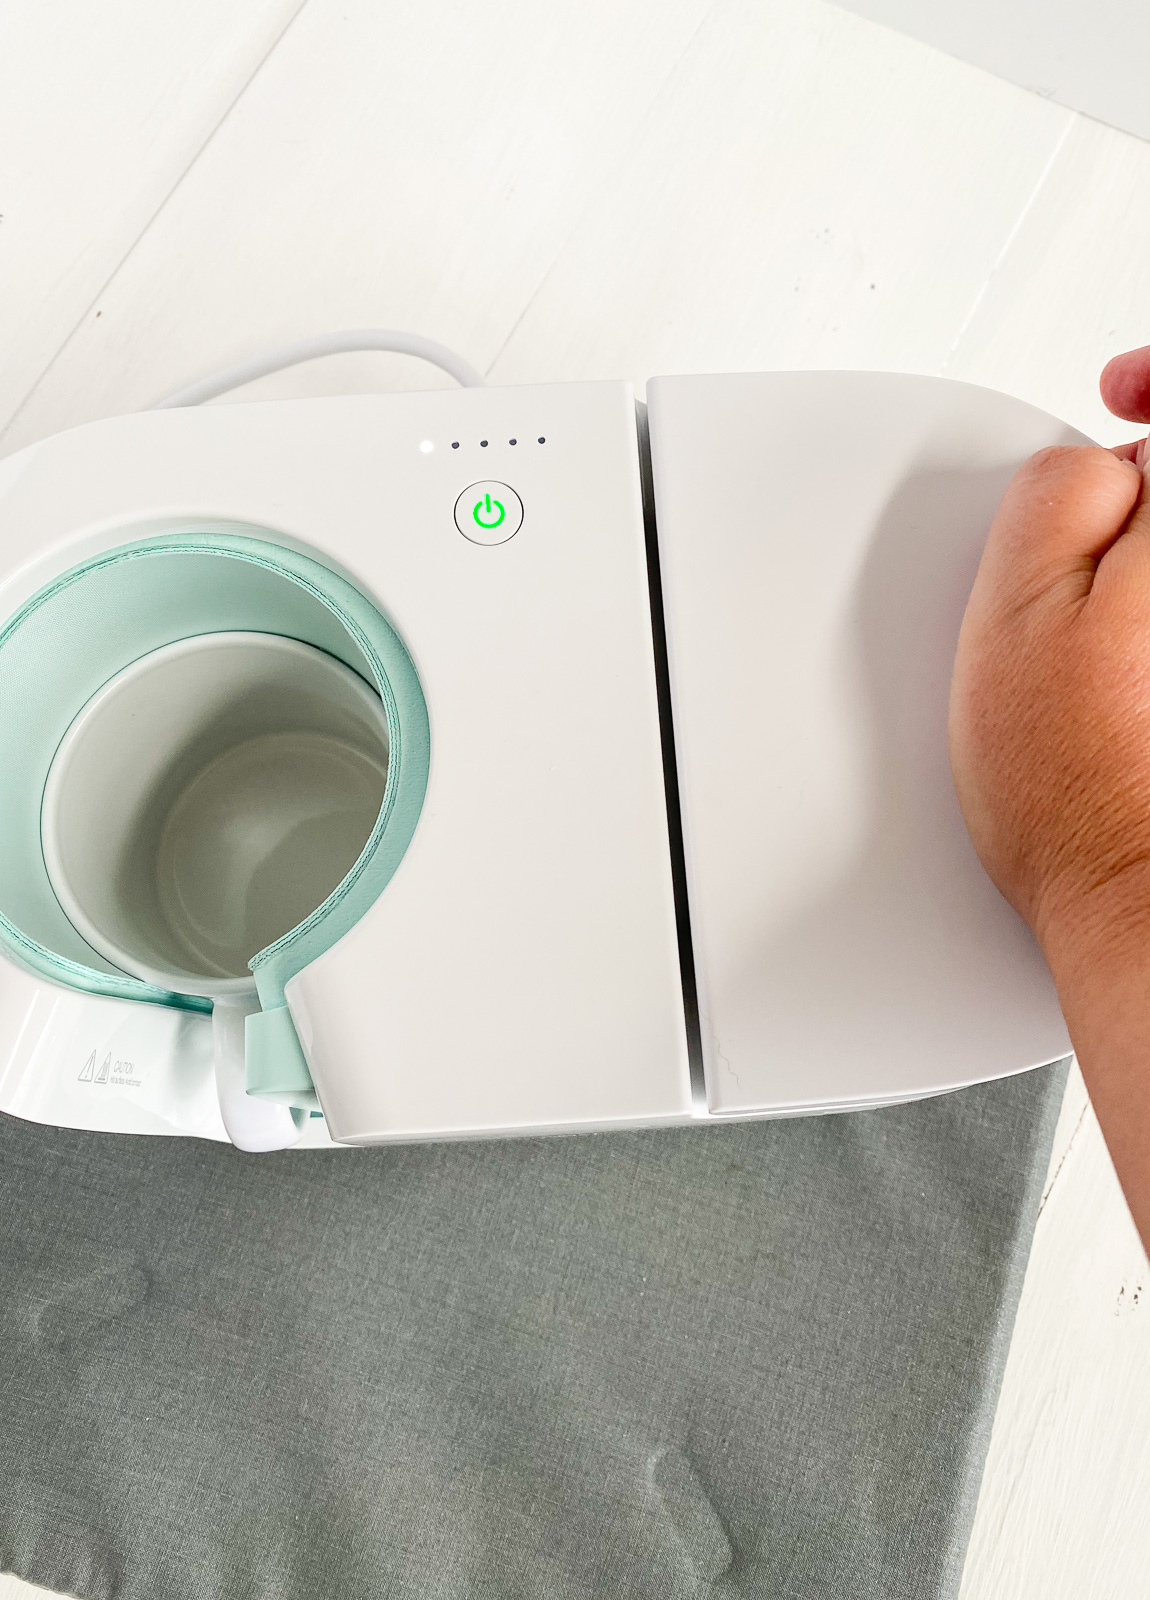
- This process takes about 6 minutes. The white lights show the progress.
- When it’s finished, remove the mug carefully by the handle. Don’t touch any other part because it’s very hot.
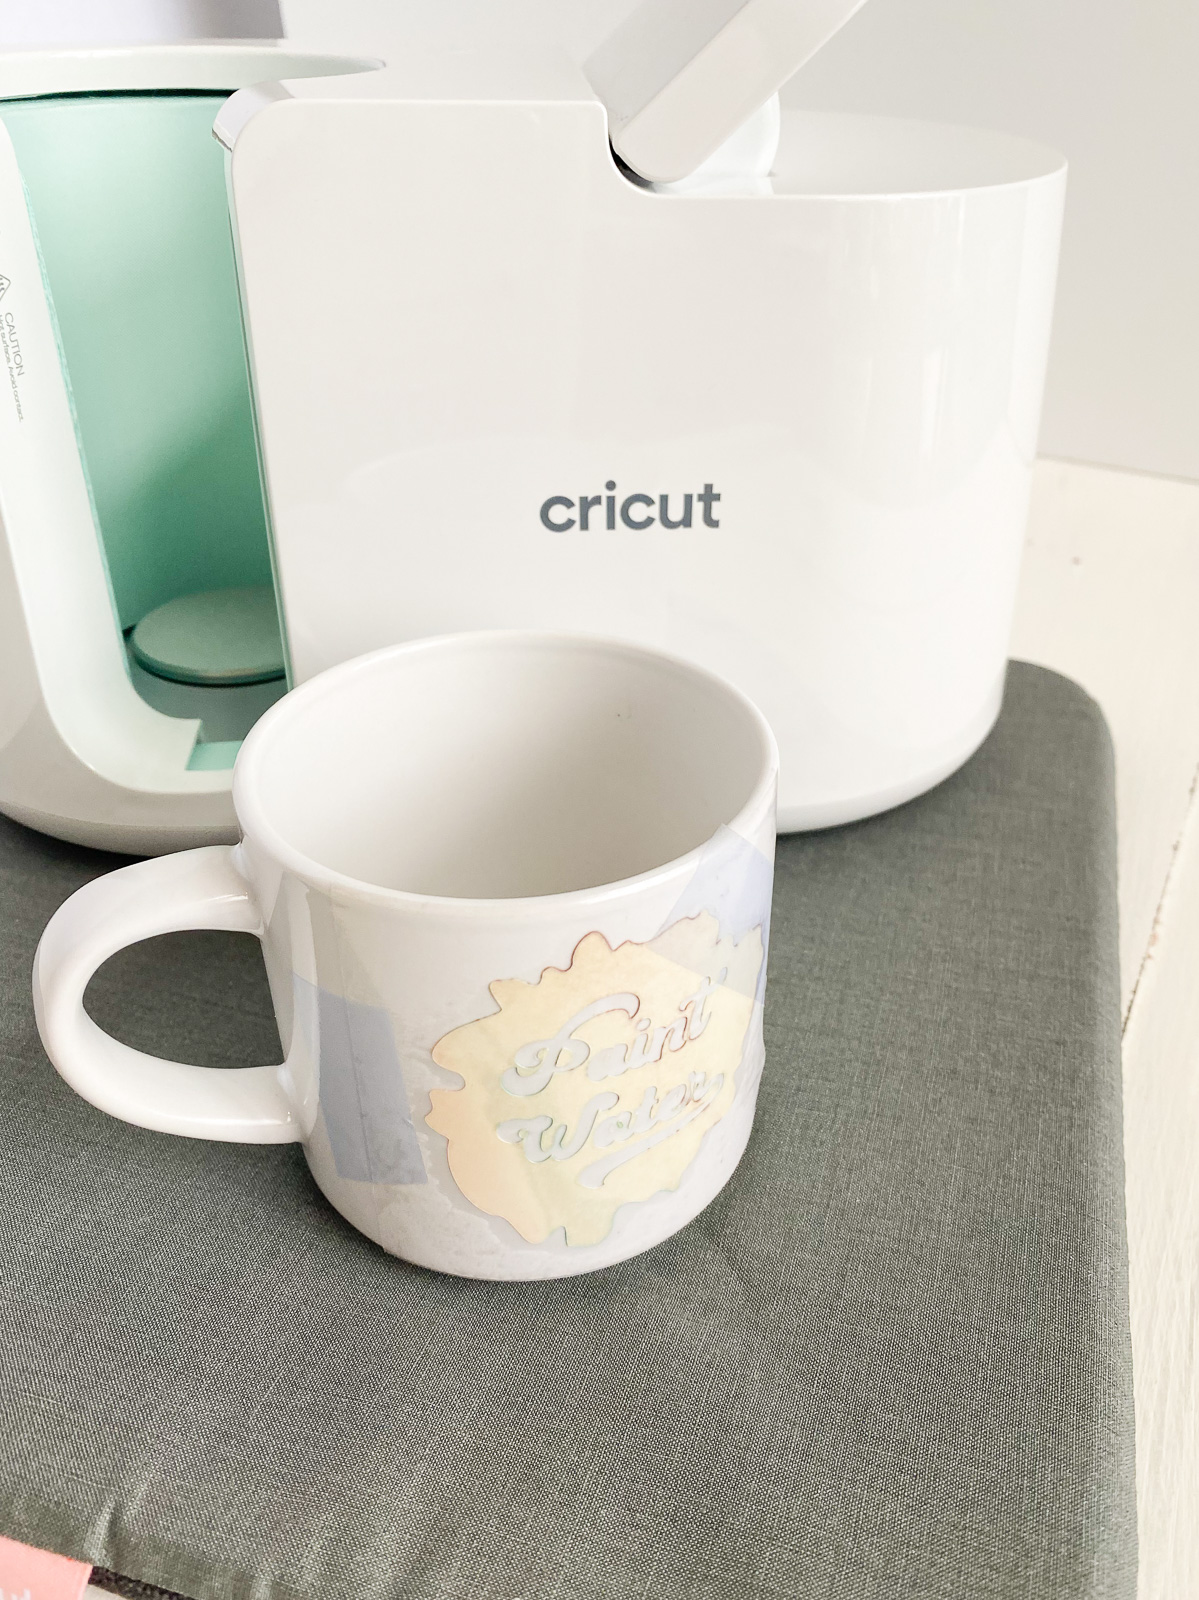
- Place the mug on the EasyPress mat and let it cool for 10 minutes.
- After 10 minutes, you can remove the backing paper and transfer sheet. (It will still be warm to the touch.)
Mugs made with the mug press are dishwasher and microwave safe.
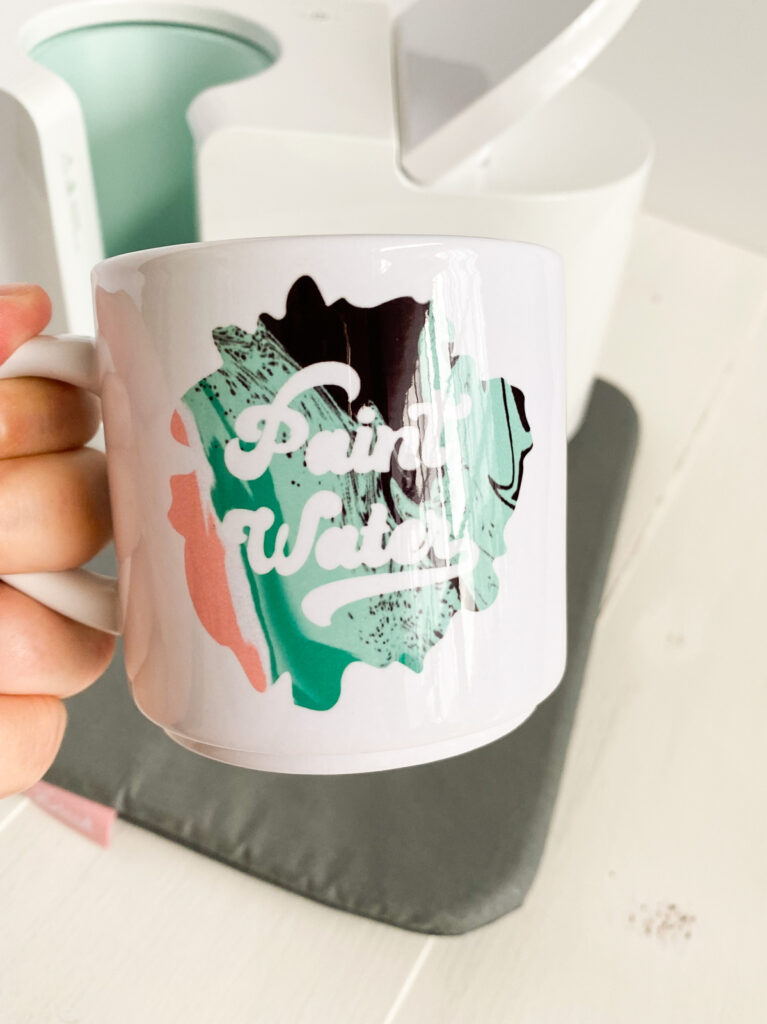
I love using my new paint water mug!
Free Paint Water SVG
Get free templates to use. Be sure to resize it to fit your cup size!
Free downloads are for personal use only. Please do not redistribute or sell.
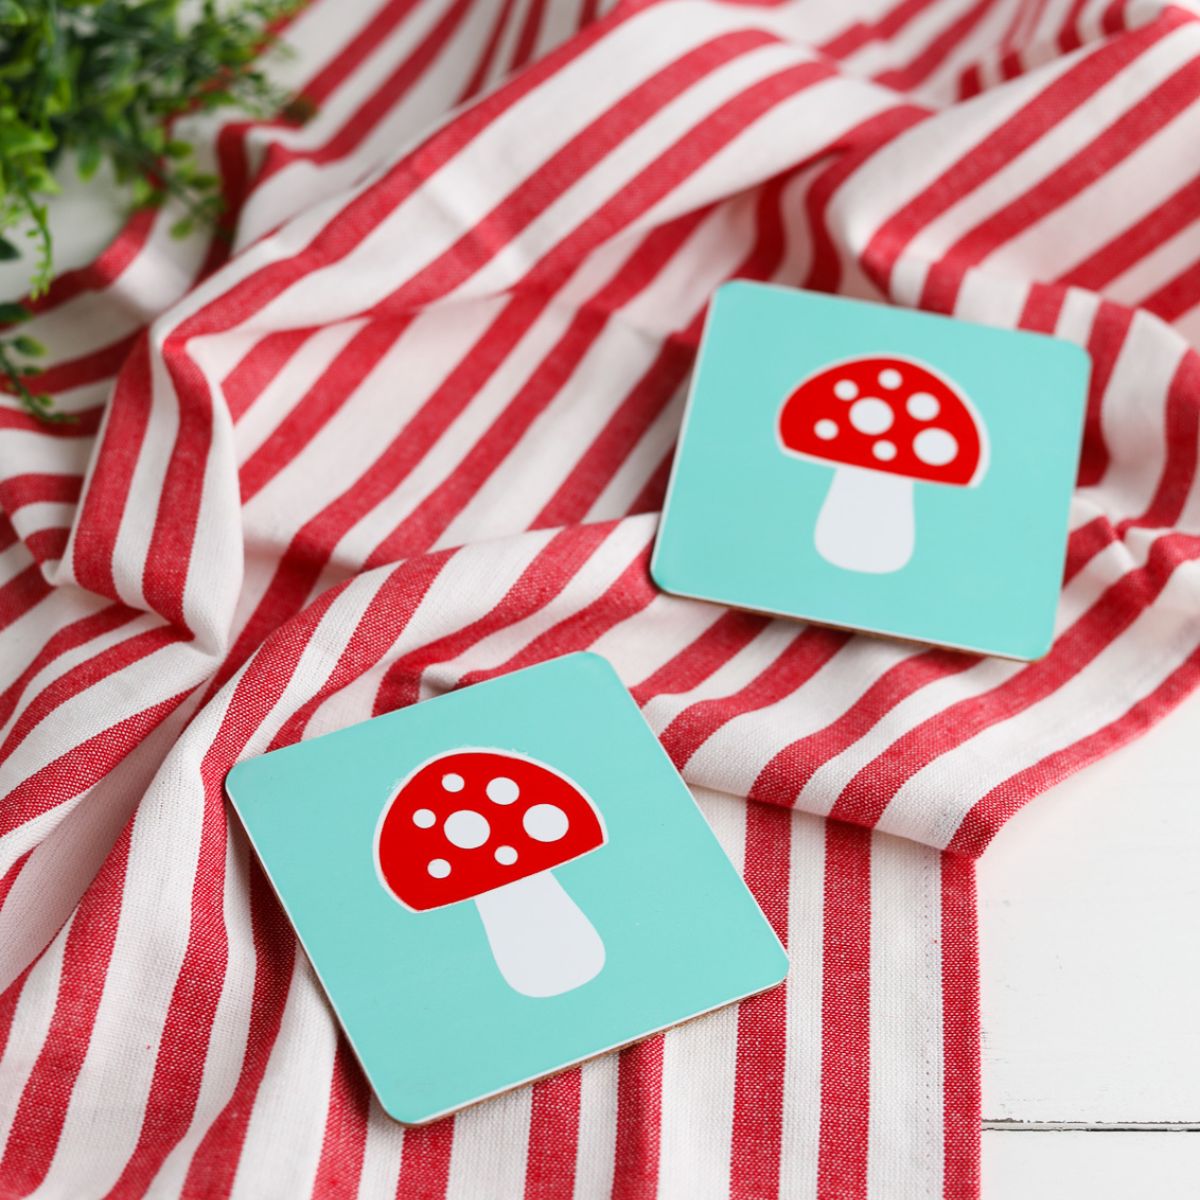
Other Infusible Ink Projects
Pin for Later!