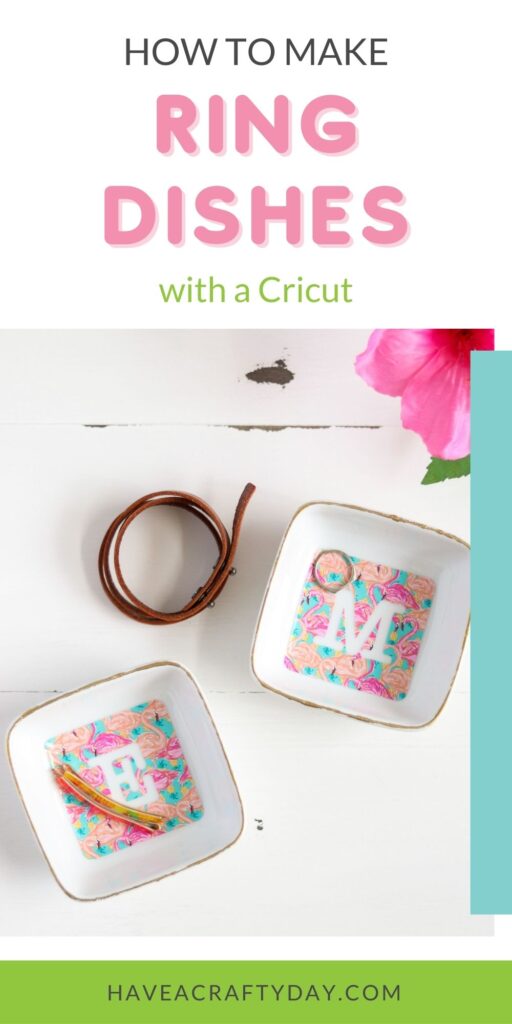
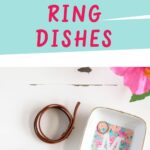
DIY Ring Dish with Vinyl
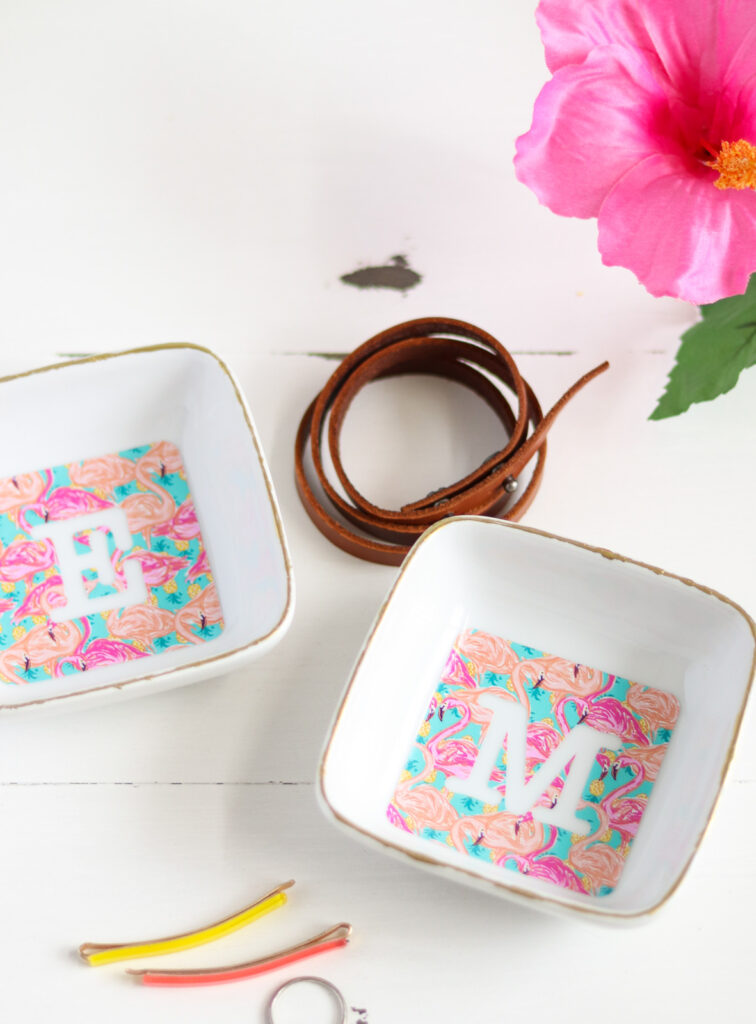
Learn how to make a DIY ring dish. This easy craft project is great for holding small objects like rings, hair clips, or even your keys! They also make great gifts.
If you’ve never worked with vinyl, here’s a tutorial to get you started.
This post contains affiliate links. By purchasing an item through an affiliate link, I earn a small commission at no extra cost to you. As an Amazon Associate I earn from qualifying purchases.
I made a bunch of ring dishes a few years ago when I had a shop and I find myself using the ones that are left for everything.
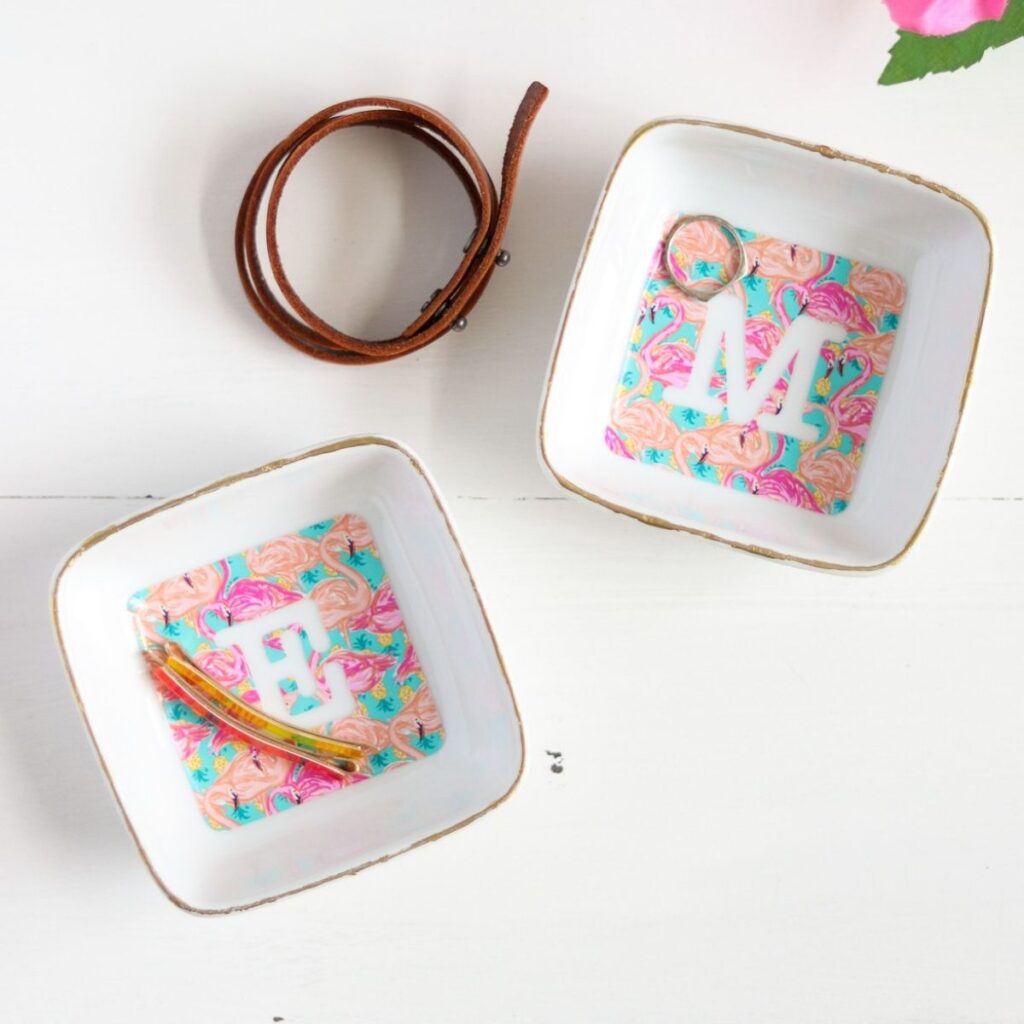
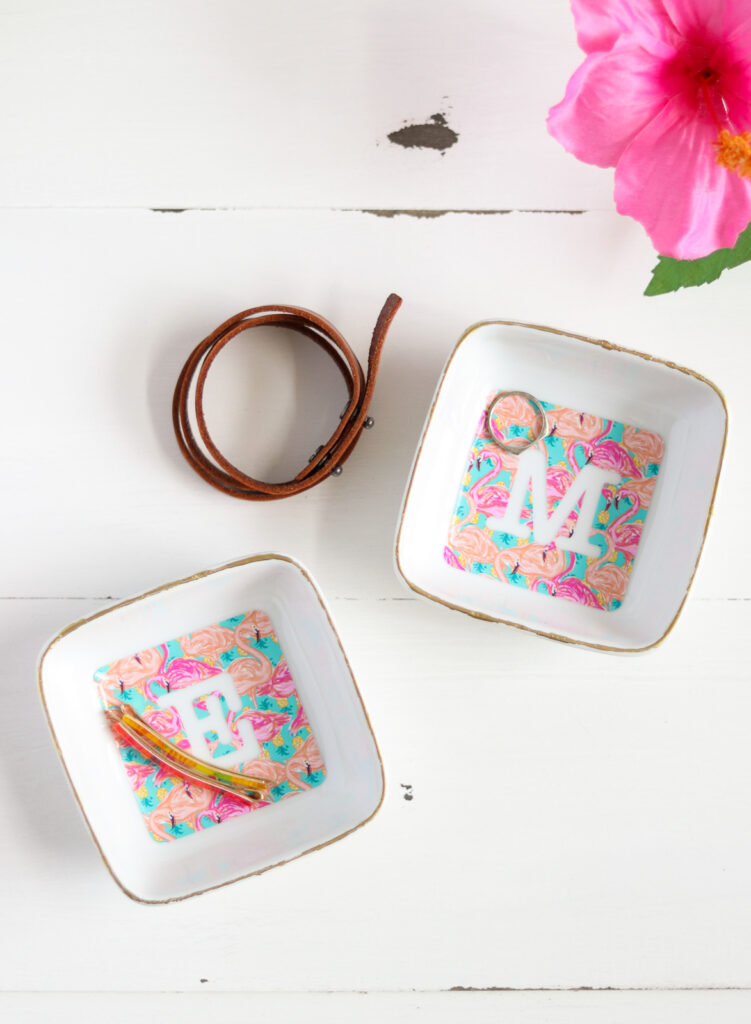
I use these trinket dishes for holding jewelry, like rings or even bobby pins and hair bands in the bathroom. But they are also great for small frequently used art supplies like my eraser, binder clips, and a pencil sharpener.
They also make great gifts because they’re so easy to customize.
DIY Ring Dish
- Cricut (I’m using a Cricut Maker 3)
- Permanent vinyl (Here’s a similar flamingo design)
- Standard mat
- Weeding tools
- Transfer tape
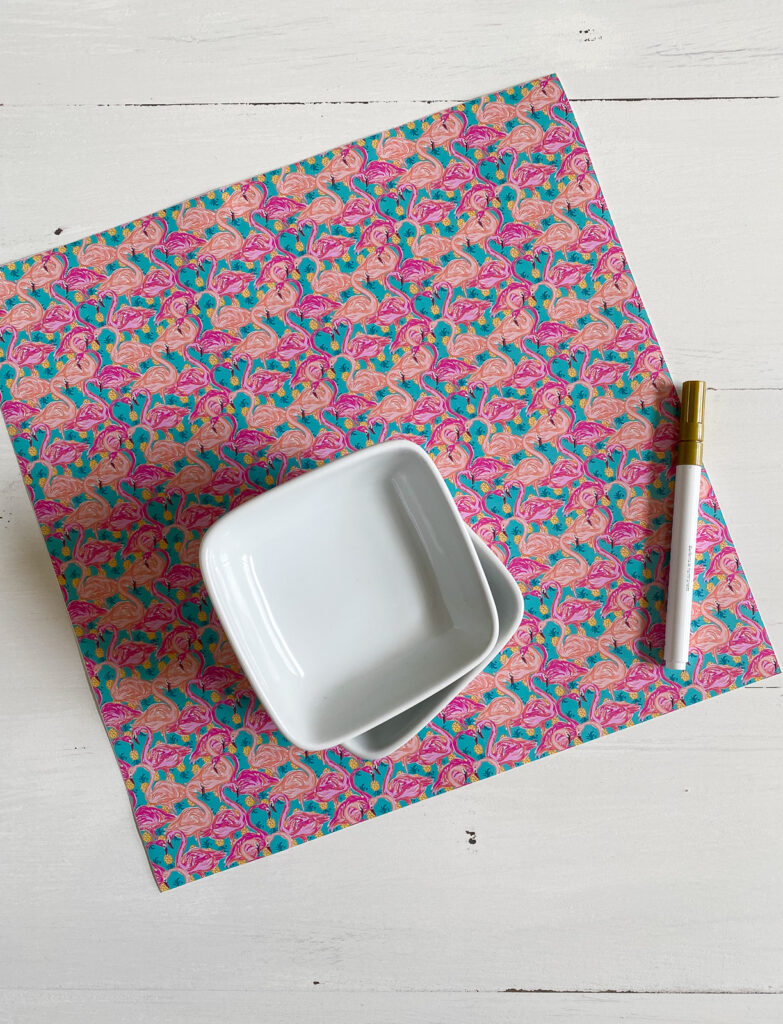
- Dip dishes | (These dishes would also work if you want a bigger size)
- Oil paint pen in gold (optional)
- Rubbing alcohol
Designing Your Monogram in Cricut Design Space
I used monograms for my ring dishes, but you can use designs instead if you want. (I almost made a flamingo one.) Check out some free SVG files.
I also wanted to showcase the fun patterned vinyl, so I made the design with a rectangular background.
The size I provided is for the dip dishes from Target. If you use a different dish, measure the flat part of the dish and use a slightly smaller measurement to be safe.
- Start a new project in Cricut Design Space.
- Select the shape tool and choose the rectangle with curved corners.
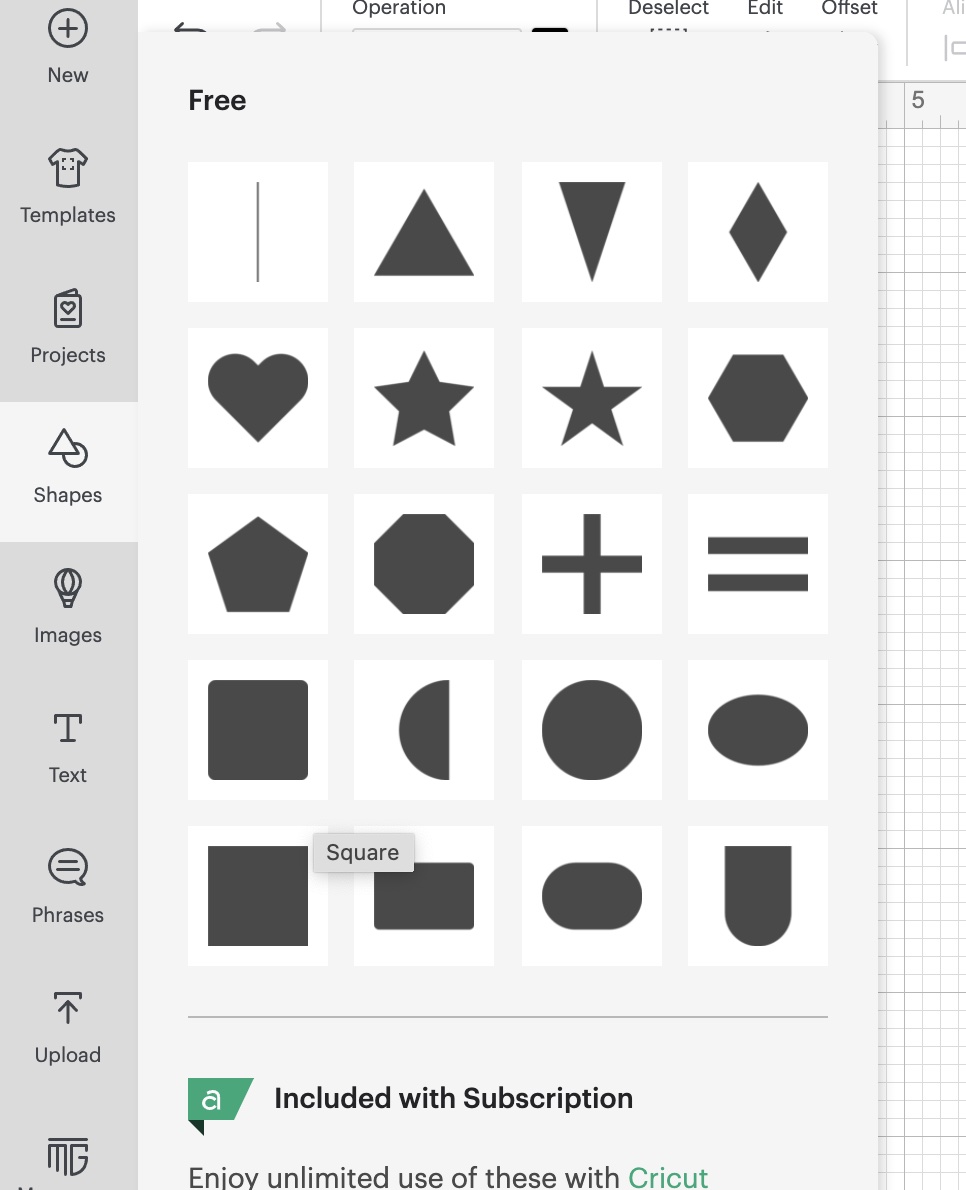
- Resize the rectangle to be 2.6″ x 2.6″.
- Select the text tool and type the letter you want to use.
- Choose your font. (System takes you to all of the fonts that are installed on your computer.) I used American Typewriter.
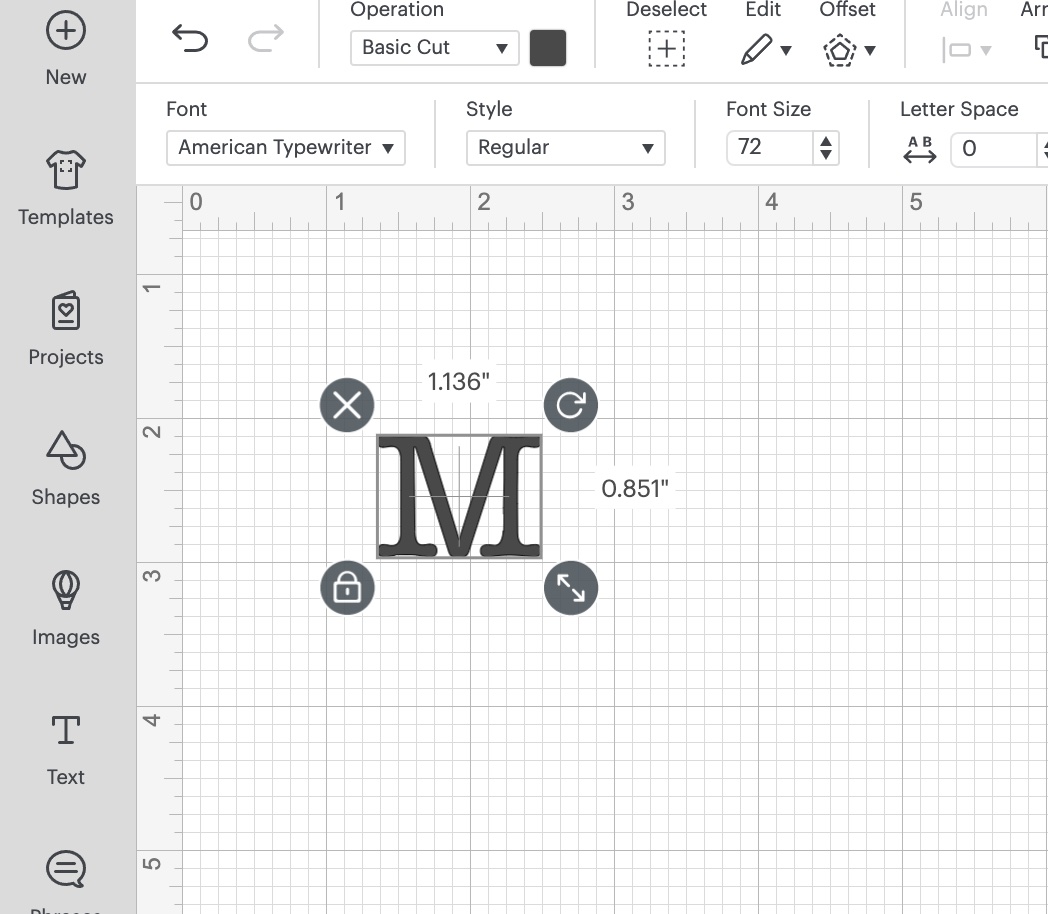
- This font is a bit thinner than I wanted, so I added an offset of 0.035.


- Select the letter and the offset layer and weld them to make them one shape.
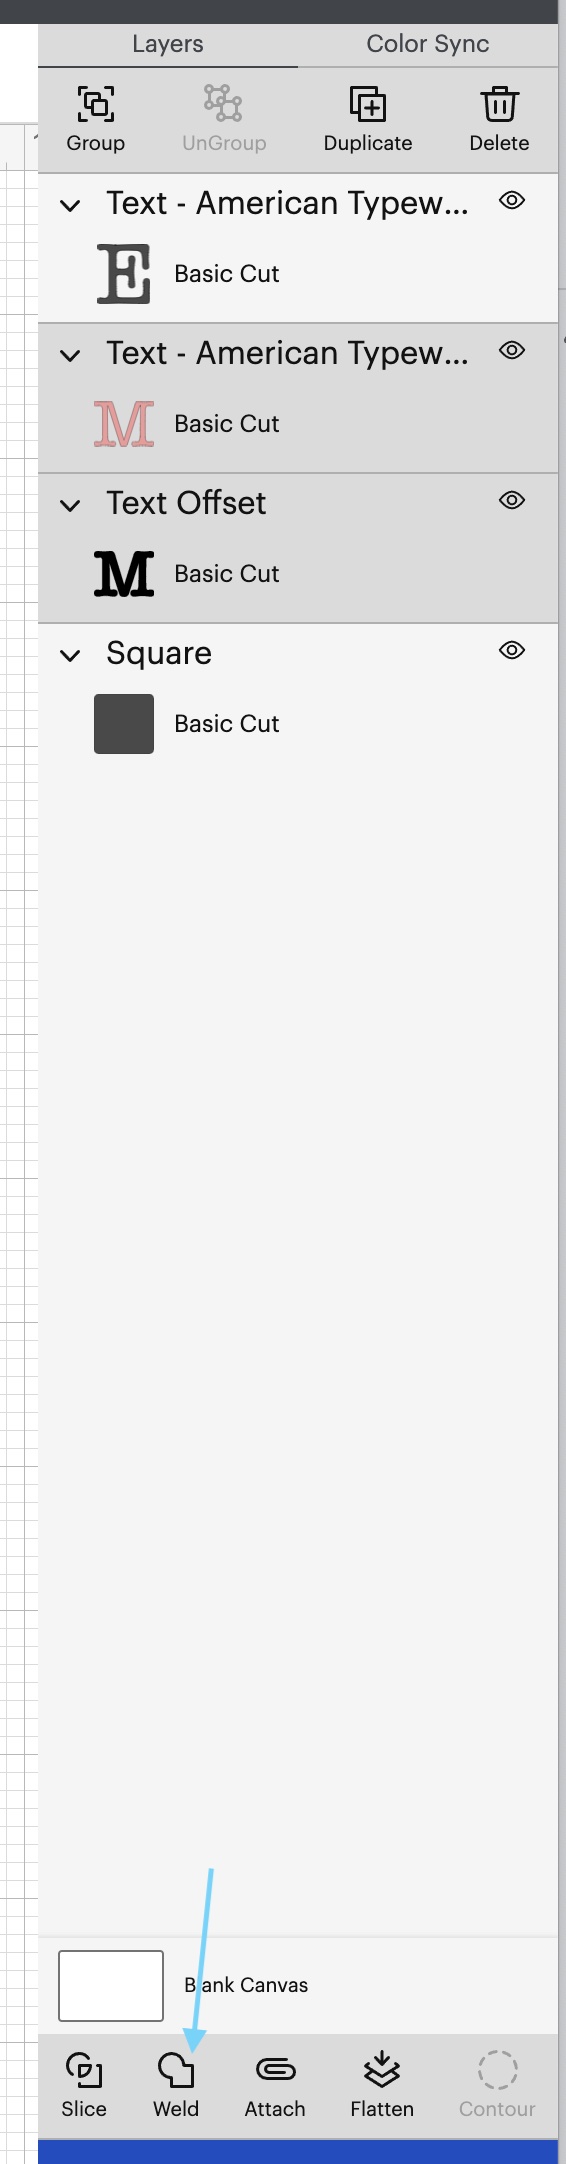
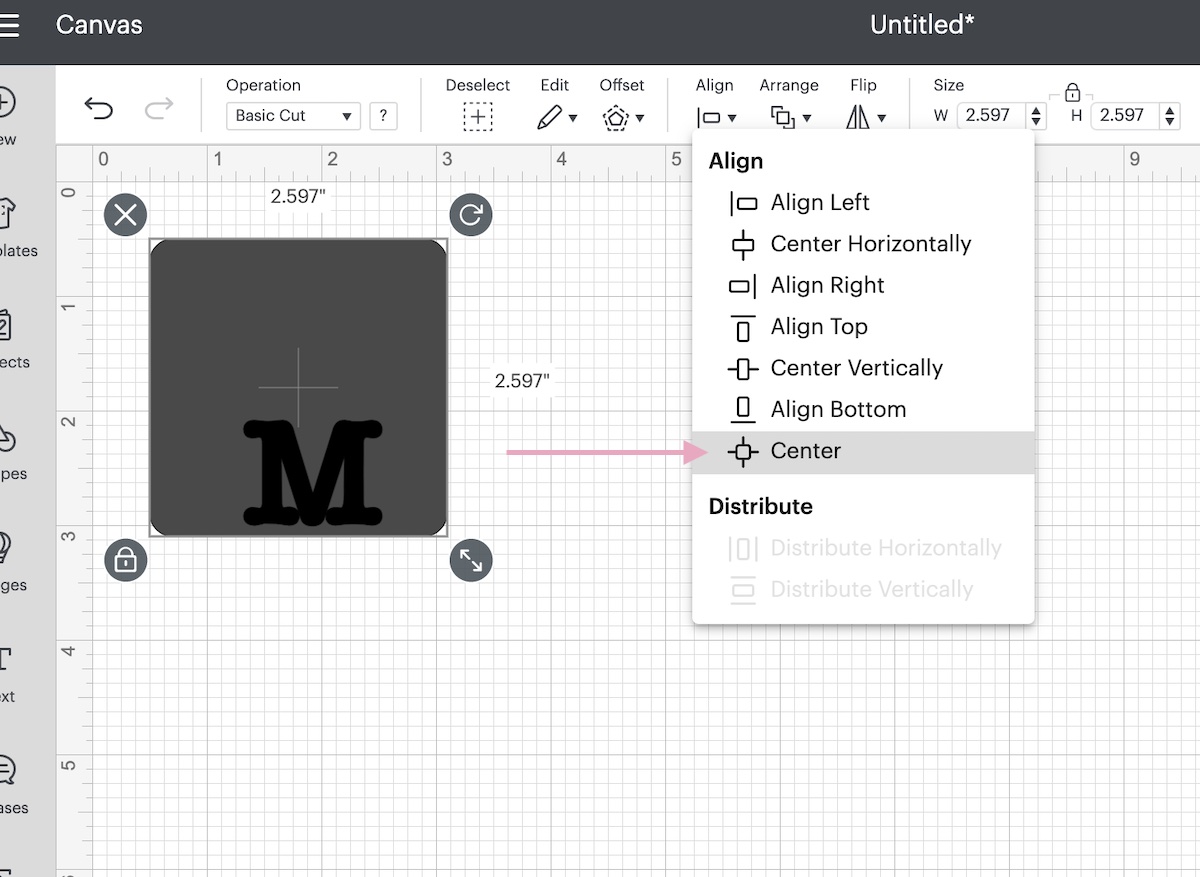
- Place the letter on top of the rectangle, select them both, and use the align center option to put the letter in the center.
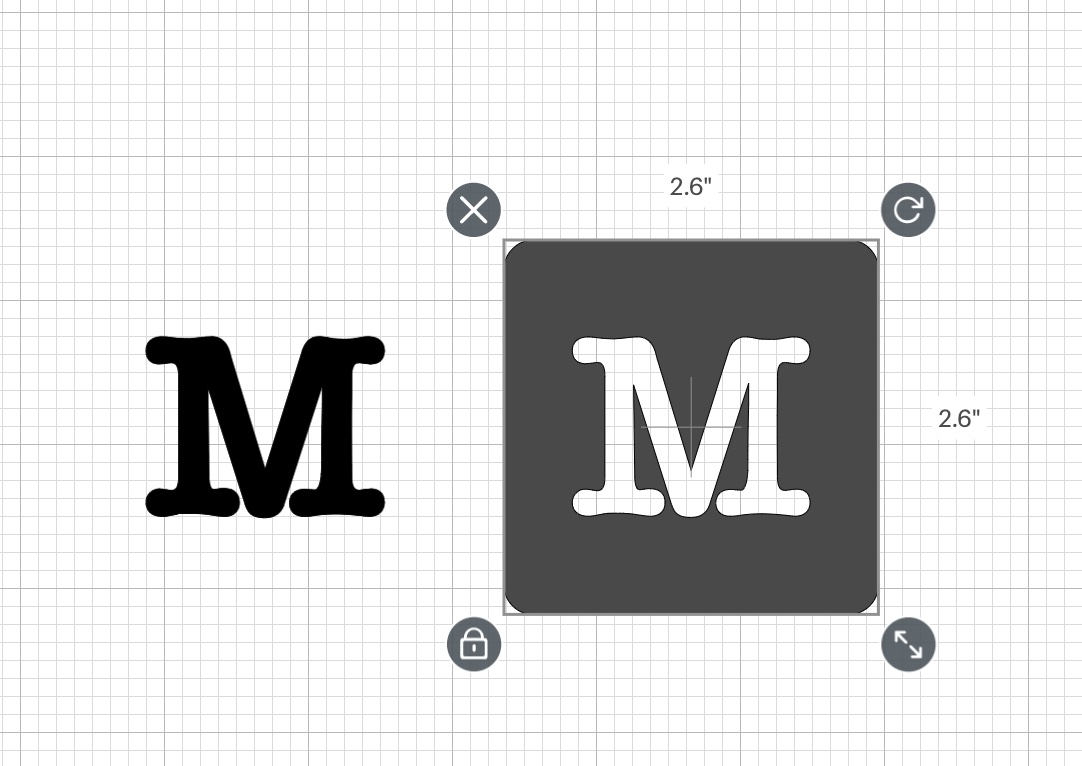
- With both layers still selected, choose “slice” to cut the letter out.
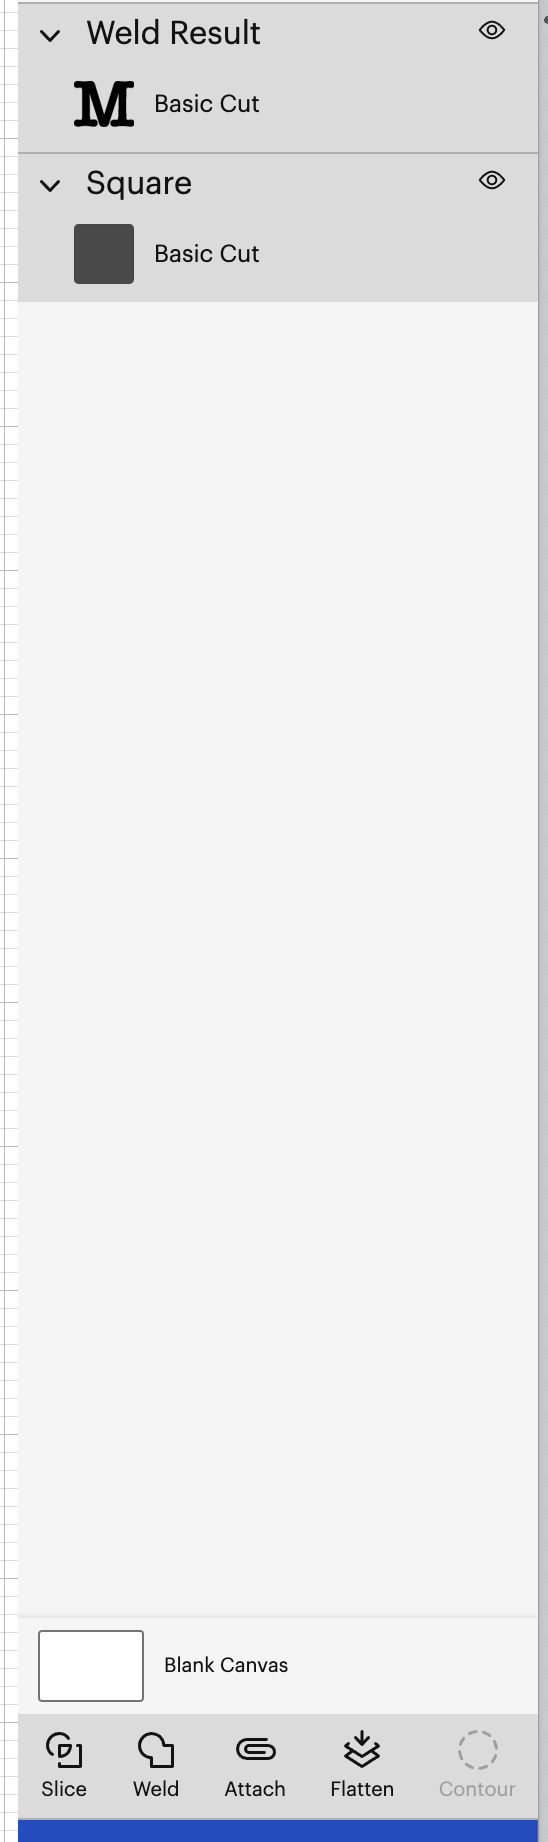
- Delete the unwanted layers.
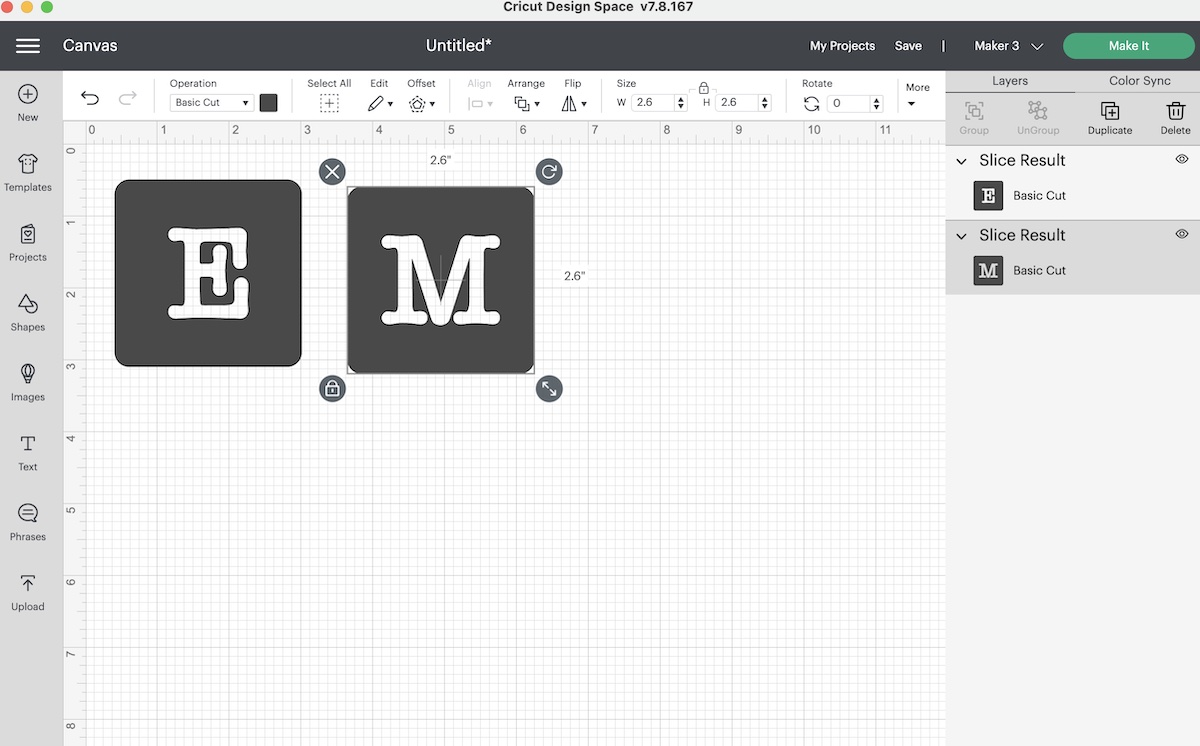
- If you’re making more than one, repeat the steps for the other letters.
- Cut as usual with your Cricut.
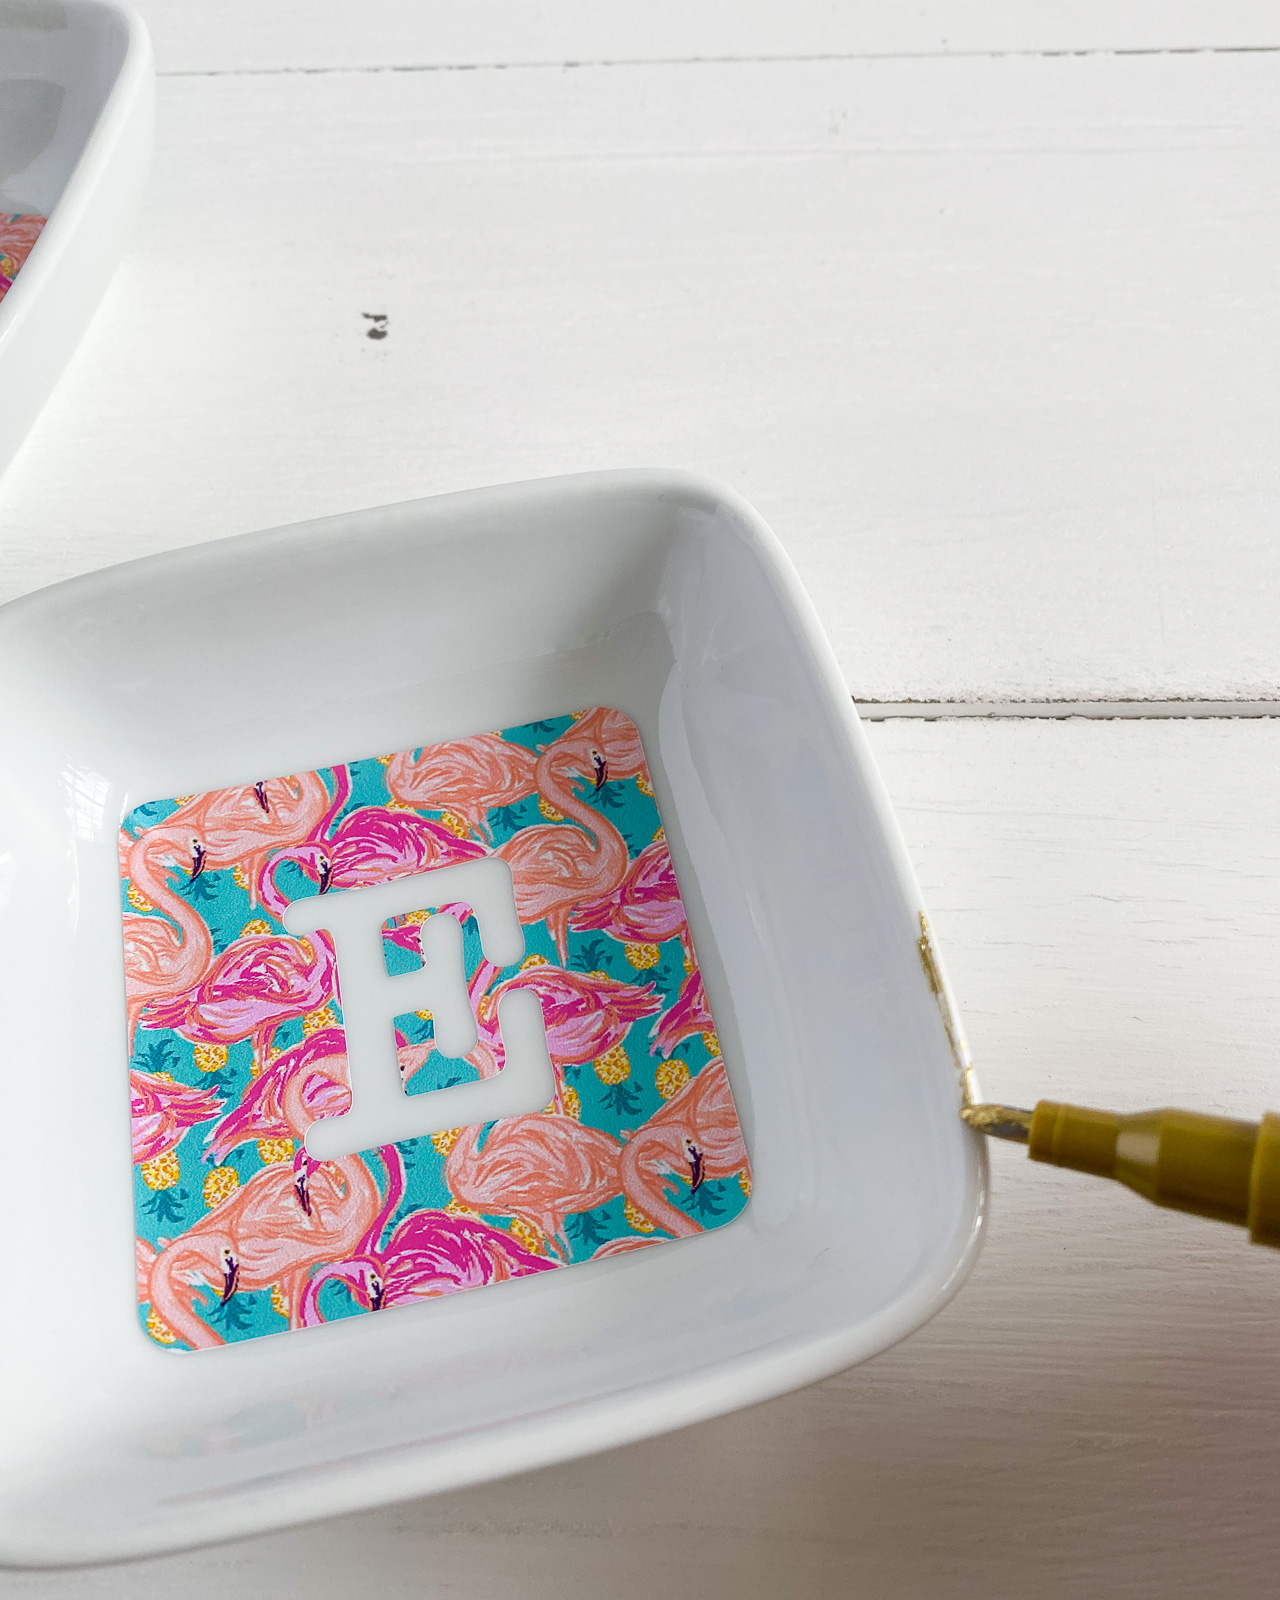
Applying the Vinyl to the Dish
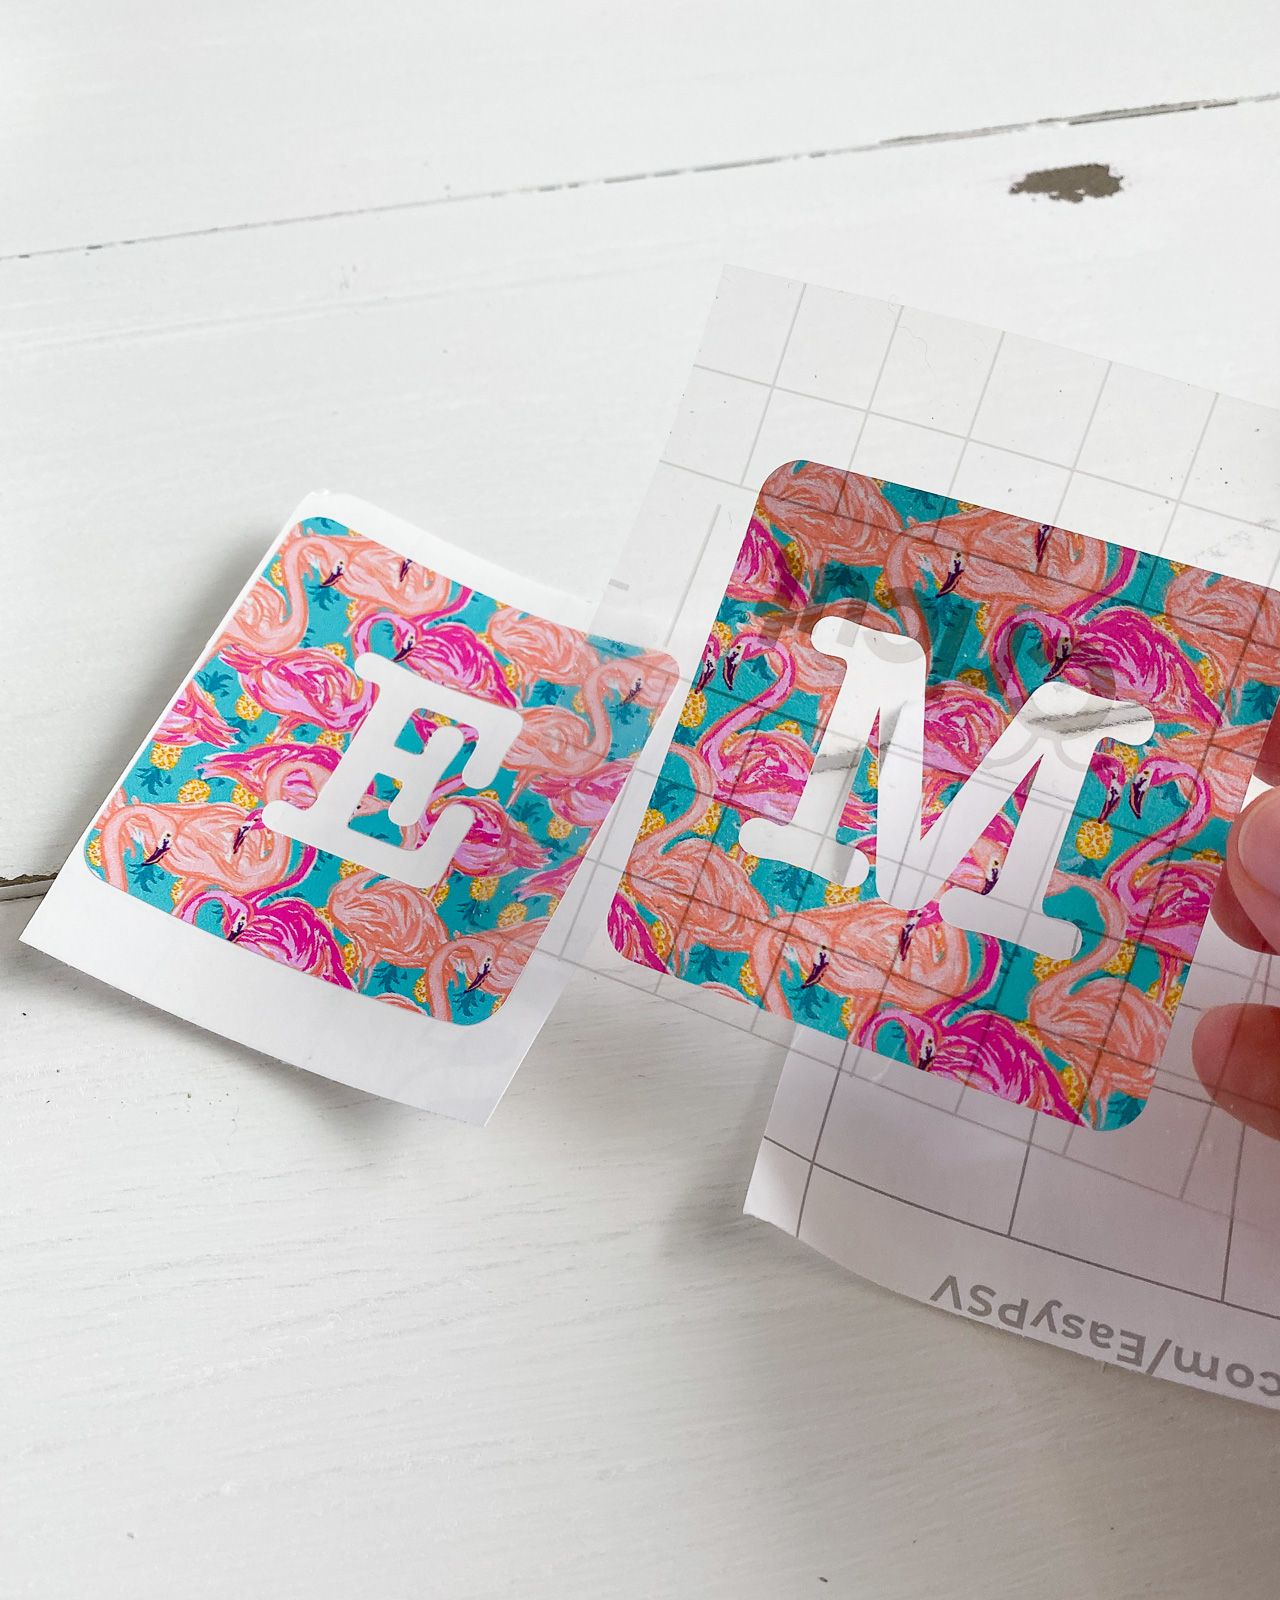
- Weed the vinyl as usual.
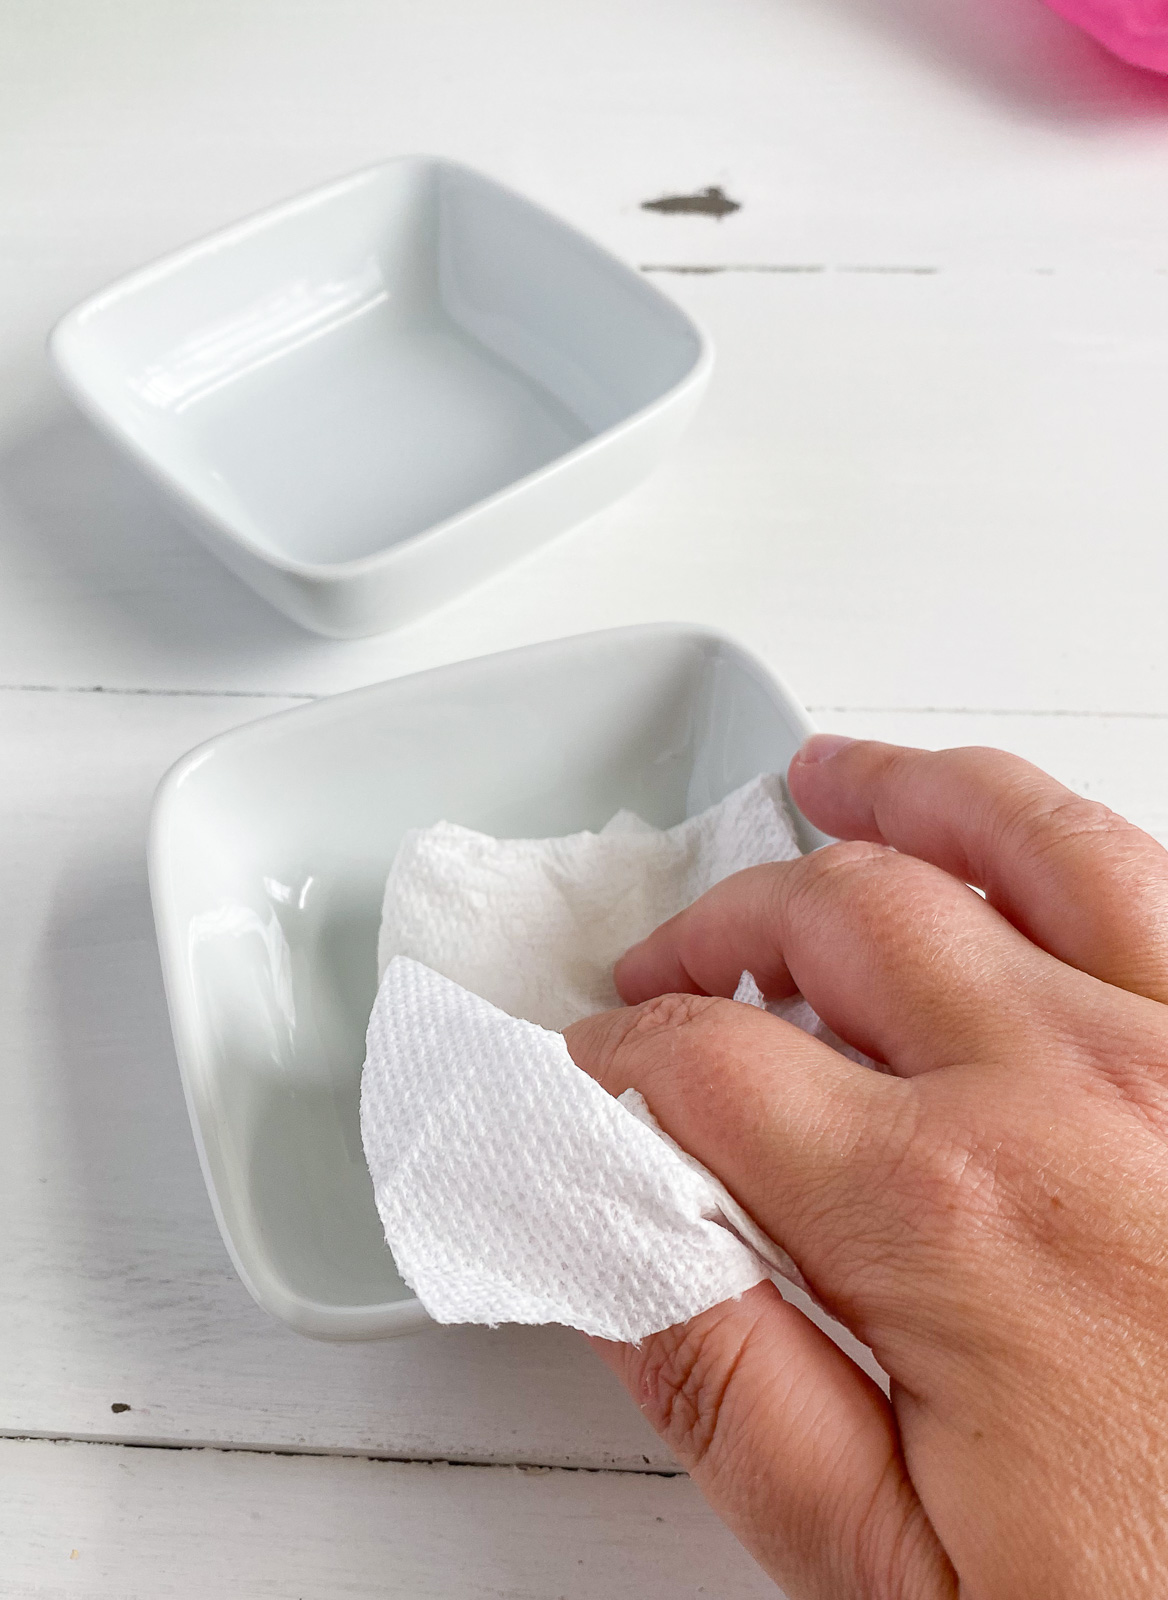
- Clean the dishes with rubbing alcohol. This removes any oils from your skin that prevents vinyl from sticking.
- Apply the transfer tape to the weeded vinyl design.
- Remove the vinyl design from the backing paper.
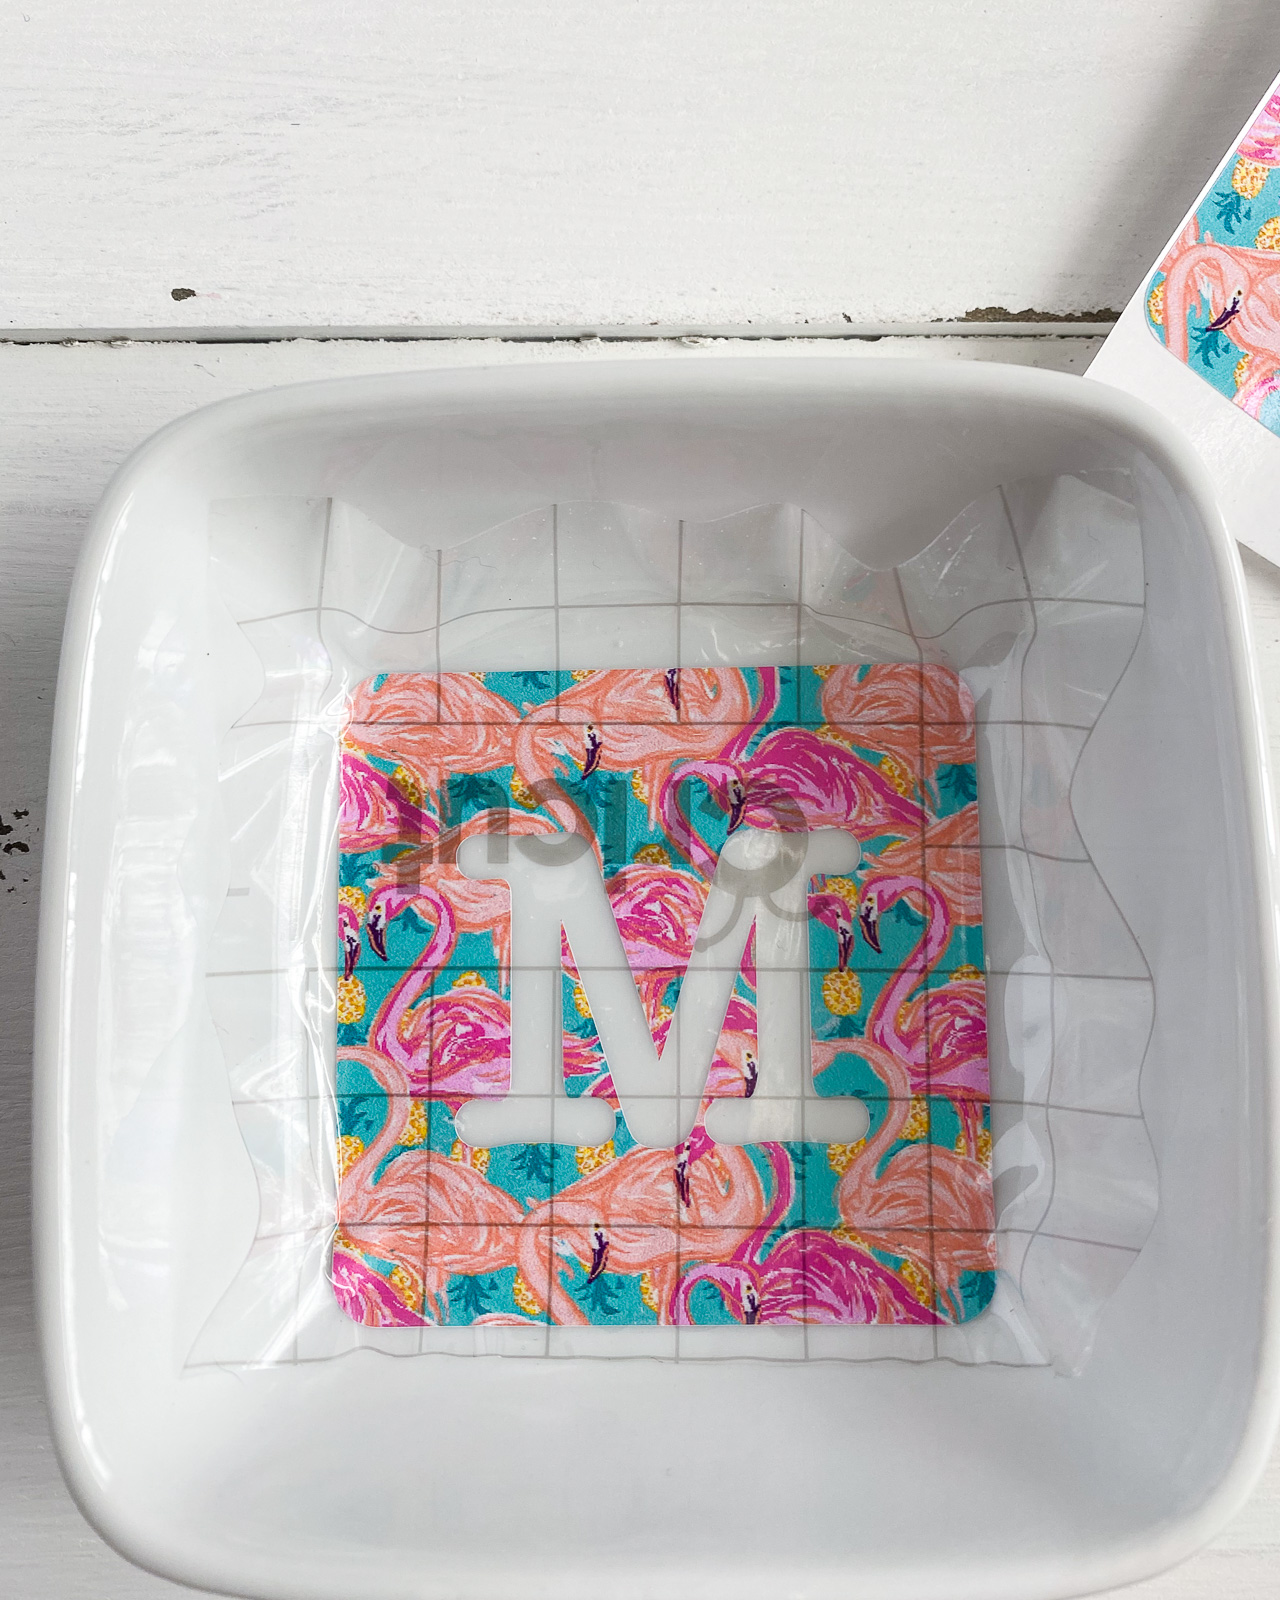
- Place the vinyl on the bottom of the dish, smoothing as you go.
- Remove the transfer tape.
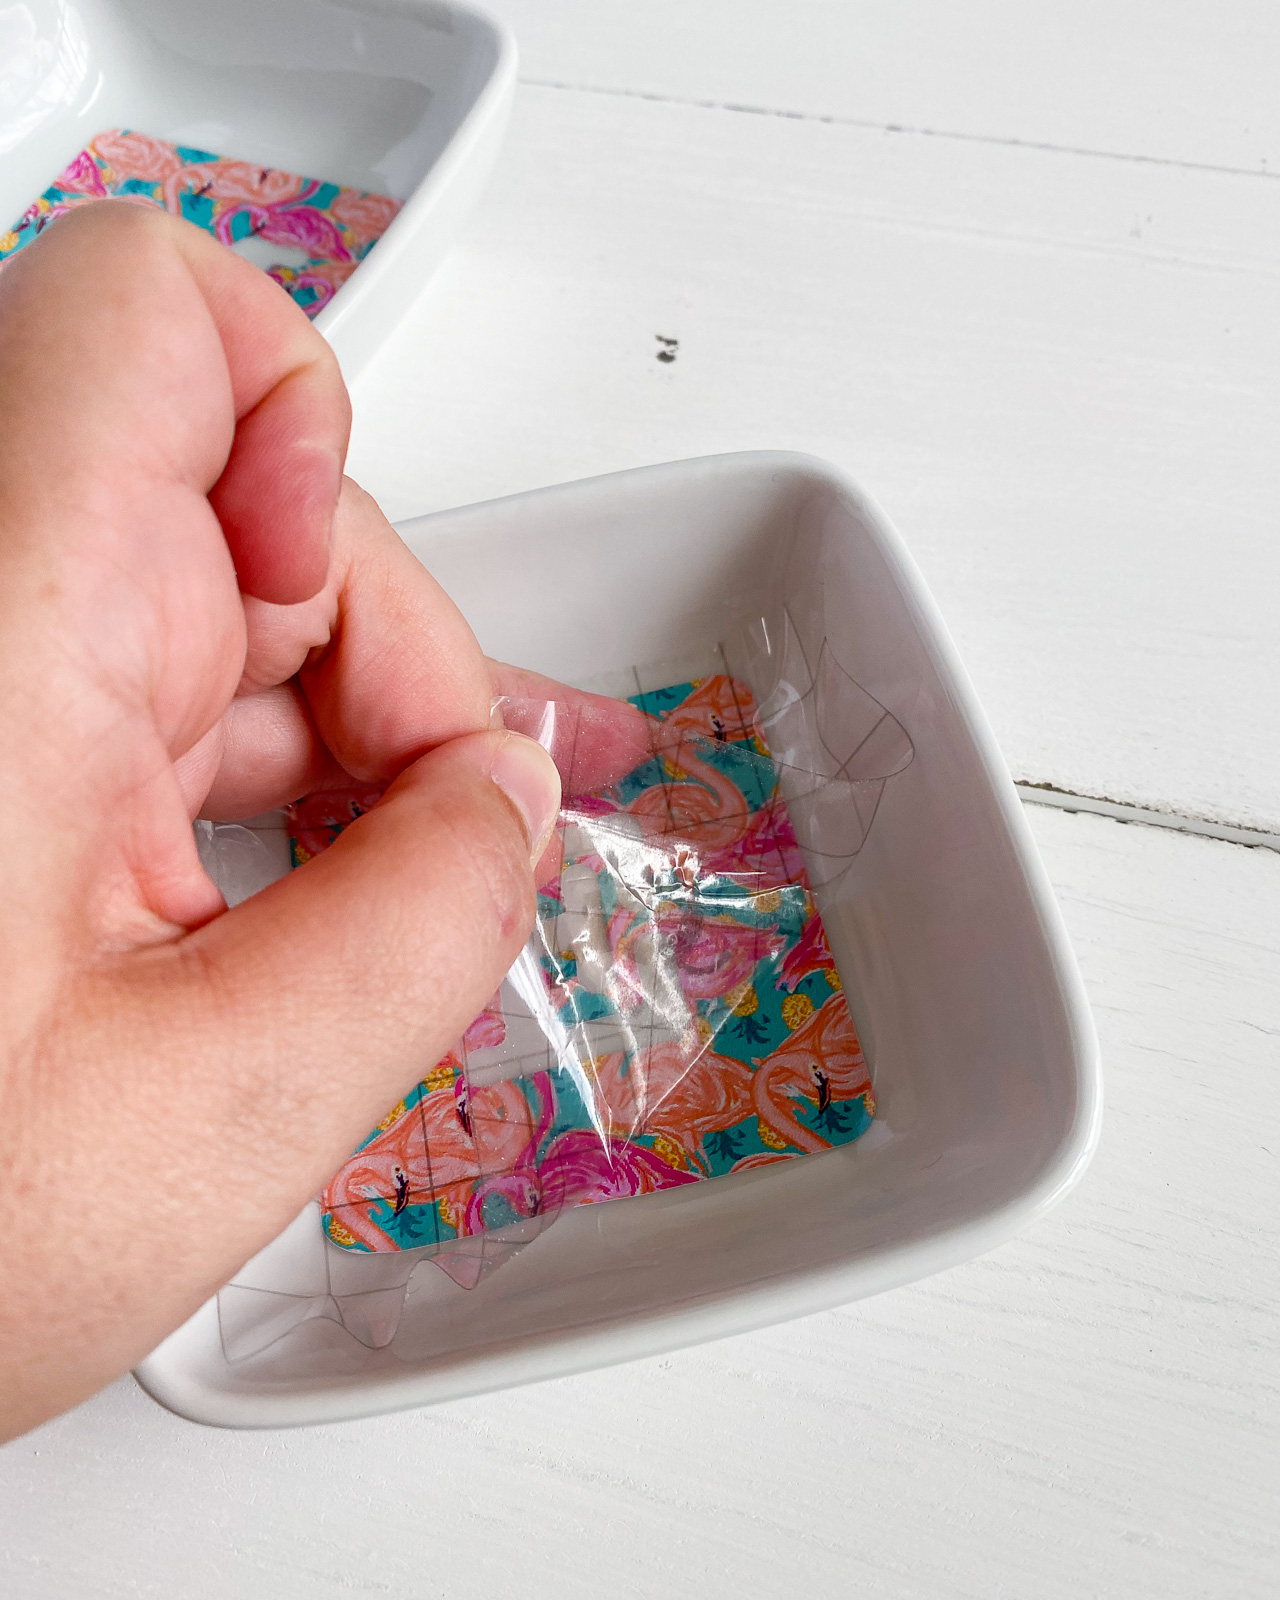
- Smooth the design more if needed.
Optional: Adding the Gold Edge
- Use a gold oil paint pen to color the edges.
- Go slow for the best results.
- If you accidentally color off the edge, it can be removed with rubbing alcohol.
- If you have thin spots, let them dry and go back and cover them.
These are not food-safe and not dishwasher-safe. Clean with a damp cloth if needed.
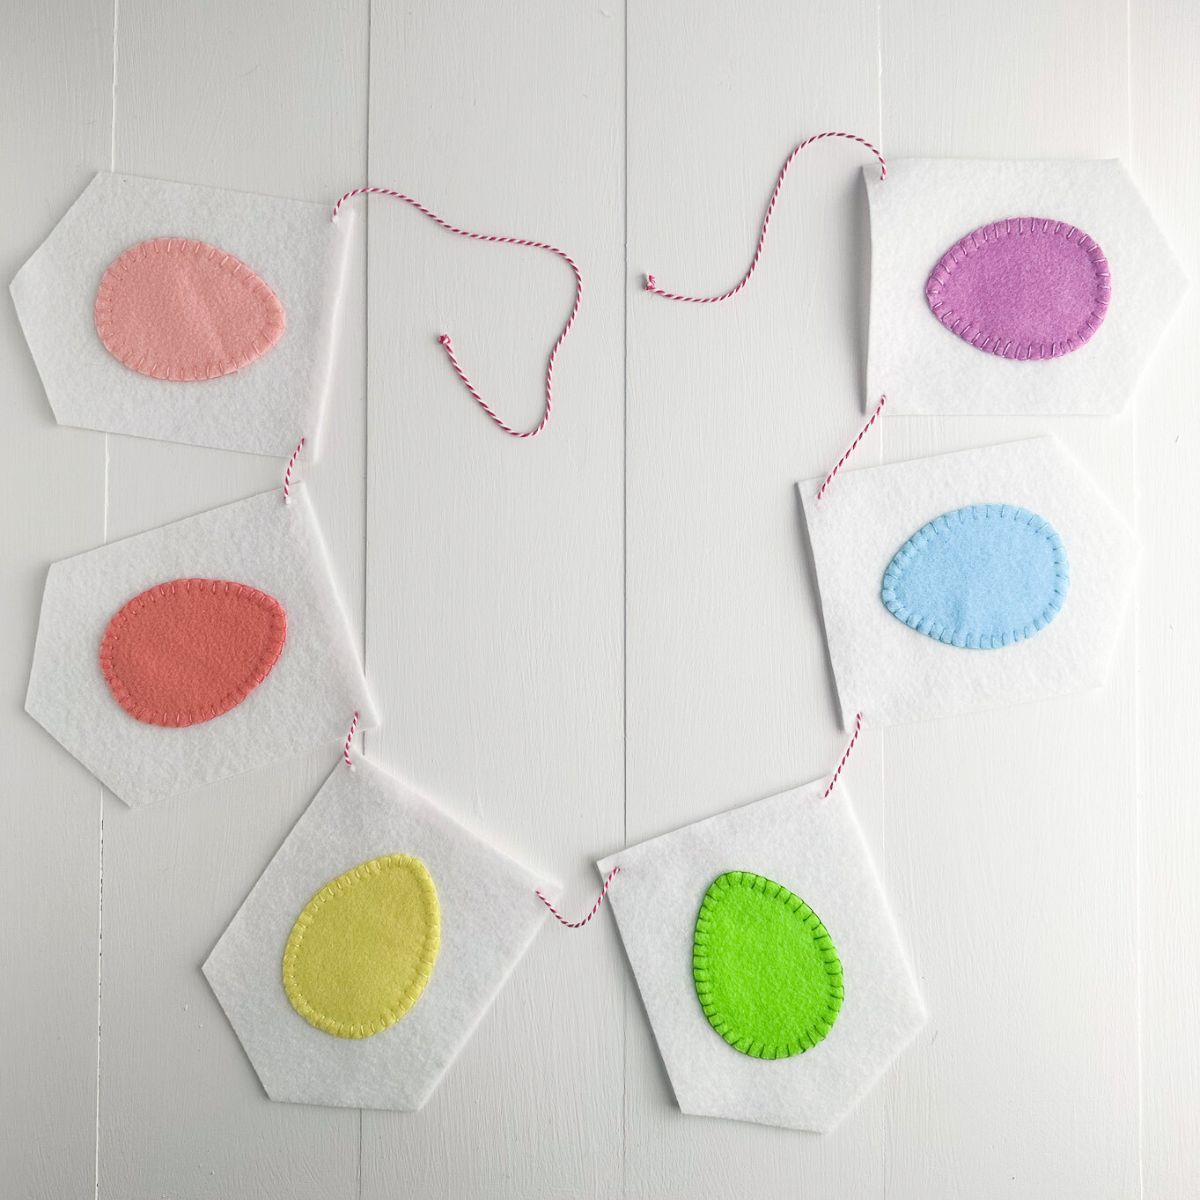
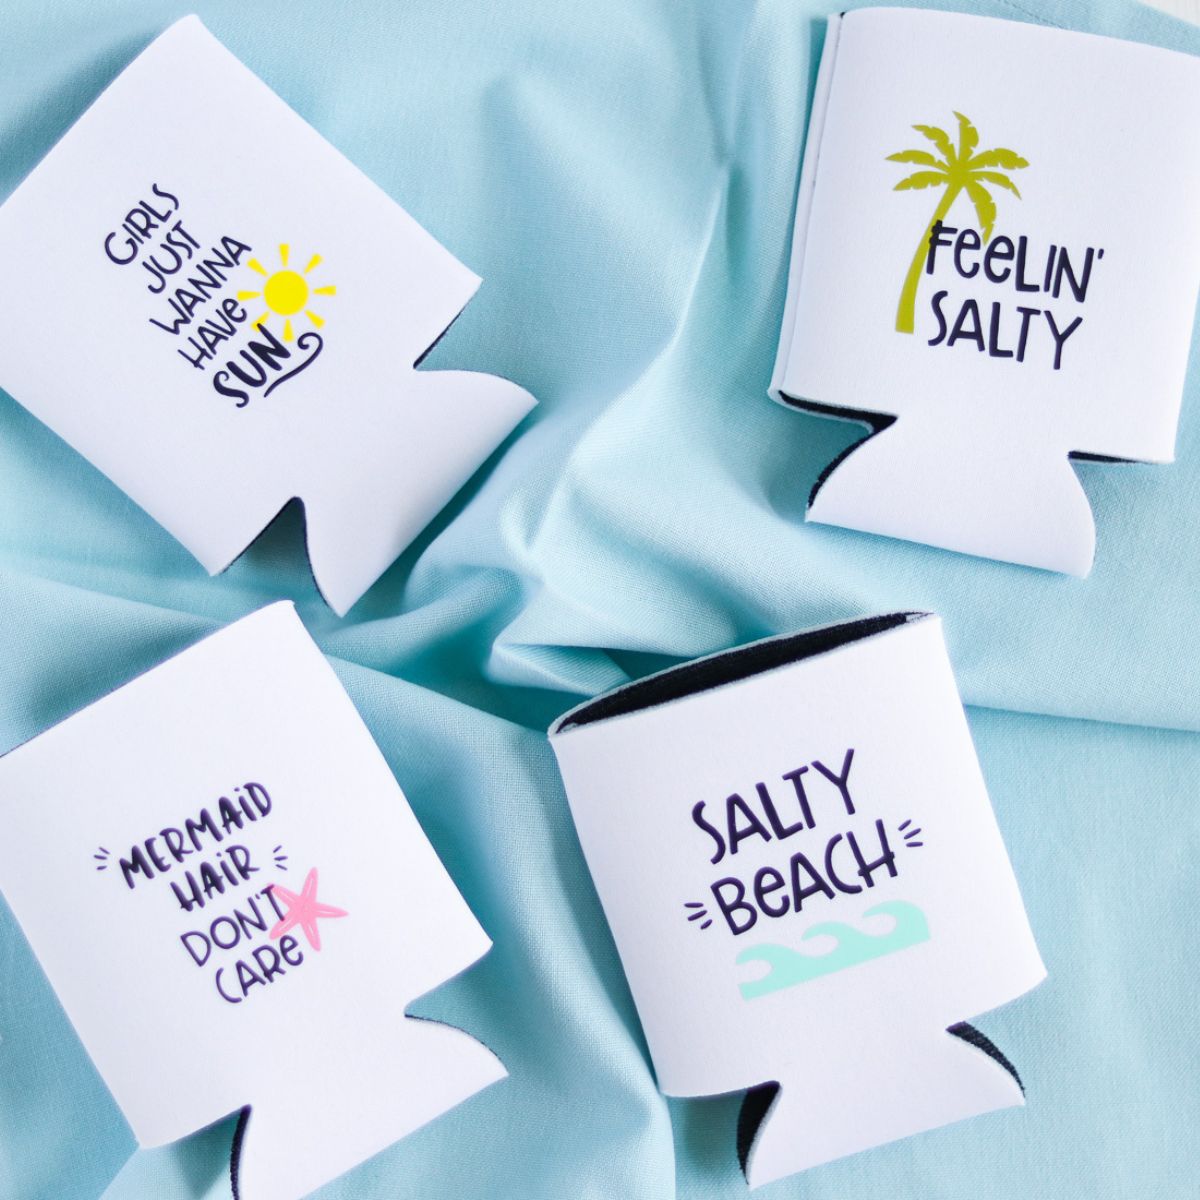
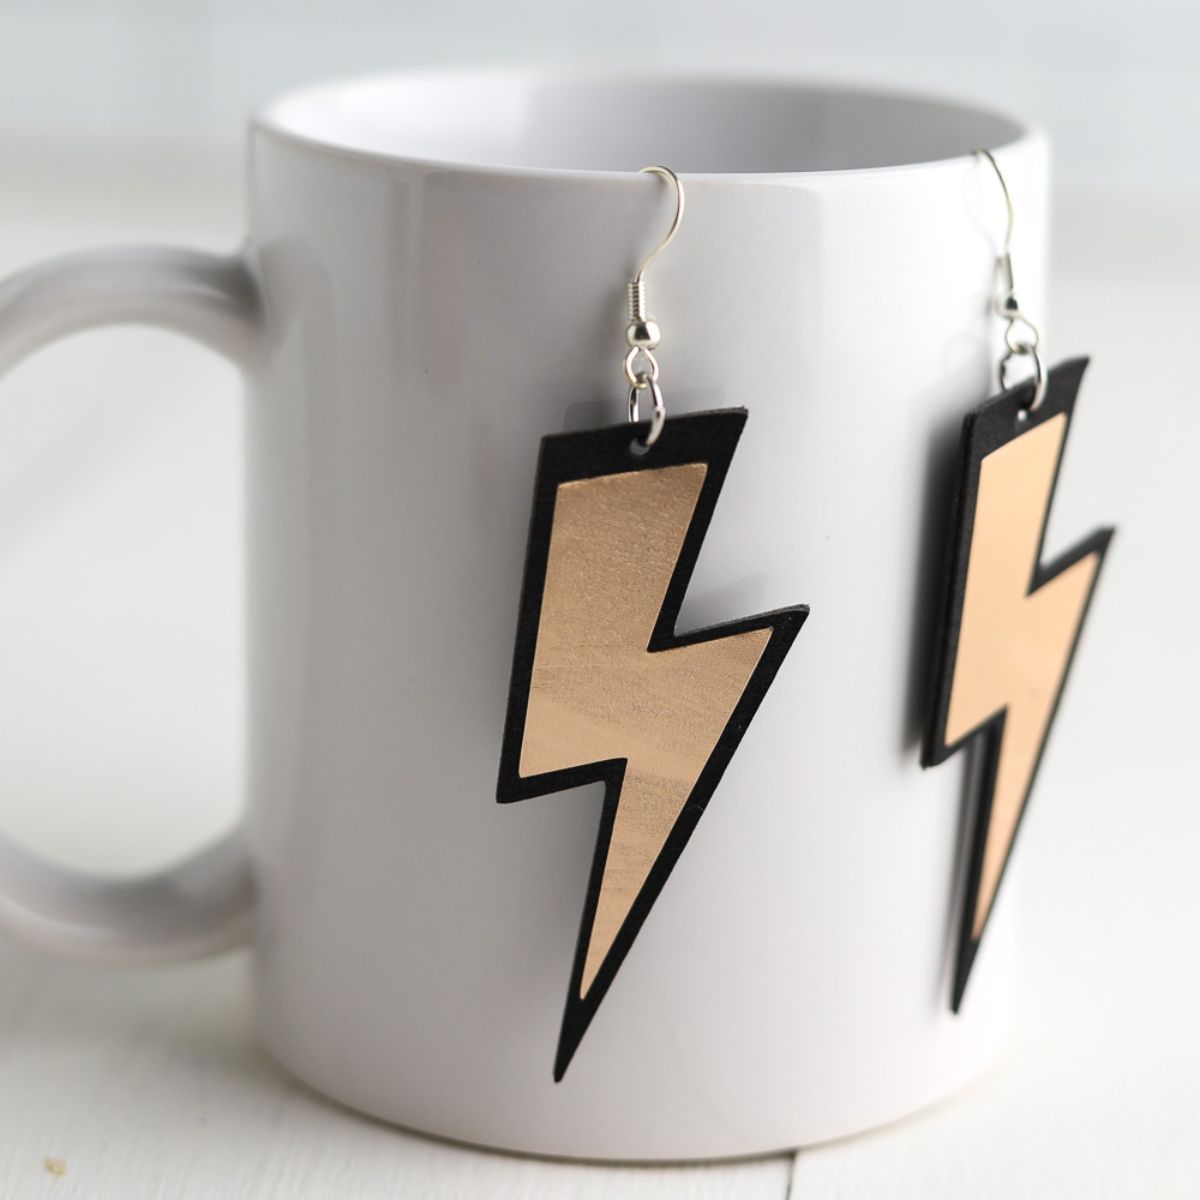
Other Vinyl Projects
Pin for Later!