How to Layer Infusible Ink on a Mug
Learn how to layer infusible ink on a mug. This cute Christmas mug is perfect for leaving out for Santa with cookies.
If you’re new to Cricut, be sure to check out these Cricut tutorials for beginners.

This post contains affiliate links. By purchasing an item through an affiliate link, I earn a small commission at no extra cost to you. As an Amazon Associate I earn from qualifying purchases.
When I made this cookie plate for Santa, I knew I also needed to make Santa a mug.
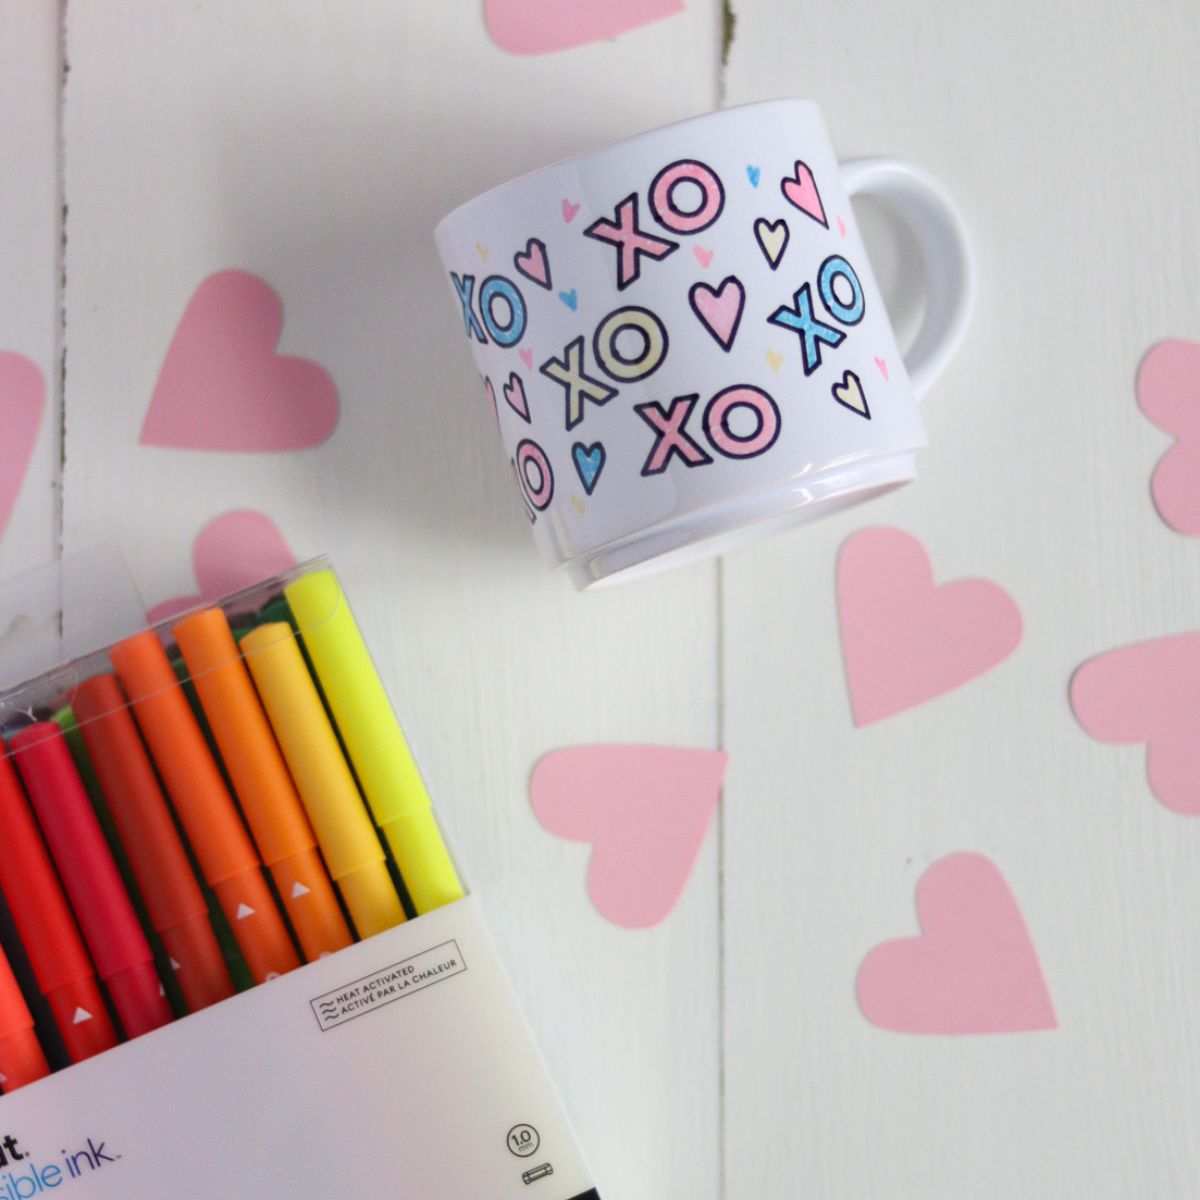
I love how this set came out. The infusible ink creates a long-lasting mug without worrying about vinyl falling off when it’s washed.
This design features an element where the colors are layered. I learned a lot during this process, so I’m sharing it with you.

How to Layer Infusible Ink on a Mug
Supplies Needed:
- Infusible Ink Sheets (green and red)
- Heat transfer tape
- Cricut (I use a Cricut Maker 3)
- Cricut Mugs
- Mug Press
- Easy Press Mat

Things to Know About Infusible Ink
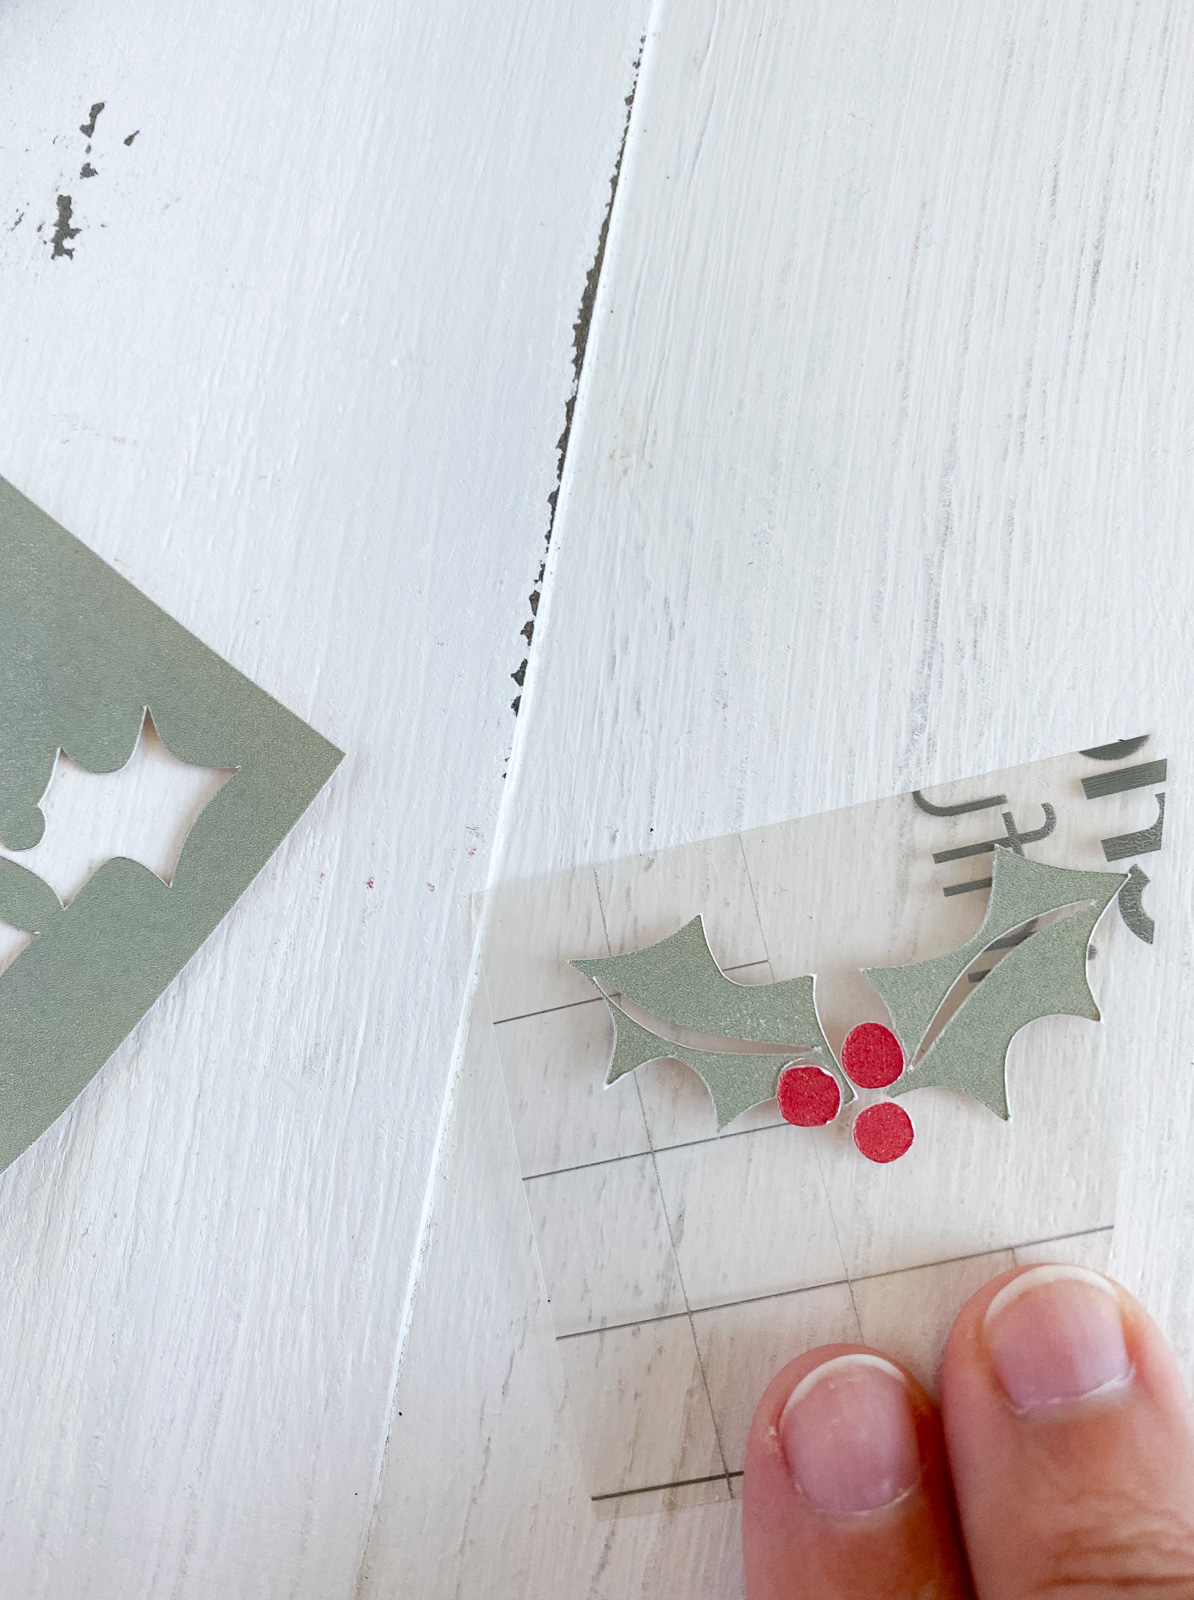
- Infusible ink is transparent, so colors can blend where they overlap. The shapes need to be cut apart. Alternatively, dark colors can be layered over lighter colors.
- Make several copies of the design before you cut them apart.
- Use the combine option to cut designs apart. Use the slice option in Cricut Design Space. (The design below has already been cut apart.)
- You can transfer the designs separately or place the second color onto the first color’s transfer backing.
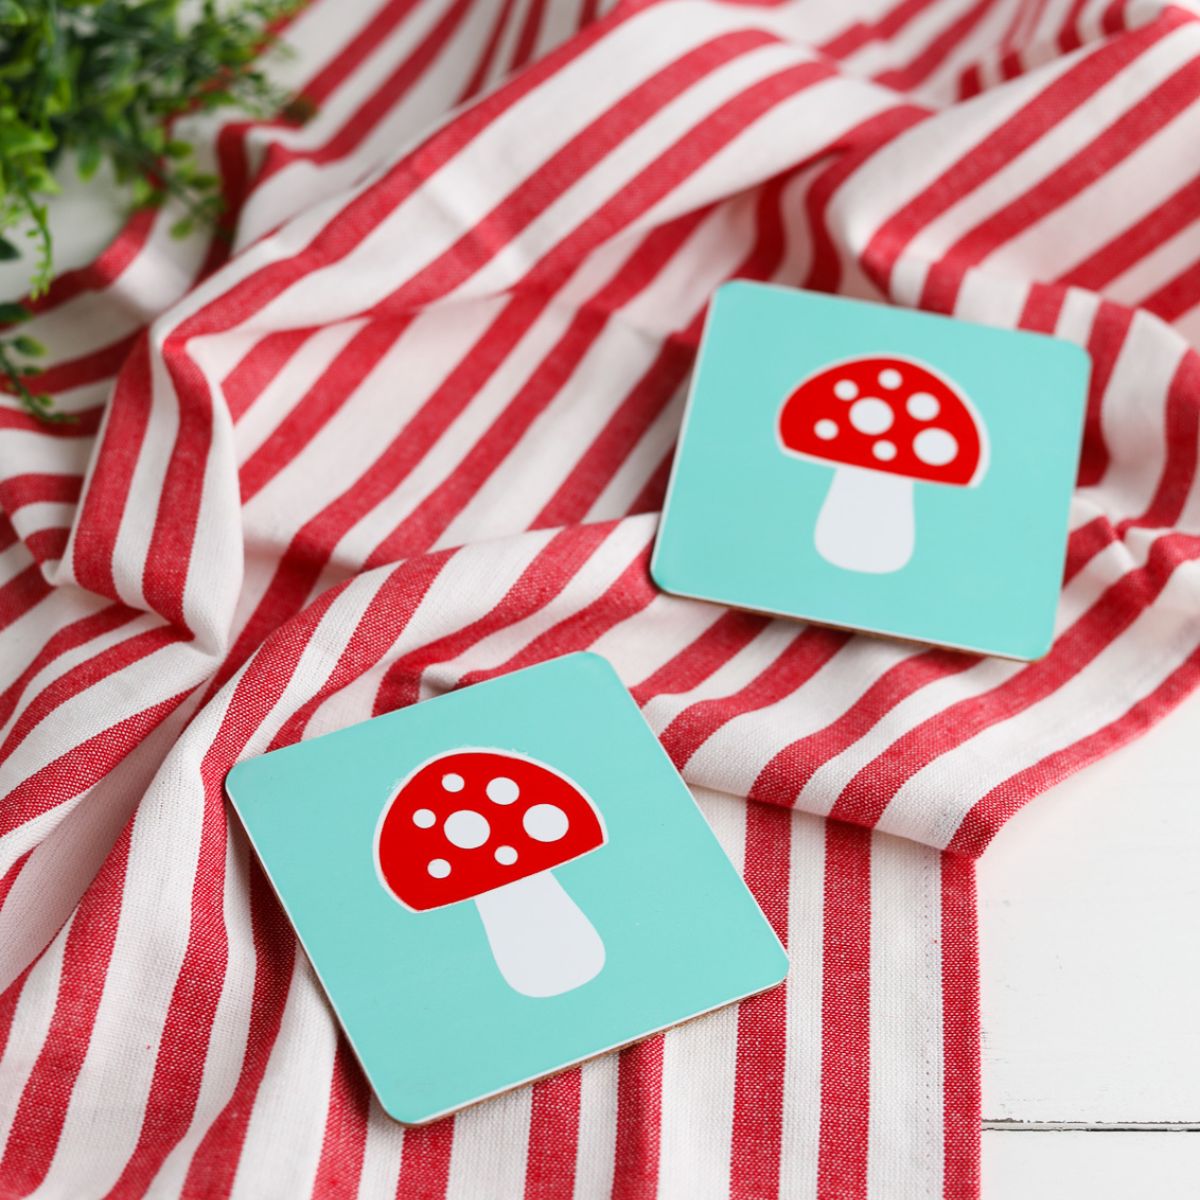
- You can also layer designs if the colors don’t touch. I did this with these mushroom coasters.
- Infusible ink is sensitive to oils and lotions, so make sure that your hands are clean.
Directions
If you’ve never used a mug press before, be sure to check out this in-depth mug press tutorial first.
- Upload the design as usual. Be sure to attach the design to keep it together.
- Mirror the design.
- Cut as usual. The ink side faces up on the Cricut mat.
- Weed the infusible ink sheets. Don’t use tools because they can damage the ink. Use your fingers instead.
- Cut apart the designs to make them fit better. I kept “Santa” together and applied each holly leaf set separately.
- Add the 2nd color to the first color’s transfer backing sheet. In this case, you will be adding the berries to the leaves.
- Use heat transfer tape to place the designs onto the mug.

- Place the mug in the Mug Press when it’s ready.
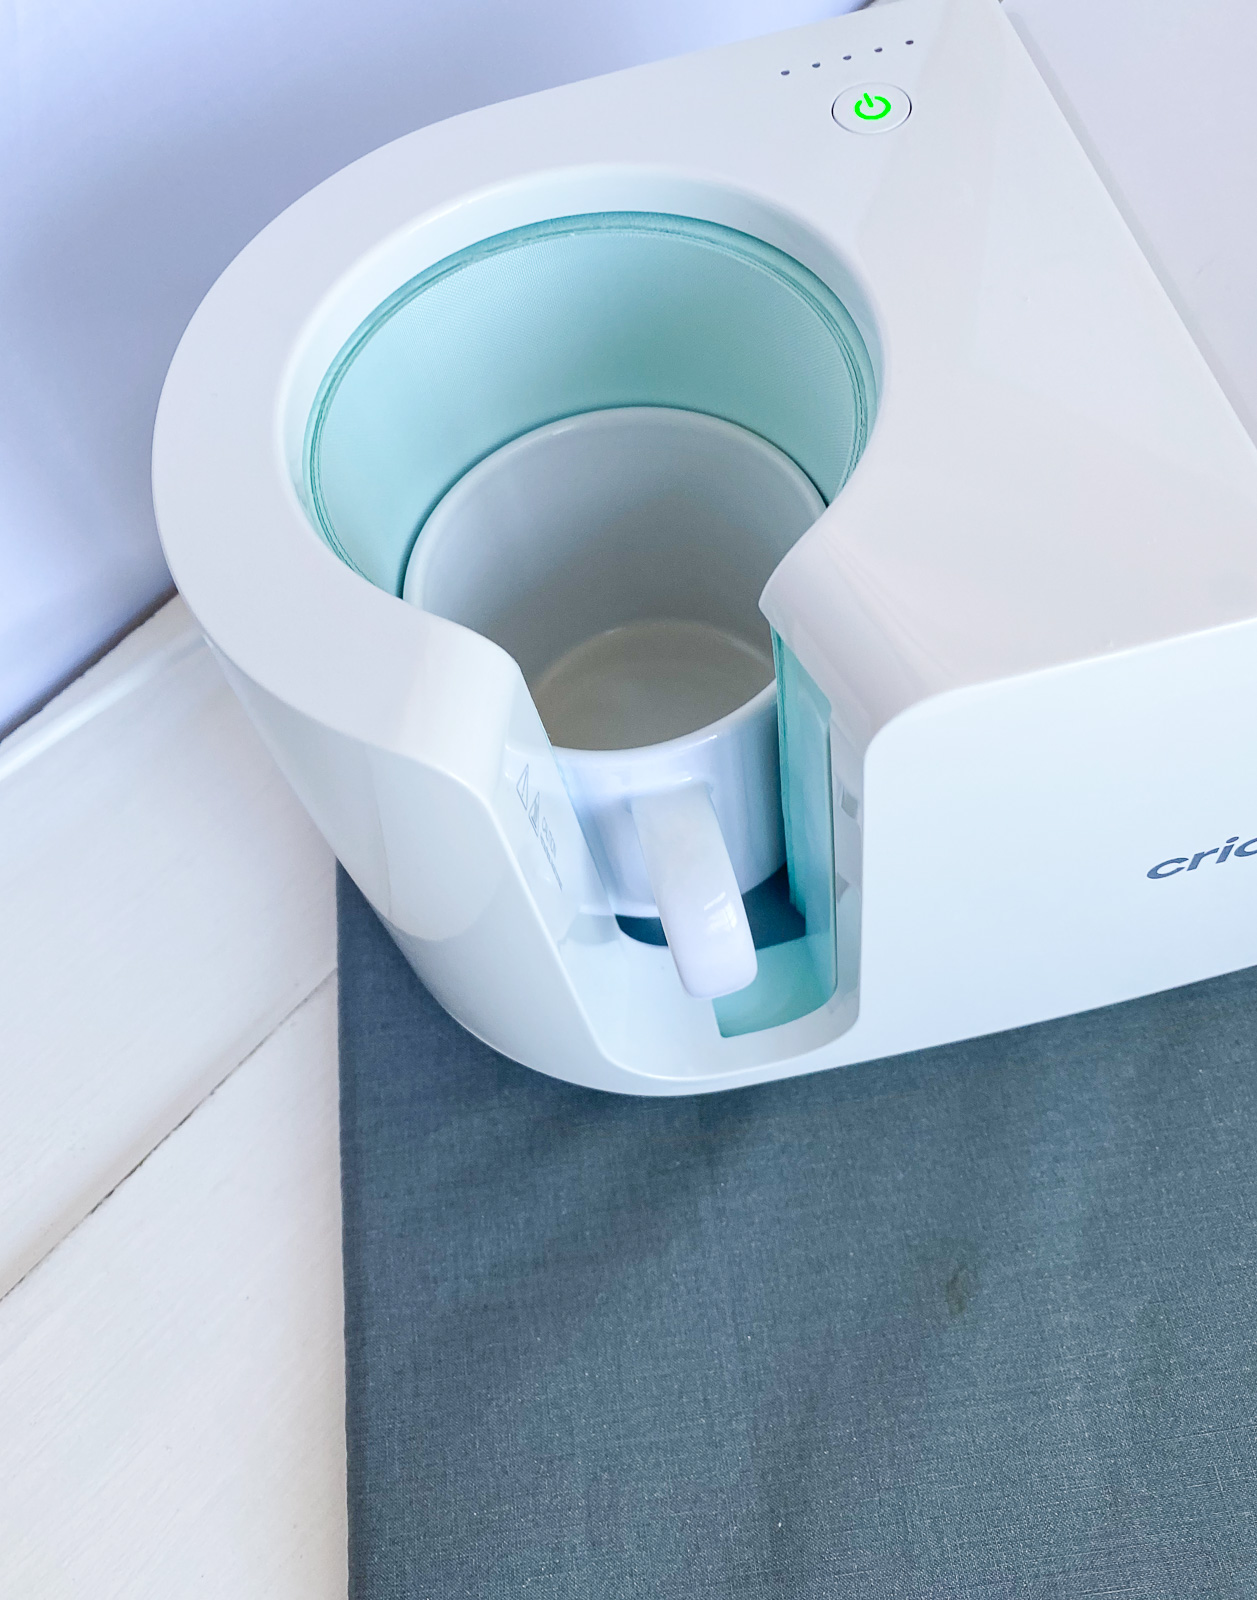
- Press the start button and let the mug press run. It takes about 6 minutes.
- Remove the mug and let it cool on the Easy Press mat.
- After the mug cools, remove the transfer sheet.


Download a Santa Mug SVG
This design has already been cut apart.
Free downloads are for personal use only. Please do not redistribute or sell.
Other Christmas Projects
Pin for Later!