How to Use Vinyl with Cricut
Learn how to use vinyl with a Cricut. Get my best tips for cutting, weeding, and applying vinyl to your Cricut crafts.
New to Cricut? Check out these Cricut tutorials for beginners.

This post contains affiliate links. By purchasing an item through an affiliate link, I earn a small commission at no extra cost to you. As an Amazon Associate I earn from qualifying purchases.
For reference, I’m using a Cricut Maker 3 and Cricut Premium Vinyl.
How to Use Cricut Vinyl
Vinyl is one of my favorite crafting materials because it’s really easy to use. In my opinion, it’s the best thing to learn to cut if you’re new to Cricut.
Getting the Vinyl Ready for Cutting
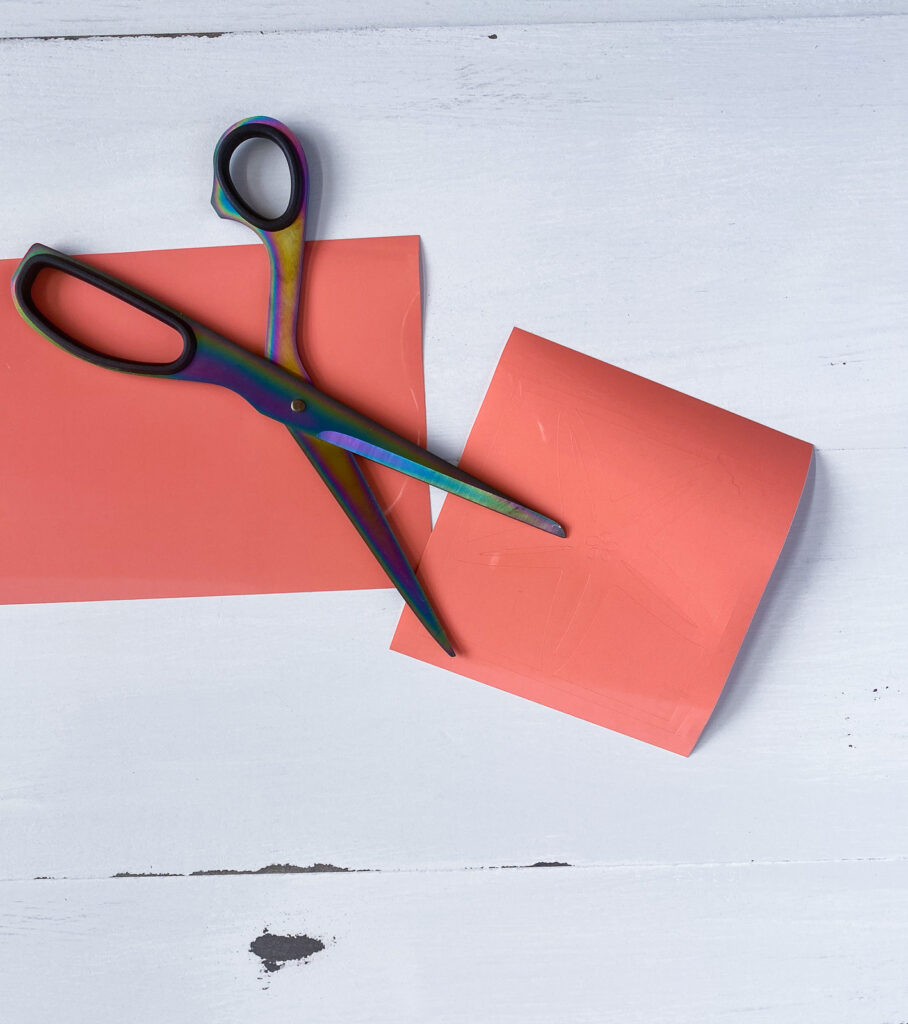
To avoid wasting vinyl, I like to cut my vinyl slightly larger than the design. So if the design is 4″ long, I will cut my vinyl to 5″ long.
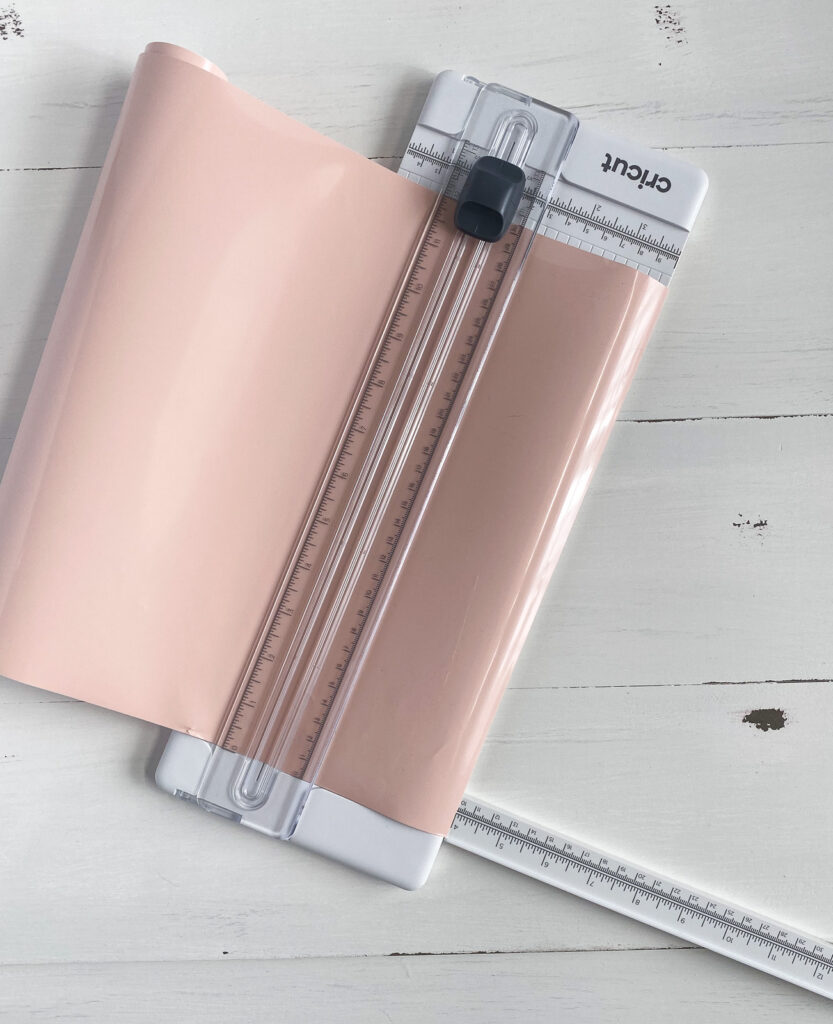
The paper trimmer is really helpful for trimming vinyl, but scissors work as well.
The standard grip mat works with vinyl.
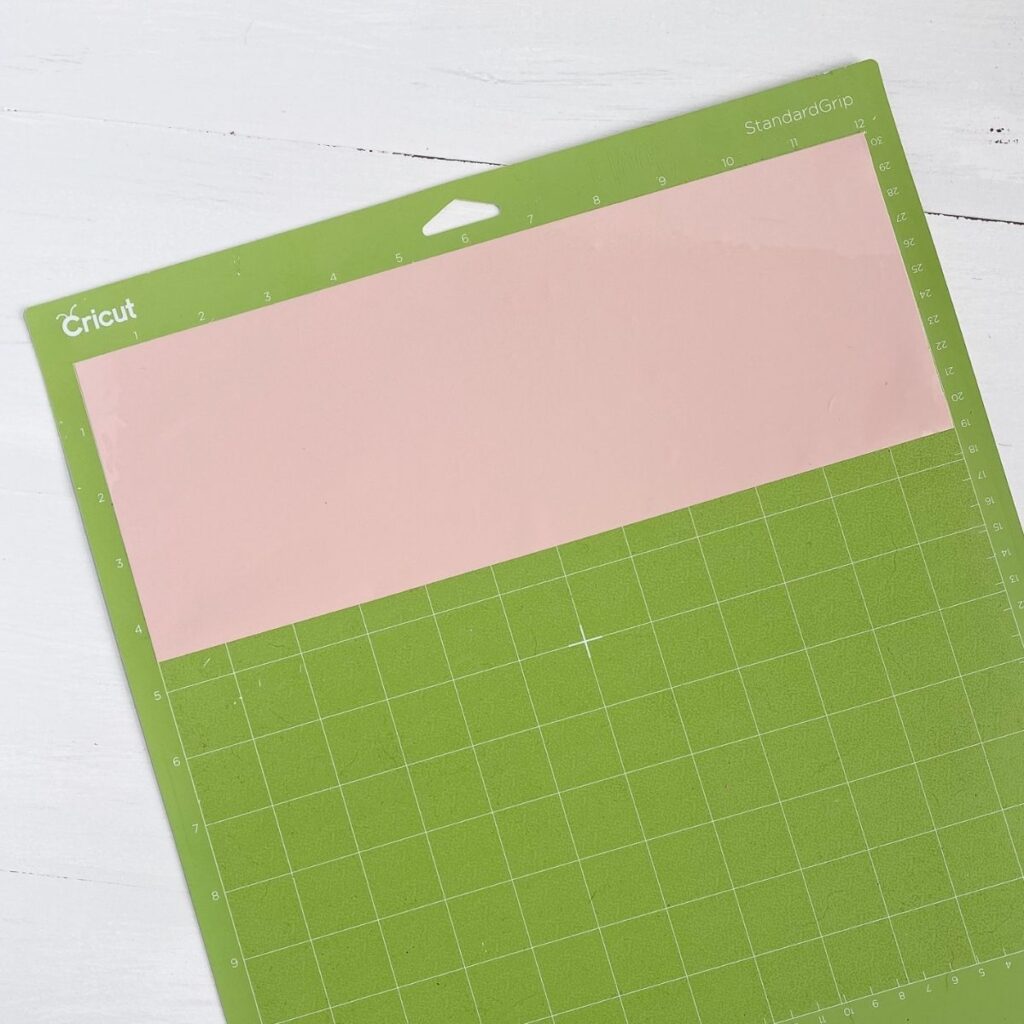
Apply the vinyl to the top of the mat, smoothing as you go. The shiny side goes up and the paper backing faces the mat.
Cutting the Vinyl
Unline iron-on vinyl, regular vinyl does NOT need to be mirrored when cutting.
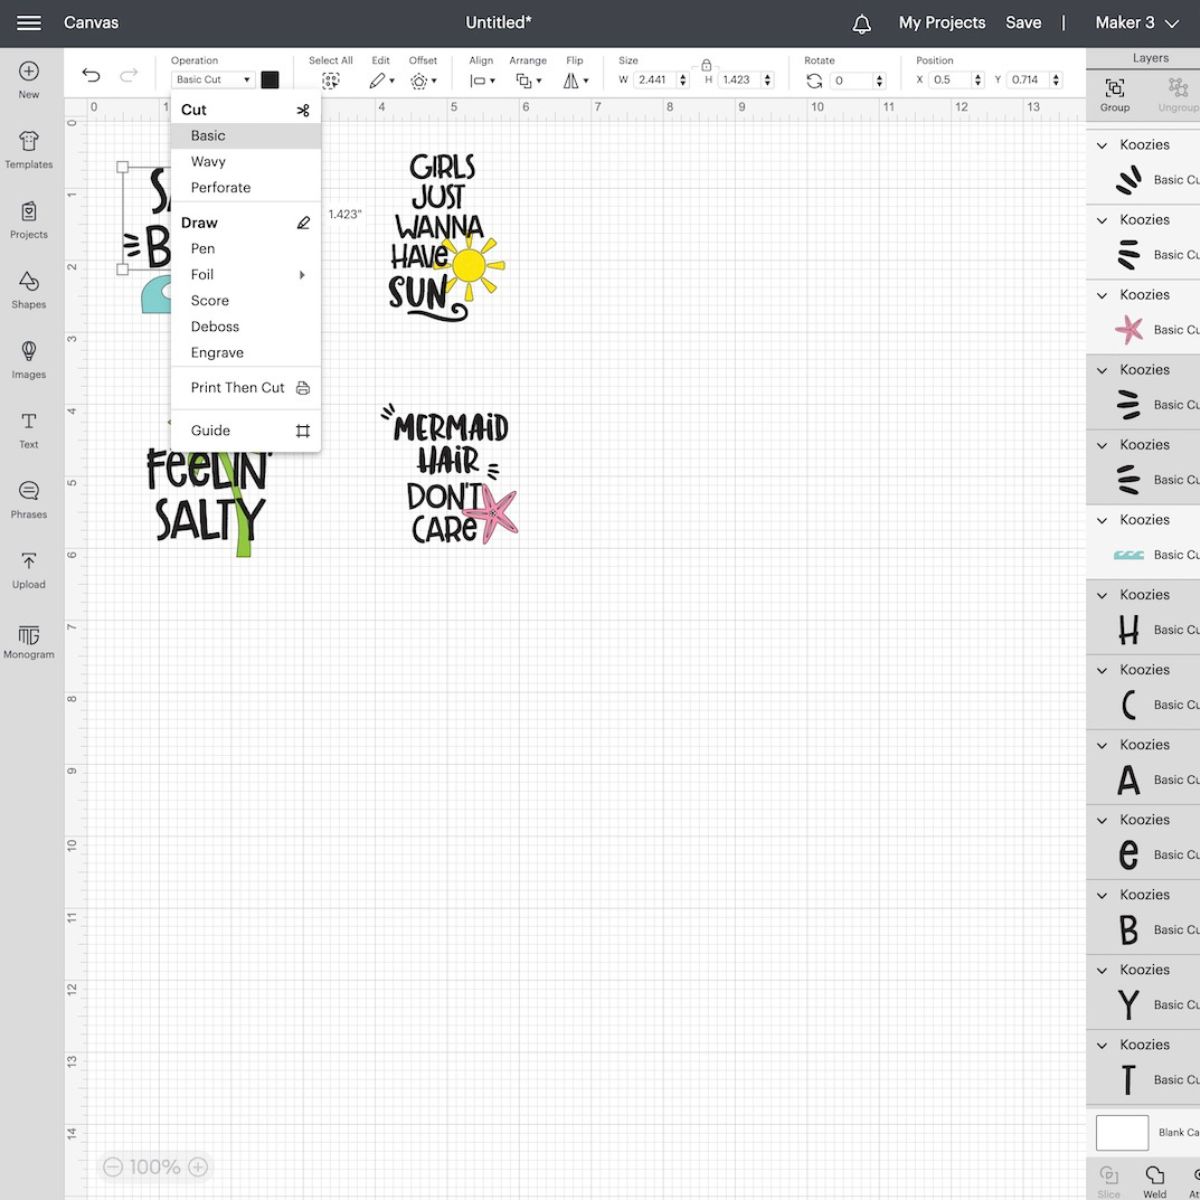
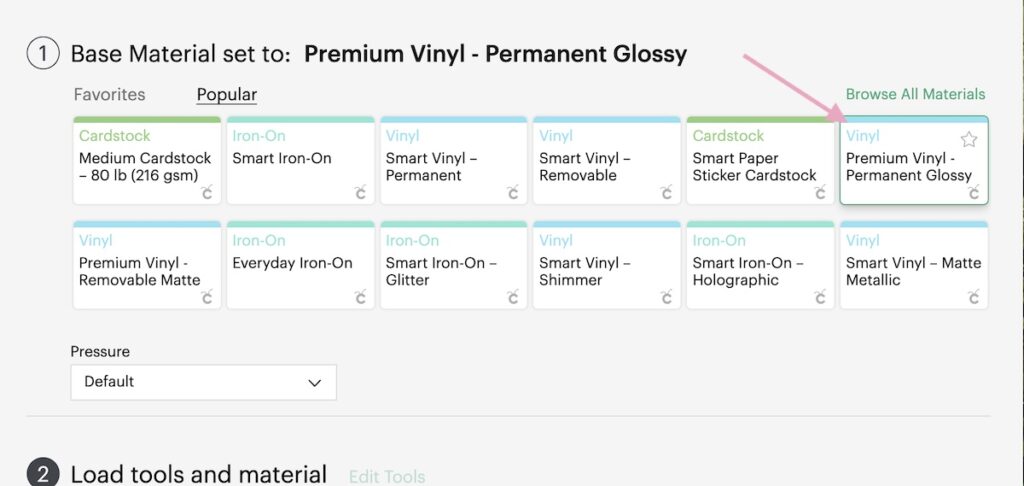
After uploading the design and resizing it, it’s time to choose your material.
Cricut Design Space offers many materials, so choose the one closest to the one you’re using. In most cases, the premium permanent vinyl setting will work fine.
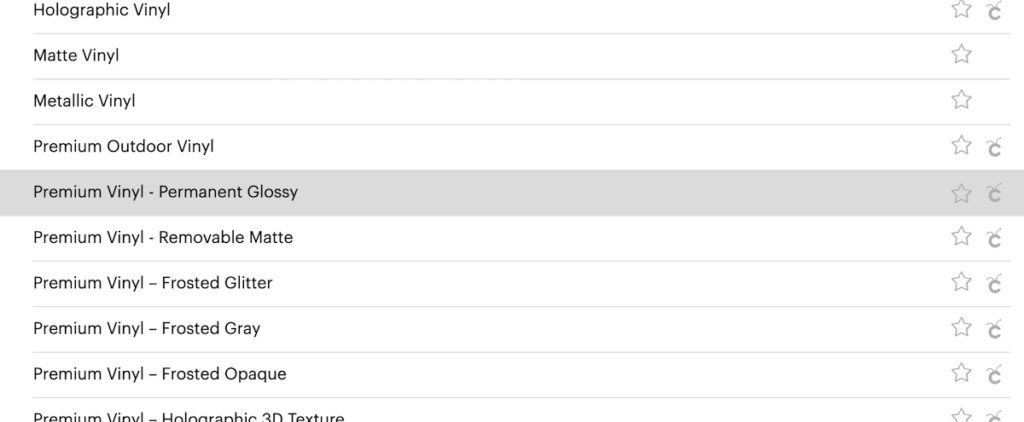
If you’re using smart vinyl, make sure you choose that instead since it’s much thicker than normal vinyl.
If you craft with vinyl a lot, you can toggle on the heart to add the option to your favorites. It’s also a setting in the popular section.
Vinyl is cut with a fine-point blade.
Click start and the Cricut will start cutting the design.
Sometimes you need more cuts than a single 12×12″ sheet of vinyl can hold. Or you might want the same design cut in another color. This is really easy to do!
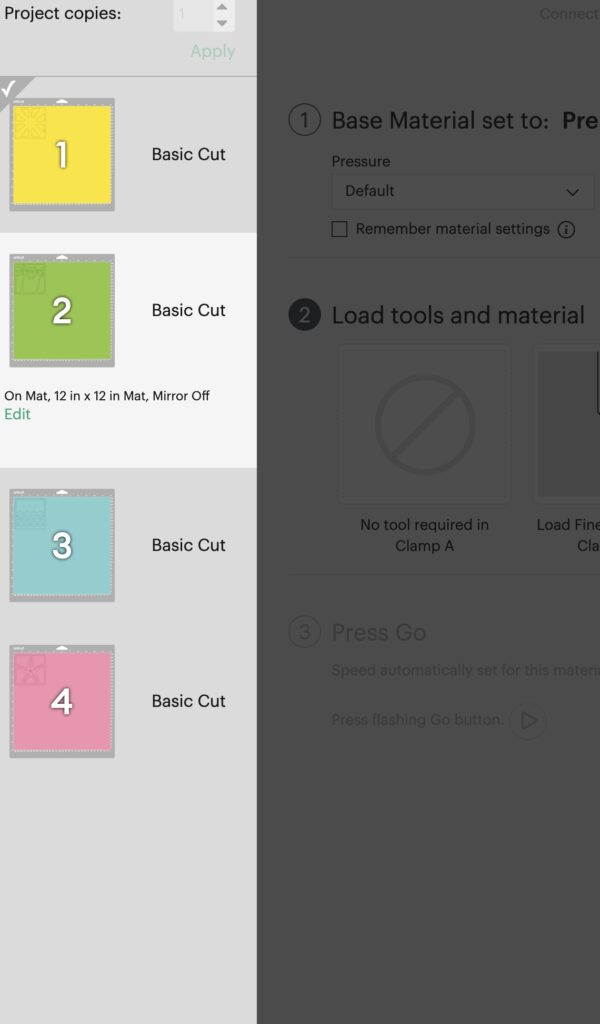
When your first cut is finished, unload the mat, remove the vinyl, and place another sheet of vinyl onto the mat.
Reload the mat. If your design is multiple colors, you will need to choose the material again.
Click the start button again to start cutting the new sheet.
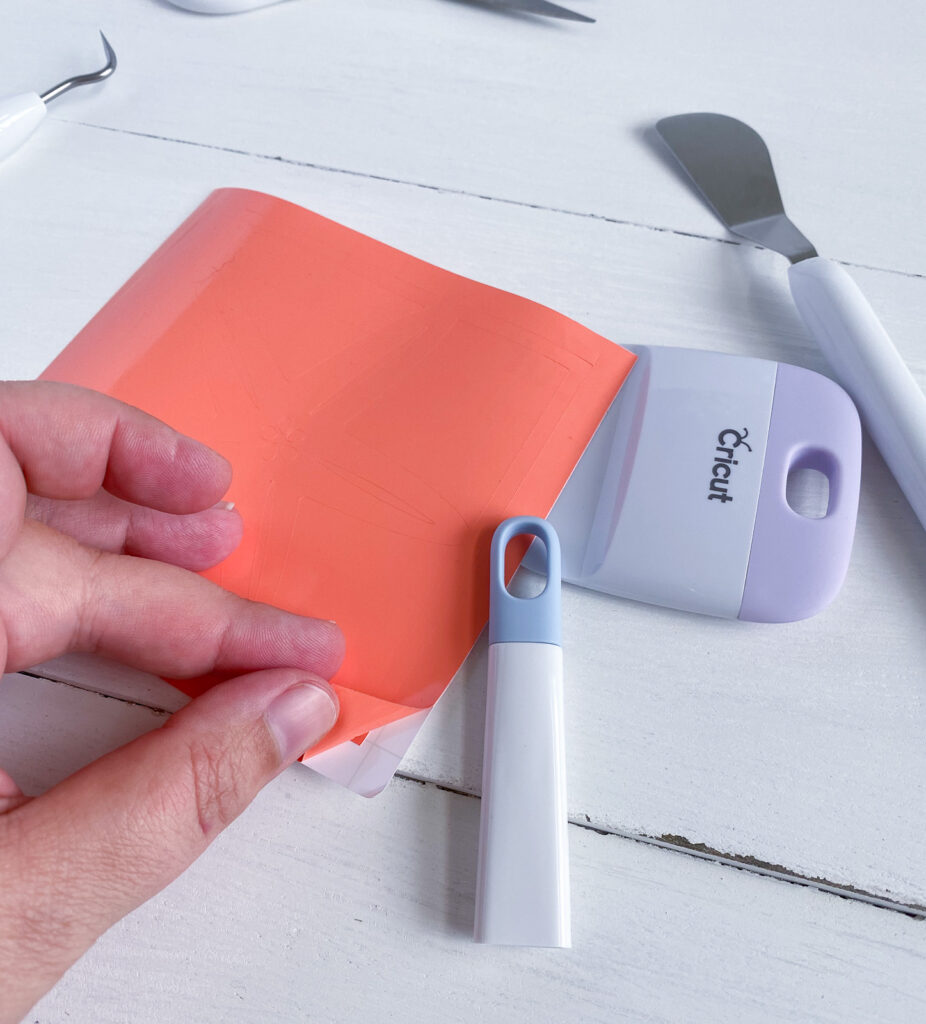
Weeding the Design
If there is more than one design on a sheet, I like to start by cutting the designs apart. (You can also create boxes around your design in the design process.)
From there, I remove the excess vinyl from the outside of the design. It’s easiest to start in a corner and bend it slightly to make it easier to peel.
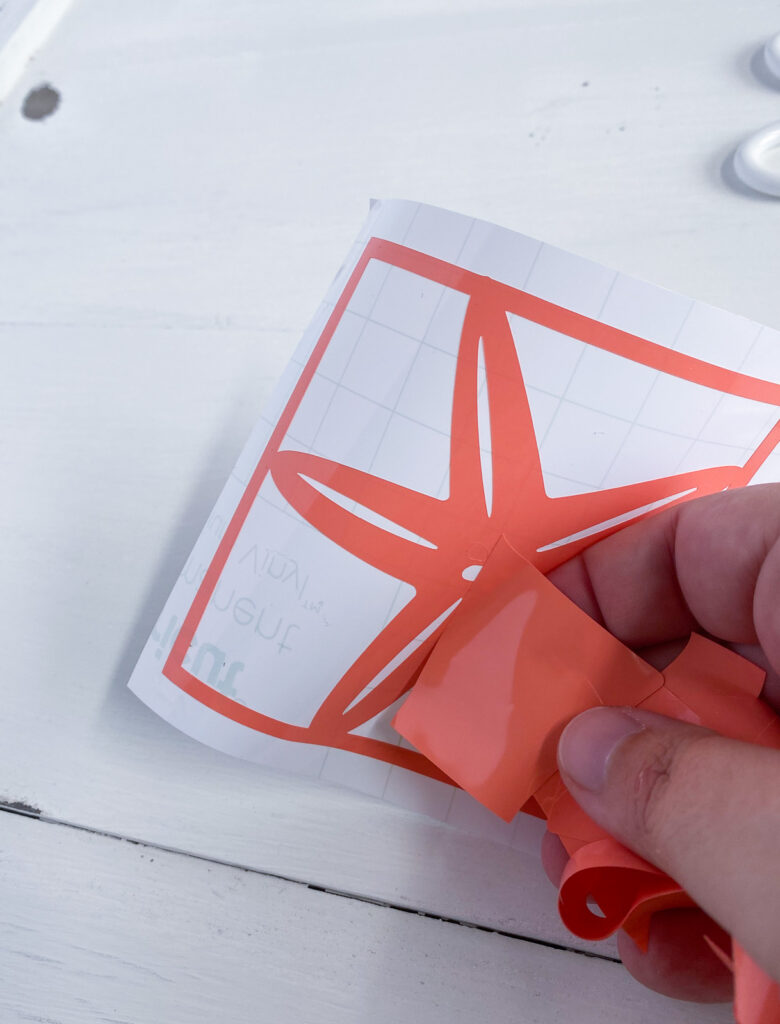
Peel away as much as you can, being careful to not remove tiny parts of the design.
If your design is large, you can cut away excess pieces as you go.
For smaller, inner pieces, I like to use the pick tool. Bending the vinyl makes it easier to remove.
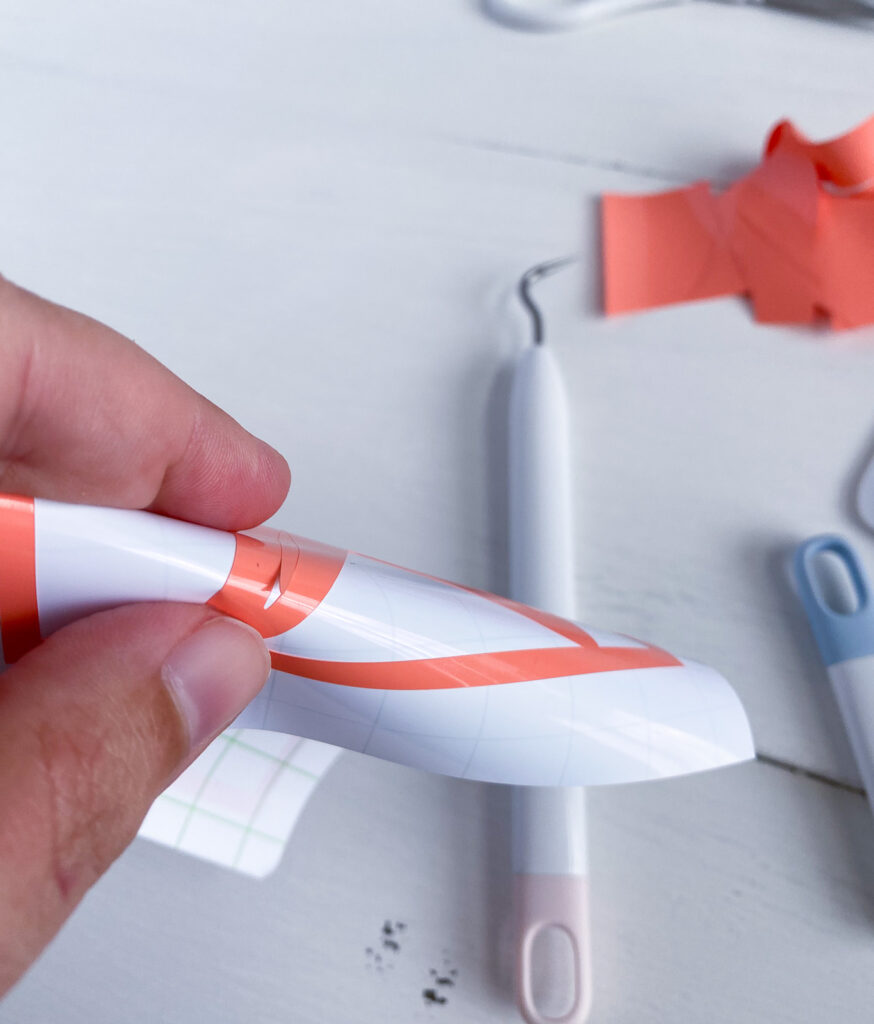
If there are really tiny cuts on a larger design, you can use the weeded vinyl and place it on top of the design to pick up the tiny bits.
Applying the Vinyl
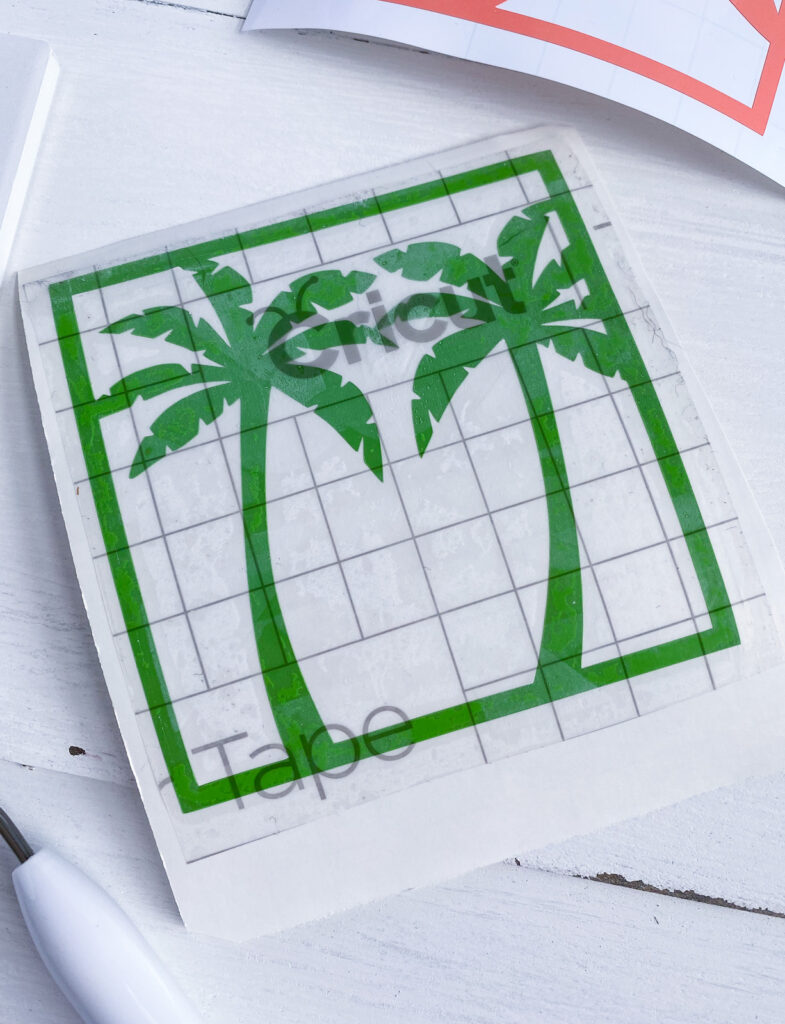
Vinyl is applied to a surface with transfer tape.
Cricut transfer tape is my favorite brand because it has a gridded pattern on it that allows you to perfectly align the design.
If you want your design to be perfect, you can even measure where you want it.
For smooth, shiny surfaces, like mugs and glasses, I like to wipe them down with rubbing alcohol. This removes oils from your hands that will prevent the vinyl from sticking.
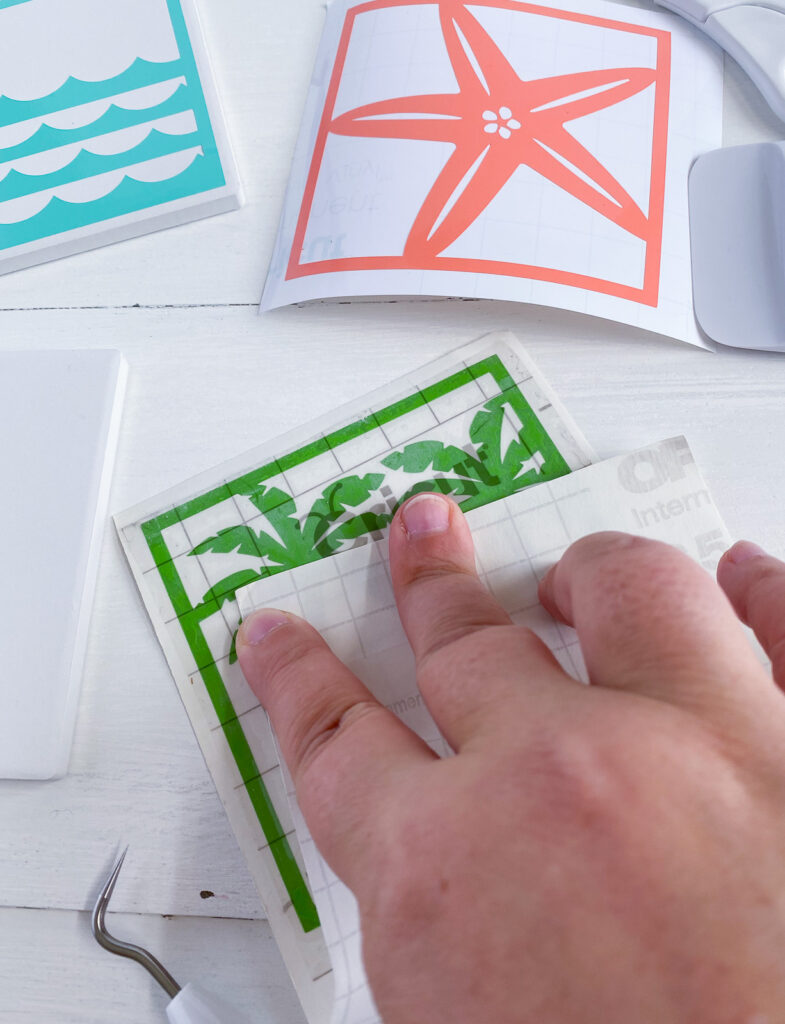
Peel the backing from the transfer tape and apply the sticky side to the front side of the vinyl.
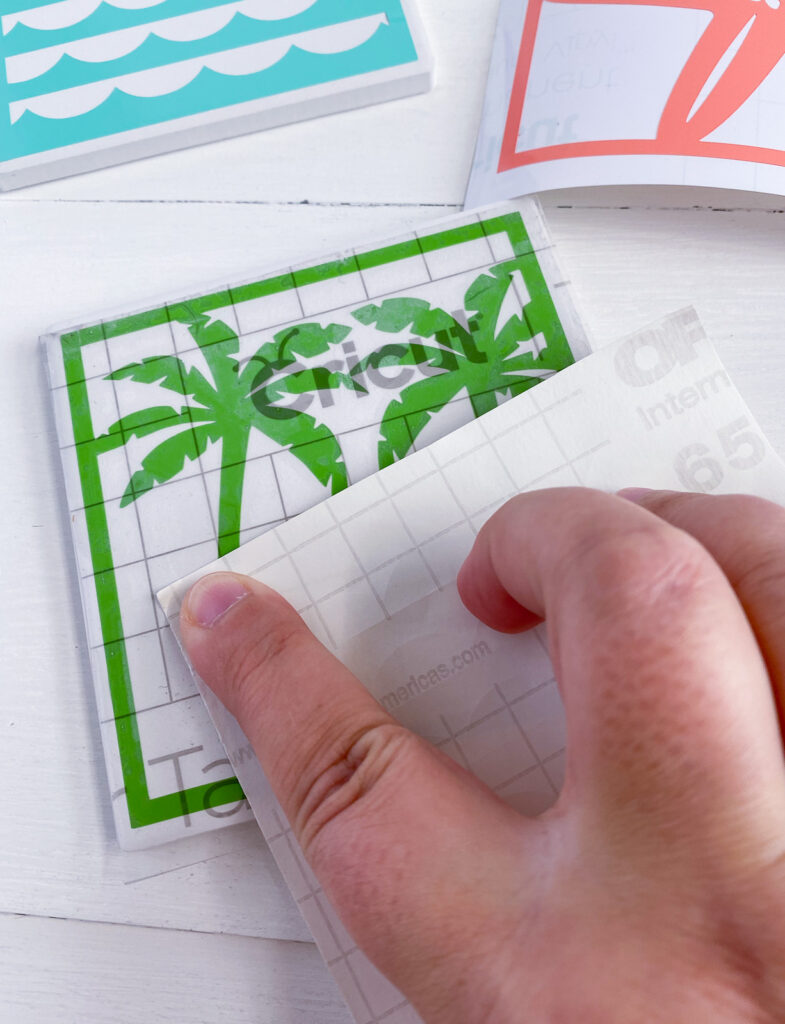
Use your hand or the scraper to burnish the design onto the transfer paper. (Smart vinyl is thicker and requires more pressure to make the vinyl stick to the transfer tape.)
When the design adheres to the transfer tape, remove the paper backing from the vinyl.
Make sure that your design is centered before placing it down. Place the design, sticky side down onto the surface.
Smooth the design as you go to make the vinyl adhere to the surface.
Remove the transfer tape. It can be reused a few more times.
Tips for Applying Cricut Vinyl
If your surface is curved, you might have a harder time getting the design to stick straight. Curved surfaces require simple designs or you have to be okay with a few tiny wrinkles.
When placing designs on clear glasses, fill the glass with water to get a level line to use for alignment.
When choosing your vinyl color, remember to consider contrast (unless you’re going for subtlety.) The vinyl color should stand out against the color of the surface.
So avoid light colors on white or dark colors on black surfaces.
Free SVGs
Be sure to check out my library of free SVG designs for vinyl. Almost every project that I make gets added.
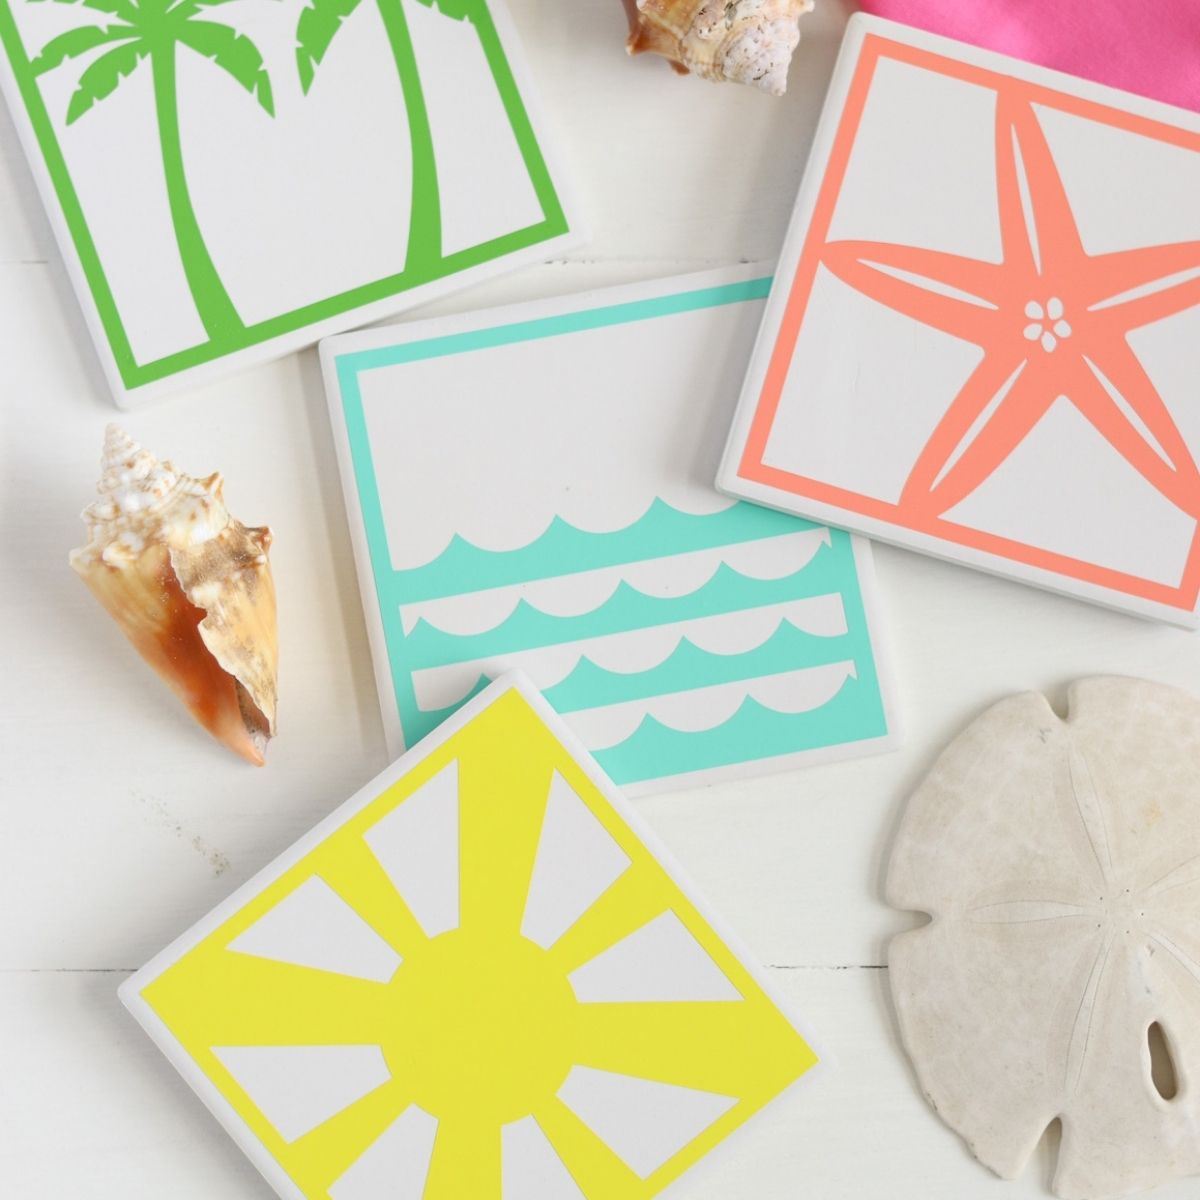
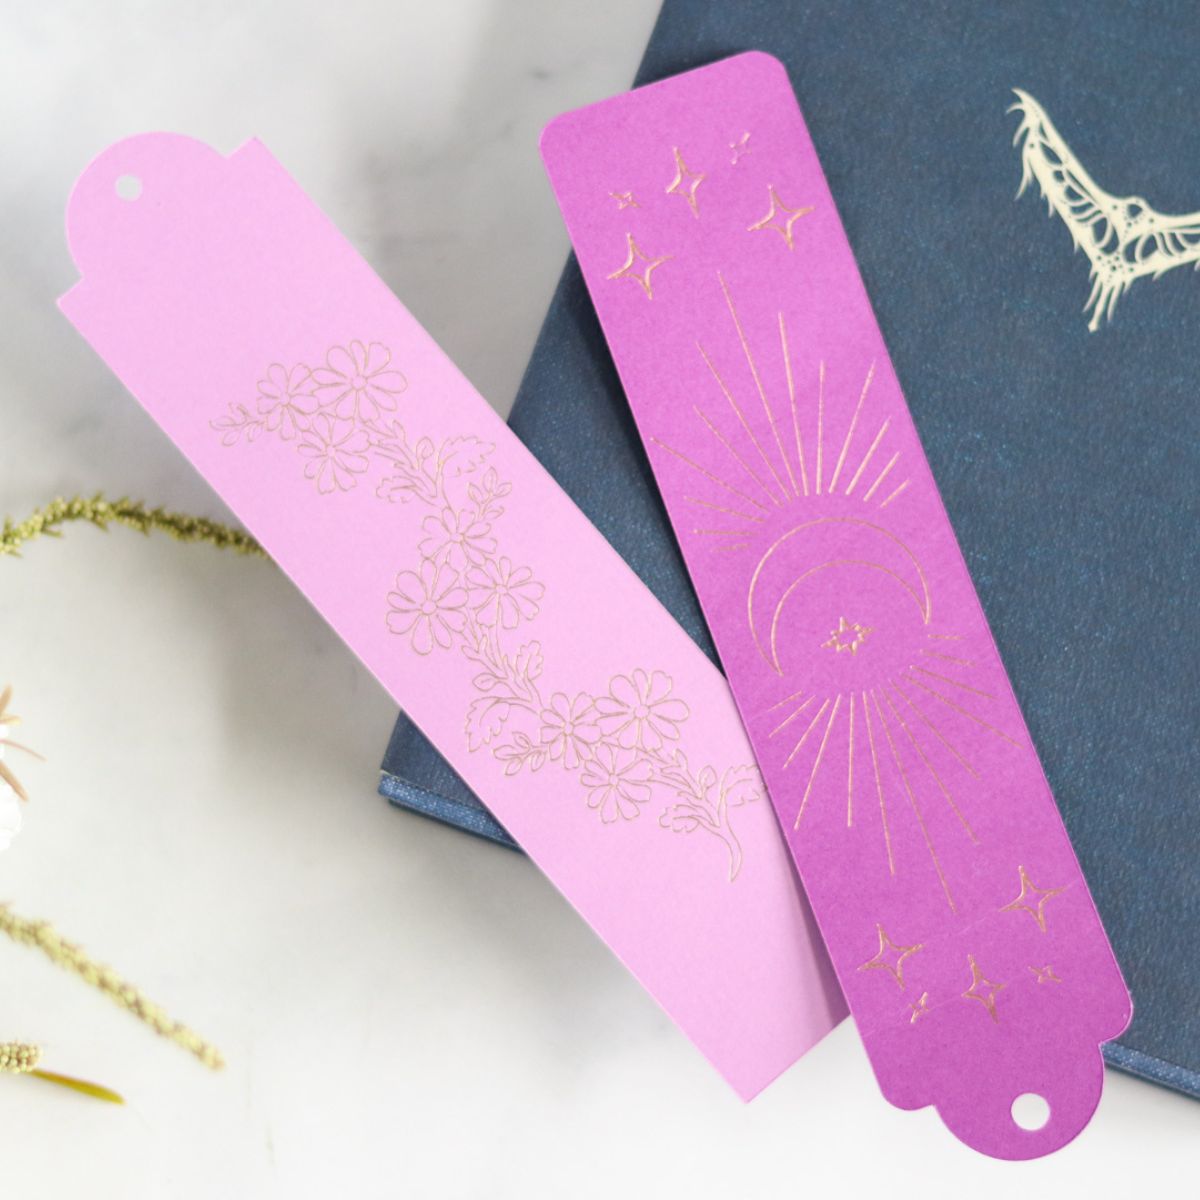
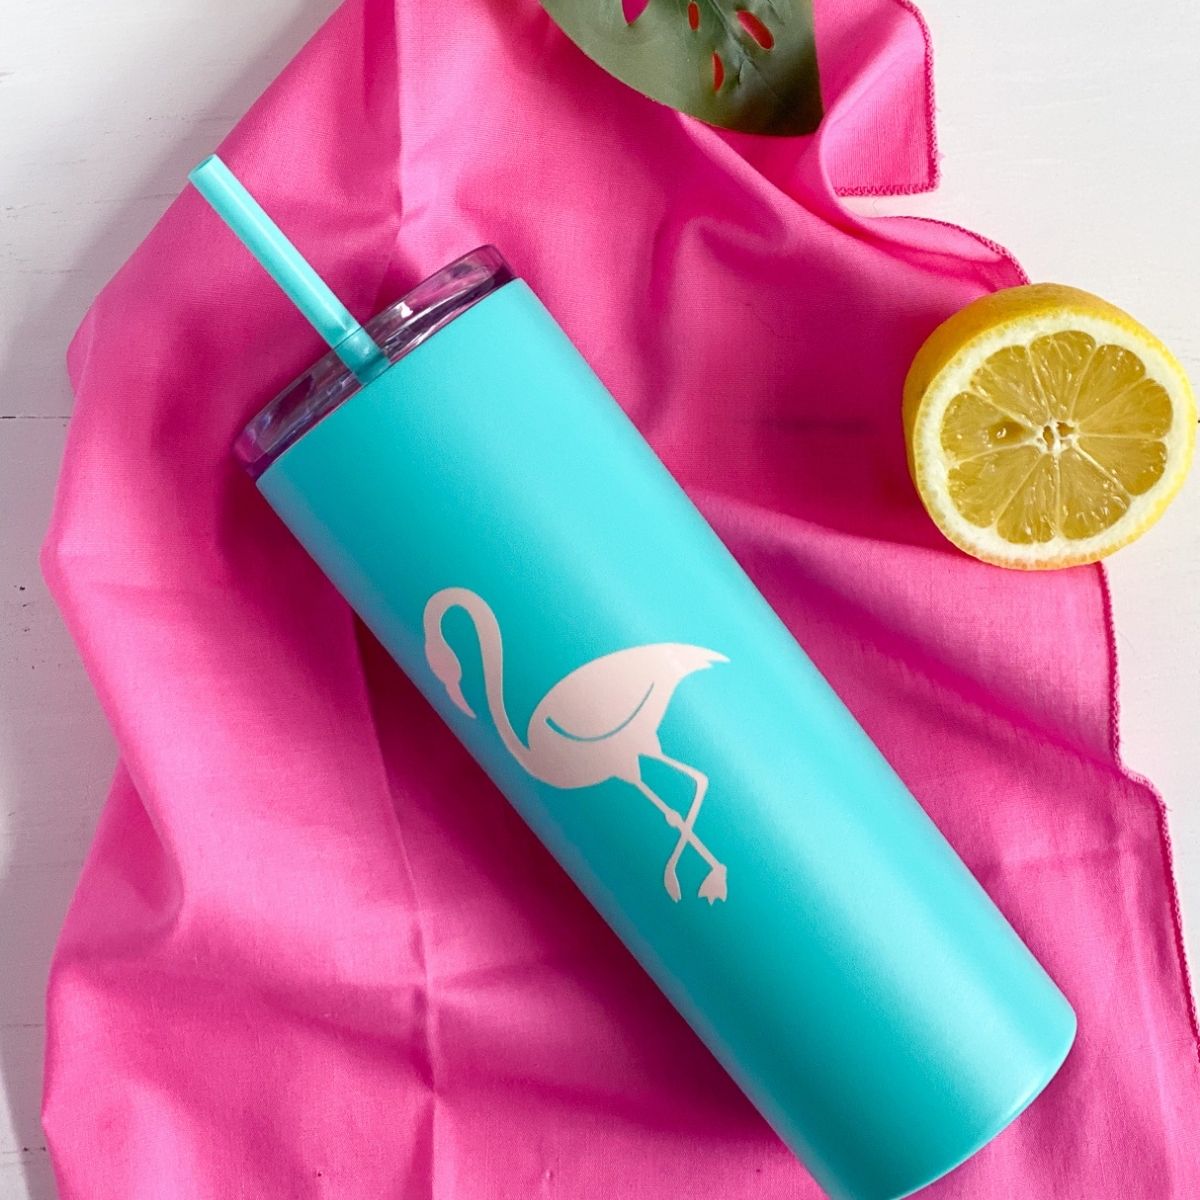
My Favorite Vinyl Projects
Pin for Later!