How to Use a Cricut Card Mat
Learn how to use a Cricut card mat. Make cards without the placement guesswork!
This post contains affiliate links. By purchasing an item through an affiliate link, I earn a small commission at no extra cost to you. As an Amazon Associate I earn from qualifying purchases.
All About Cricut Card Mats
Cricut card mats are mats that allow you to cut or draw on a card without having to figure out the placement of the design. Just select the mat and the software knows where to place the design.
The Cricut card mat originally was available for the Cricut Joy. It cuts a single card.
I used the mat that works with the other Cricut machines and can cut 4 cards at a time.
It works with all Cricut cards, including the insert cards, cutaway cards, and the new watercolor cards.
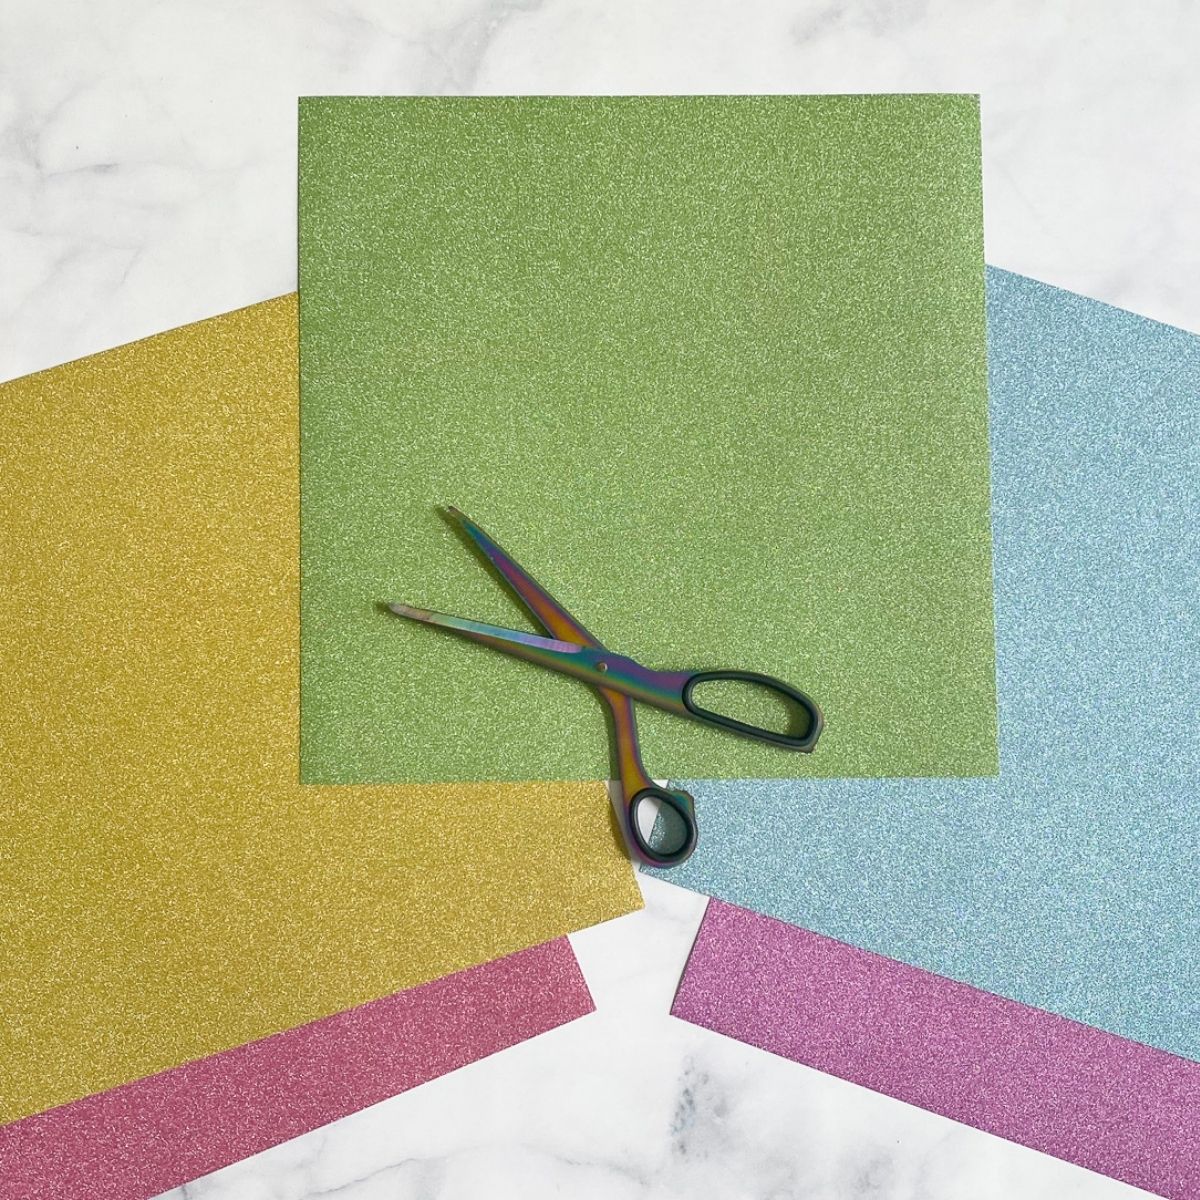
Can I Use My Own Cardstock with the Card Mat?
Yes, you can make your own cards if you want.
The mat works with the Cricut card sizes. At the time of writing this, here are the available sizes:
- 3.5 x 4.9″ (R10)
- 4.25 x 5.5″ (R20)
- 4.5 x 6.25″ (A6)*
- 4.75 x 6.5″ (R40)
- 4.75 x 4.75″ (S40)
*They seem to be phasing this size out, so it might not be available anymore.
When cutting your card, double the first measurement to make sure that it’s the right size. When folded in half, it will be the correct size.
If you’re making insert cards, the insert size for the R-20 cards is 4″ x 5.25″. It might vary if you make your own designs though.
I like to use a paper cutter to cut my cardstock for cards. A bone folder ensures that your card has a nice sharp fold.
Do I Need a Cricut Card Mat to Make Cards?
You don’t need a Cricut card mat, but it does make it easier.
Without the mat, you will need to know the size of your card, the placement for the design, and you will need to move the design on the mat prep page.
How to Use a Cricut Card Mat
Supplies Needed:
- Cricut card mat
- Card (I used the watercolor cards in size R20)
- Cricut (I used my Cricut Maker 3)
- Spatula tool
I also used watercolor paint to paint the watercolor card. This paint is pretty good for beginners. It even comes with a waterbrush.
- Make your design and attach it as usual. I made a simple design for this demo. The SVG link is at the bottom of this post.
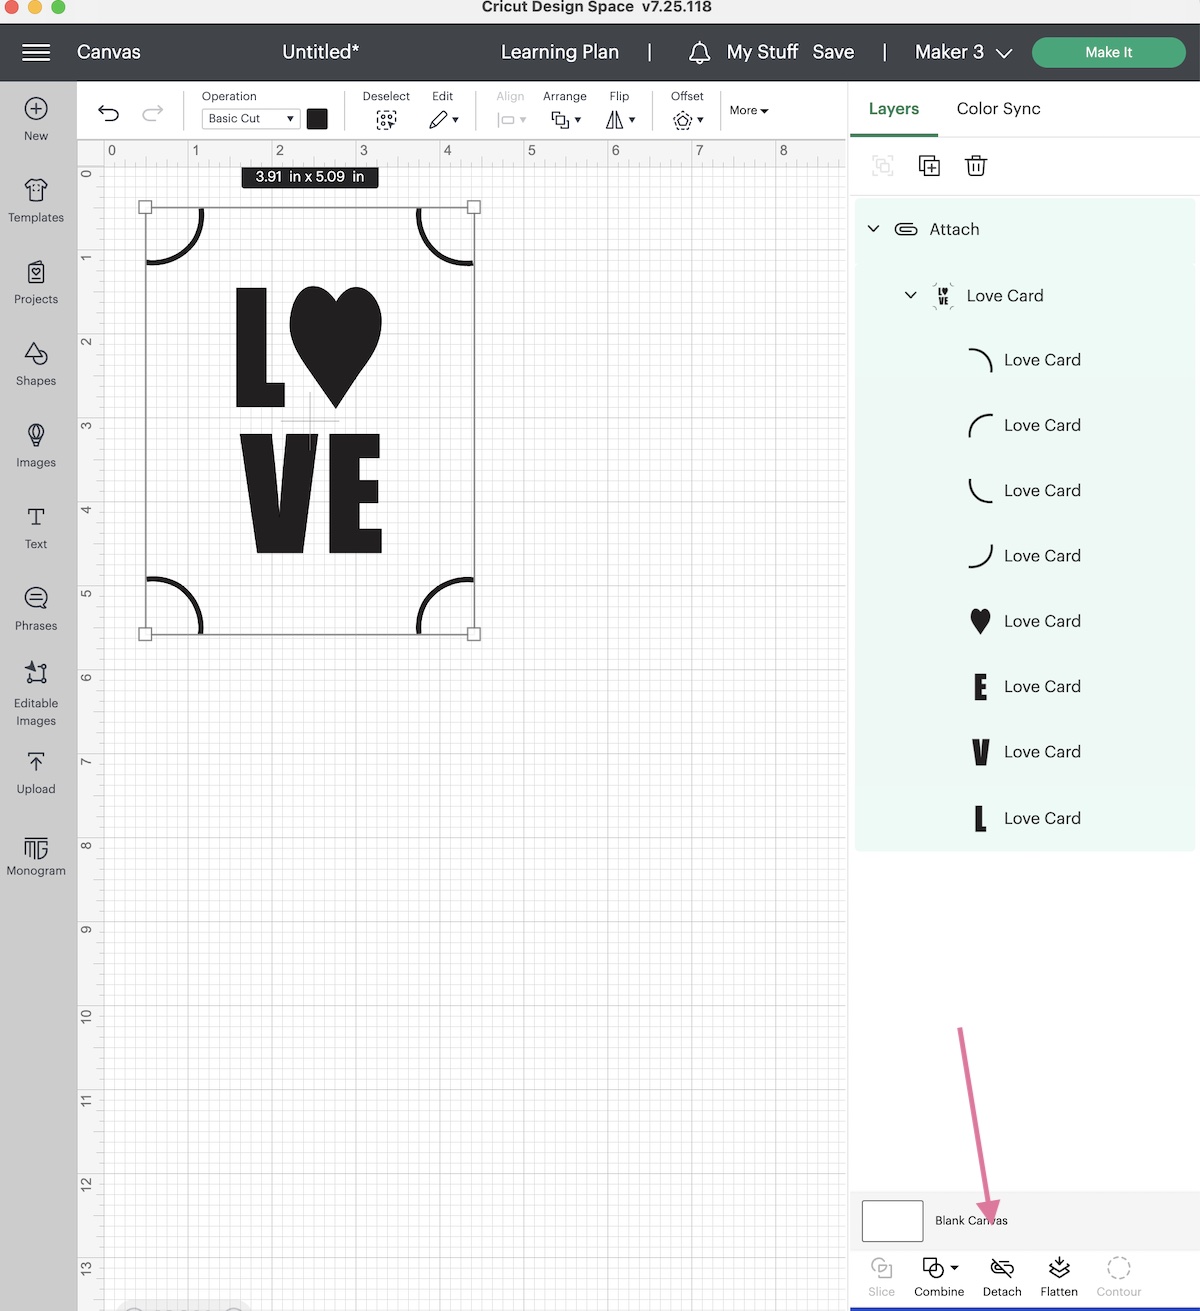
- Click make it when you’re ready.
- Select the card mat when prompted.

- Select the card size. If your card size isn’t showing up, resize the design slightly. It should show up now.
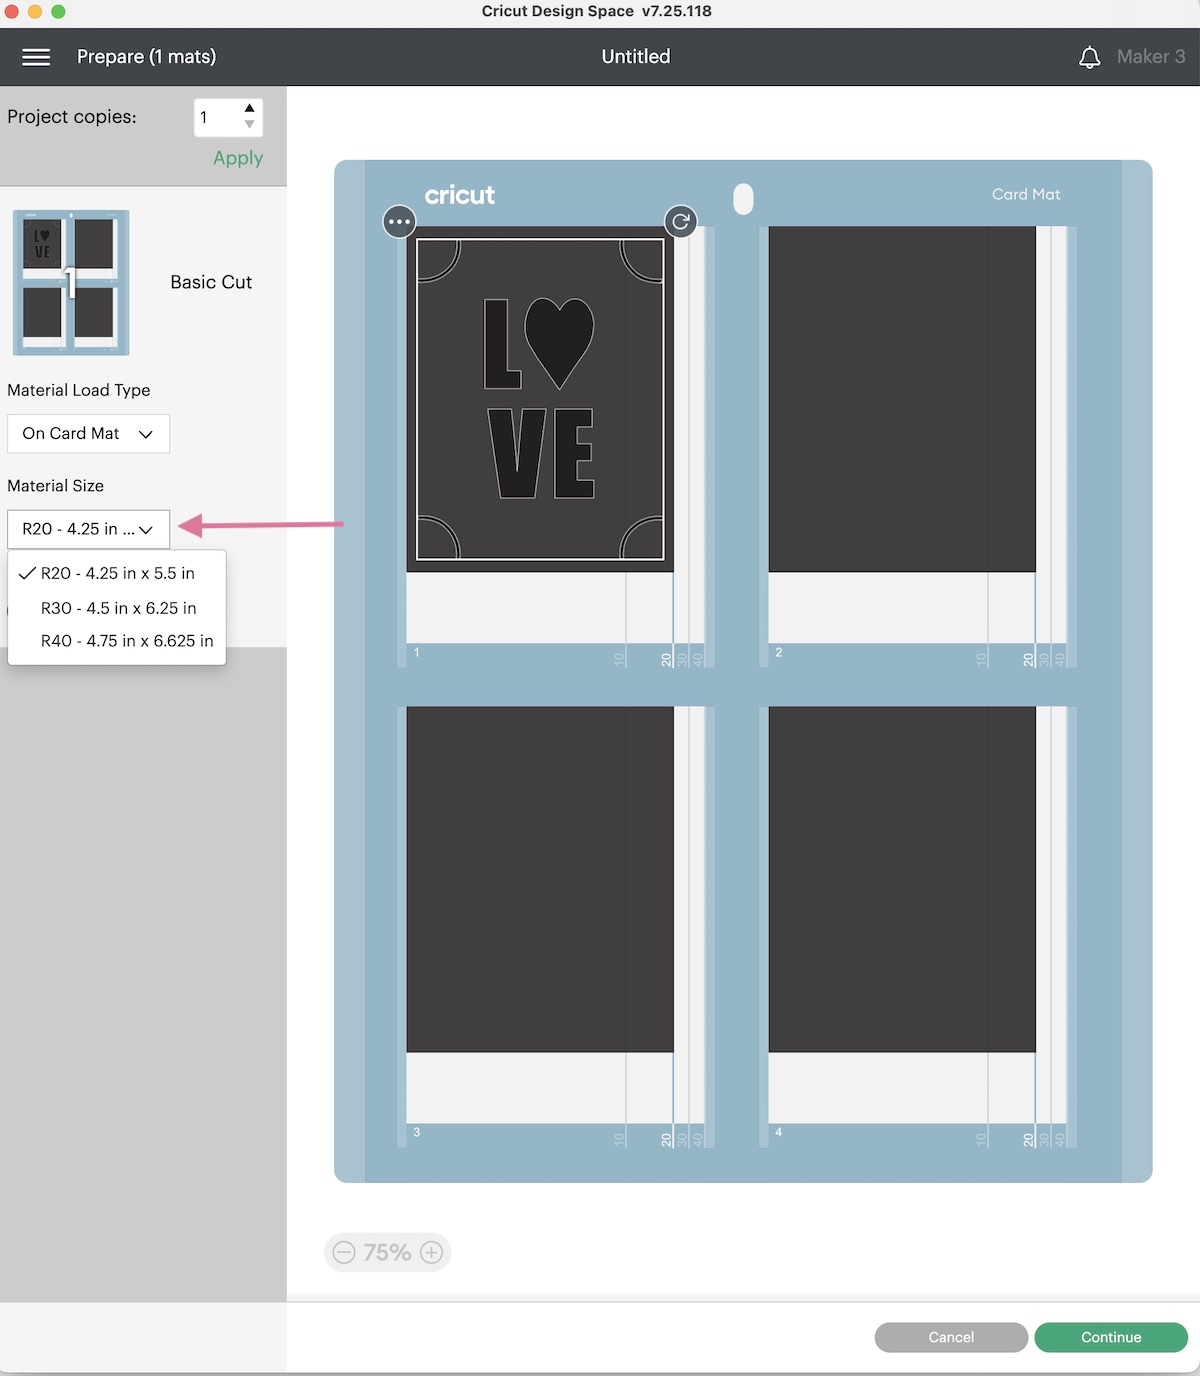
- If you want more than one copy, change the number of copies and hit apply.

- Click continue when you’re ready.
- Move the white star wheels out of the way if needed. They can leave marks on the paper.
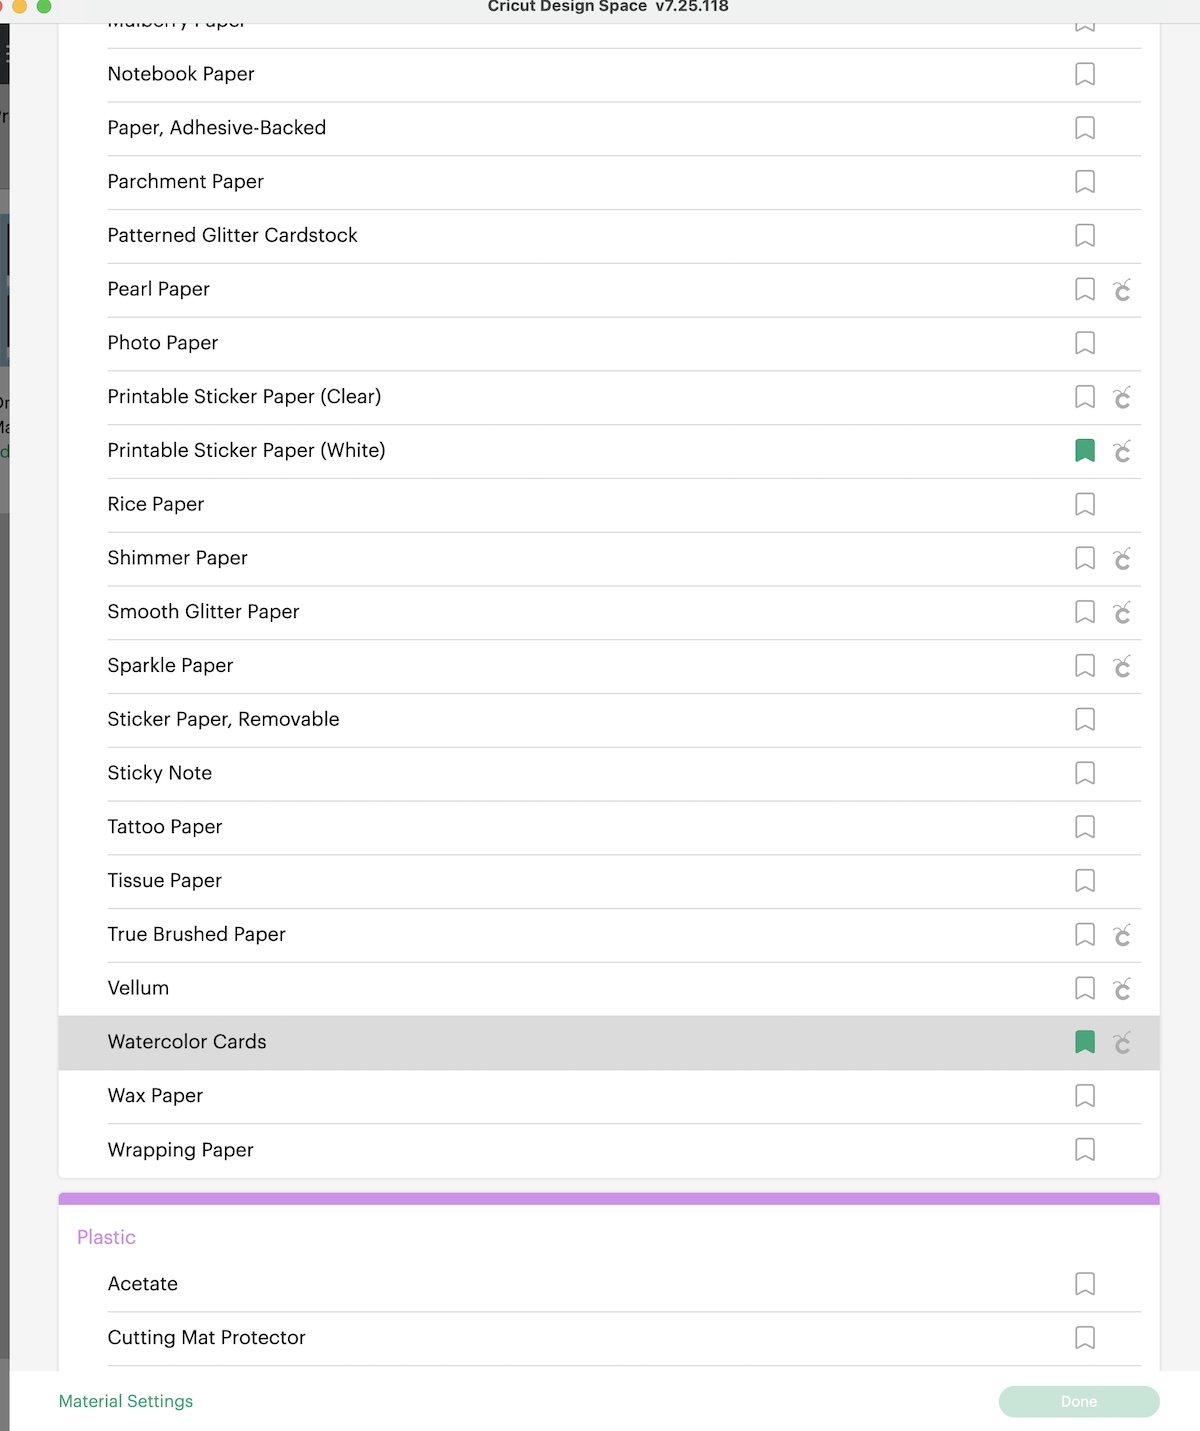
- Under materials, select the material you’re using. If you’re using Cricut watercolor cards, they are located under “paper”. The other cards are under cardstock. If you’re using cardstock, most cardstock can be cut with the light cardstock option. (If your cardstock is thicker though, choose a thicker cardstock option.)
- Remove the plastic protector and place the card in the card mat, aligning it at the top and along the fold.
- Press the card down to get it to stick to the sticky mat.
- Load the mat and cut as usual.
- When the card is finished cutting (or drawing), unload the mat.

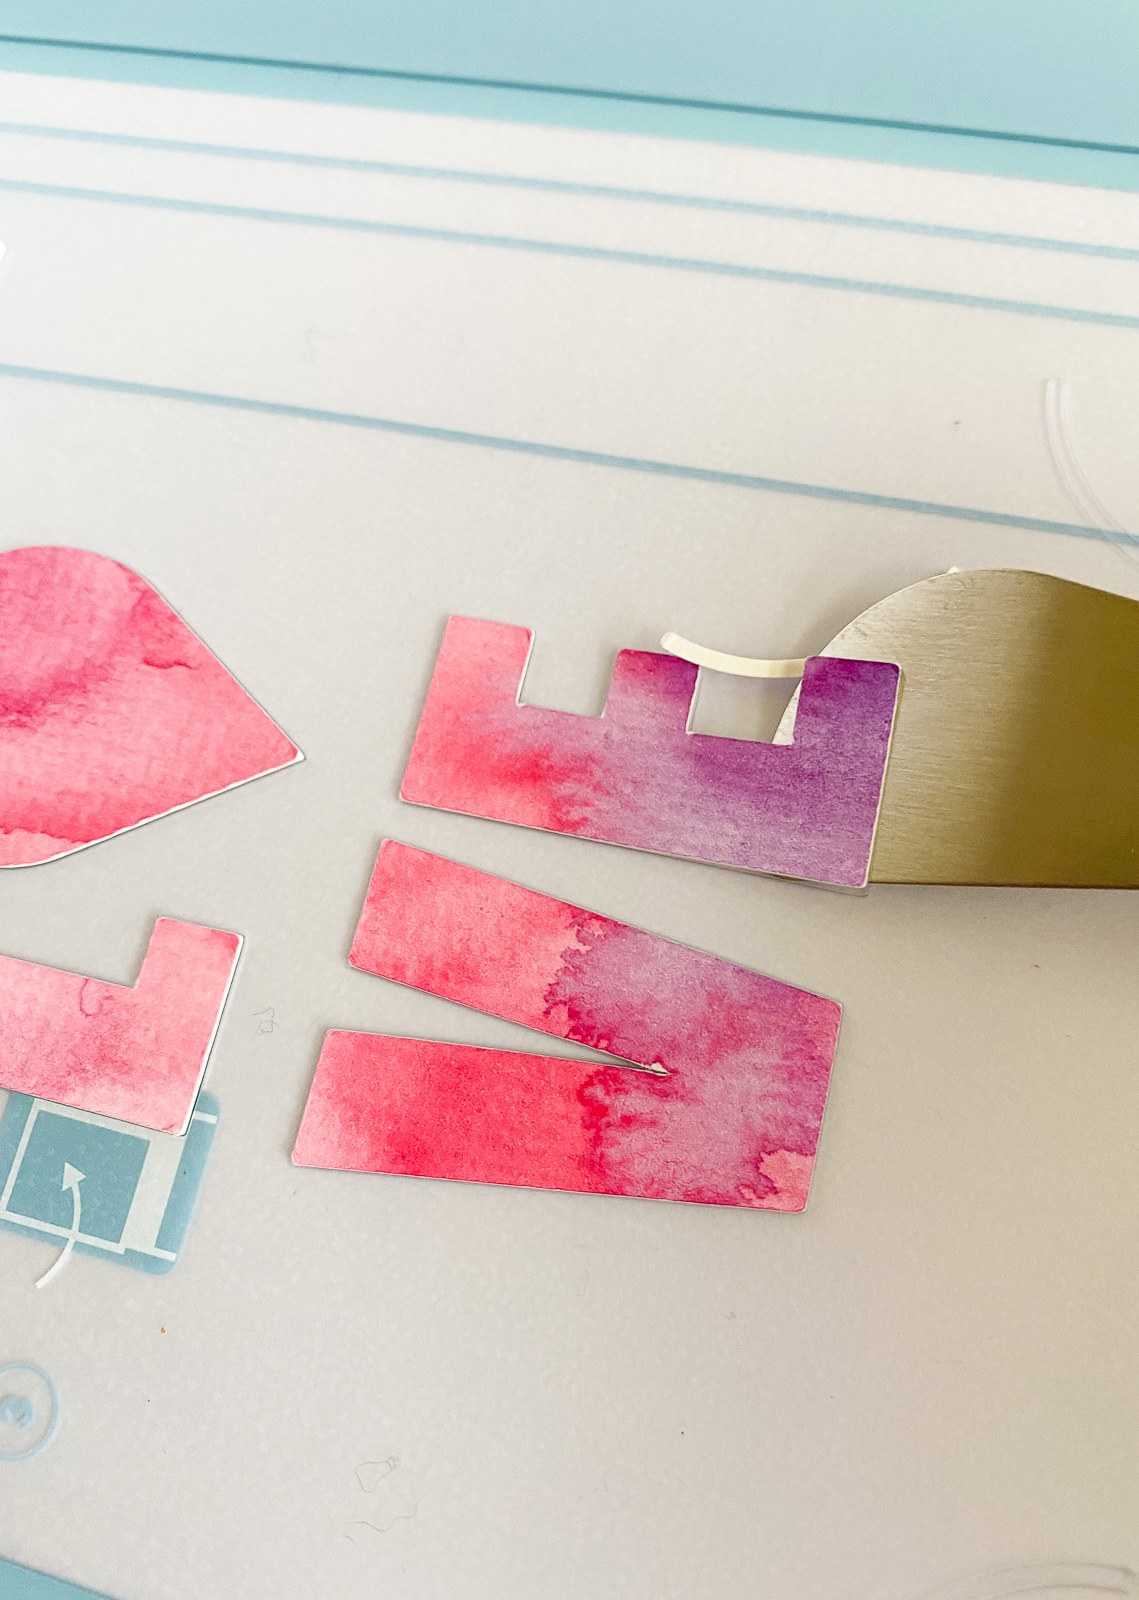
- Slowly peel the mat away from the card front and remove it from the mat.

- Remove the leftover bits of the card with the spatula tool.
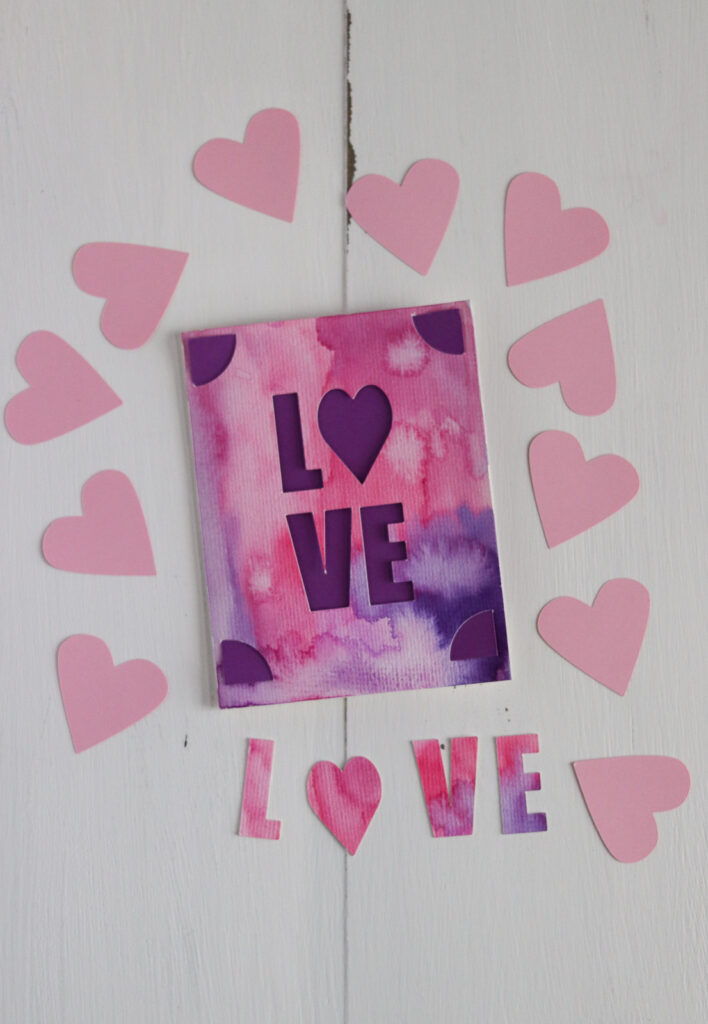
Tips for Making the Watercolor Card

- Use colors that are adjacent on the color wheel to allow them to blend better. For this card, I used cool reds, magentas, and purples.
- Paint an abstract shape with the first color and add the next color, keeping a wet edge.
- Fill the entire space in this way.
- I love watercolor texture so I added a bit more water to areas to get a bloom. This is where the water pushes the paint away and creates a white spot.
- Let the card dry completely before cutting.
- If the paper warps, you can place it under something heavy (make sure that it’s completely dry first.)
- Choose a contrasting color for the insert card.

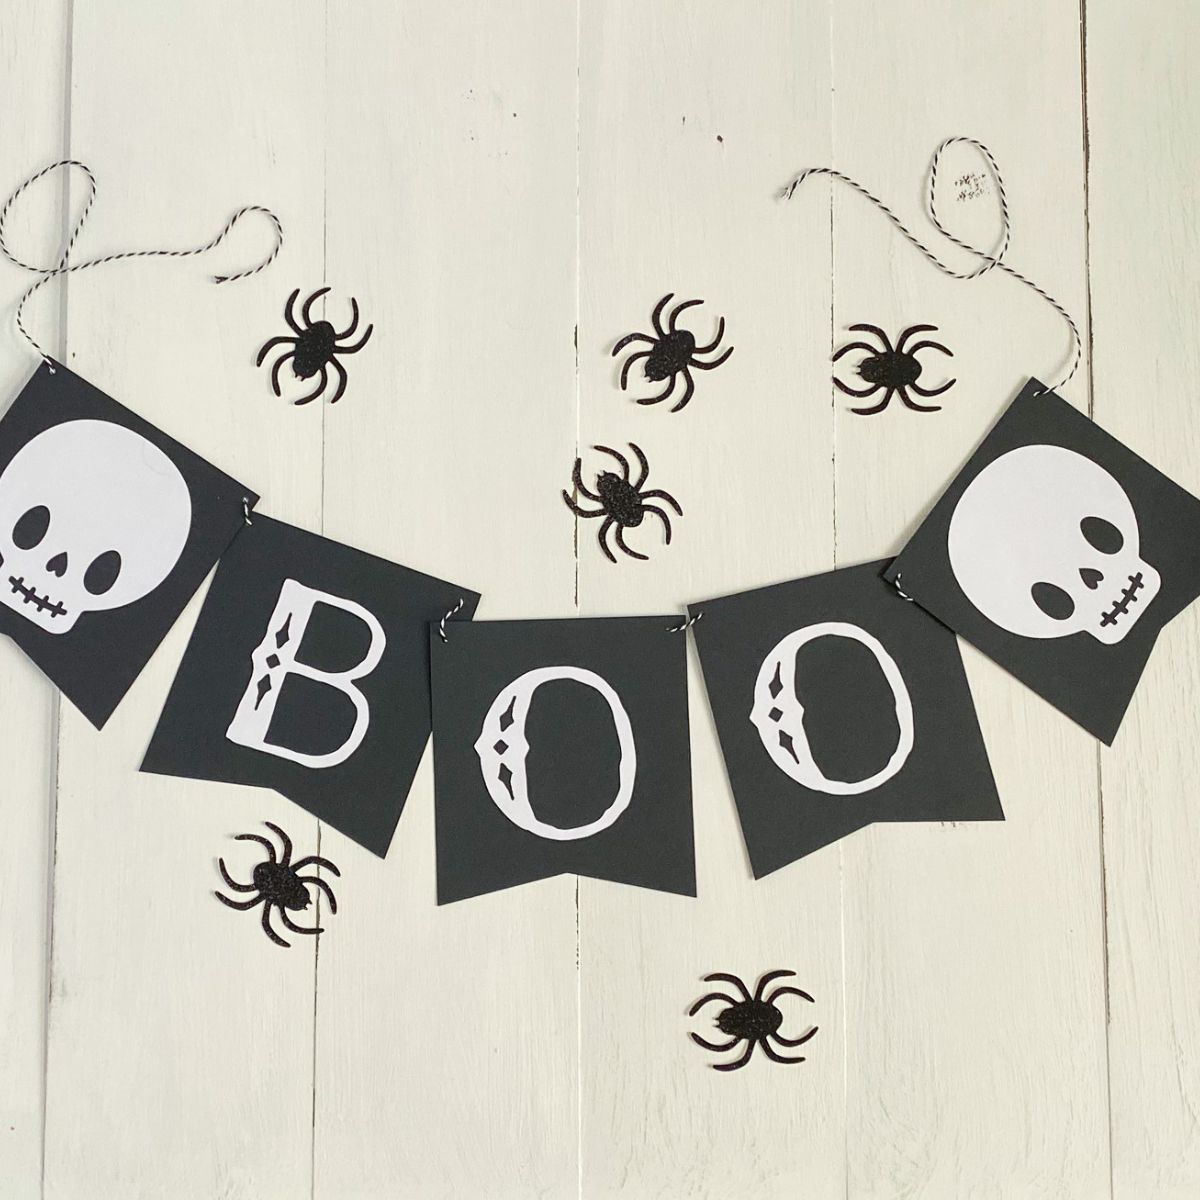
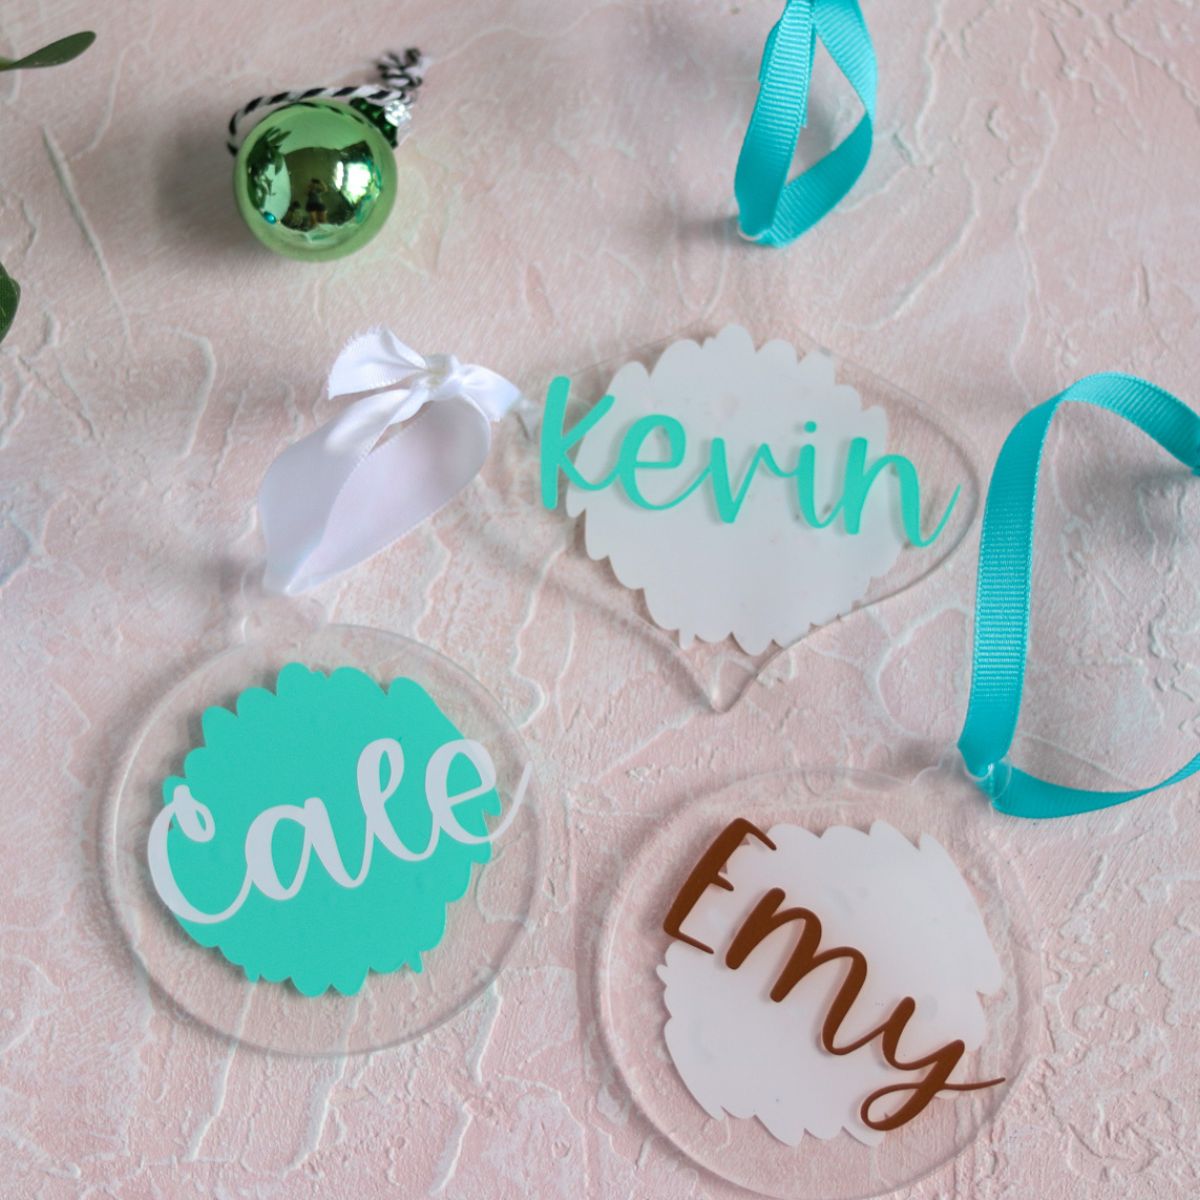
Other Valentine’s Day Projects
Download this SVG
This design fits the R20 size card.
Free downloads are for personal use only. Please do not redistribute or sell.
Pin for Later!