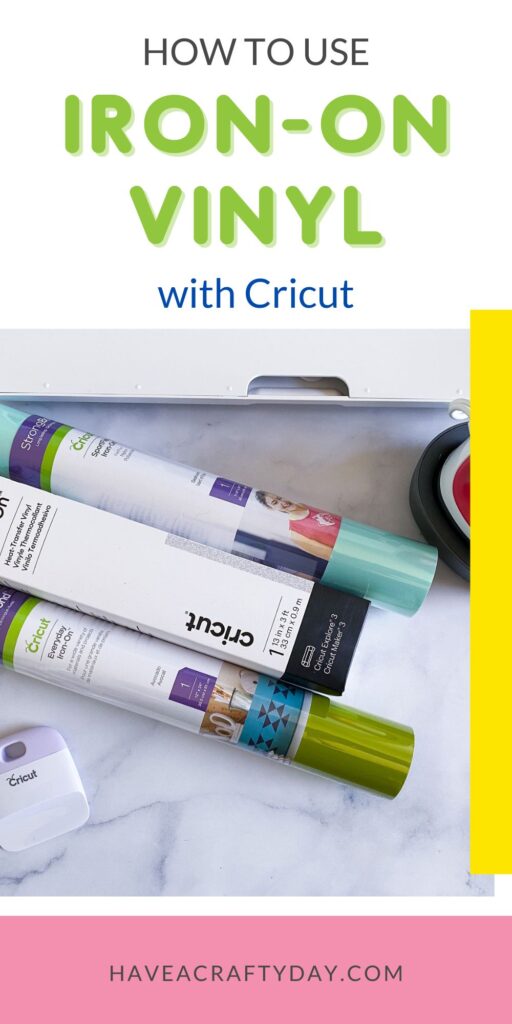
How to Use Iron-On Vinyl
Learn how to use iron-on vinyl. Iron-on vinyl is perfect for making your own t-shirts, pillows, tote bags, and more. You will love using it with your Cricut.
Are you a Cricut newbie? Get more tutorials for Cricut beginners here.
This post contains affiliate links. By purchasing an item through an affiliate link, I earn a small commission at no extra cost to you. As an Amazon Associate I earn from qualifying purchases.
What Is Iron-On Vinyl?
Iron-on vinyl is vinyl that requires heat to make it adhere to surfaces. It is generally used on soft surfaces, like t-shirts, clothing, pillow covers, and tote bags. (However, there are a few harder surfaces that it works on, such as wood.)
Iron-on vinyl adheres with an iron or the Cricut Easy Press.
Other brands refer to iron-on vinyl as “heat transfer vinyl” or HTV for short.
How to Use Iron-On Vinyl
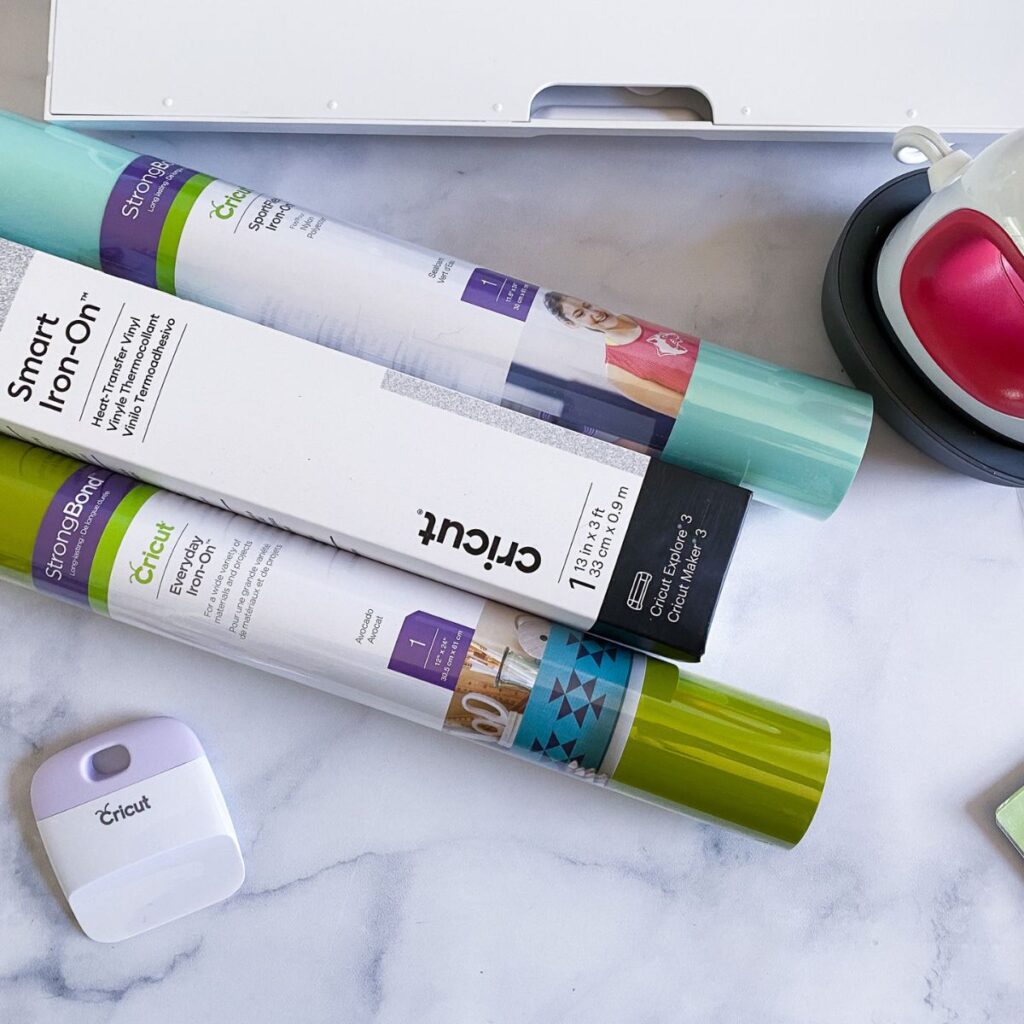
For reference, I am using my Cricut Maker 3 and Cricut Iron-on vinyl for these instructions. However, these instructions work with all machines and other brands of iron-on vinyl or HTV, as it might be labeled.
Preparing the Iron-on for Cutting
- Cut the iron-on vinyl a bit larger than the design to avoid waste. So if your design is 4″ long, cut it 5″ long. This gives the machine room to work without messing up the design.
I like using a paper trimmer for this.
- The iron-on vinyl needs to be placed shiny-side down onto the mat. I use the standard mat with iron-on vinyl.

Cutting the Iron-on Vinyl
- When your design is ready to be cut, be sure to mirror the design.

(The software will remind you after you select your material type.)
- Select your iron-on type. If you’re not sure what kind it is, you can choose the everyday vinyl option.

- Load the mat and cut as usual.
- When it’s finished, unload the mat.
- If you need to cut another sheet of vinyl or cut the same design in another color, remove the vinyl from the mat and place a new sheet on it. Then reload the machine and click start again.
Weeding the Iron-on Vinyl
- If you have cut more than one design on your sheet of vinyl, cut them apart.
- Iron-on vinyl is attached to a clear sheet on the front of the vinyl. Weed the excess vinyl from the inside of the design first.

Use the pick tool to peel away the tiny parts.
- When you’re done with the small part, it’s time to work on the larger outside area. The pick tool comes in handy for this too.

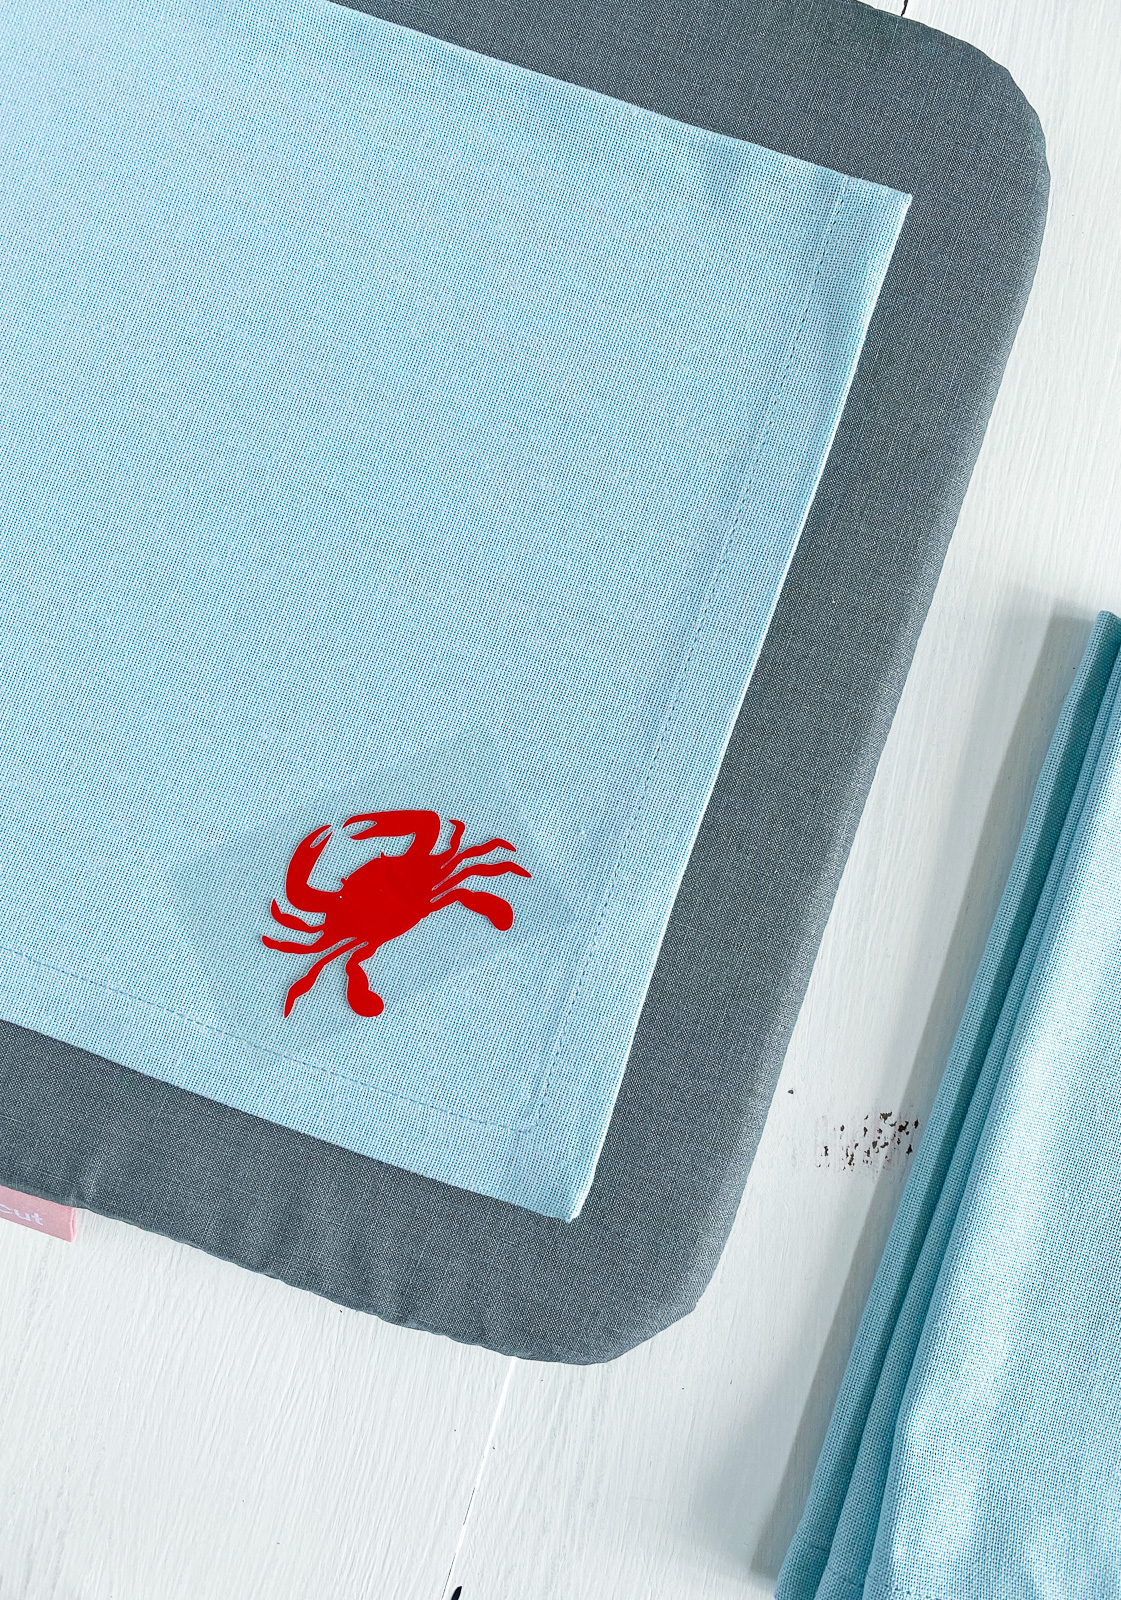
If your design is large or intricate, you might need to cut away parts of the weeded vinyl as you work. - When you’re finished, your iron-on vinyl design will remain on a clear sheet of plastic.

Adhering the Iron-on Vinyl to a Surface
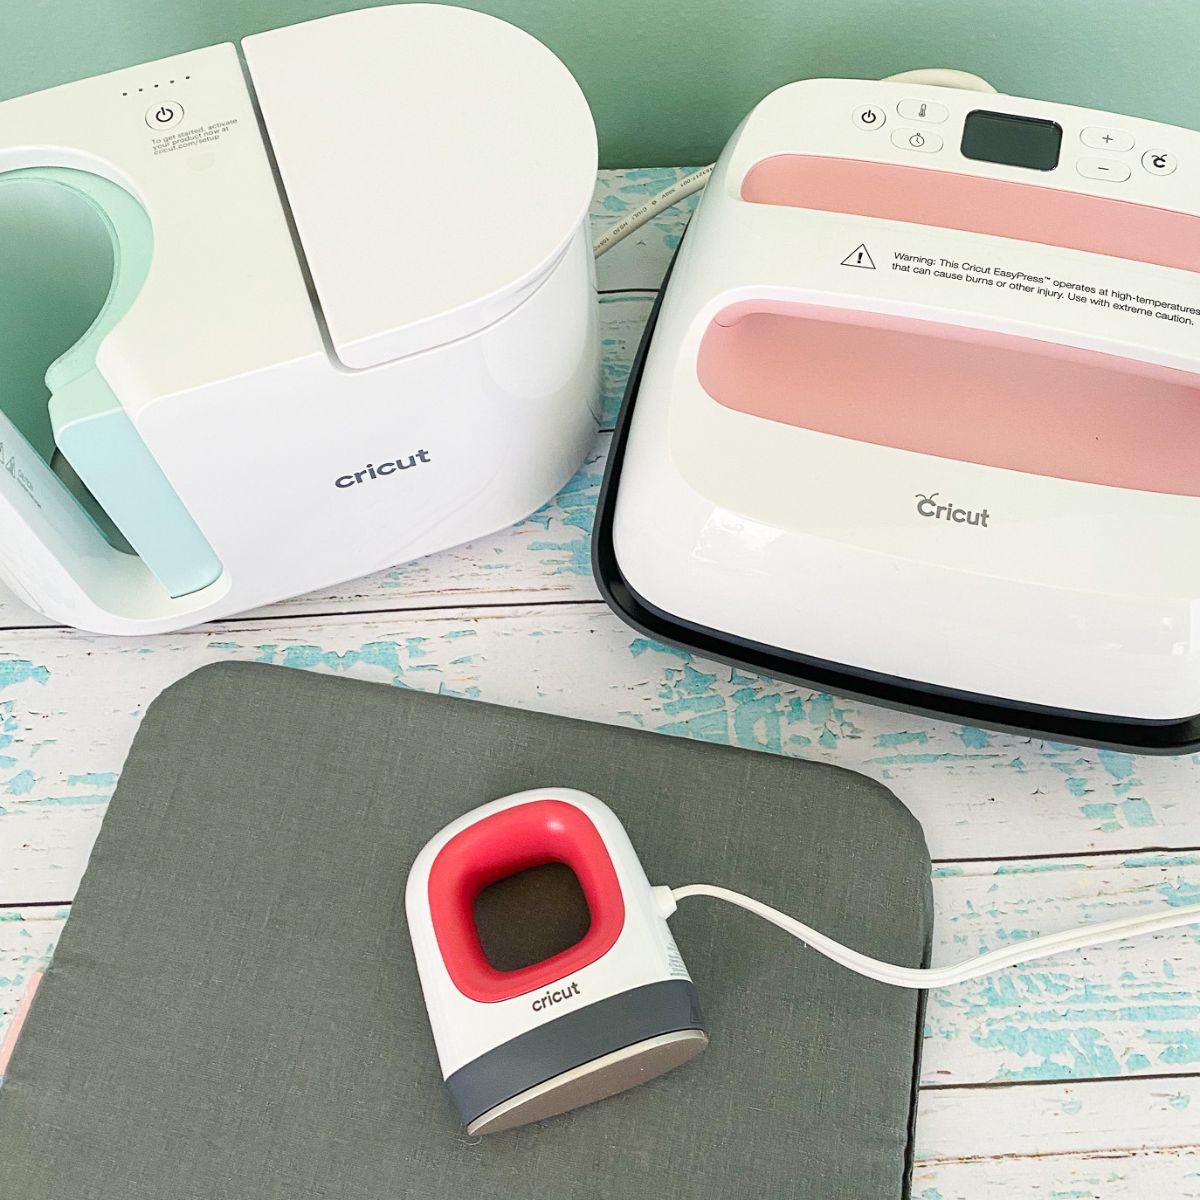
I’m using my Cricut Easy Press, but you can also use an iron. Learn more about which Cricut EasyPress is right for you.
If you use an iron, be sure to leave it on for longer and move the iron around. Make sure that the edges have adhered well.
Get more tips for using an EasyPress here.
- Preheat the Easy Press to the correct temperature. The Cricut website has a page for finding the right settings.
- Place the object onto the EasyPress Mat.
- Press the surface with the Easy Press before applying the design. This smooths away any wrinkles that might ruin the design.
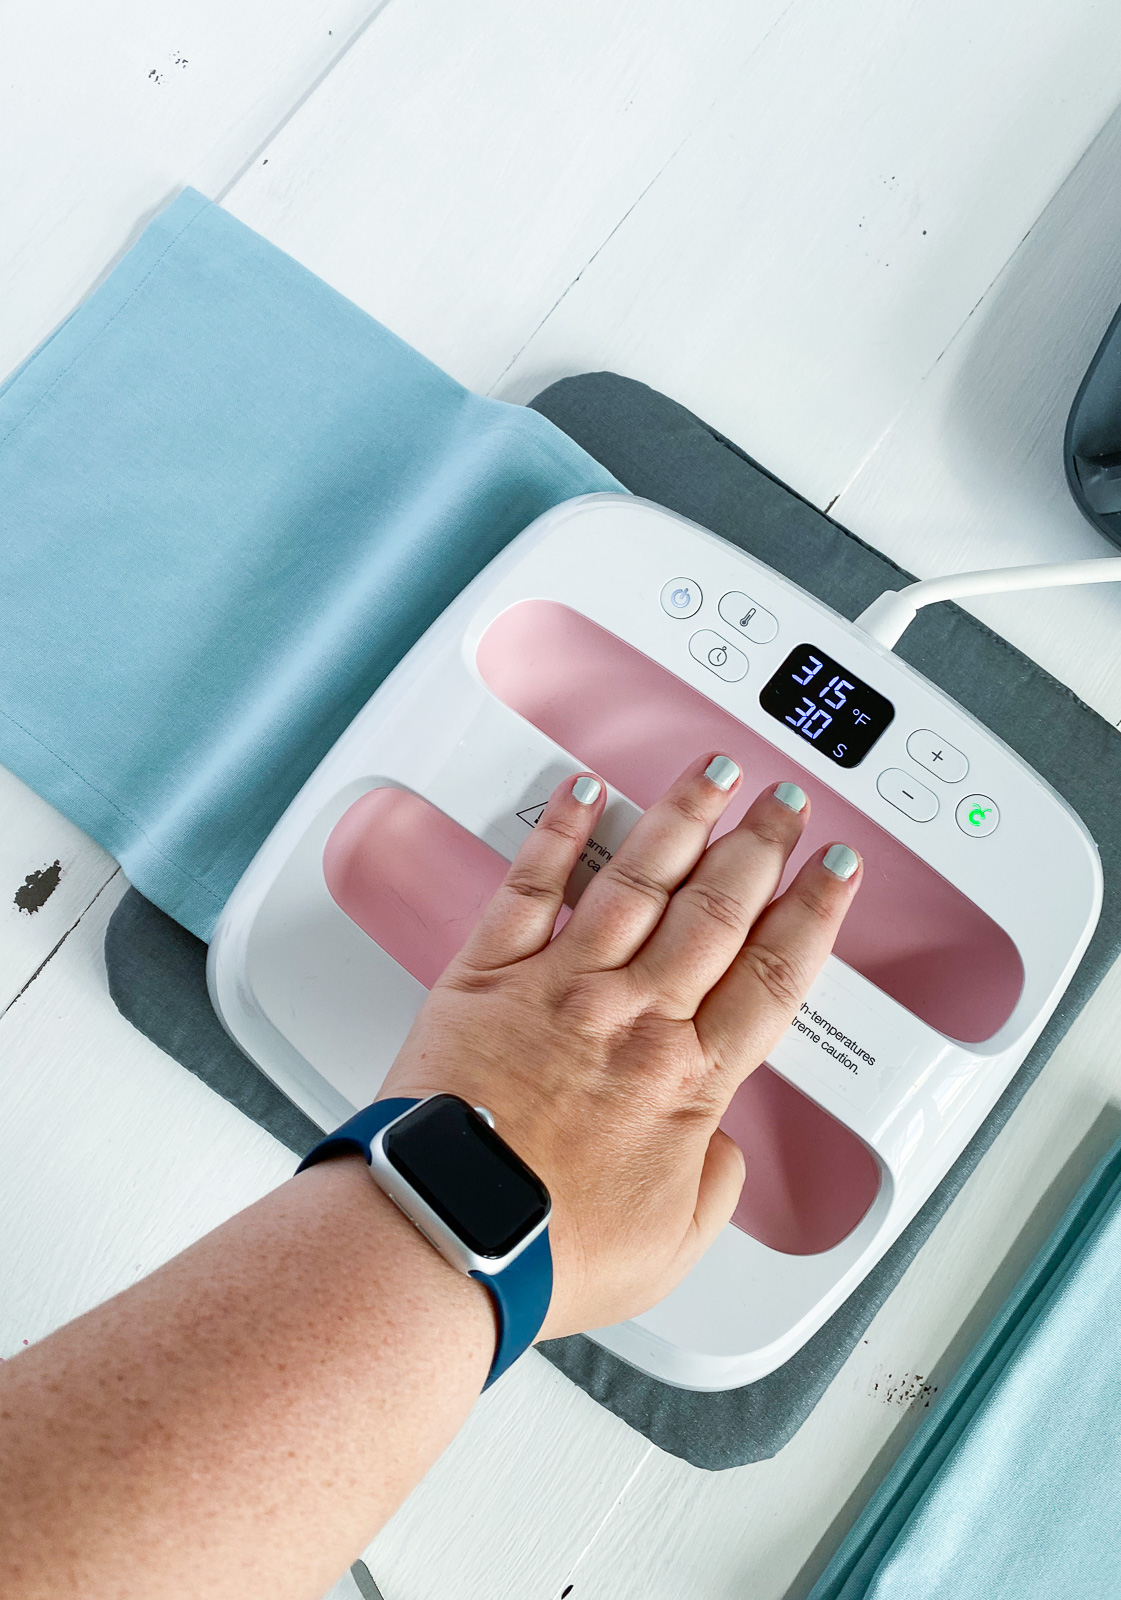
- Place the design onto the surface, making sure that it’s centered and aligned as desired. You can measure it if you want. The vinyl goes against the fabric and the plastic side goes shiny side up.
- Use the Easy Press to adhere the design to the surface for the required amount of time.

- When the time is up, remove the Easy Press from your project.
- Fabric may require you to flip the surface over and press it from the other side.
- Let the plastic backing cool before attempting to remove it.
- Make sure that the iron-on vinyl adheres to the surface. Pay attention to the edges and small areas. It might need a few more seconds of heat.
- Remove and discard the plastic backing.
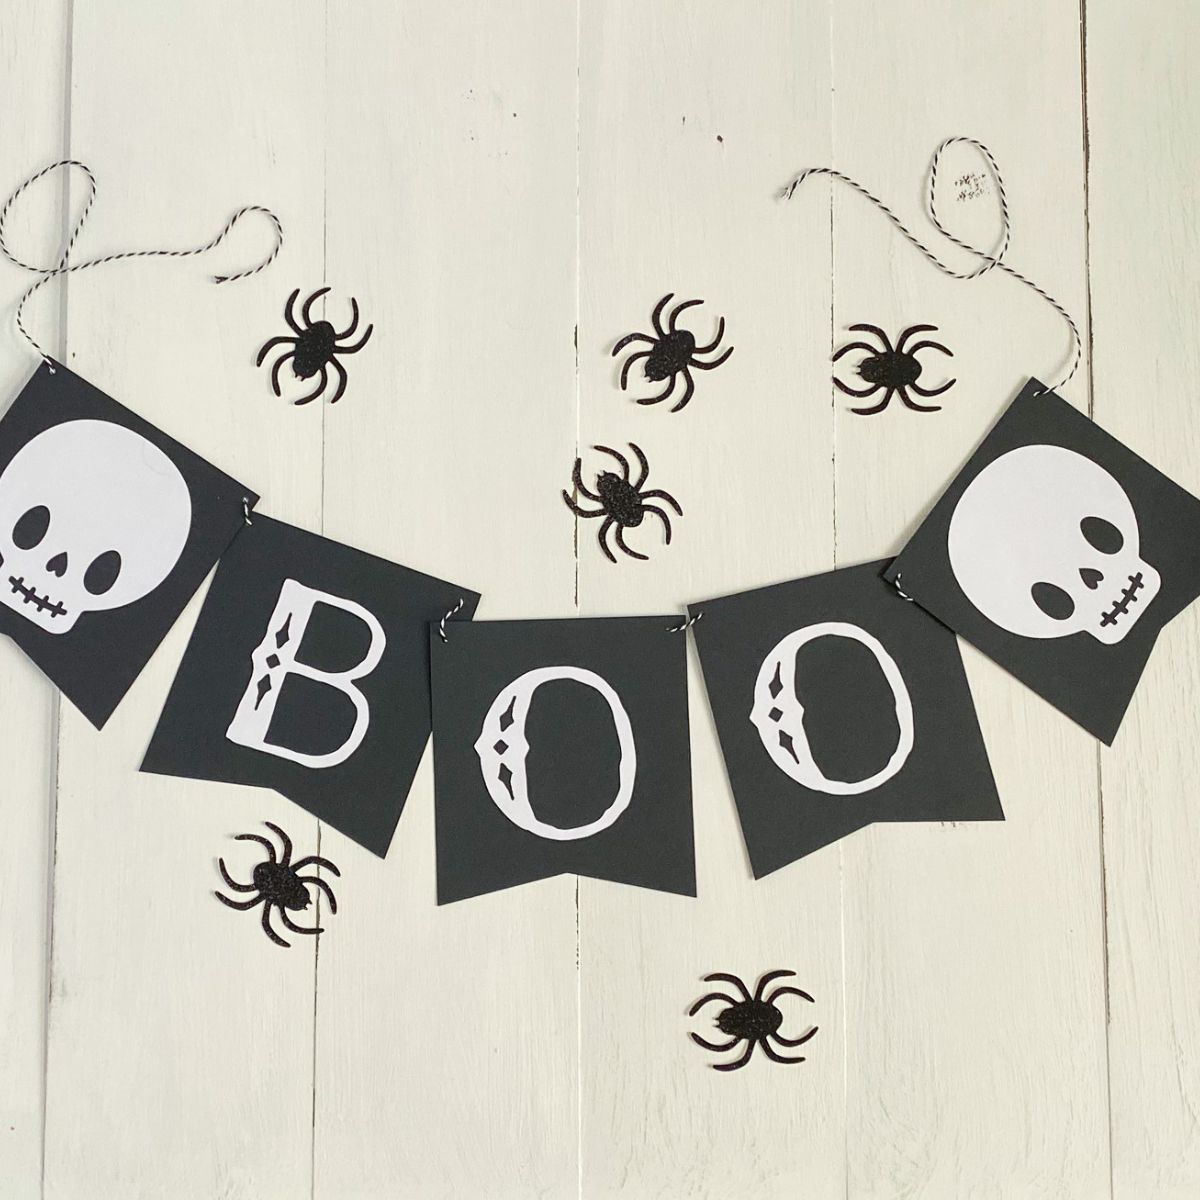
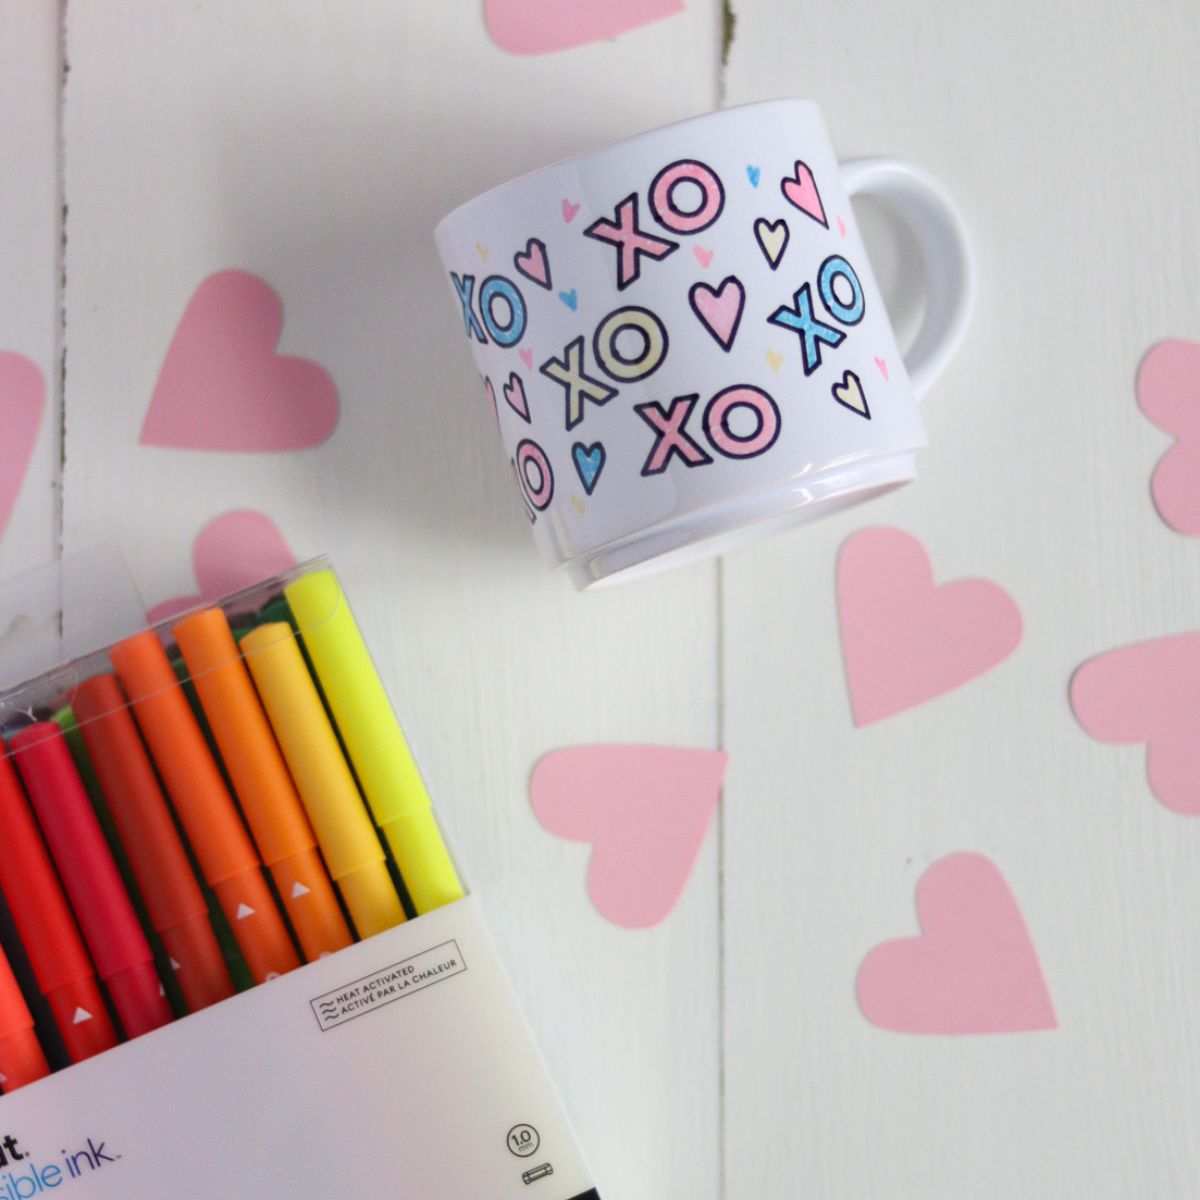
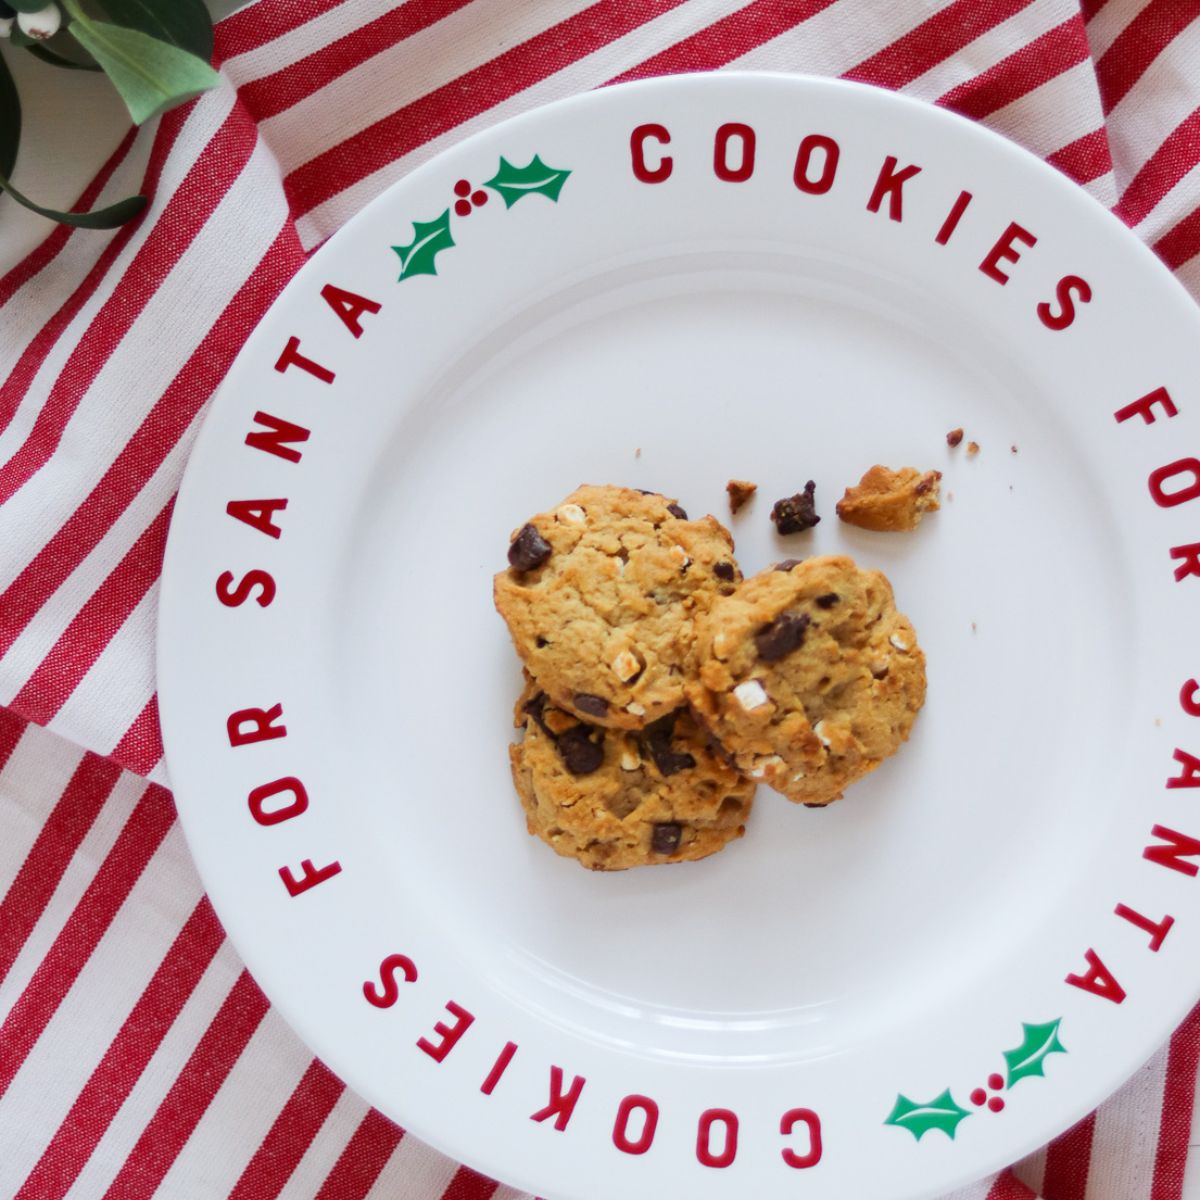
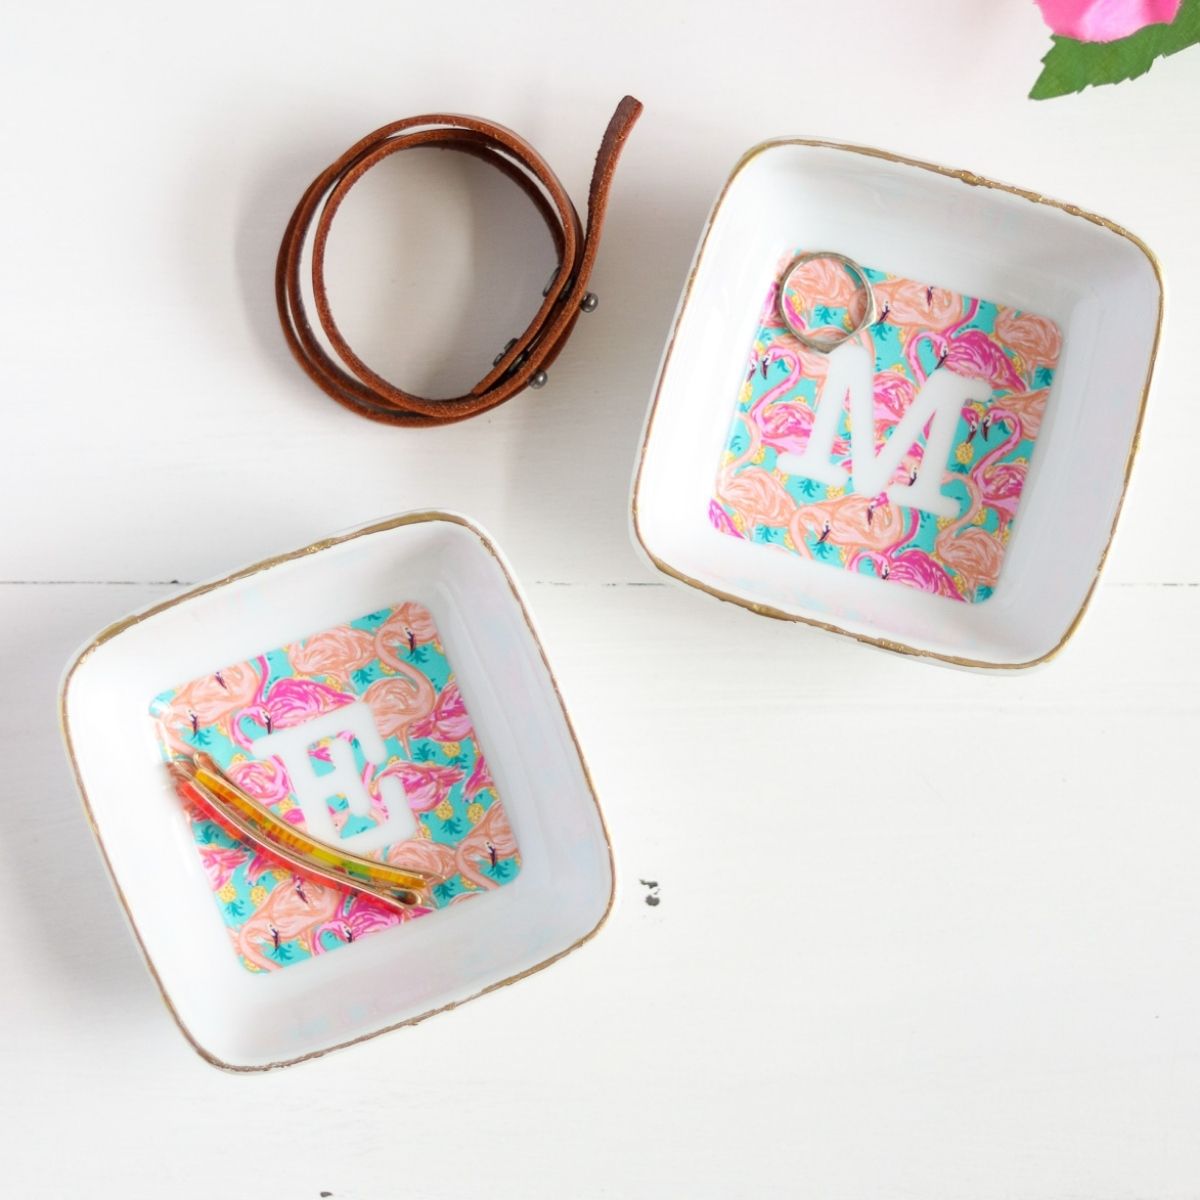
Iron-On Vinyl Projects
Get Free SVGs
Get free SVG cut files to use in your Cricut projects.
Pin for Later!