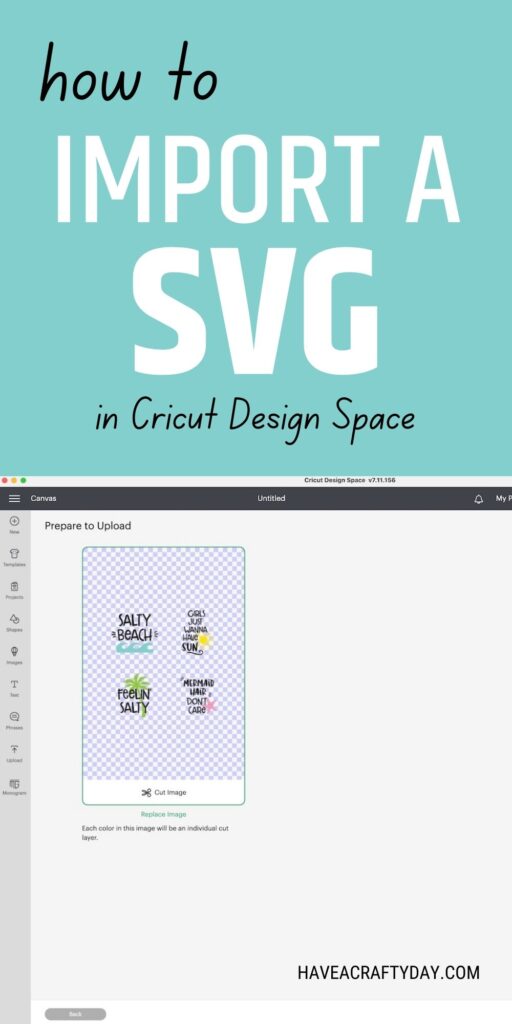
How to Import SVG Files into Cricut Design Space
Learn how to import SVG files into Cricut Design Space. This allows you to use free or purchased SVG designs for your craft projects.
This post contains affiliate links. By purchasing an item through an affiliate link, I earn a small commission at no extra cost to you. As an Amazon Associate I earn from qualifying purchases.
Downloading SVG files is a great way to get more designs for your Cricut. But if you’re new to Cricut, you might be wondering how to do this.
Luckily, it’s really easy.
How to Import SVG Files into Cricut Design Space
Depending on the device you are using, locating the file can be the most difficult part of the process.
Where is the File?
The location of your downloaded file depends on what kind of device you are using.
Most computers ask you where you want to save the file. If it doesn’t, it’s probably in the Downloads folder.
Tablets and iPads have file folders where the download gets saved to. Most phones also have download folders.
If you can’t find the file folder, you can also search for the file name.
Downloading on a computer tends to be the easiest. So if you’re having trouble finding the file on a mobile device, you might want to switch over to a computer.
If the file contains more than one image, it might be zipped. Unzipping files is easy.
On a Mac, double-click the zipped file. Double-click to open the folder.
On a Windows computer, right-click and select Extract all. Follow any instructions. Double-click to open the folder.
Sometimes when you buy SVG files, it comes with a lot of other file types as well. Ignore the other files and use the SVGs.
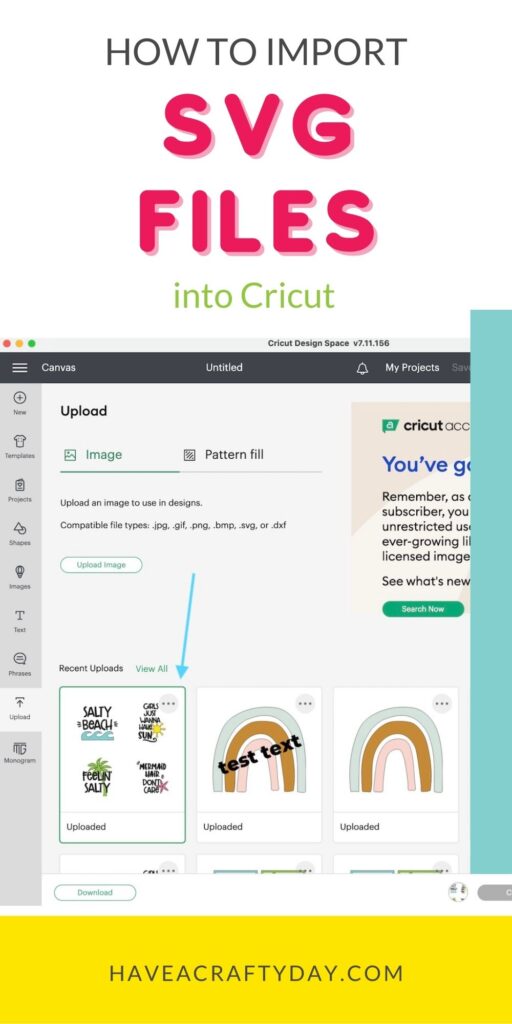
Uploading the File into Cricut Design Space
Cricut allows you to upload several types of files. SVGs are the easiest to use for cutting.
An SVG file means that the image can be scaled infinitely without losing quality. In contrast, a PNG or JPG file will become pixelated if you increase the size.
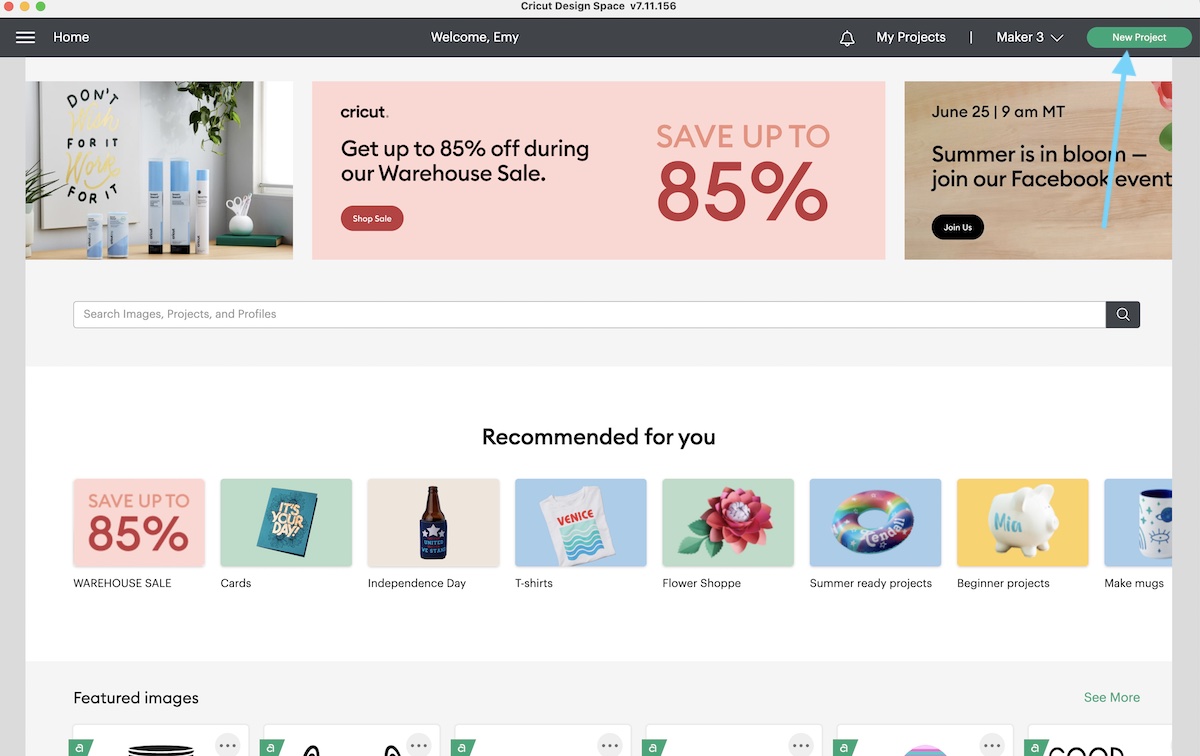
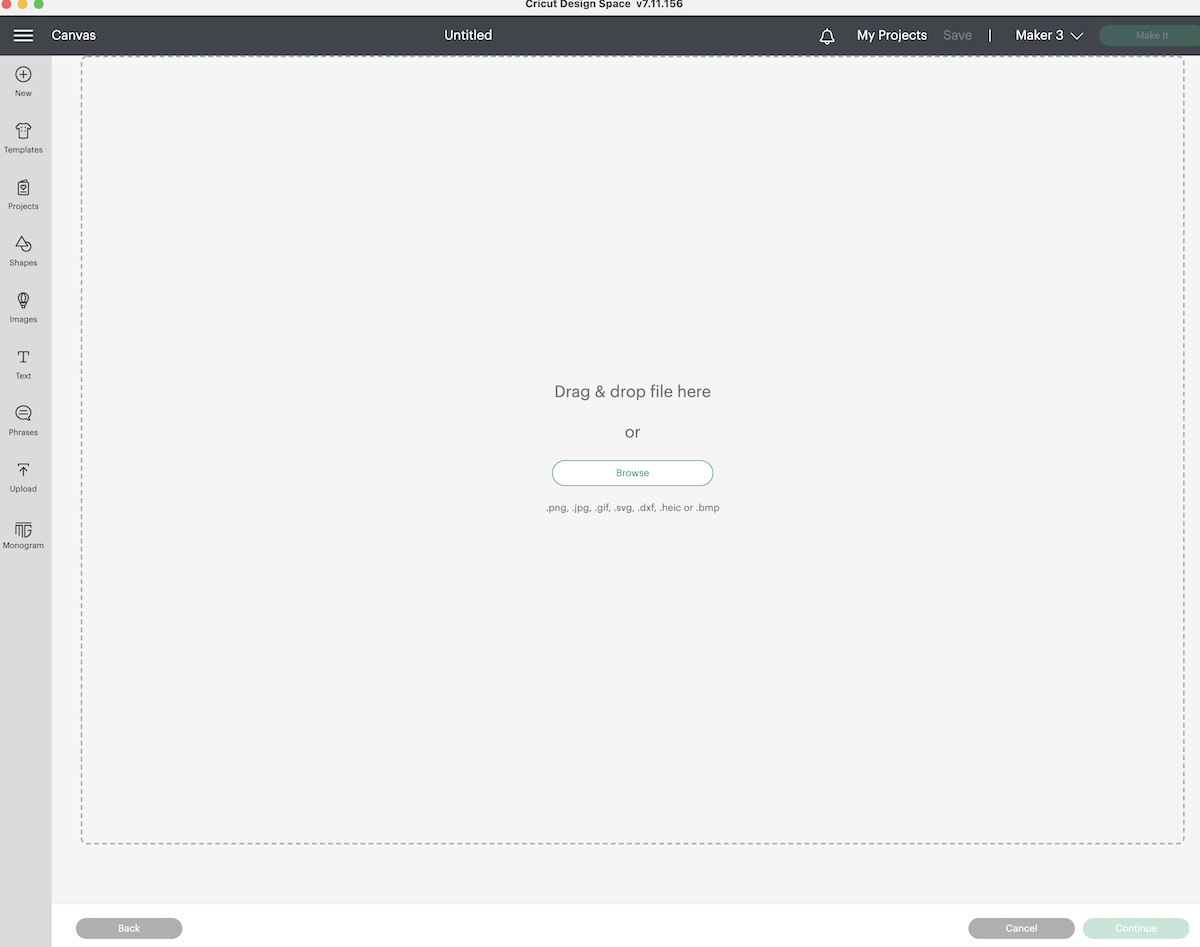
- Open a new project.
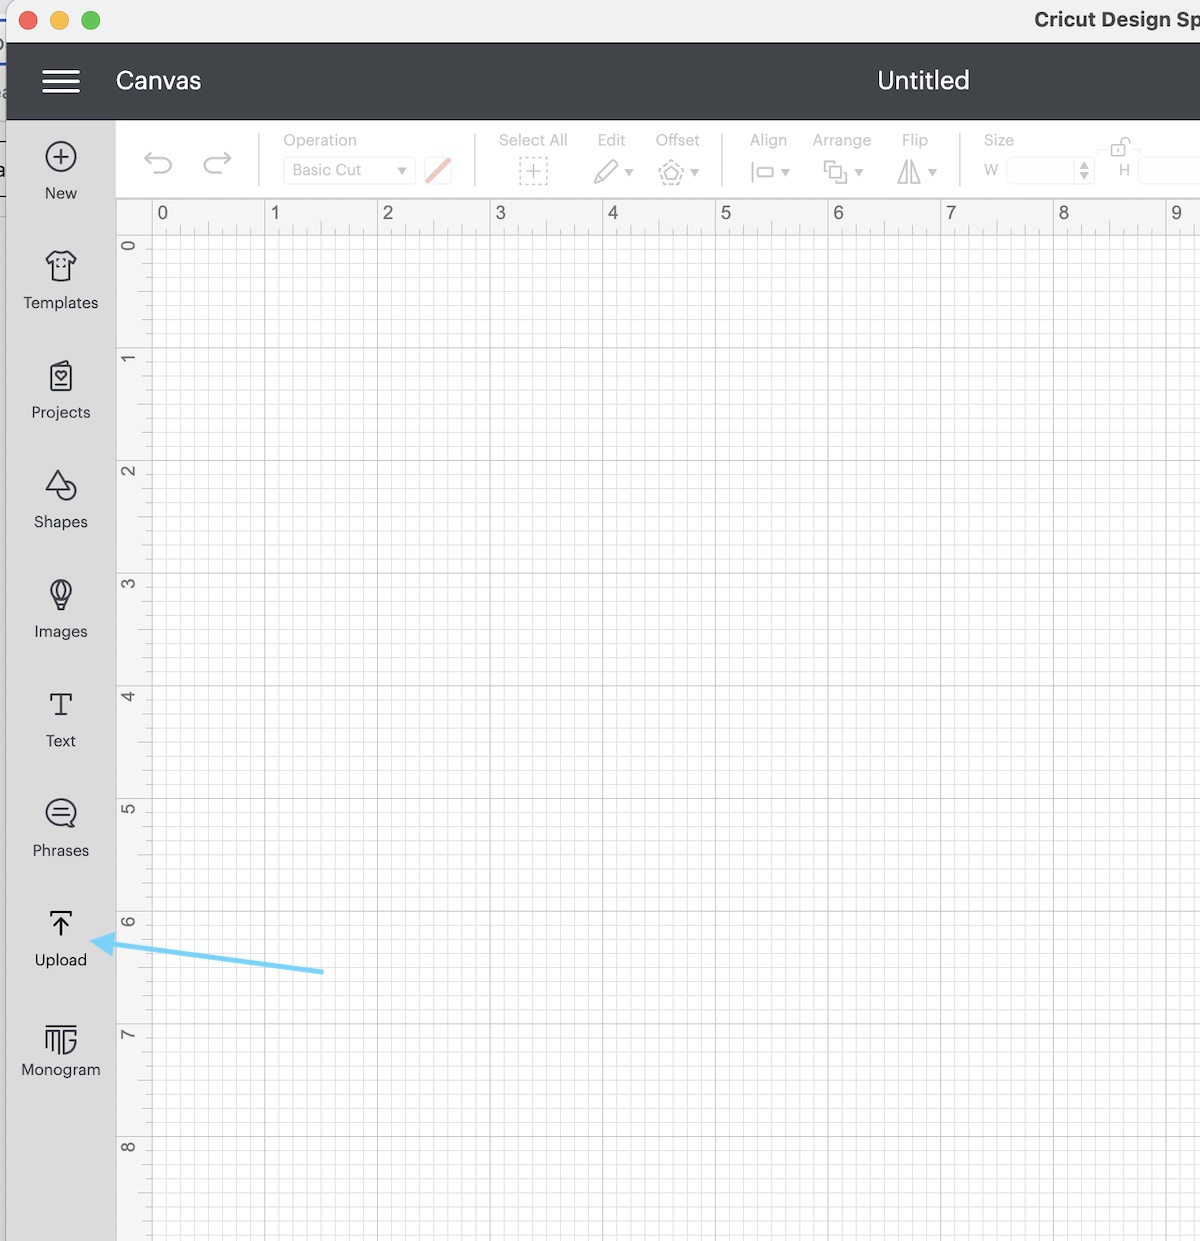
- Click Upload at the bottom of the menu on the left side of the screen.
- Select the Upload Image button.
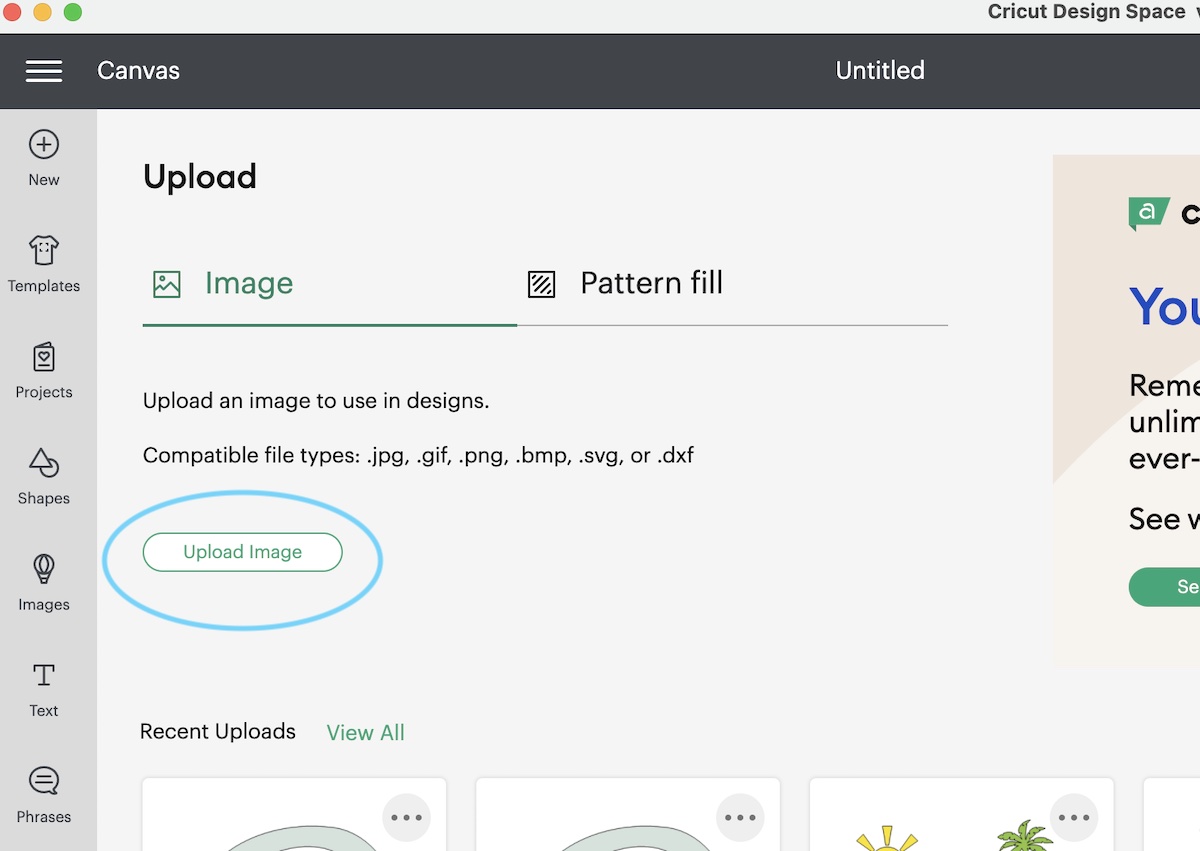
- Add your new file. You can drag and drop the file from another window or use the browse button to find the file.
- On the next screen, you can rename the image and add tags to help you find the file later.
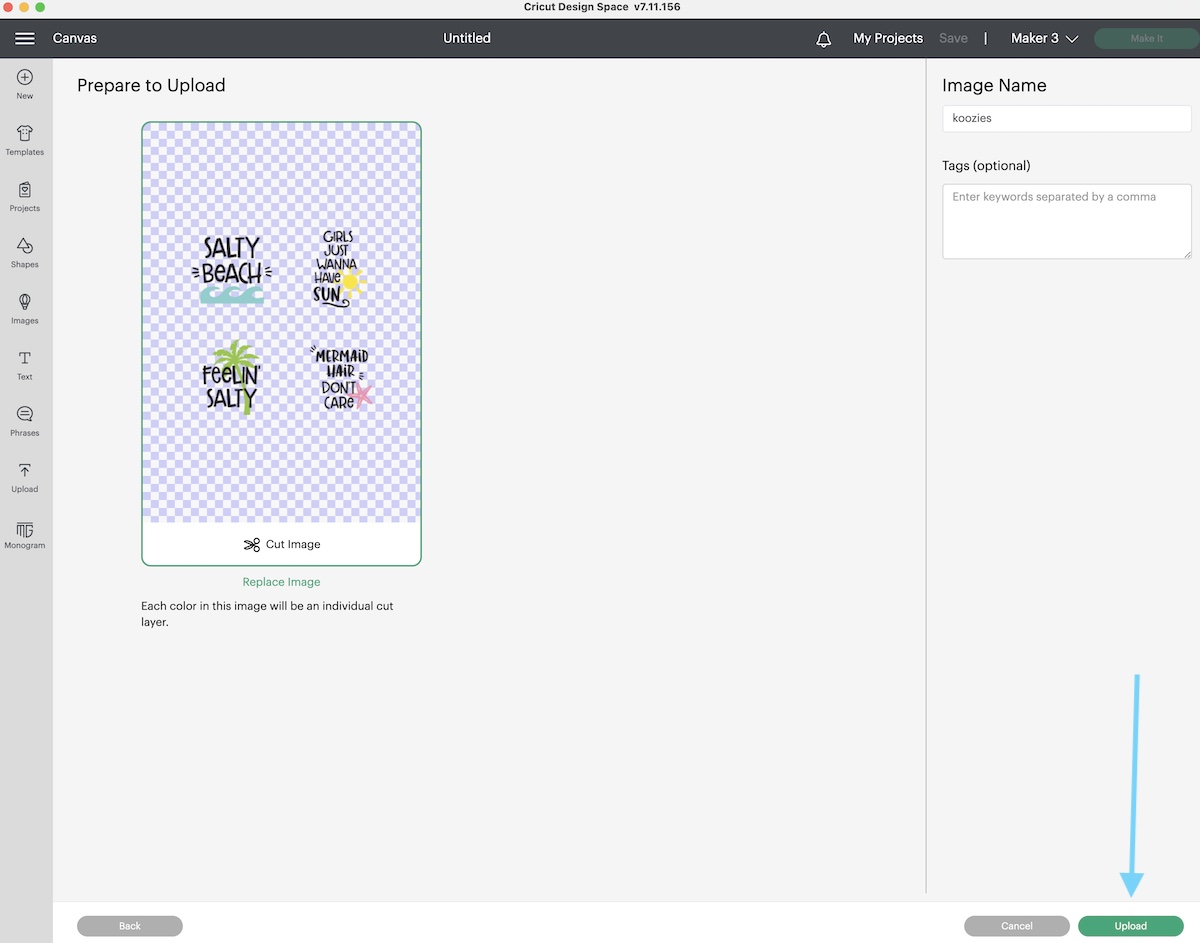
- Click Upload.
- This adds the design to your recent uploads menu.
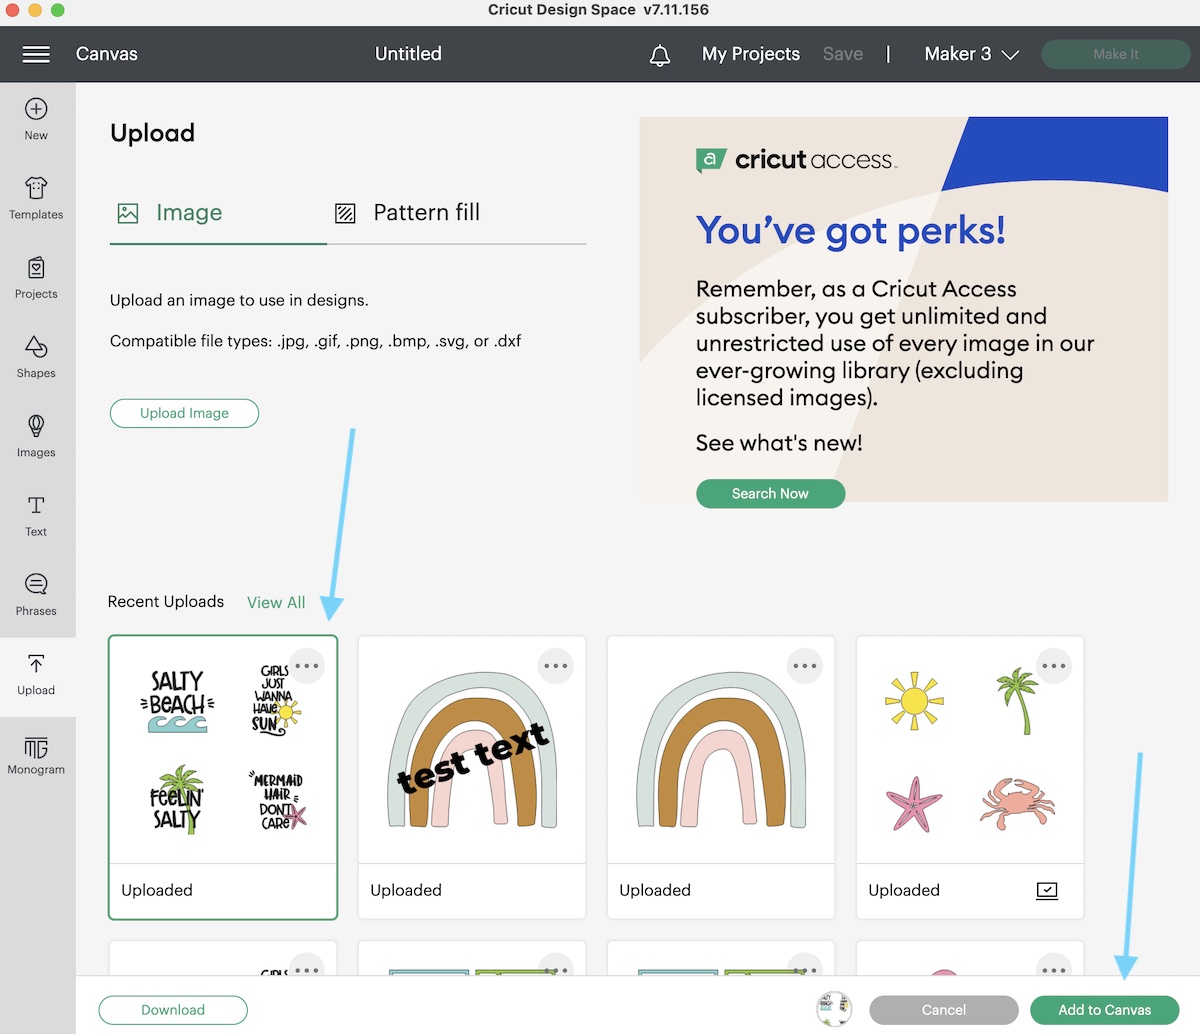
- Select the design and click Add to Canvas.
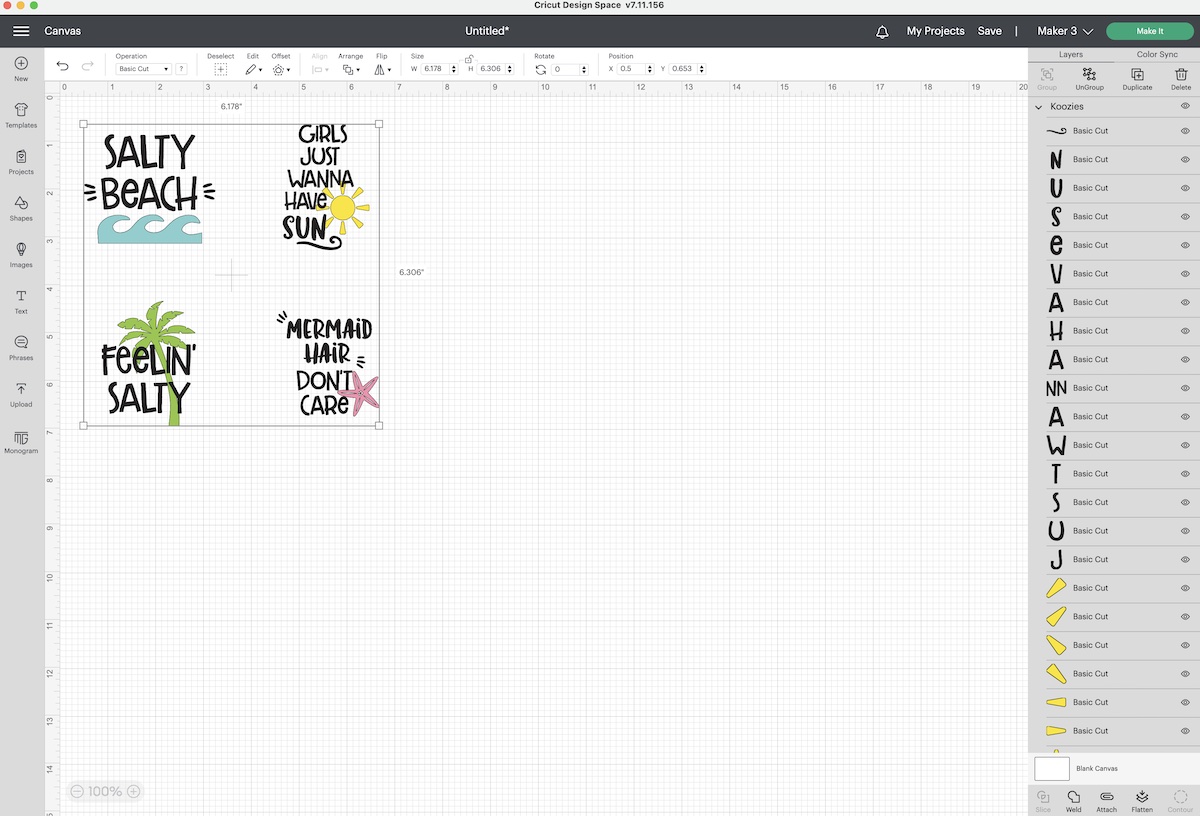
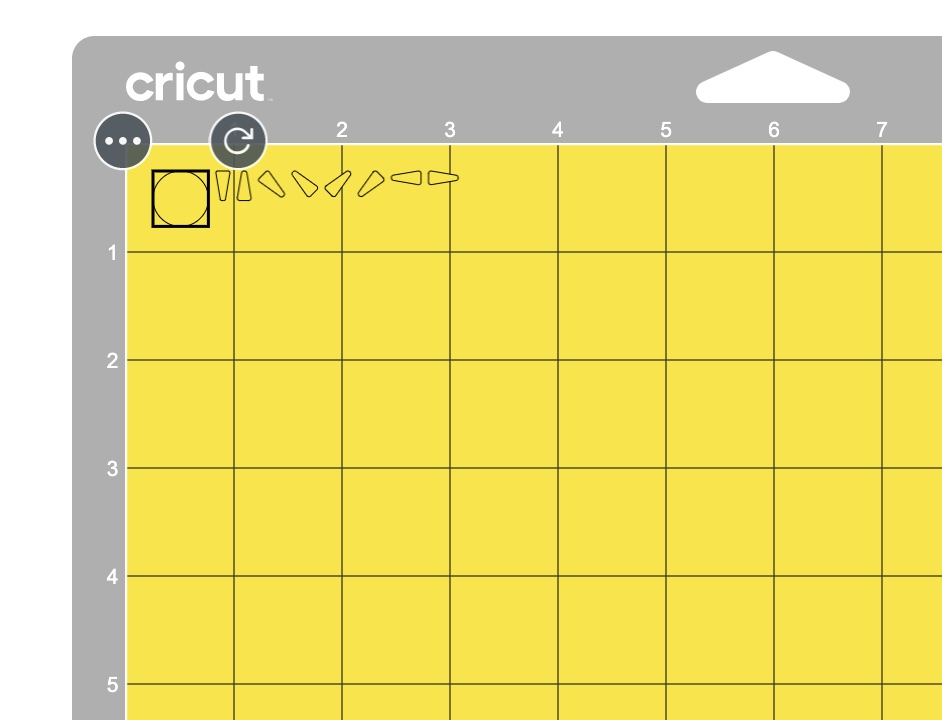
From there, you can resize the files.
If there is more than one design, you will need to ungroup the designs first to change them individually.
You can delete (or hide) designs that you don’t want to use.
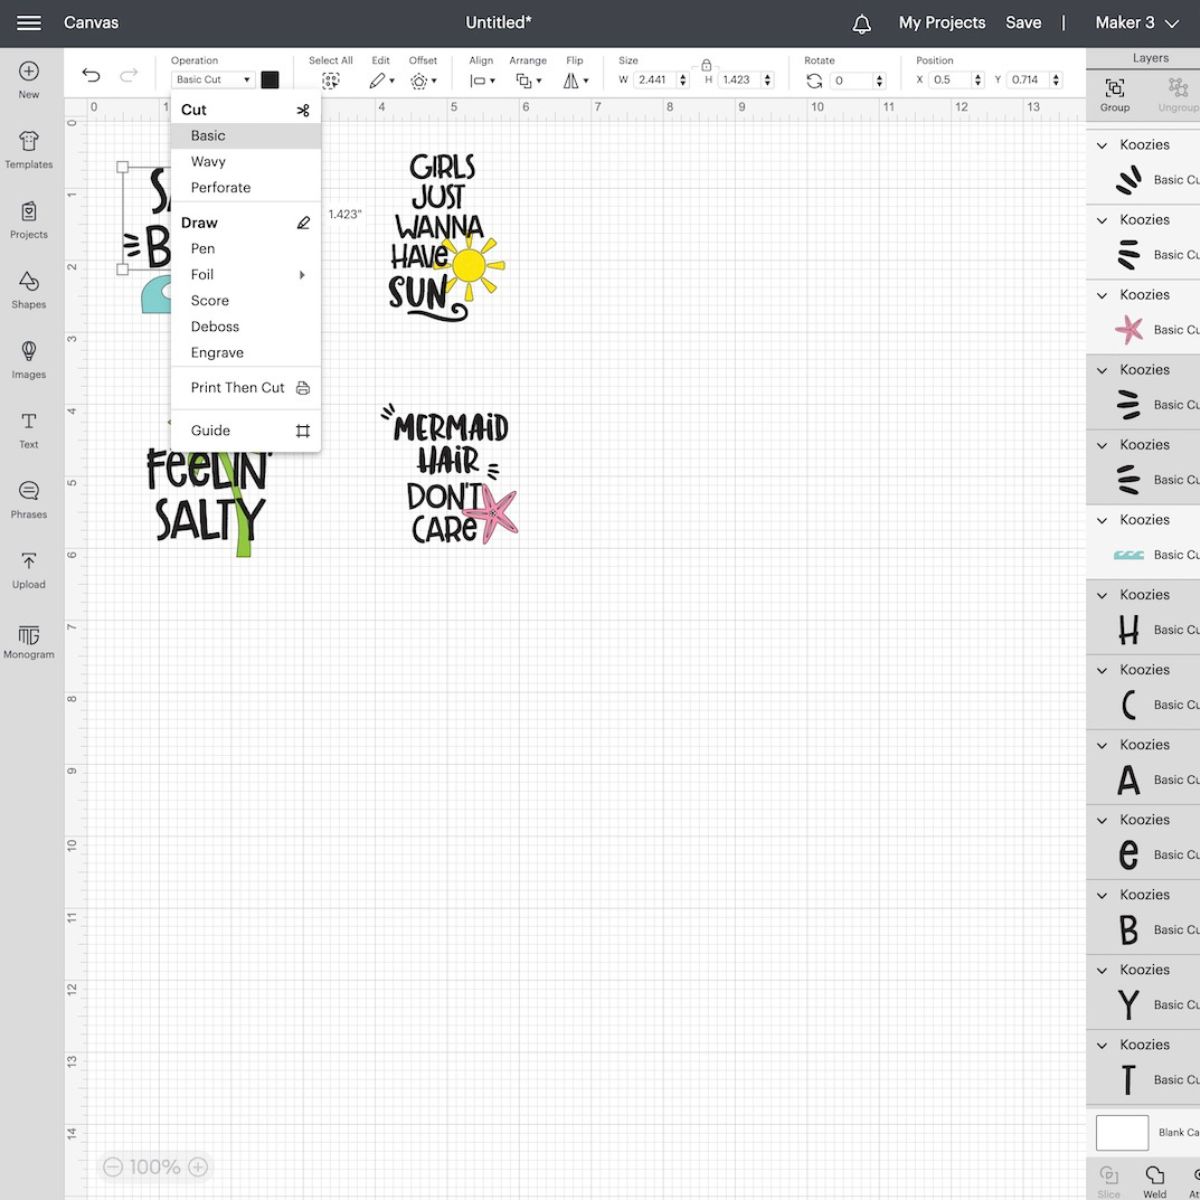
If the design you are cutting has several elements that are not attached, you will need to select them and click “attach” to get them to cut in the correct layout.
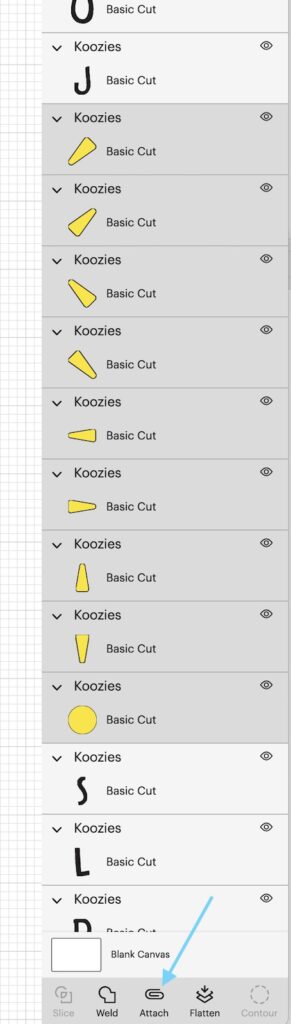
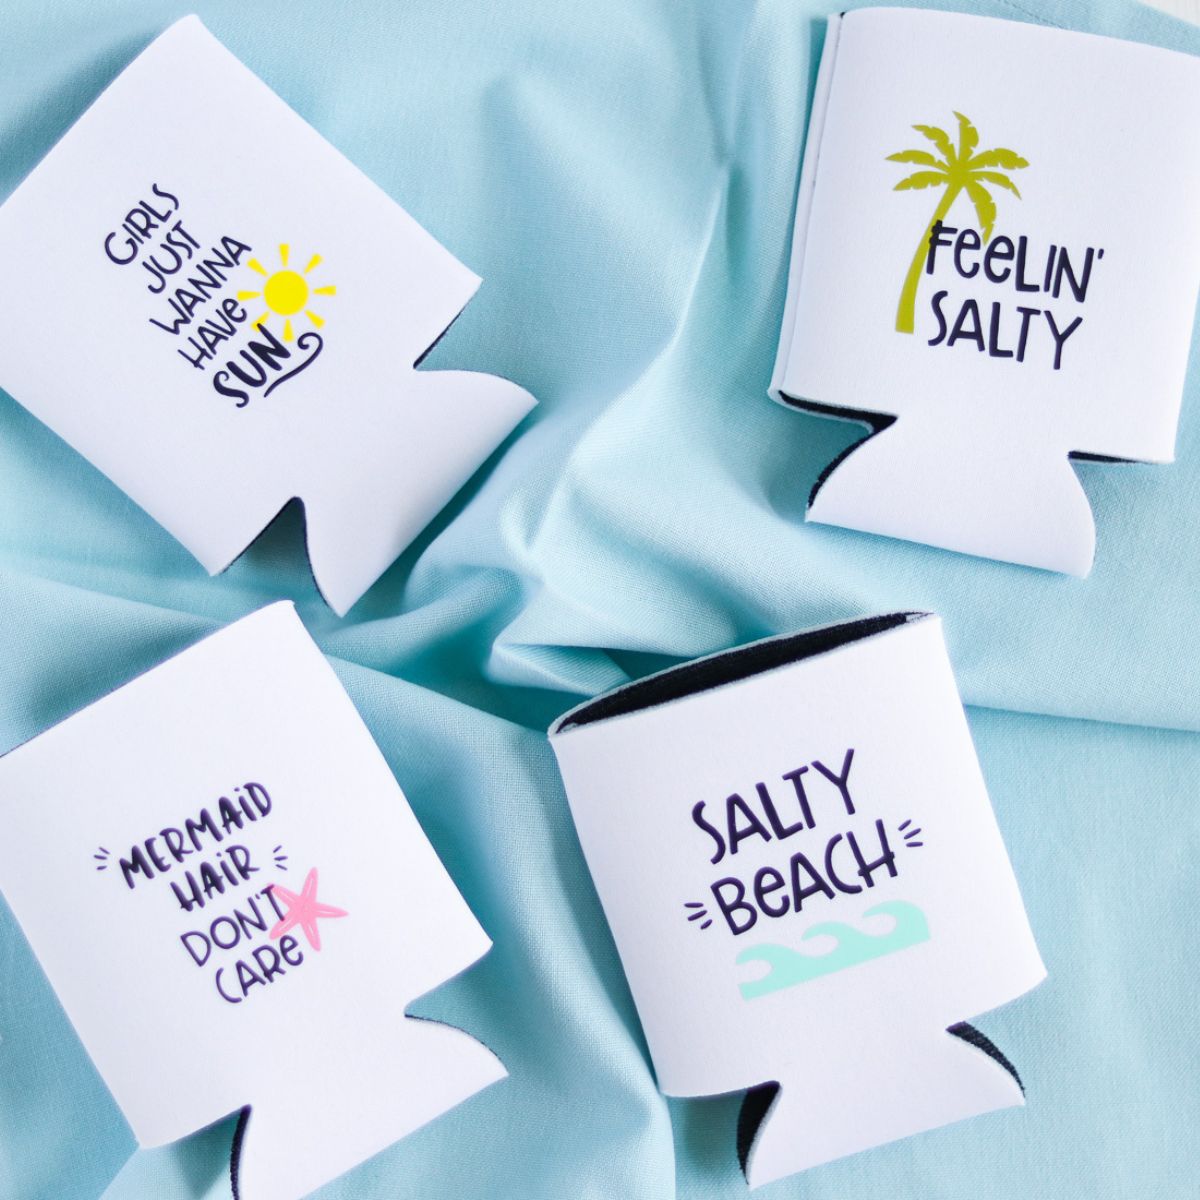
For example, words will need to be attached. But so would a simple design like the sun in the images above.
By default, Cricut tries to save vinyl by breaking the design apart. This would be a pain to create correctly, so be sure to select the layers and click “Attach.”
If you want, you can add words and simple shapes, and make simple edits to the design.
When you’re happy with the design, click “make it” to cut it.
Get Free SVG Designs to Use
Be sure to check out my free SVG library. New files are added all the time!
Other Cricut Tutorials for Beginners
- How to Use Vinyl
- Tips for Using Use Iron-on Vinyl
- How to Cut Glitter Cardstock
- How to Change Print and Cut to Cut Only
Pin for Later!


The problem I have is that I am uploading a .PNG file that appears to be included on a sheet of paper. When I cut it, all that cuts is the outline of the sheet of paper and nothing of the design on the sheet. I want to remove the sheet and only cut the design, or cut the design including the outline. Also, Design Space identifies the image as a “Print and Cut” file. When I change to “Cut – Basic”, it shows me ONLY the page outline with no image(s) on the sheet. What can I do?
Not all PNGs are created correctly. It sounds like the PNG was created with a solid background and it needs a transparent background. When you upload the file, Cricut has a background remover. If you’re not a Cricut Access subscriber, you will need to do it manually. There are probably other programs on the web that will do it as well. Canva does, but you have to have a Pro account to use that feature.