DIY Vinyl Celestial Ornaments
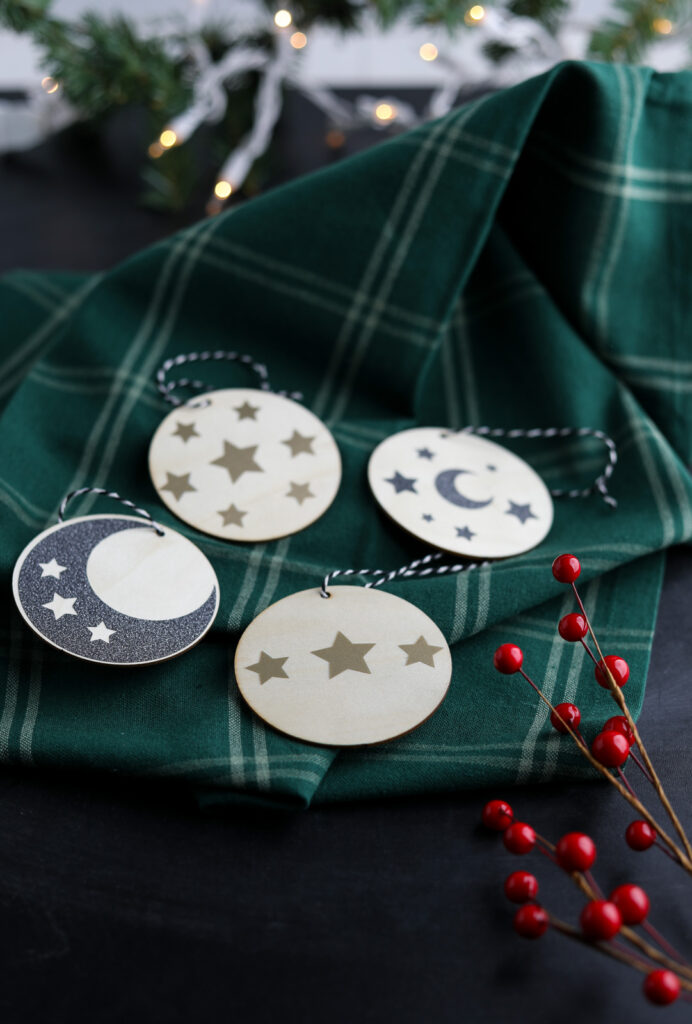
Looking for a unique Christmas DIY ornament? Make these DIY vinyl celestial ornaments to decorate for Christmas. These ornaments feature stars and moons in glitter and metallic vinyl.
If you’re new to Cricut, be sure to check out these Cricut tutorials for beginners.

This post contains affiliate links. By purchasing an item through an affiliate link, I earn a small commission at no extra cost to you. As an Amazon Associate I earn from qualifying purchases.
Stars are a popular Christmas decor motif, so it feels like moons should be, too.
I love these celestial ornaments made with vinyl. They turned out so cute.
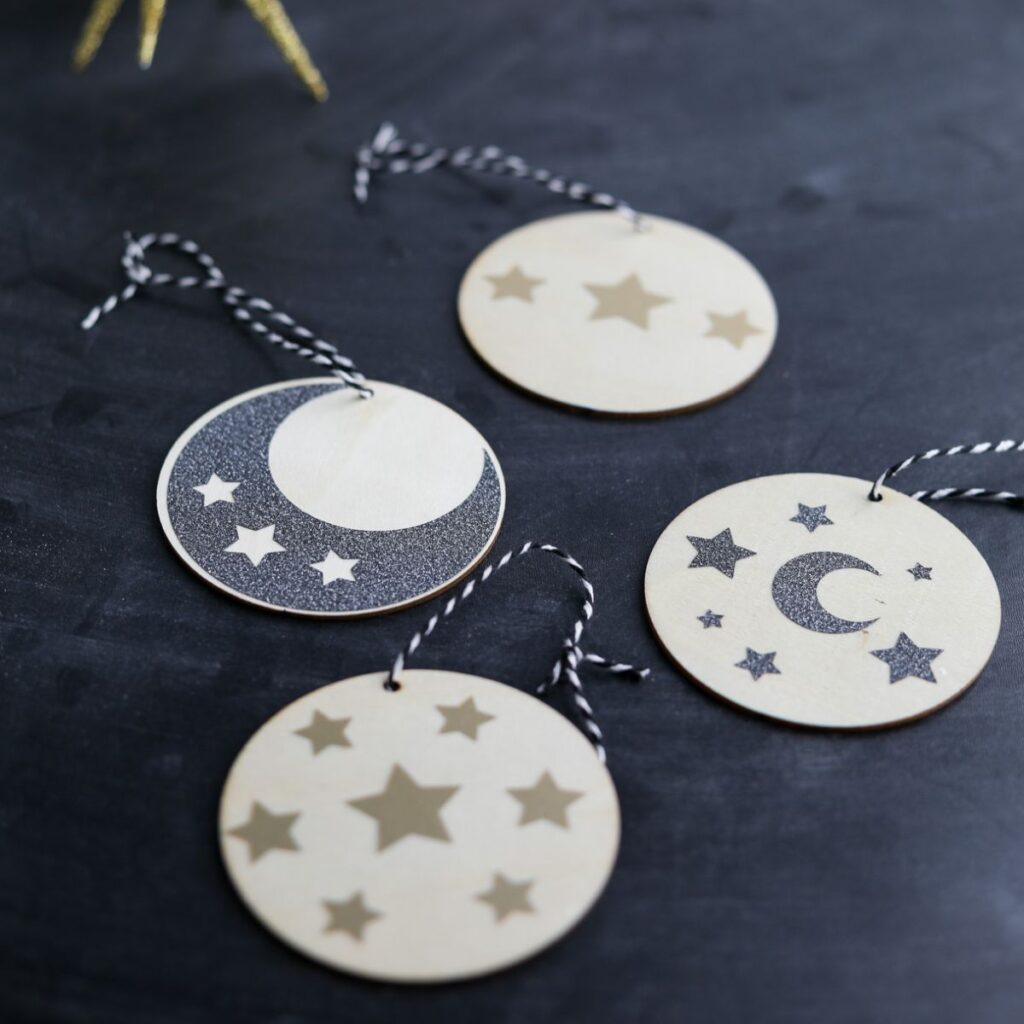
DIY Vinyl Celestial Ornaments
Supplies Needed:
- Vinyl
- Cricut (I use a Cricut Maker 3)
- Weeding Tools
- Transfer Tape
- Ornament Blanks
- Ribbon (for hanging)
- SVG (link at bottom of post)
Notes about Supplies:
Glitter Vinyl: My biggest piece of advice is NOT to use it. It was difficult to transfer over, and I ended up placing it more like a sticker than a vinyl decal with transfer tape. It didn’t stick to the transfer tape.
Use metallic vinyl instead. It’s much easier to work with.
If you do use glitter vinyl, hold it up to the light to see where to weed. Keep your design really simple and apply it like a sticker.
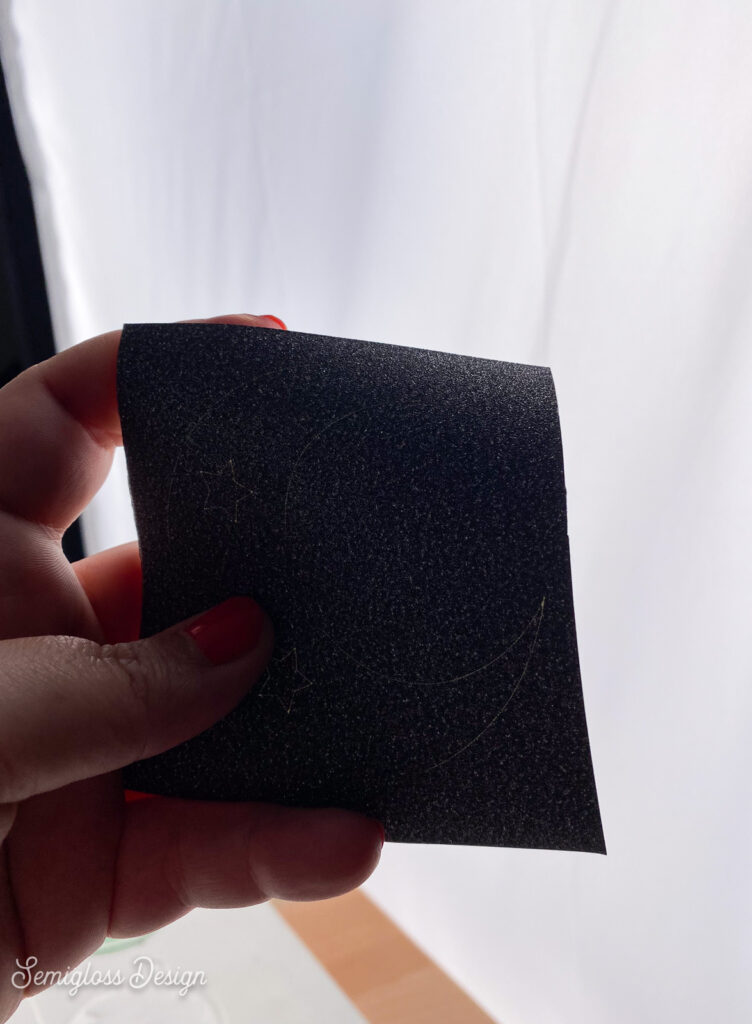
Ornament Blanks: I left my ornament blanks unpainted because I like the contrast of the wood with the vinyl. You can paint the blanks if you want. Just use craft paint.
- Upload and cut the vinyl as usual. Be sure to attach the design to keep it in place.
- Weed the designs.
- Apply transfer tape and remove the vinyl from the backing.
- Place the design on the ornament blanks.
- Remove the transfer tape, smoothing the vinyl to make sure that it adheres to the ornaments.
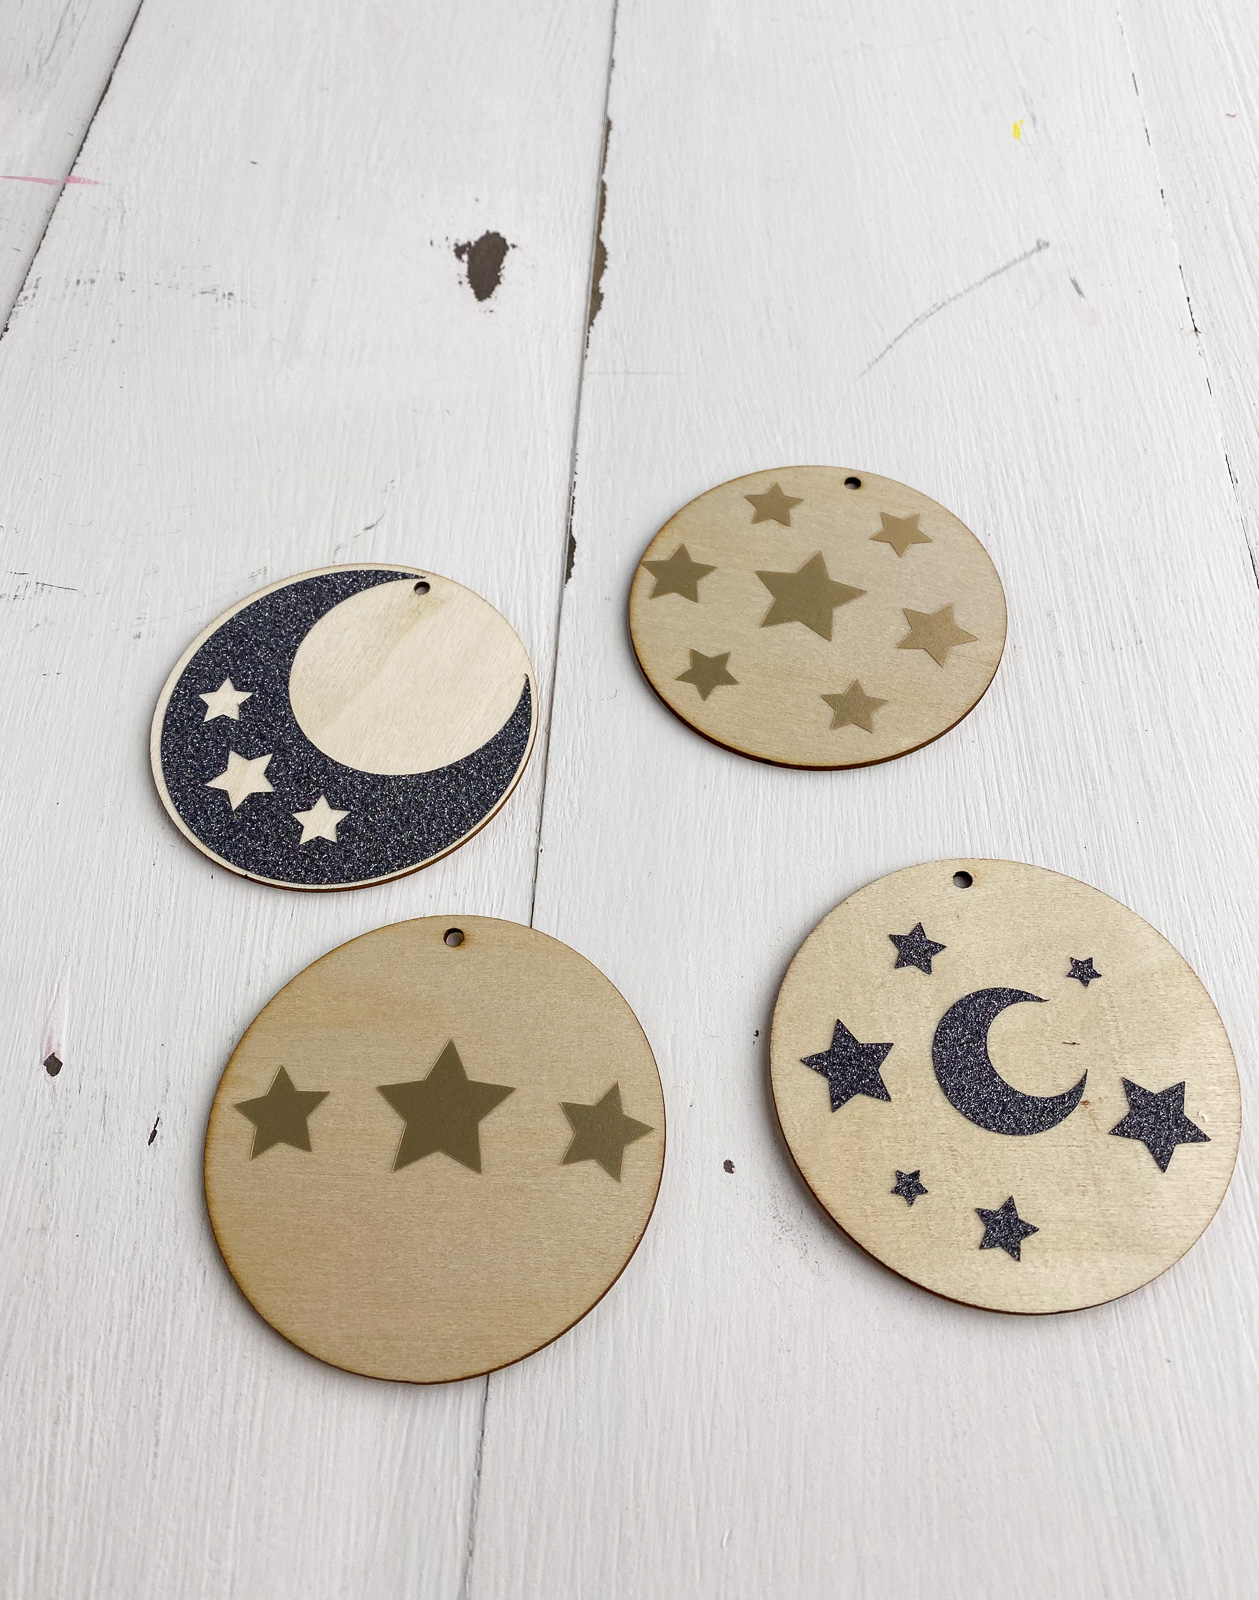
- Add a ribbon for hanging.


Other Christmas Projects
Download Celestial SVG Set
Free downloads are for personal use only. Please do not redistribute or sell.
Pin for Later!


