Make a DIY Acrylic Ornament with Cricut for Christmas
Learn how to make a DIY acrylic ornament. Use your Cricut to create personalized ornaments for your family and friends. This tutorial includes 3 variations of this easy project.
If you’re new to Cricut, be sure to check out this post on working with vinyl first.

This post contains affiliate links. By purchasing an item through an affiliate link, I earn a small commission at no extra cost to you. As an Amazon Associate I earn from qualifying purchases.
How to Make DIY Acrylic Ornaments: 3 Ways
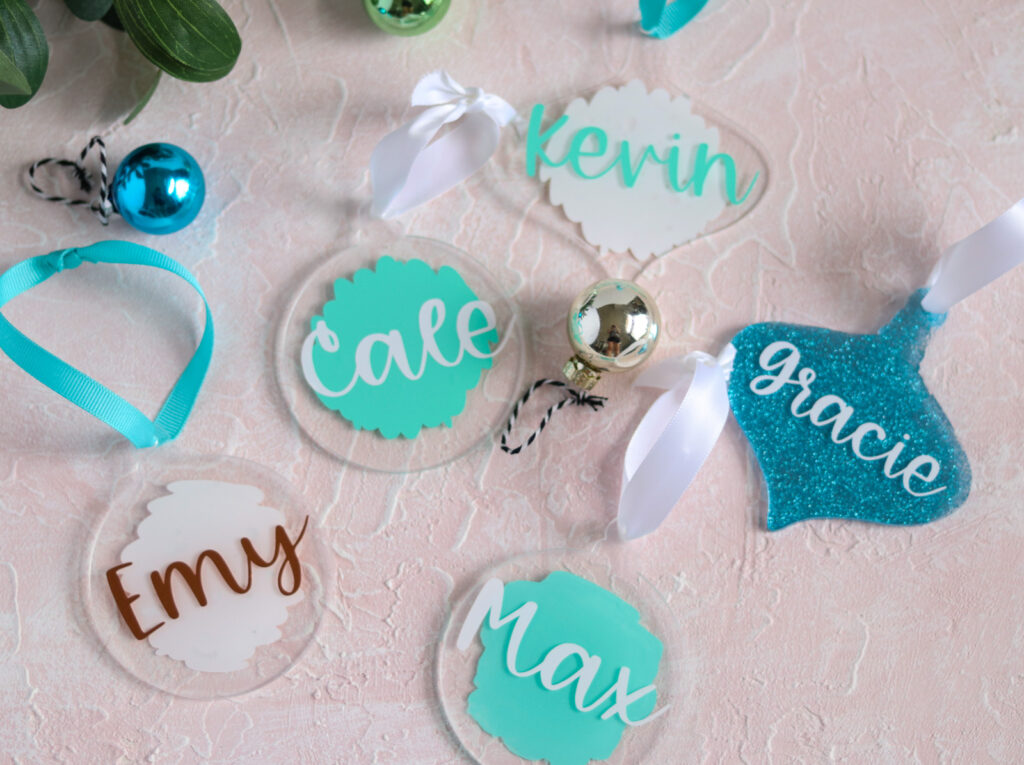
Since these ornaments are so quick and easy to make, I’m including 3 different ways to make acrylic ornaments with vinyl.
Supplies Needed:
- Acrylic ornaments
- Cricut (I used my Cricut Maker 3)
- Weeding Tools
- Vinyl (White, Mint, and Copper Adhesive Foil)
- Transfer Tape
- Craft paint (optional)
- Glitter (optional)
- Mod podge (optional)
- Clear spray paint (optional)
- Ribbon
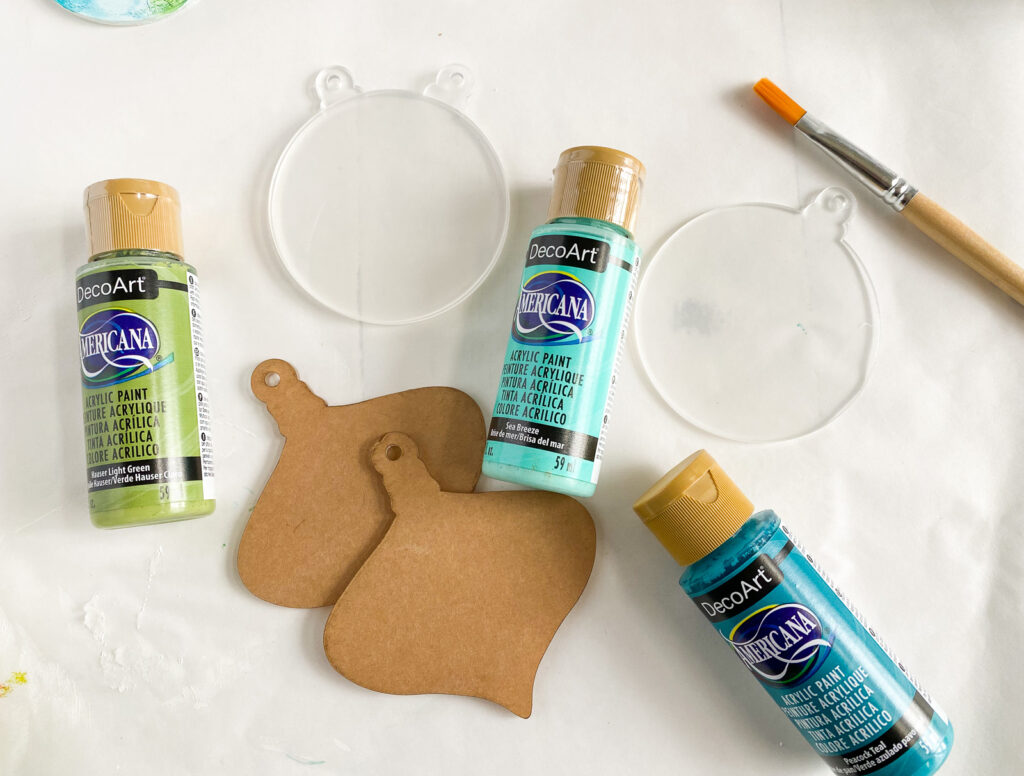
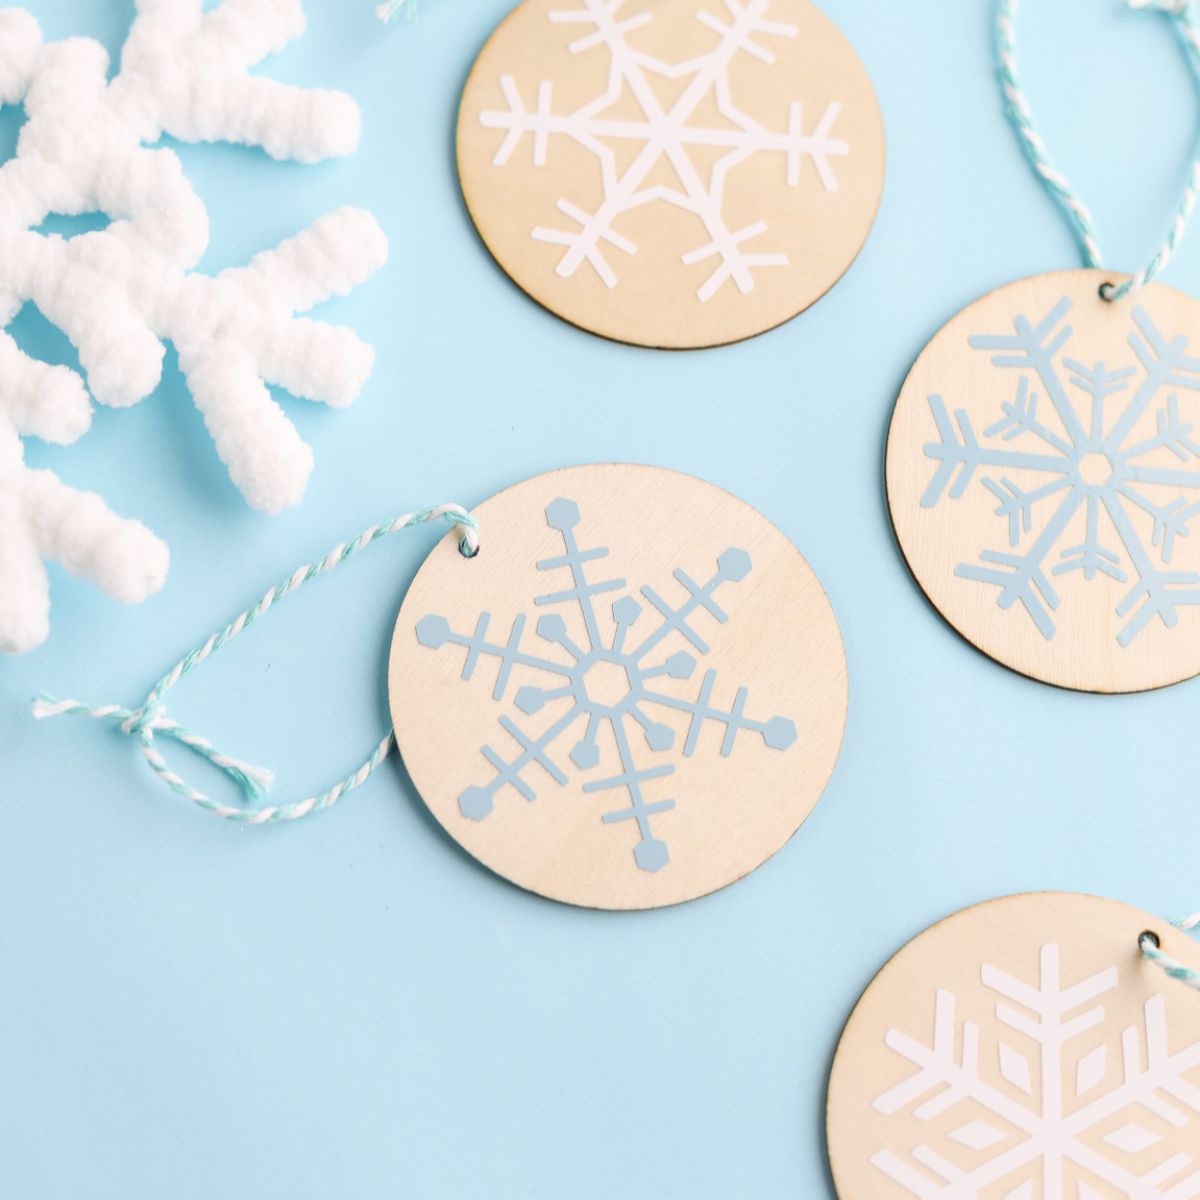
Acrylic ornaments come in a ton of fun shapes. I bought round ones and some vintage ornament shapes, but I’ve also seen dog bones and hearts, which are so cute.
Some shapes come with paper backings that need to be removed first.
Vinyl is available in many colors, but keep contrast in mind when pairing vinyl colors. White vinyl names on a white vinyl background won’t show up very well.
I used foil vinyl for one of mine and it looks gorgeous when the light hits it, but it’s harder to photograph. This probably isn’t an issue unless you sell your crafts.
If you’re making these ornaments to sell or give as gifts, be sure to use permanent vinyl.
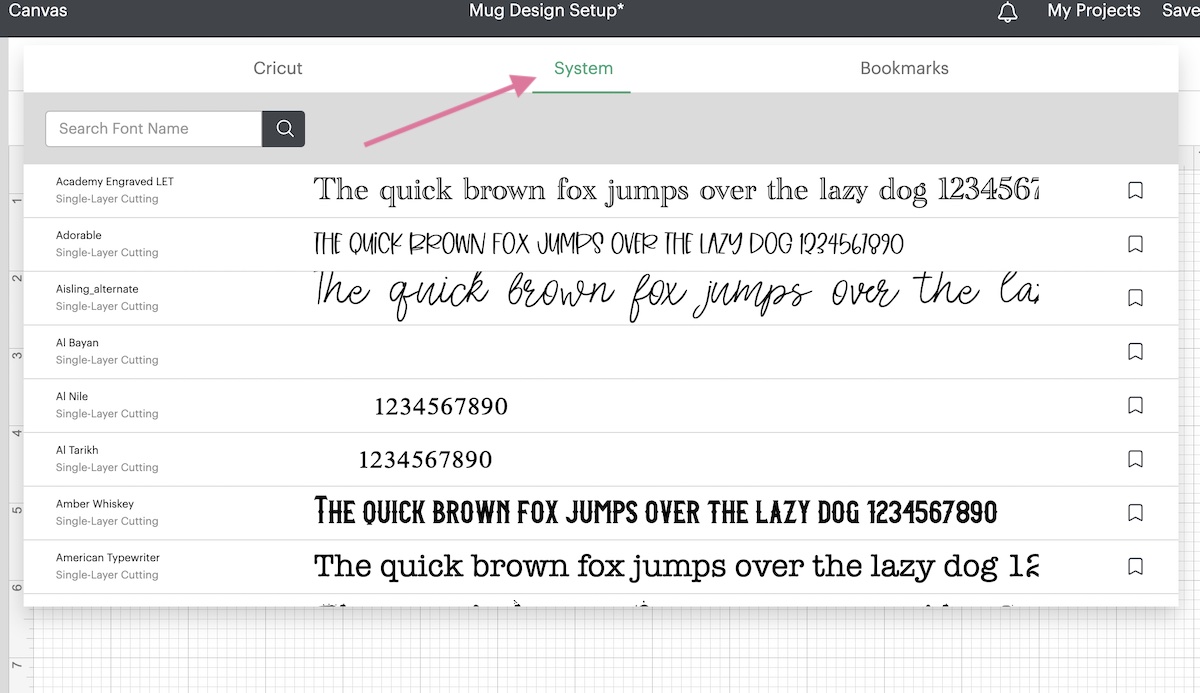
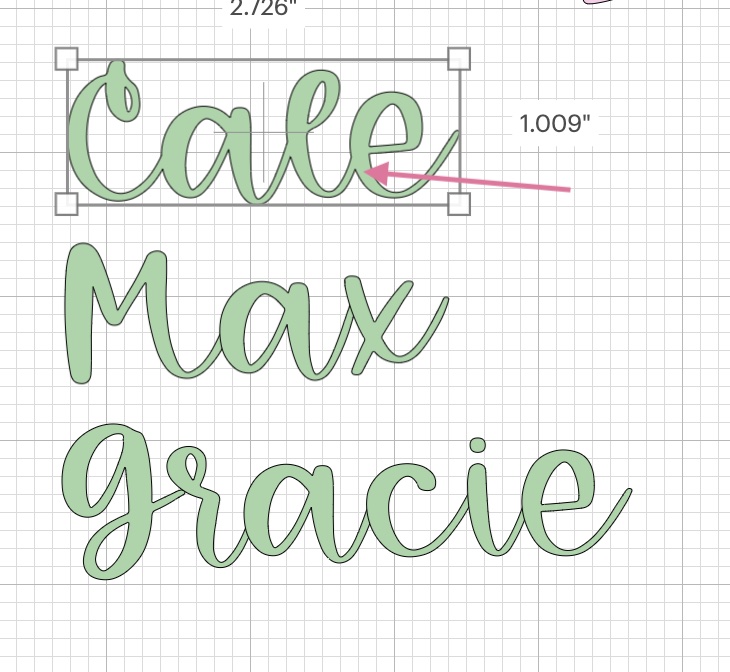
Cutting a Cursive Font in Cricut Design Space
For this project, I’ve only provided a paint swash SVG so you will need to cut your own names. Here’s a few tips to make it easier.
- Chunky fonts are easier to weed and apply. I’m using this font called Girl Talk. It’s installed on my computer and can be accessed in the Cricut Design Space font menu under “system”.
- You can apply an offset if you need to make a thin font thicker. Play with the sizing to keep it legible.
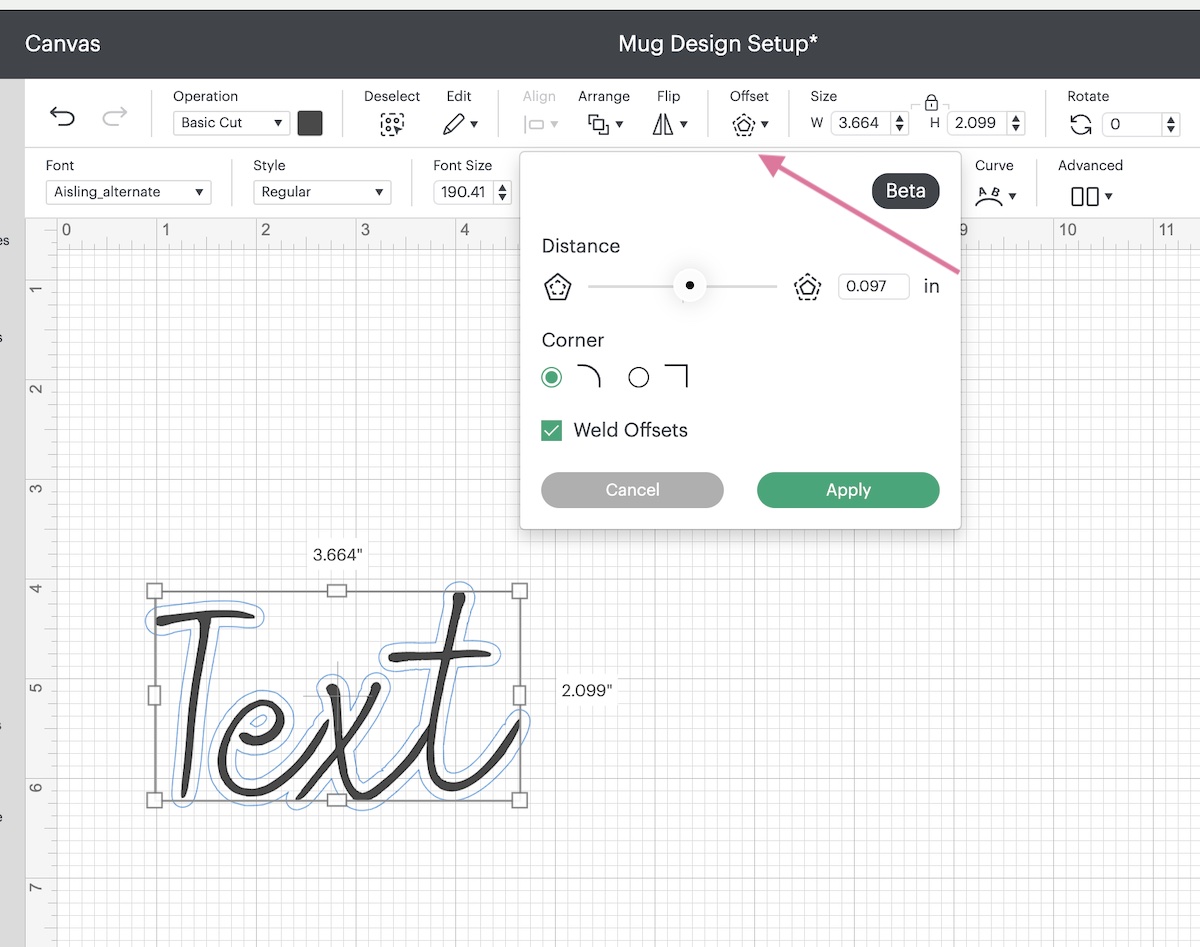
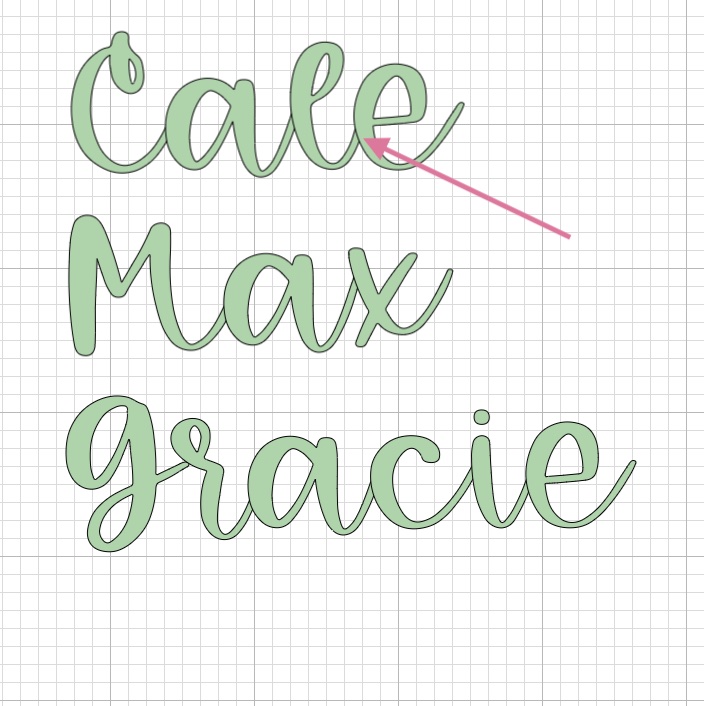
- Make sure you weld cursive fonts together using the “Unite” option. This makes the word one shape. It’s not editable after this, so duplicate it first if you’re worried. Welding a font attaches it together, so there’s no need to click attach before cutting.

- If you’re using a non-cursive font, be sure to attach it before cutting so that it stays in order.

- Make sure the names fit in the ornaments you bought. Resize as necessary.
DIY Acrylic Ornament with Vinyl
For this method, I tried vinyl paint swashes on both the front and back sides of the ornament. I liked both options equally. However, keep in mind that when you put vinyl on the back, only the white will show through.
Another layering tip: specialty types of vinyl like glitter and foil should be used on top only. You cannot place vinyl on top of these.
- Cut and weed your vinyl as usual.

- Use transfer tape to apply the cut paint swash to the ornament. You can use the front or the back depending on the look you’re going for. (See note above.)

- Apply the name in the same manner, making sure you center it.


Acrylic Ornaments with Paint
This method uses craft paint on the back of the ornaments. Although my paint color happens to perfectly match the vinyl color, craft paints come in way more colors than vinyl.
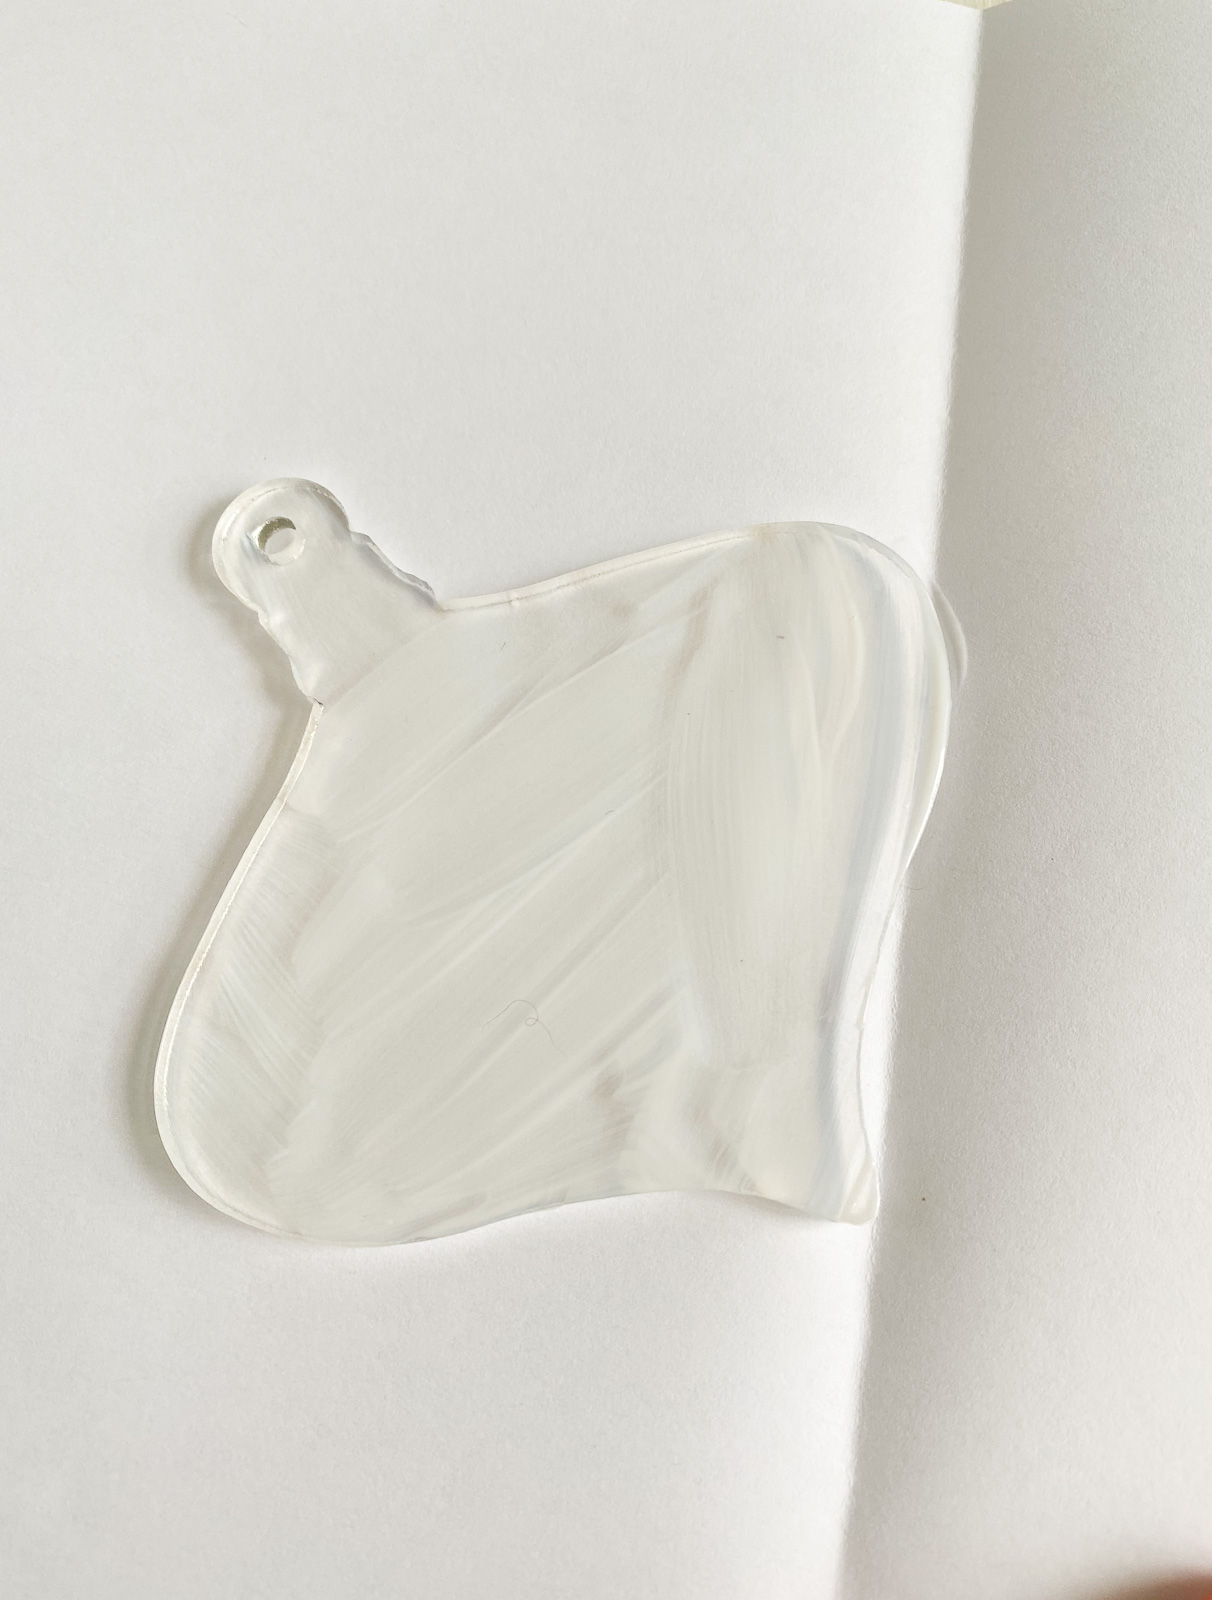
You might want to protect your work surface for this method. I usually use freezer paper, shiny side down to protect my desk.
- Paint a messy paint swash on the back of the ornament.
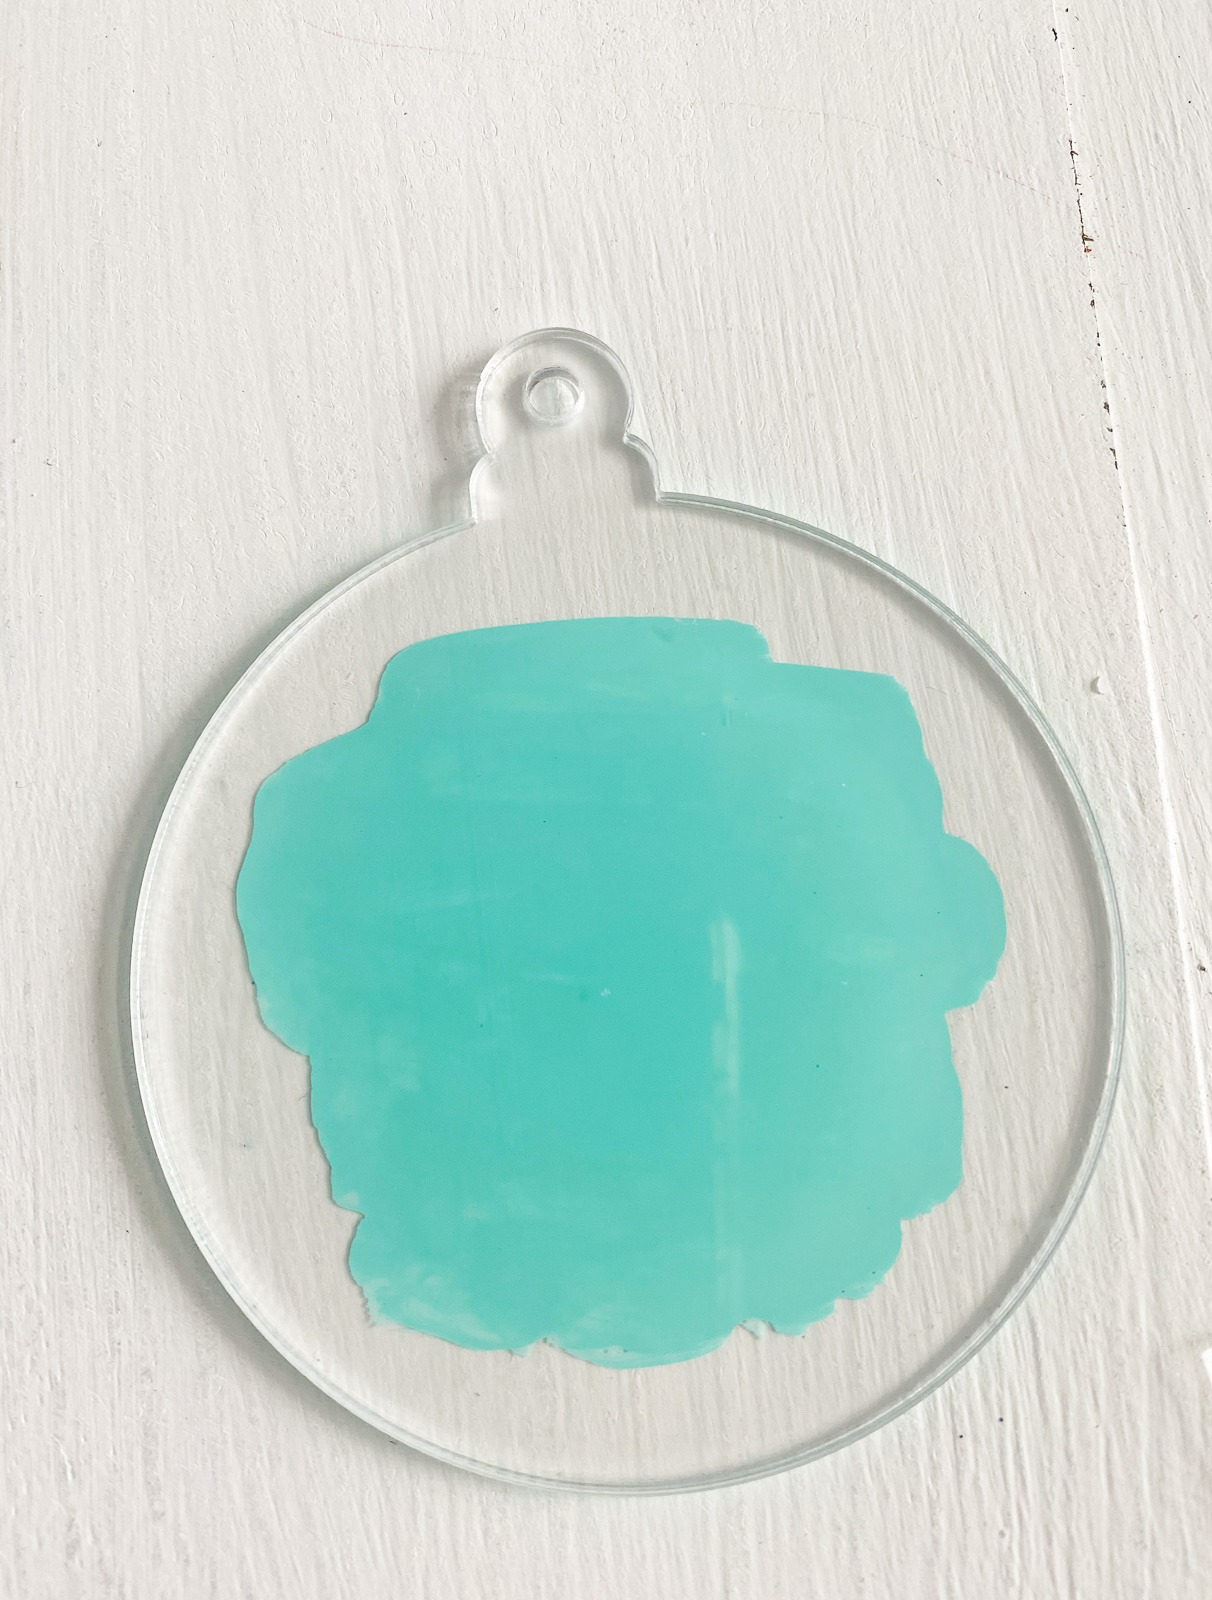
- Let it dry.
- Most colors will need at least 2 coats, but lighter or more transparent colors may need more coats.
- Flip the ornament over and apply the name with transfer tape.

This option looks really similar to the vinyl version.

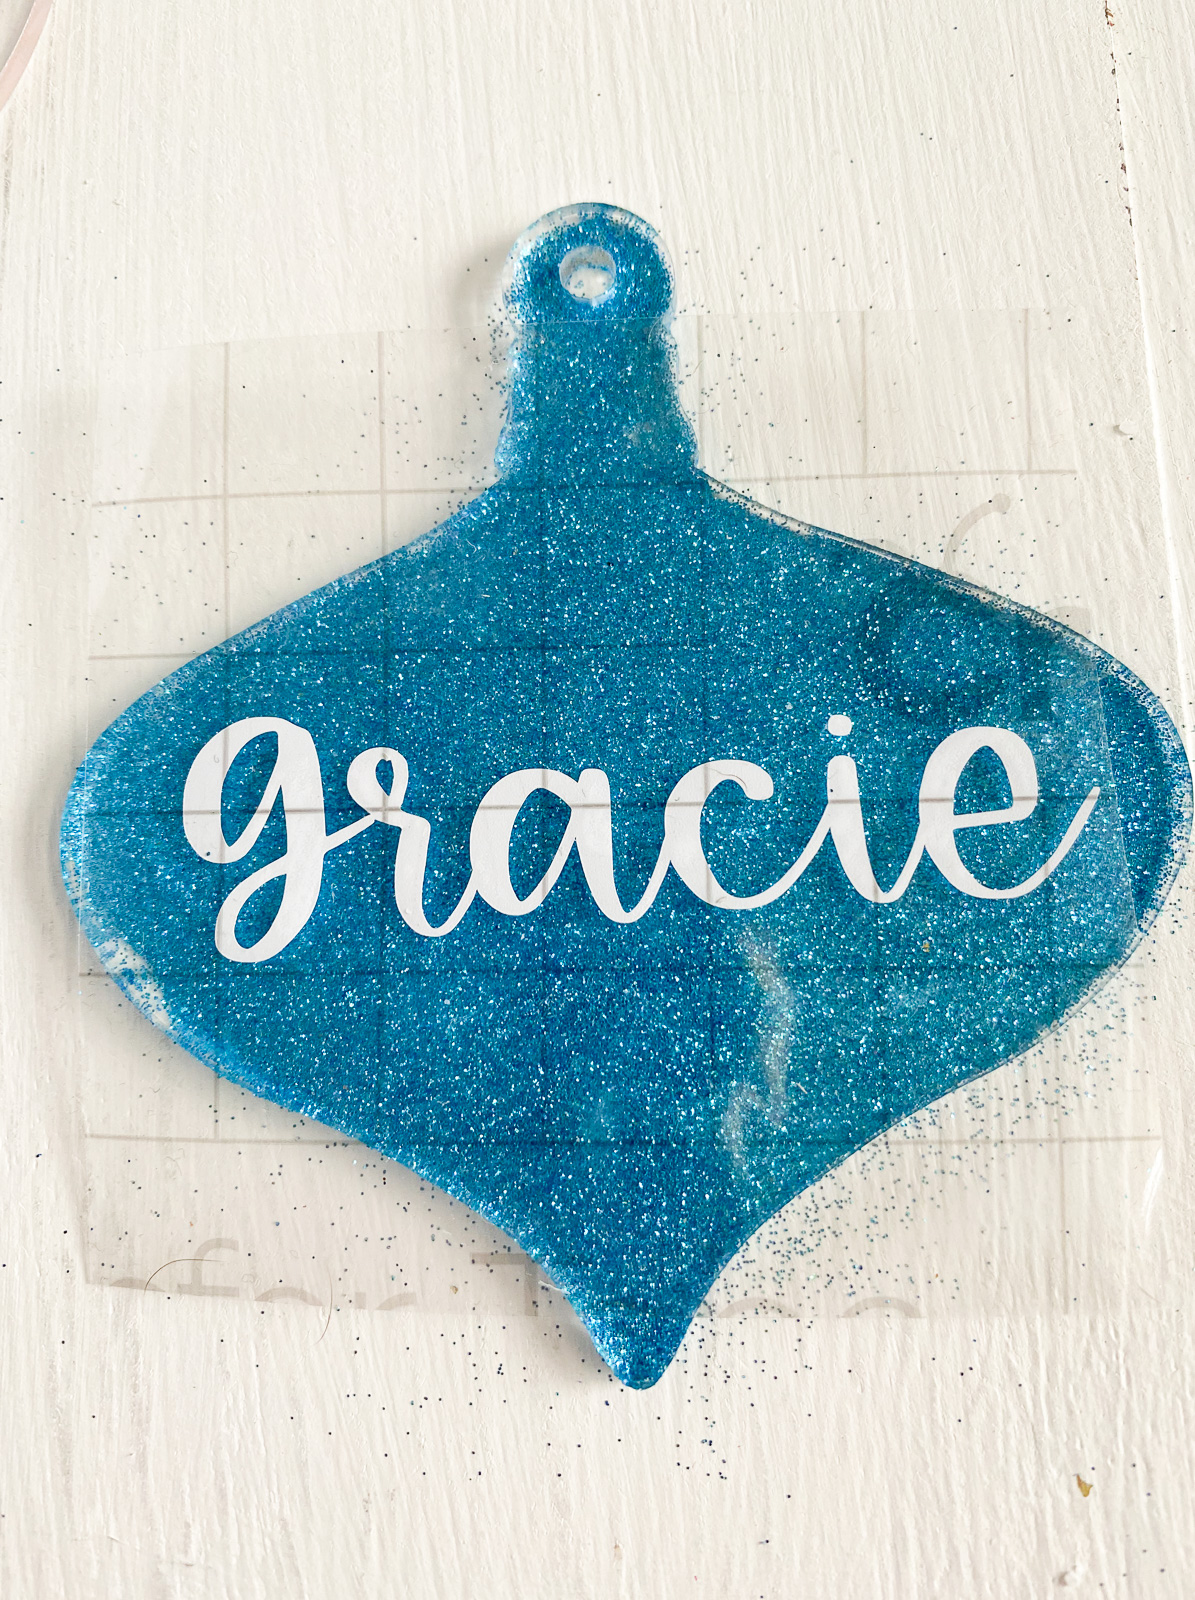
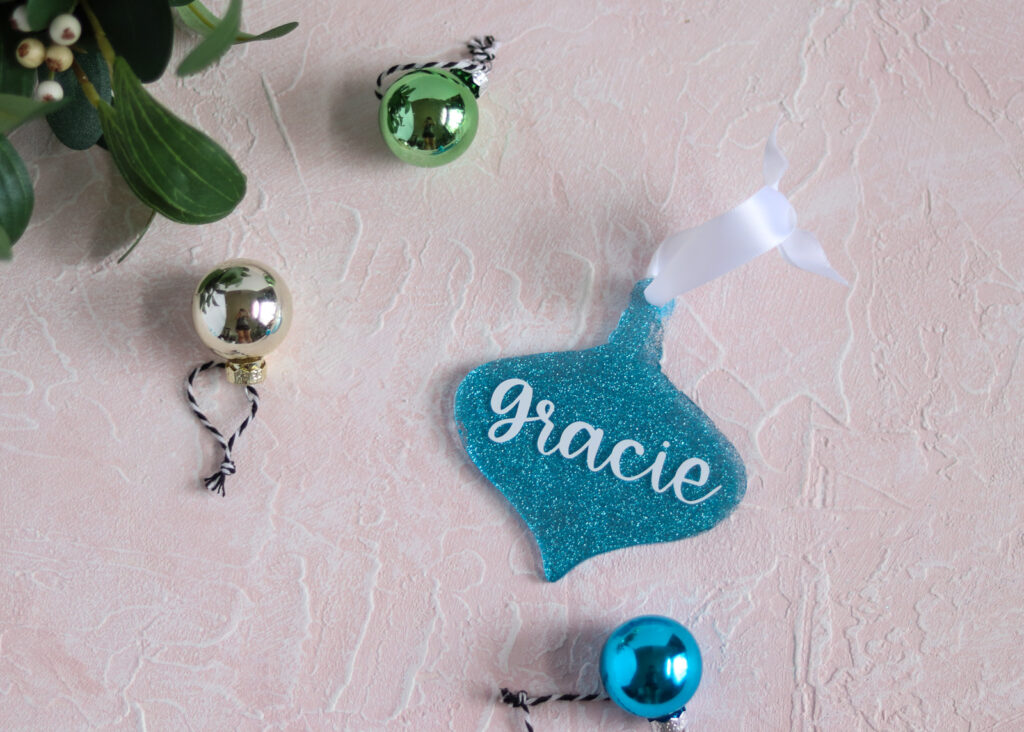
Acrylic Ornaments with Glitter
This method uses glitter and mod podge on the back of the ornament. You can also use clear spray paint to seal the back so that it doesn’t leak glitter everywhere when you touch it.
- Apply a thin layer of mod podge to the back of an ornament.
- Sprinkle glitter over the wet paint. (I like to add it over a sheet of paper so that I can easily move the glitter back into the container.)

- Shake the ornament a bit to remove loose glitter.

- Let it dry completely.
- Flip the ornament over and apply the name with transfer tape.
Download a Paint Swash SVG
Free downloads are for personal use only. Please do not redistribute or sell.

Other Christmas Projects
Pin for Later!