How to Cut Glitter Cardstock with a Cricut
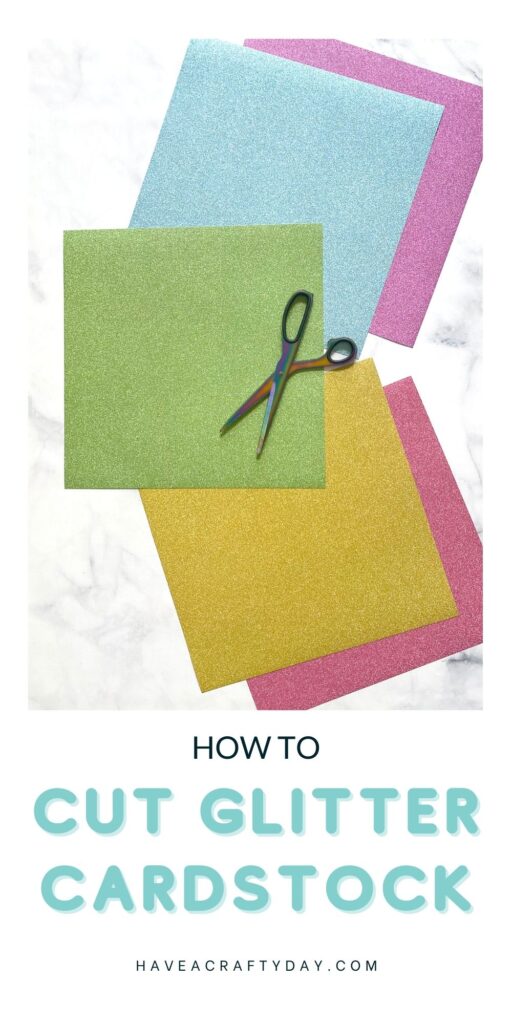
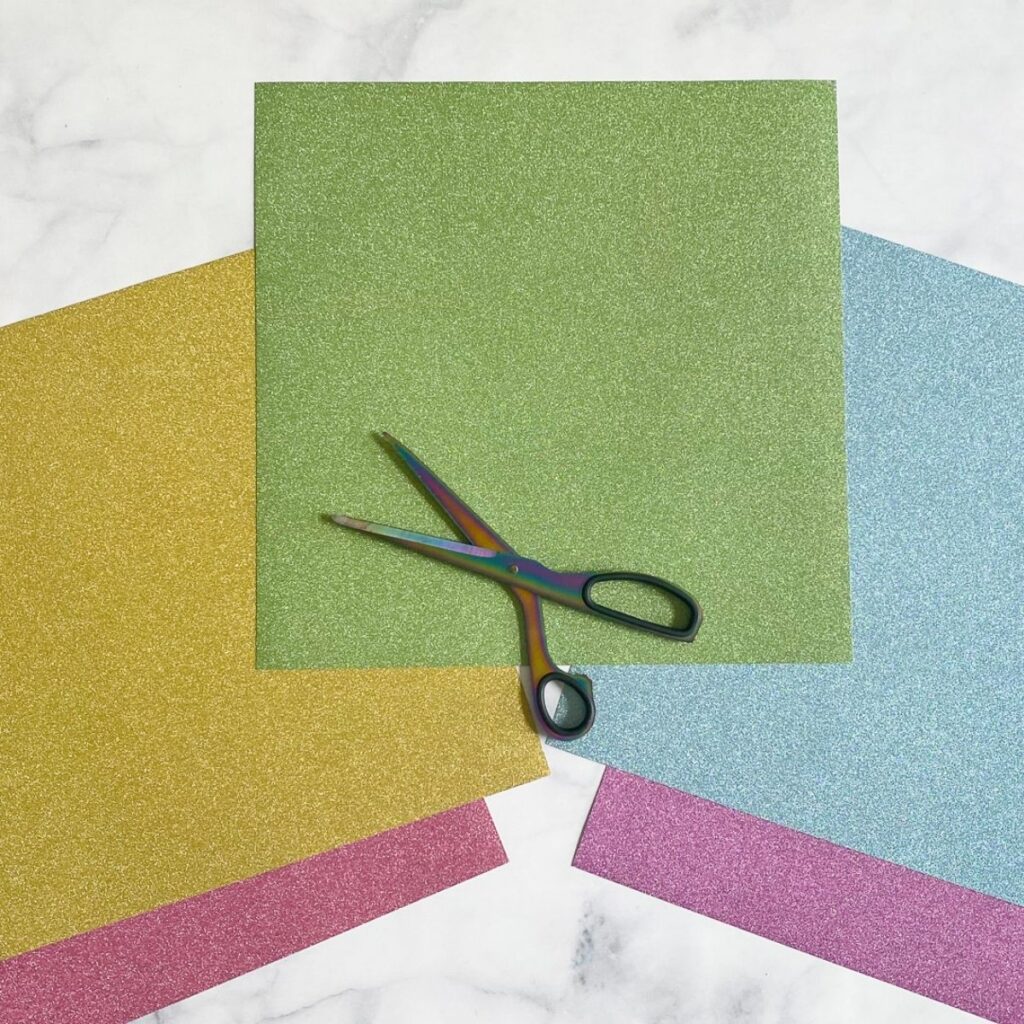
Learn how to cut glitter cardstock with a Cricut. Using glitter cardstock is an easy way to add sparkle to your paper crafting projects.
Get more Cricut basic tutorials for beginners.
This post contains affiliate links. By purchasing an item through an affiliate link, I earn a small commission at no extra cost to you. As an Amazon Associate I earn from qualifying purchases.
How to Cut Glitter Cardstock with a Cricut
Glitter cardstock is really fun to craft with, but if you’re like me, you probably have some questions before you get started.
Here’s what I’ve learned when I’ve used my Cricut Maker to cut glitter cardstock.
Which Mat Should I Use?
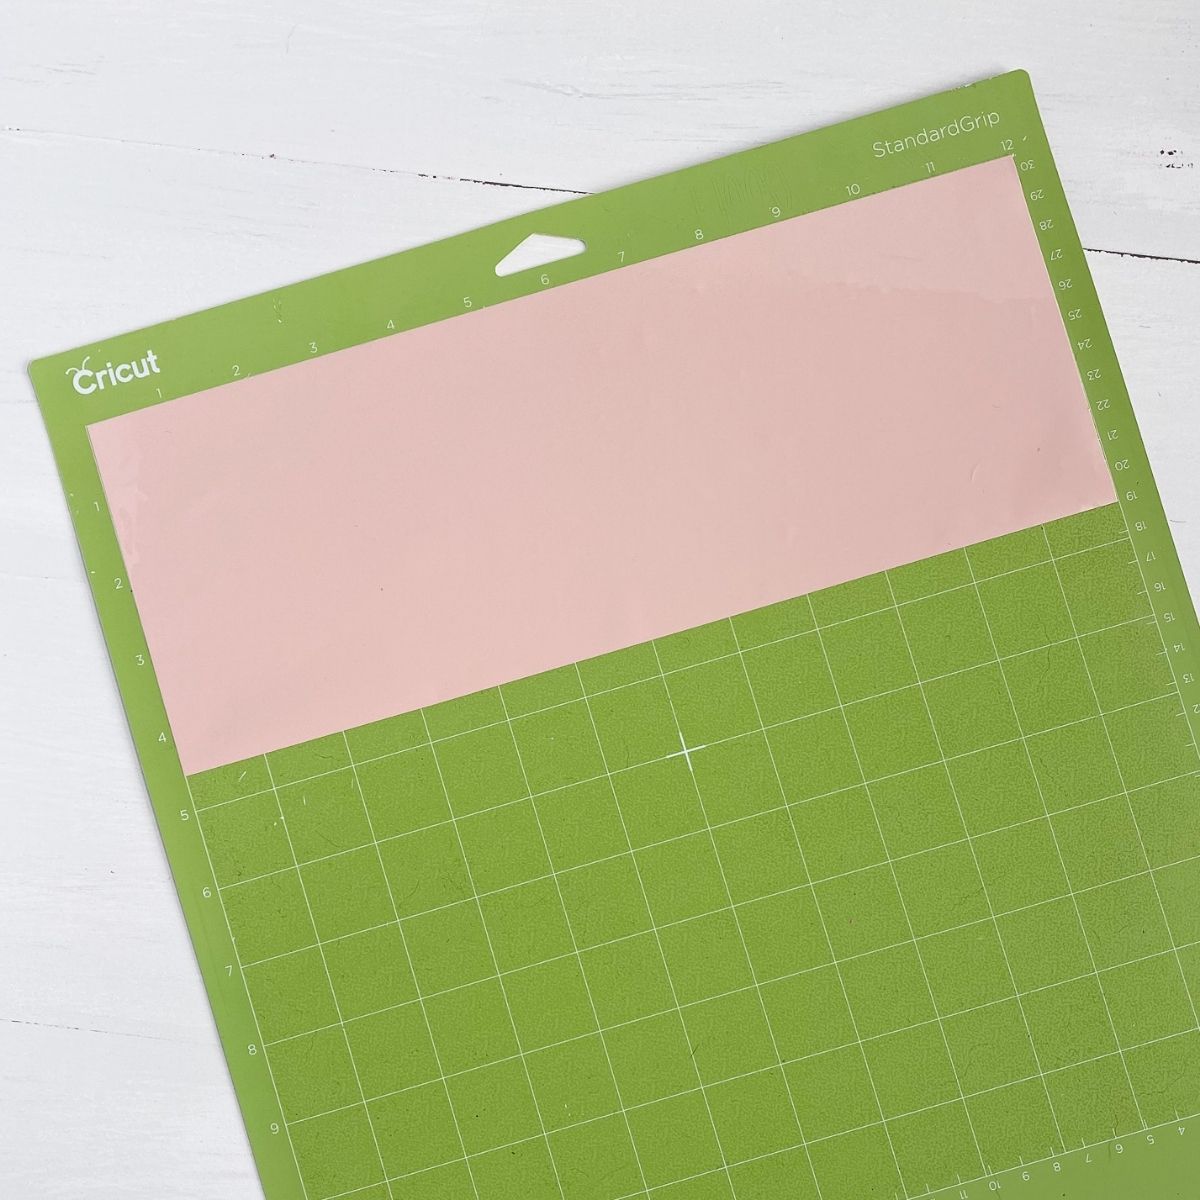
Although Cricut recommends using the StrongGrip mat, I disagree. I use the LightGrip mat (the blue one) and it works perfectly.
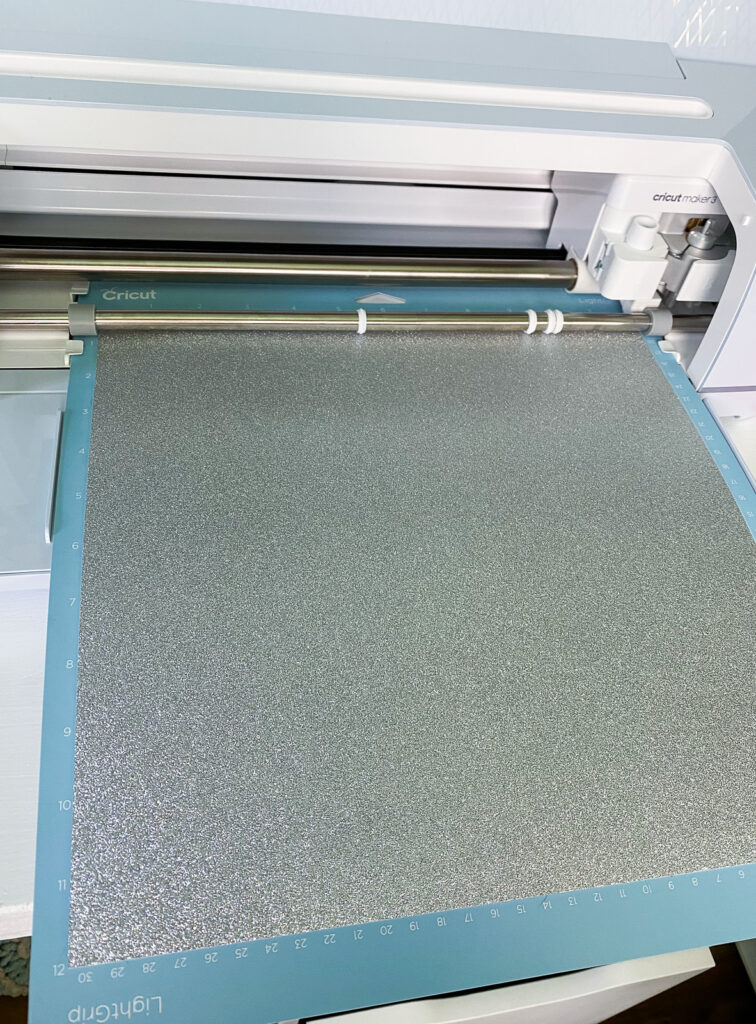
If a mat is too sticky, it will tear the paper up when you’re trying to remove it. If you only have a Standard mat, you can de-stick it by pressing a clean towel or t-shirt on it.
If your mat is not sticky enough to hold the glitter cardstock, you can use painter’s tape to hold it in place while cutting.
I recommend painter’s tape because it is gentle and won’t destroy the paper when you remove it.
Will My Mat Be Covered with Glitter?
So far, there are only a few specks of glitter on my mat. I’m sure that if I used it to cut 20 pieces of glitter cardstock in a row, it would have more glitter on it.
To clean your mat, wipe it down with a baby wipe and it should be as good as new.
What Setting Should I Use?
The glitter cardstock setting under the Cardstock section works fine.
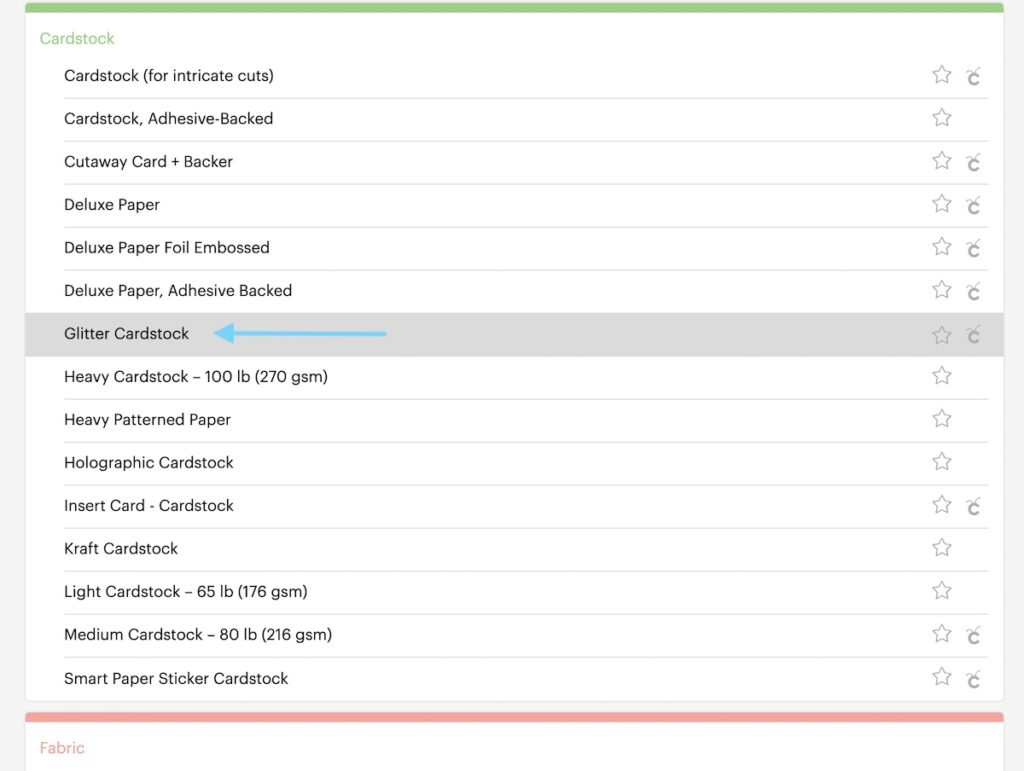
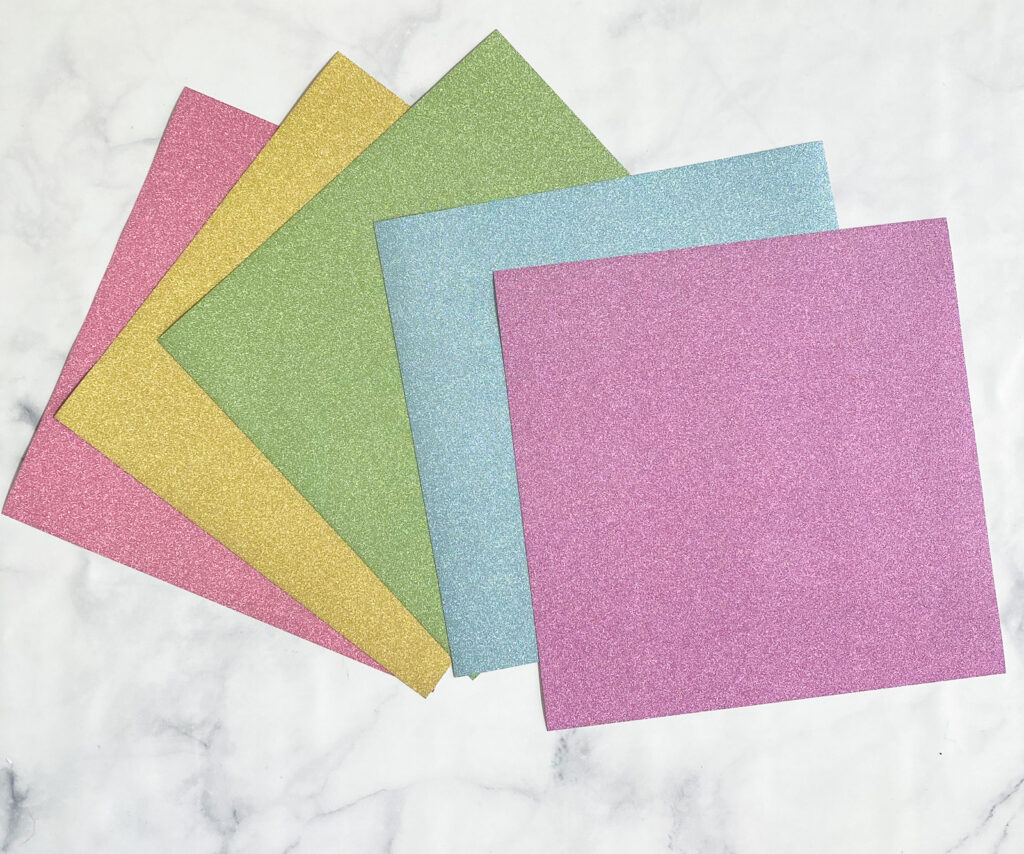
For reference, I’m using the Recollections brand of glitter cardstock from Michaels.
If your glitter cardstock is thicker than usual, you might want to use the heavy cardstock option instead.
Which Blade Should I Use?
When you’re using a Cricut Maker, the materials selected tell the machine which blade to use automatically.
For regular glitter cardstock, the fine point blade works. If your cardstock is thicker, you might need the deep-cut blade instead.
Why Is My Cricut Not Cutting Through Glitter Cardstock?
When cutting anything with a Cricut, always make sure that the design cuts all the way through before unloading the mat.
If it hasn’t cut all the way through, you can send it to cut one more time.
Make sure that your blade is clean. An easy way to do this is to stab the blade into a ball of aluminum foil several times.
If your blade is old, it might be time to get a new one.
If your cardstock is too thick, you might need a different material setting and blade. Try cutting with the Heavy Cardstock option instead.
How Do I Keep My Cardstock From Rolling Up?
When you remove the cardstock from the mat, peel the mat away from the cardstock instead.
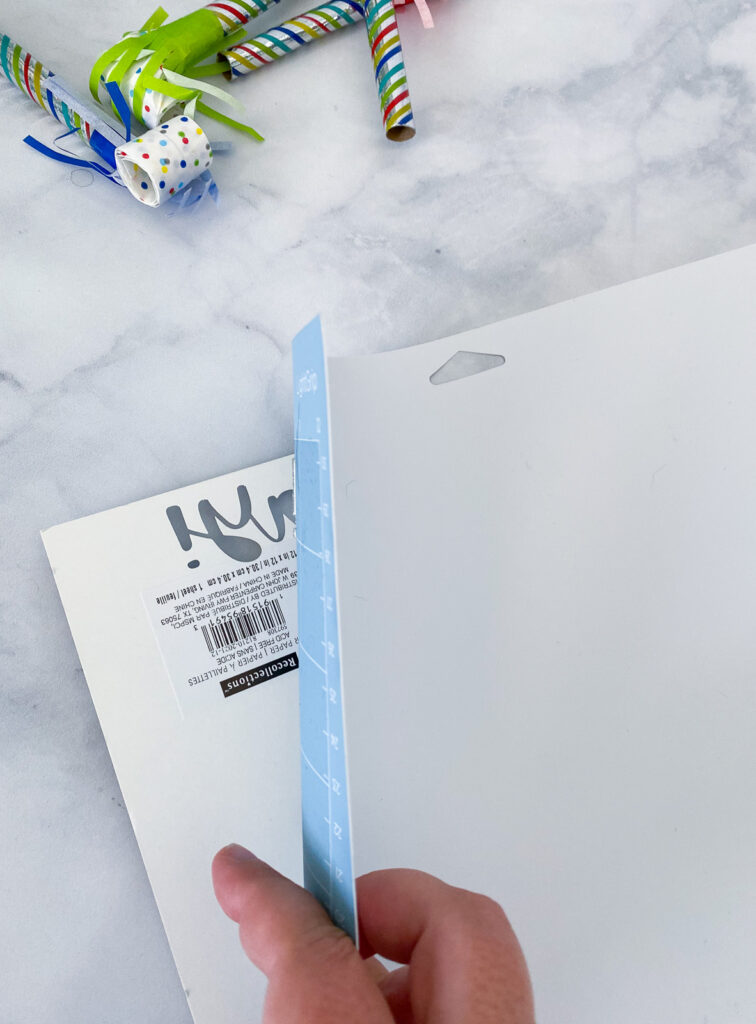
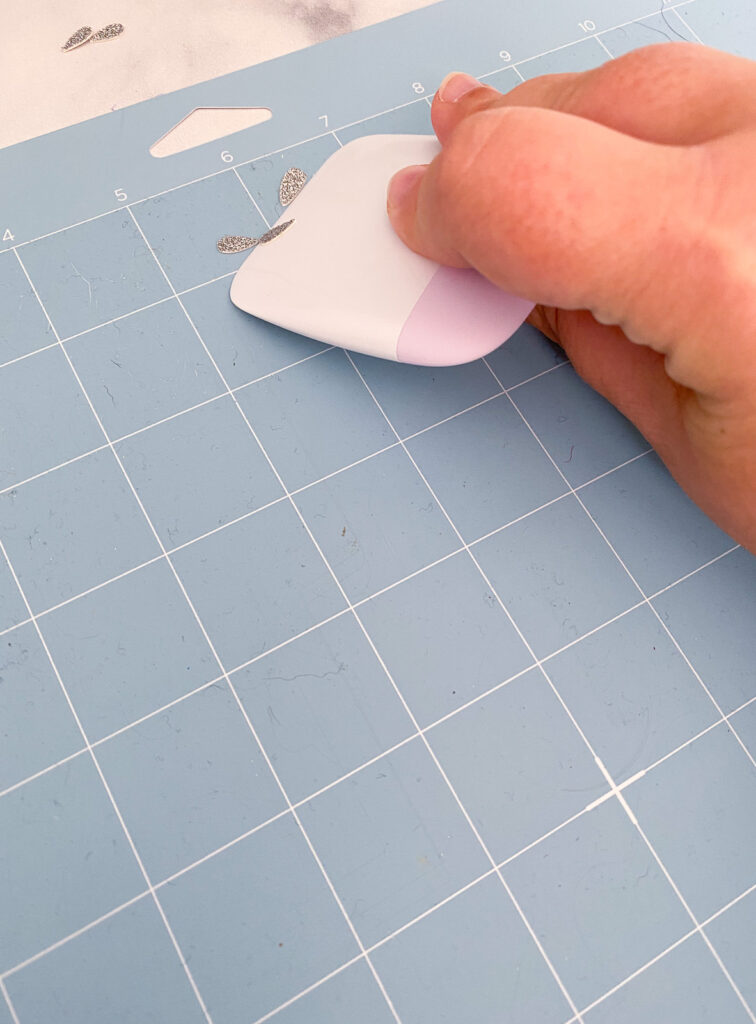
Cut designs should be removed in a similar manner. You can use the spatula tool to help if needed.
When you’re finished, the remaining cardstock can be removed with the scraper tool (always use a light touch to avoid damaging the mat.)
Which Glitter Cardstock Should I Use?
I like the Recollections brand from Michaels. It’s sturdy enough and doesn’t shed glitter everywhere.
Pro buying tip: If the glitter cardstock you are buying comes in a clear plastic sleeve, open it up and make sure that it’s not glitter paper with a cardboard insert.
If you do buy glitter paper, it can still be used in a similar manner if you use a sturdy cardstock backing.
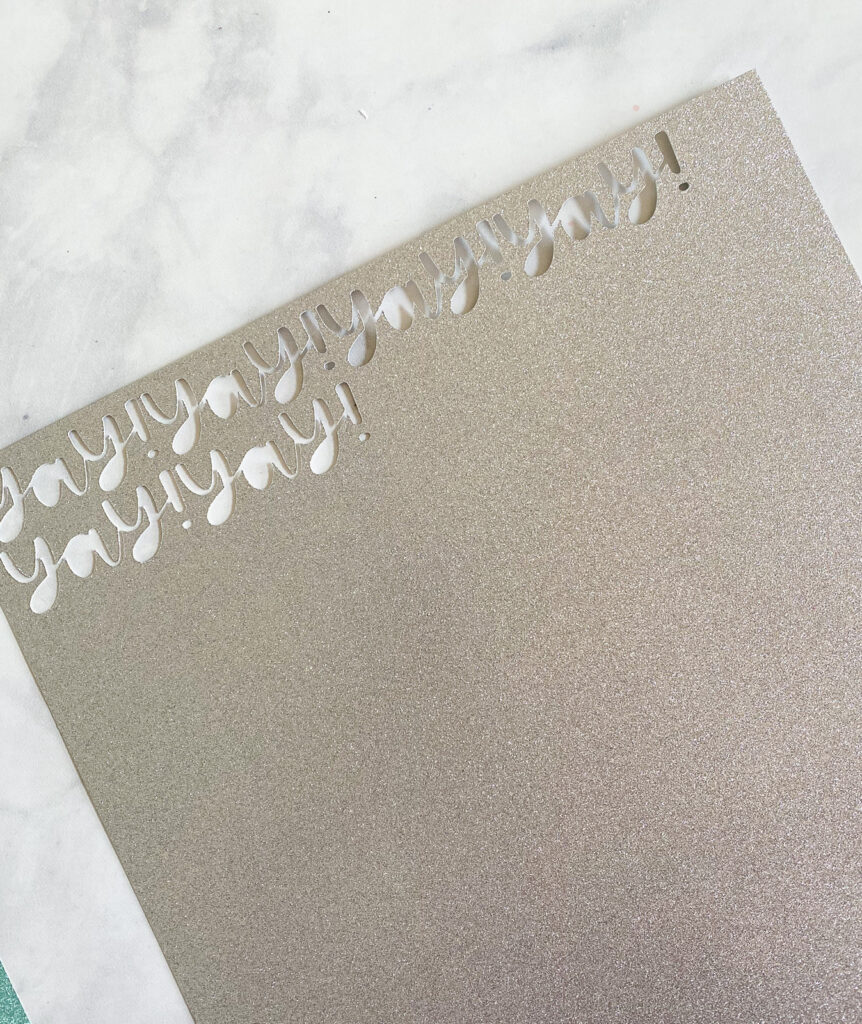
Can You Write on Glitter Cardstock?
No, but you can glue regular cardstock on it and use it as a label.
Cricut Settings for Glitter Cardstock
TLDR? Here’s a quick guide to the settings for cutting regular glitter cardstock.
Mat: LightGrip (Blue)
Blade: Fine Point Blade
Cricut Material Setting: Glitter Cardstock (under Cardstock)
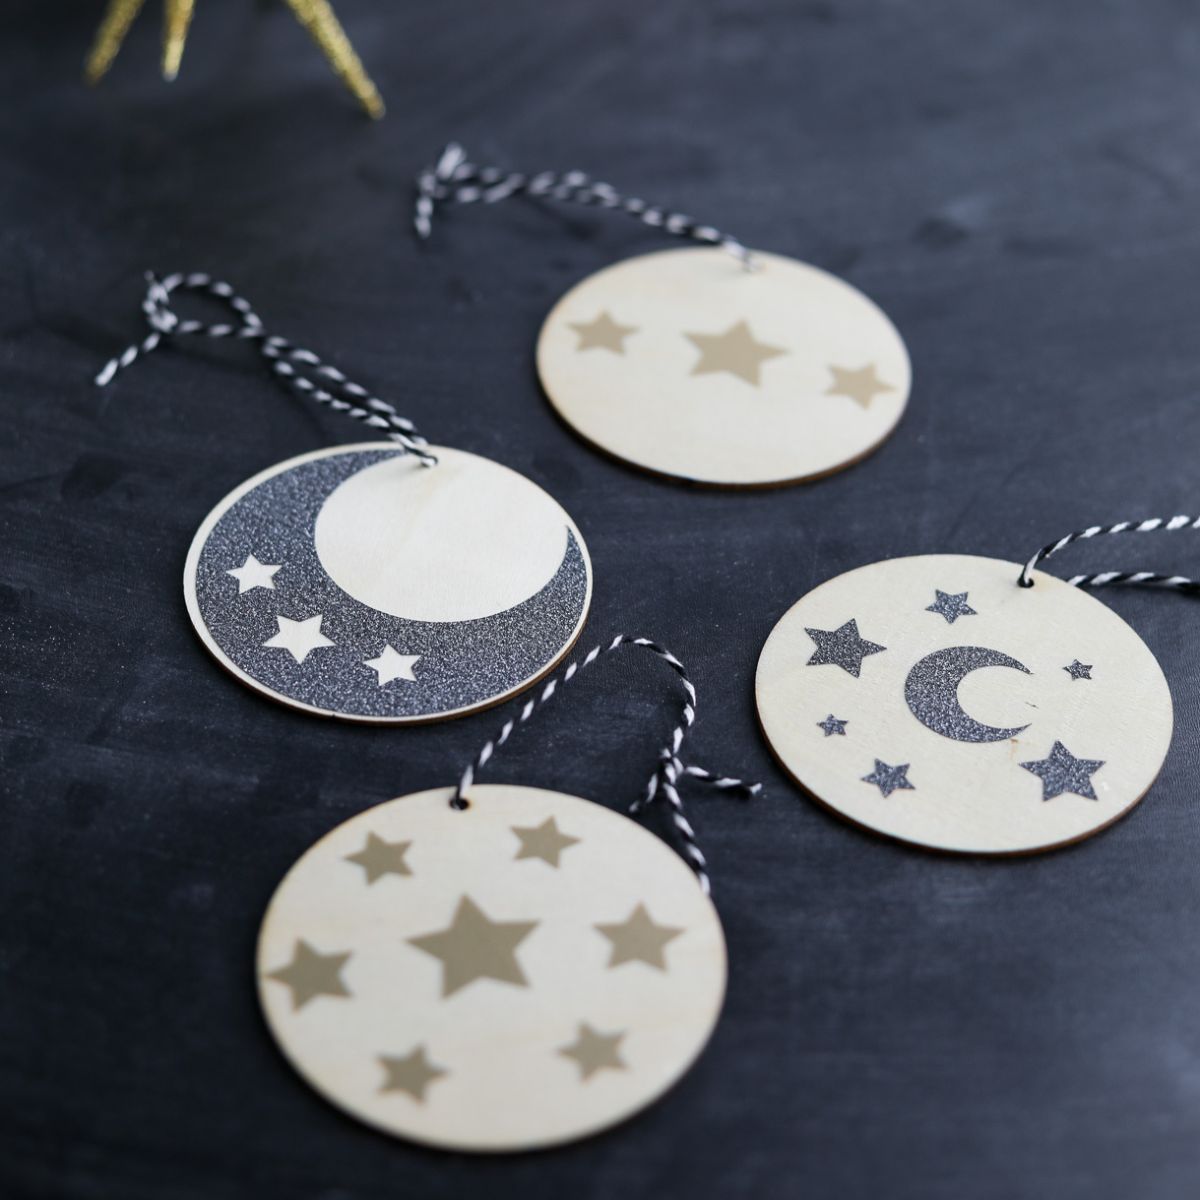
Glitter Cardstock Cricut Projects
Paper Cricut Projects
Pin for Later!
