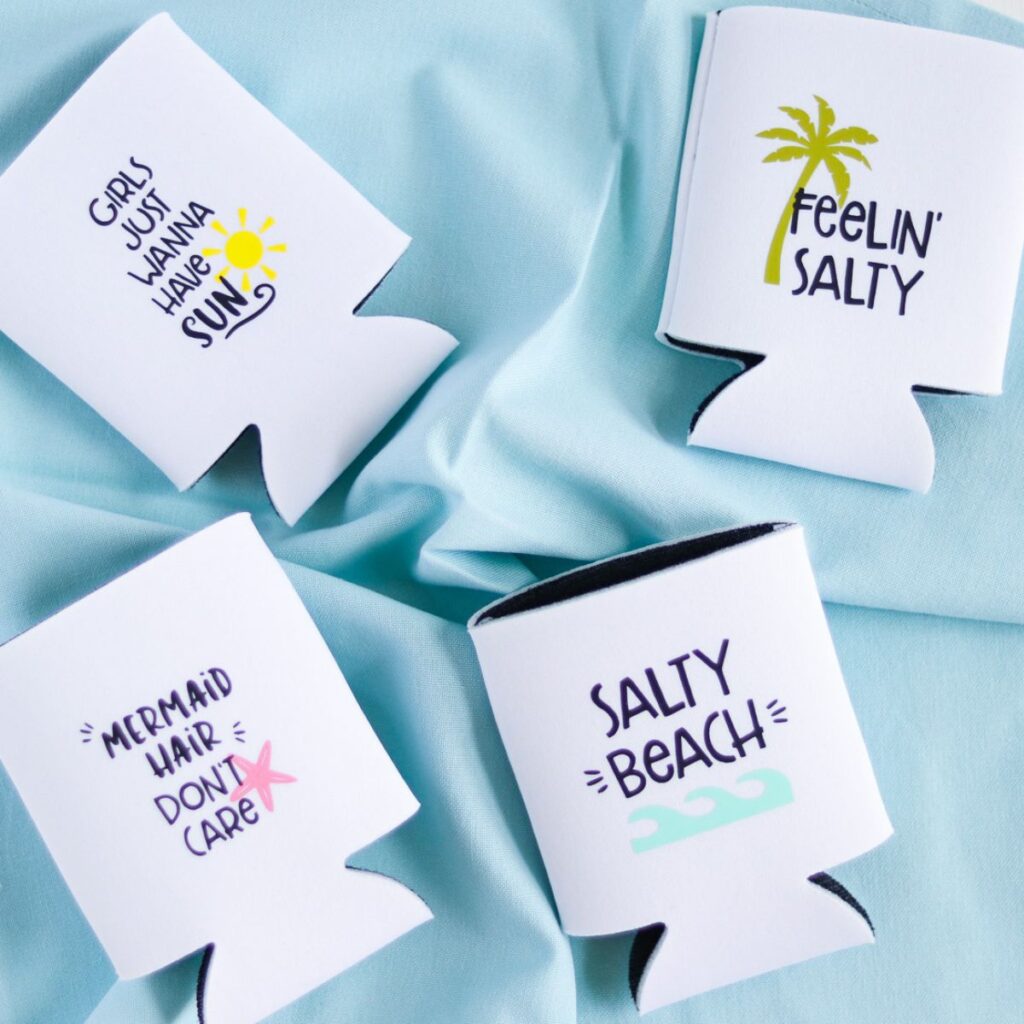
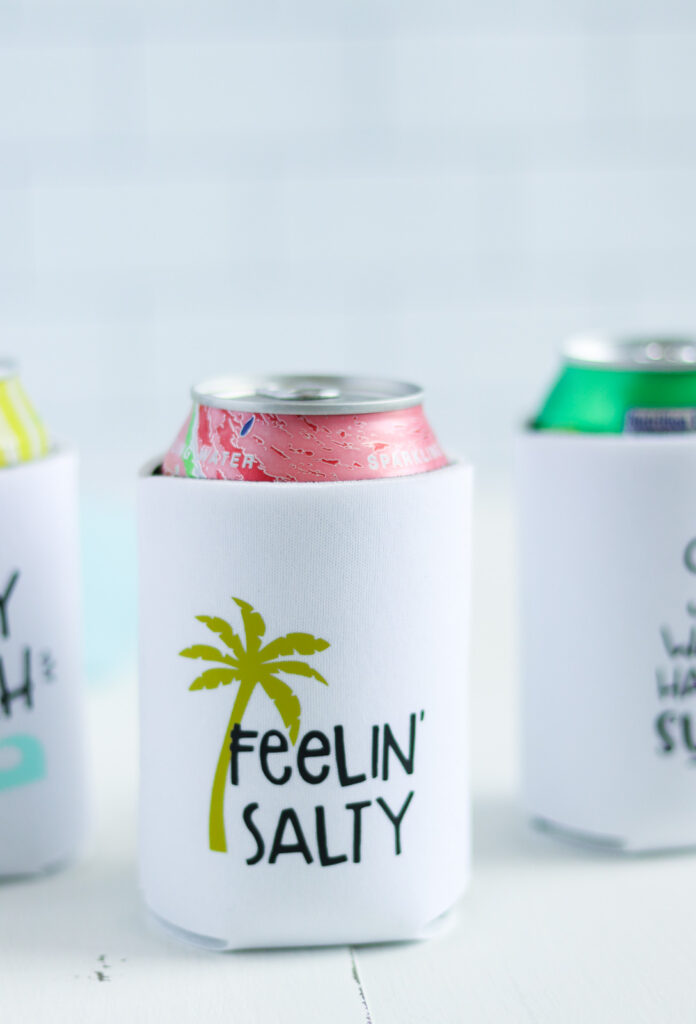
DIY Koozies for Summer
Learn how to make DIY koozies for summer. Use your Cricut and iron-on vinyl to make custom koozies to keep your drinks cold in the summer.
If you’re new to Cricut, you might want to learn more about using iron-on vinyl.
This post contains affiliate links. By purchasing an item through an affiliate link, I earn a small commission at no extra cost to you. As an Amazon Associate I earn from qualifying purchases.
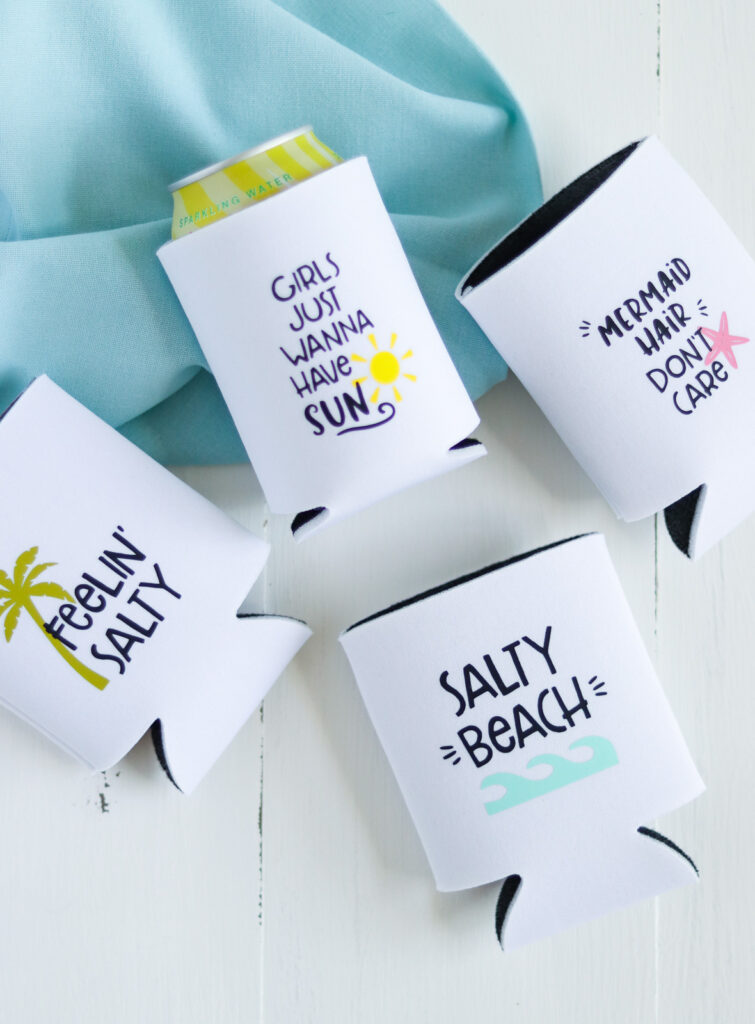
One of my favorite things that I’ve ever made is custom koozies. They’re really easy to make and they’re so useful in the summer heat.
What vinyl should you use for a koozie?
Iron-on vinyl works with neoprene koozie fabric. When you heat the iron-on vinyl, it adheres to the koozie.
The brand doesn’t matter. I’ve used several brands and I haven’t seen a huge difference.
Can you use permanent adhesive vinyl for a koozie?
No, you need to use iron-on vinyl (also called heat transfer vinyl.) Adhesive vinyl won’t stick to the koozie fabric.
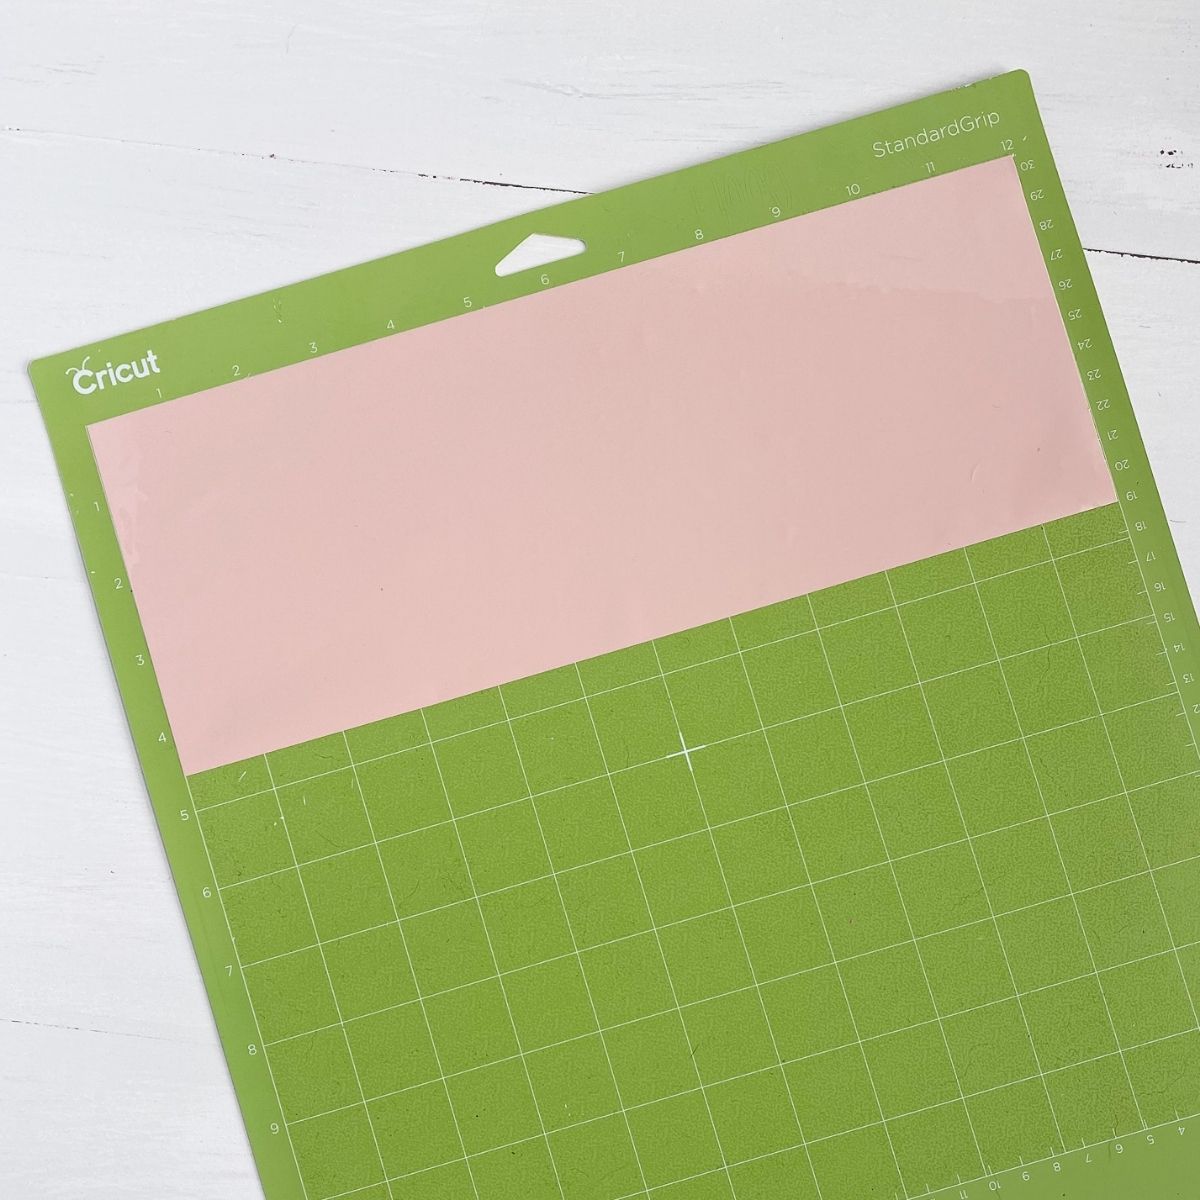
What mat should you use with iron-on vinyl?
Iron-on vinyl can be used with the standard mat (green.)
What are the settings on the EasyPress for koozies?
The temperature should be set to 280º and they should be heated for about 20-30 seconds.
Larger designs might need more time.
The key to making the design stick is to let the carrier plastic cool before removing it.
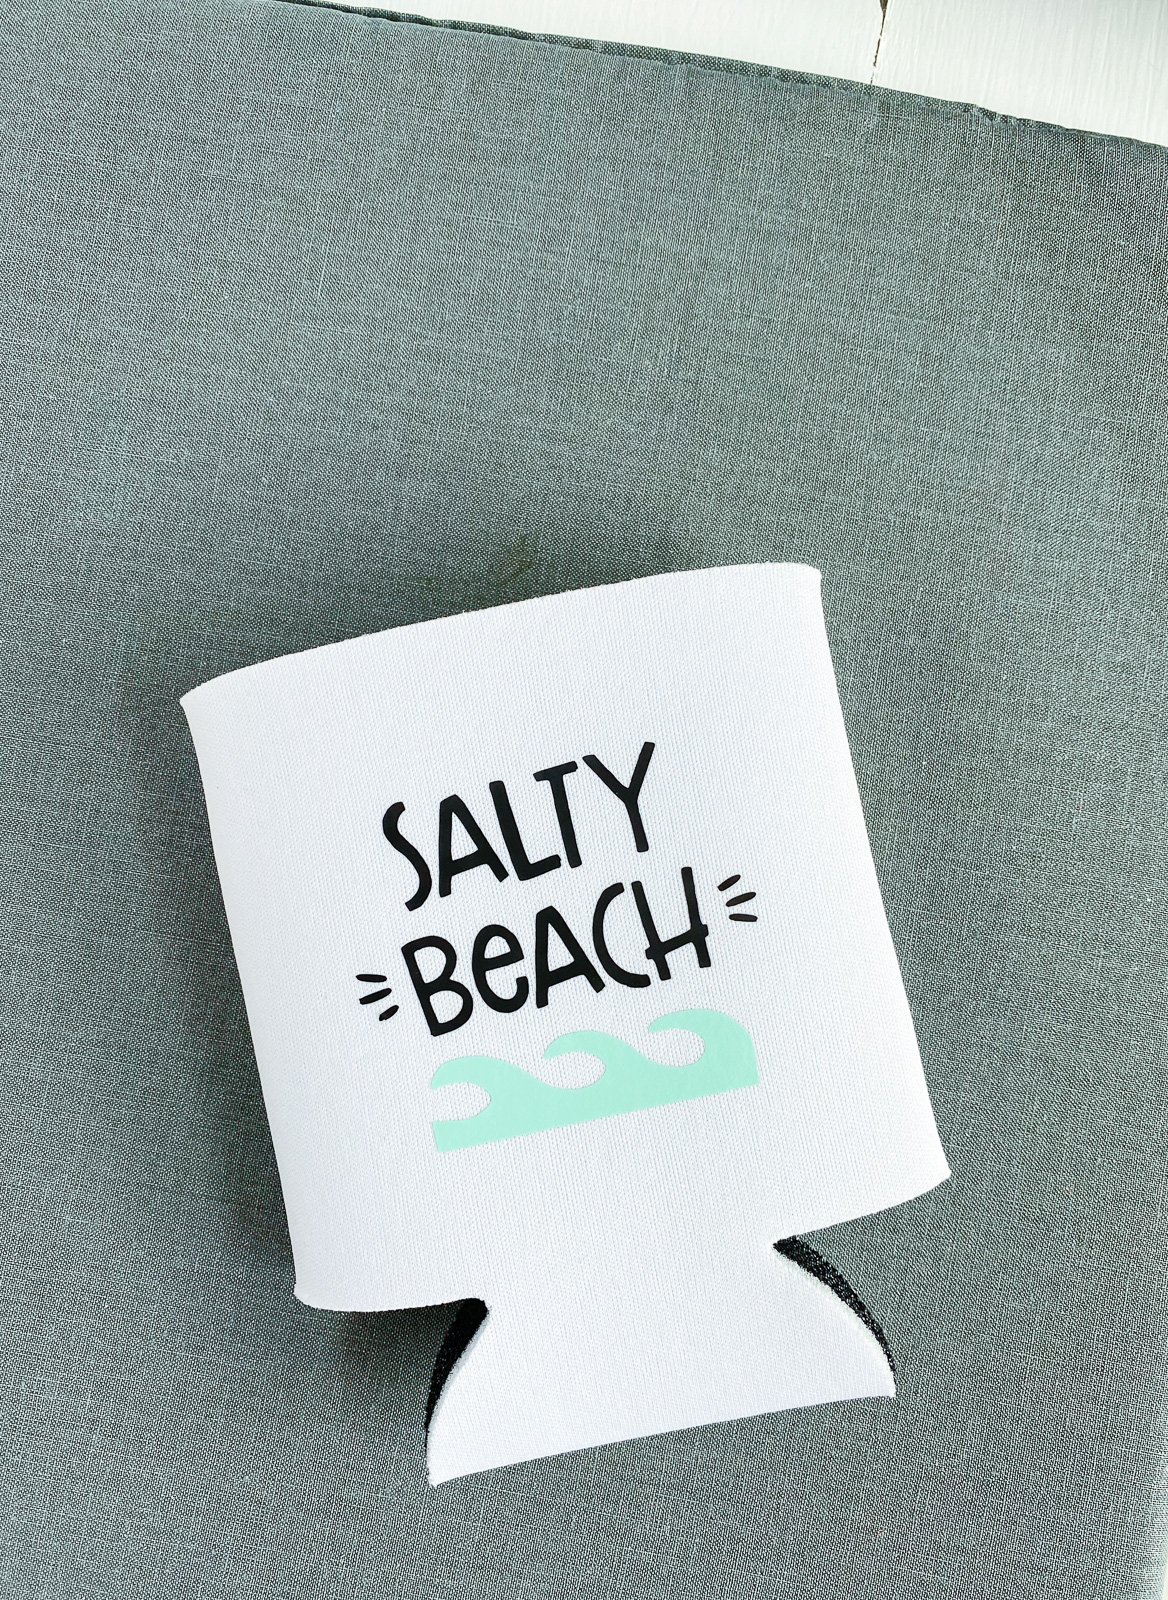
What are the dimensions for koozie designs?
A koozie is 4 x 4″. I like to see my design without turning the can, so I make mine about 2.5 x 3″.
How Long Do Custom Koozies Last?
I made my husband custom koozies 2 years ago and they’re still going strong.
The only ones that haven’t held up are due to our own negligence. They were left out in the sun and rain. One fell into the pool and we didn’t notice it for a few days, so it’s not looking great either.
How to Make DIY Koozies
Supplies Needed:
- Neoprene koozie blanks
- Iron-on Vinyl
- Cricut (I’m using the Cricut Maker 3)
- EasyPress
- EasyPress Mat
- Weeding Tools
- SVG Designs (the link is at the bottom of this post)
Koozie blanks are available in a ton of colors. You can even get a pack of assorted colors!
Cutting the SVG
- Start a new design in Cricut Design Space.
- Upload the SVG file.
- Group the element for each phrase. The sun will also need to be grouped.
- Attach each group.

- Change the setting from print and cut to cut, basic if needed. (Read the full tutorial for changing print and cut here.)

- When you’re happy with the changes, click Make It.
- Mirror your design.
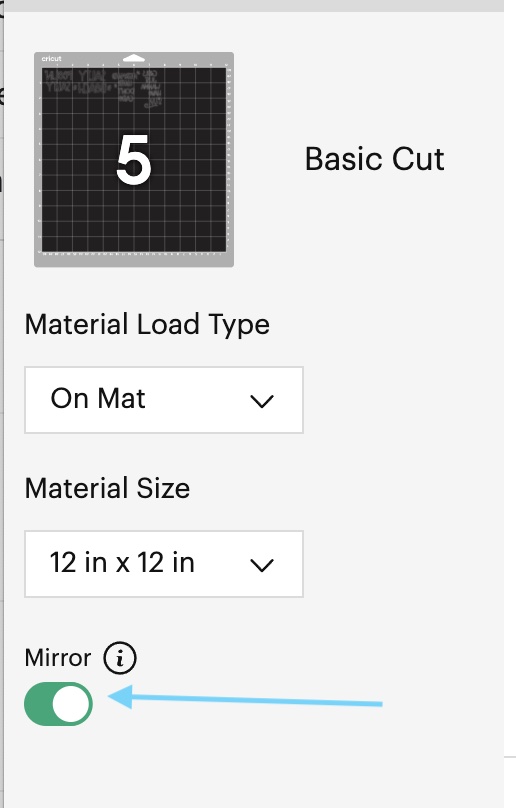
- Select the material type for the first color. I used everyday iron-on.
- Apply the vinyl to the mat, shiny side down.

- Load the mat.
- Start cutting.
- Repeat for the rest of the colors.
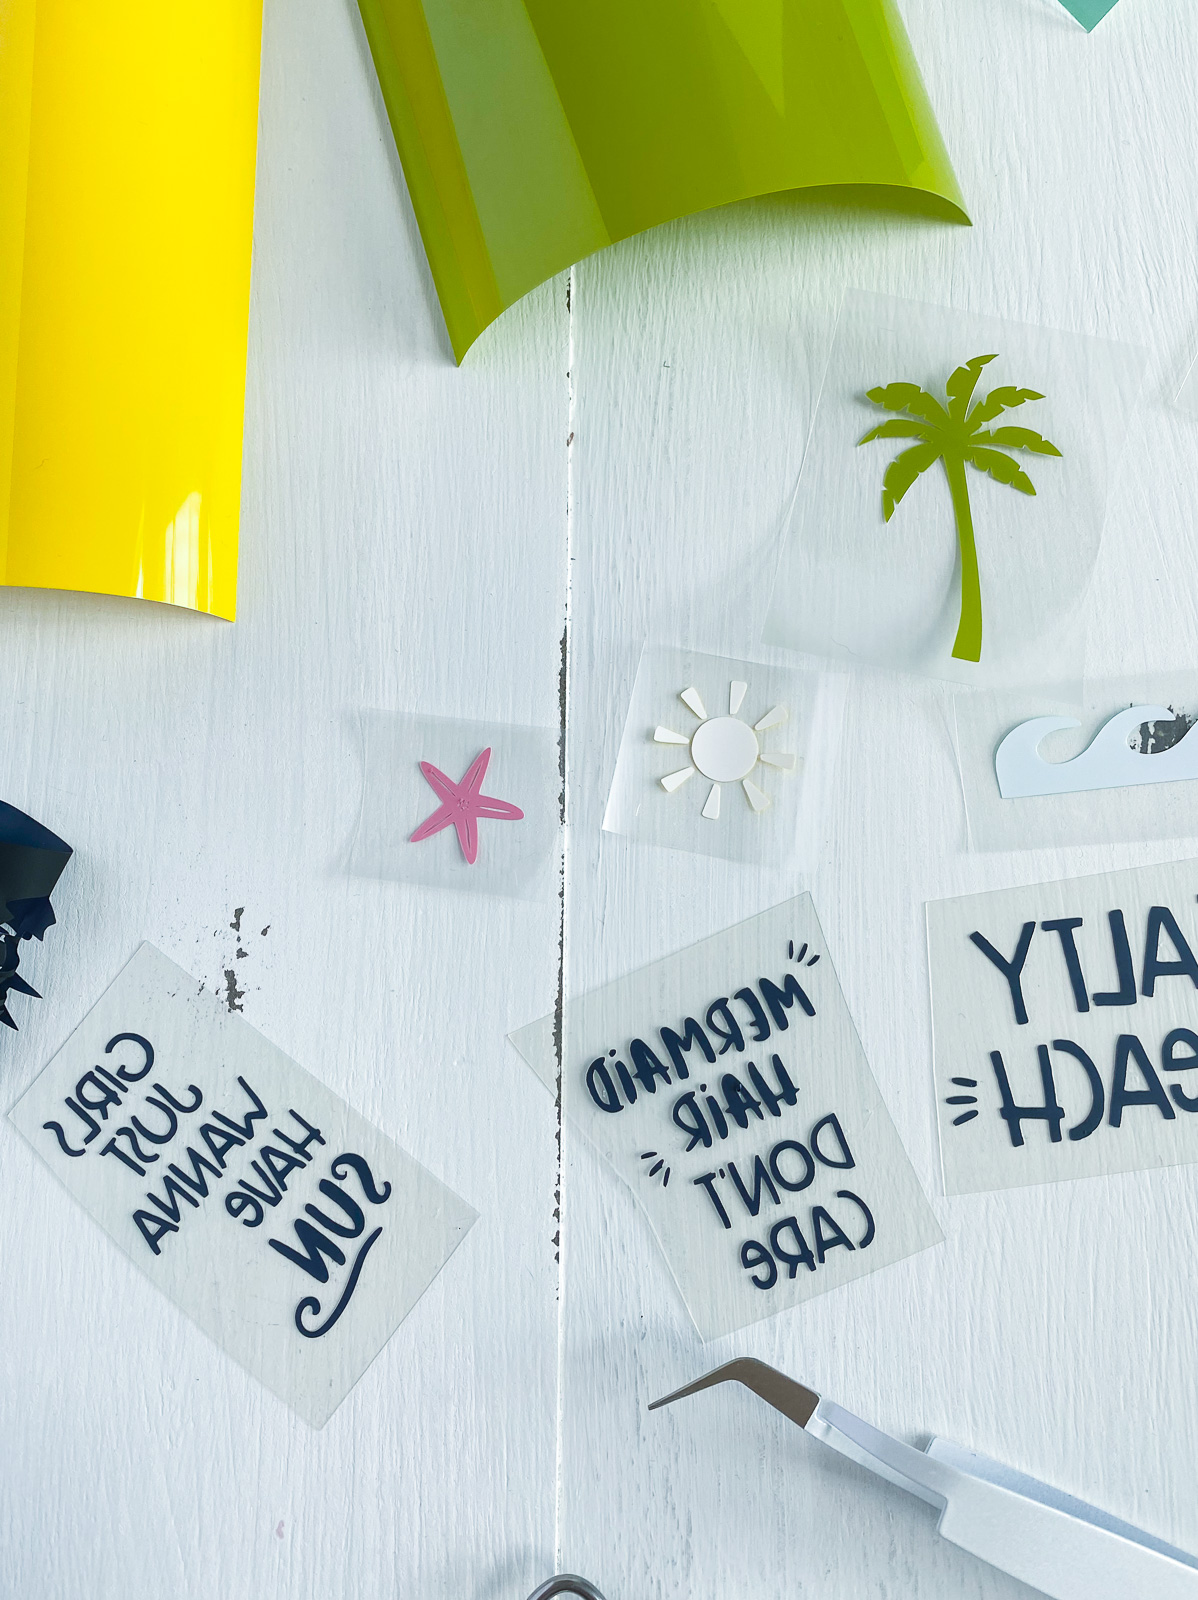
- Weed the design as usual.
Using the EasyPress to Make the Koozies
This part can feel a bit scary. I used a Teflon sheet at first because I was nervous about melting the plastic, but it’s not necessary. It didn’t melt.
The other thing that you might be worried about is leaving it on too long. If you have to reheat it a few times, it won’t ruin the vinyl. I think it would take several minutes of non-stop heat before it melted (but don’t quote me on that.) I’m just saying a few normal 30-second sessions won’t melt it.
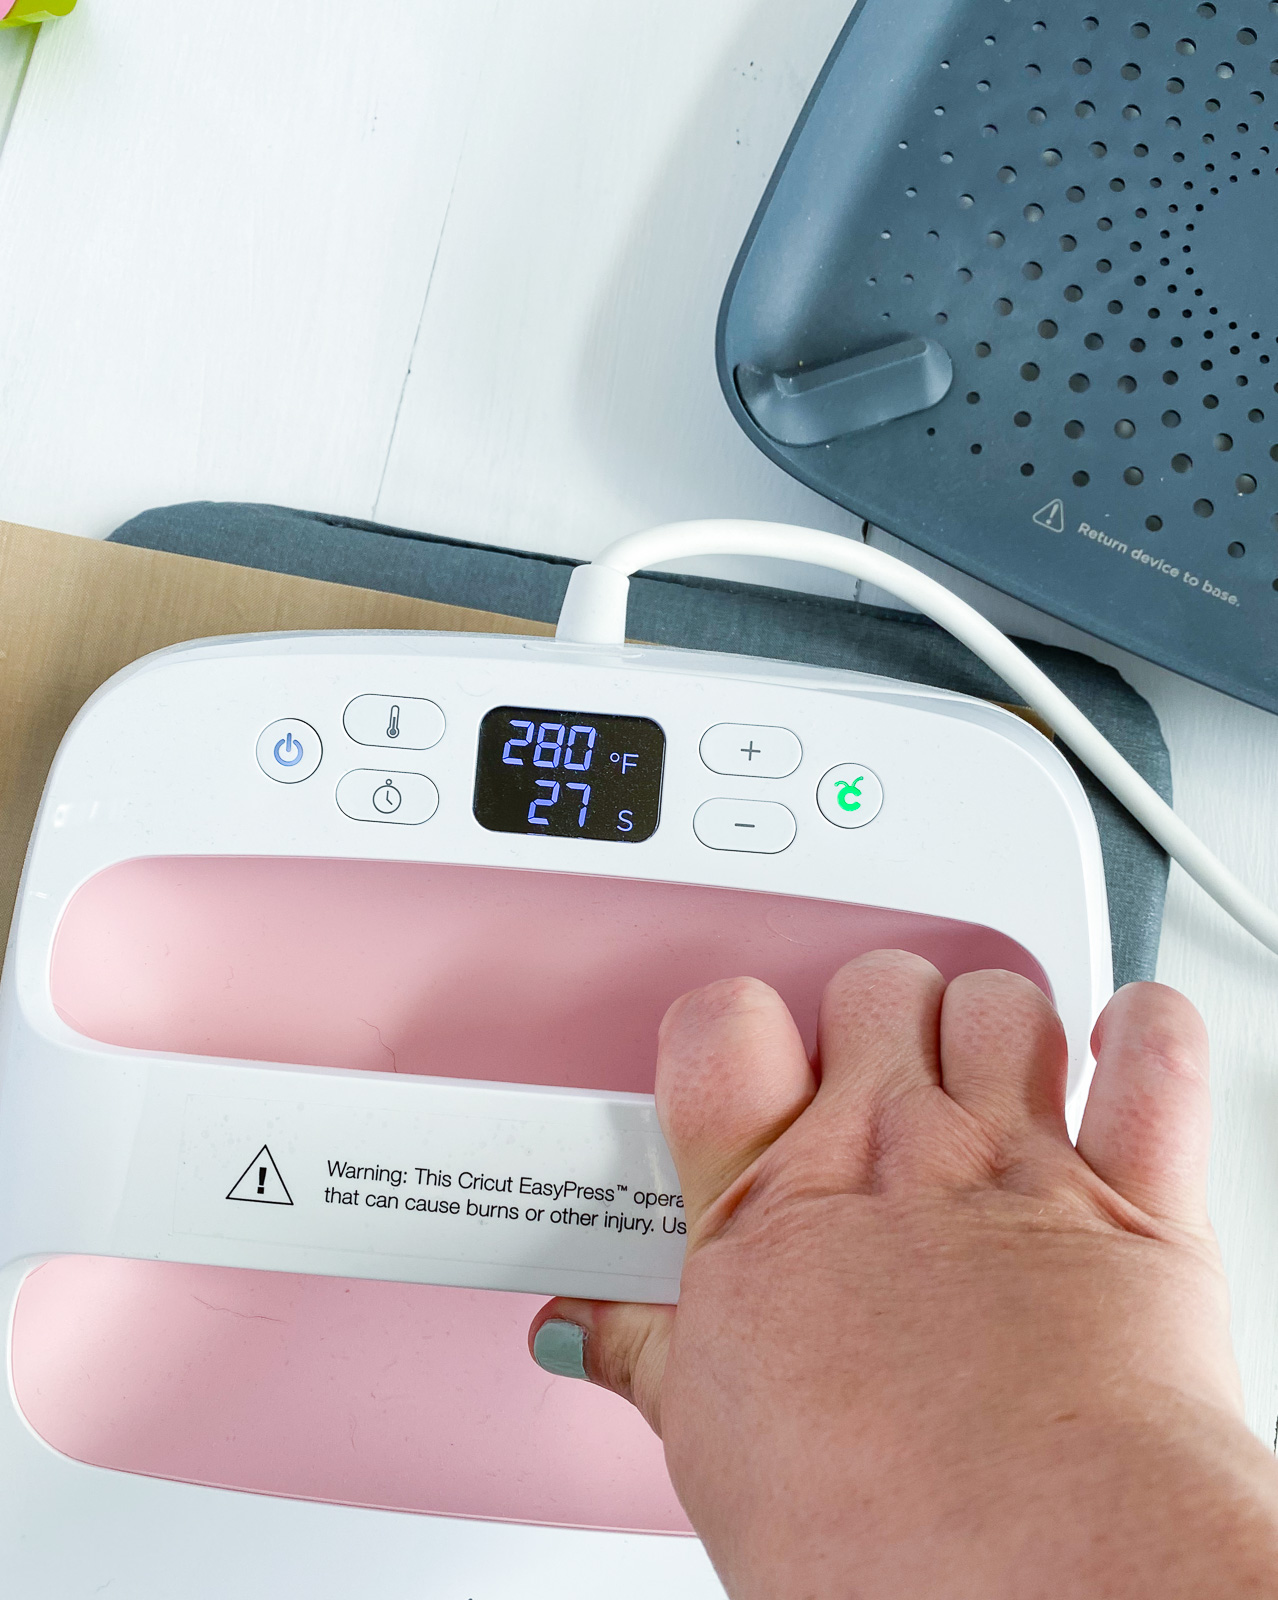
Heat Setting: 280º
Time: 30 seconds
- Turn on the EasyPress and change the temperature and time.
- The EasyPress turns green and beeps when it’s ready.
- Place the koozie on the EasyPress mat and press it for 3-5 seconds.

- Apply the design and apply the EasyPress for 30 seconds. (You can hit the start button to time it.)

- Remove the EasyPress after 30 seconds.
- Let the design cool for about 1 minute before removing the backing.
- Carefully, peel the backing away from the koozie.
- If there are small spots that need more time, you can heat them for a few seconds longer. (Pay attention to edges and small spots.)
- Repeat these steps for the rest of the koozies.
If you’re wondering which EasyPress is right for you, read this post that breaks down all of the varieties.
Layering Iron-On Vinyl
If the colors don’t touch, you can just cut the plastic backing down and press both colors at once as shown above.
Make sure that the plastic doesn’t overlap one of the layers of iron-on though!
If the colors do overlap, they will need to be pressed separately.
Figure out the placement on the koozie.
Press the bottom layer. Let it cool completely before removing the plastic.
Then apply the 2nd layer and press it as well. You will have to eyeball the placement to get it right.

If you want to use glitter iron-on, use it as the top layer because it’s hard to layer over it. Same with holographic or flocked vinyl.
According to Cricut, you can layer up to 3 colors.
Troubleshooting Tips for Making Koozies
- If your iron-on vinyl isn’t sticking, make sure that you’re letting the plastic carrier sheet cool before removing it. Reheat it for about 15 seconds and let it cool before removing the sheet.
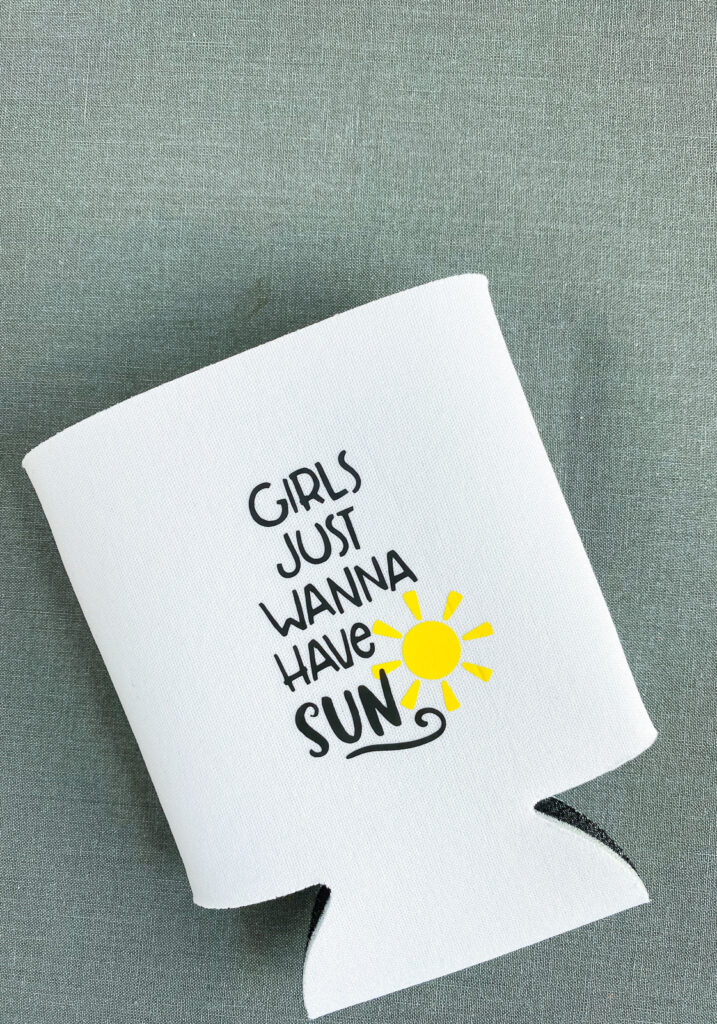
- Thicker fonts work better than thin fonts since the design space is so small.
- If you accidentally peel away small elements when weeding, you can use the pick tool to gently place them back onto the plastic backing where they belong (it’s sticky so it will hold them in place.) Just be careful when you’re applying them to the koozie.
- When picking colors, pay attention to contrast. Dark colors show up better on a light surface and vice versa.

Other Iron-On Vinyl Projects
Get Free Koozie SVGs
Free downloads are for personal use only. Please do not redistribute or sell.
Here’s how to import SVGs into Cricut Design Space.
Pin for Later!


Thanks for all the information. I’m just learning my cricuit so I really appreciate all the help. You made it way less scary.