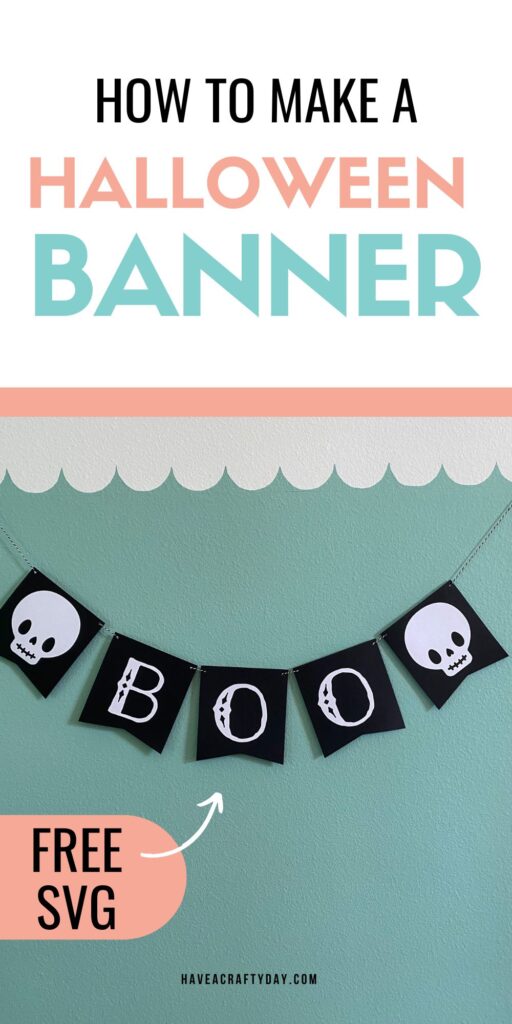
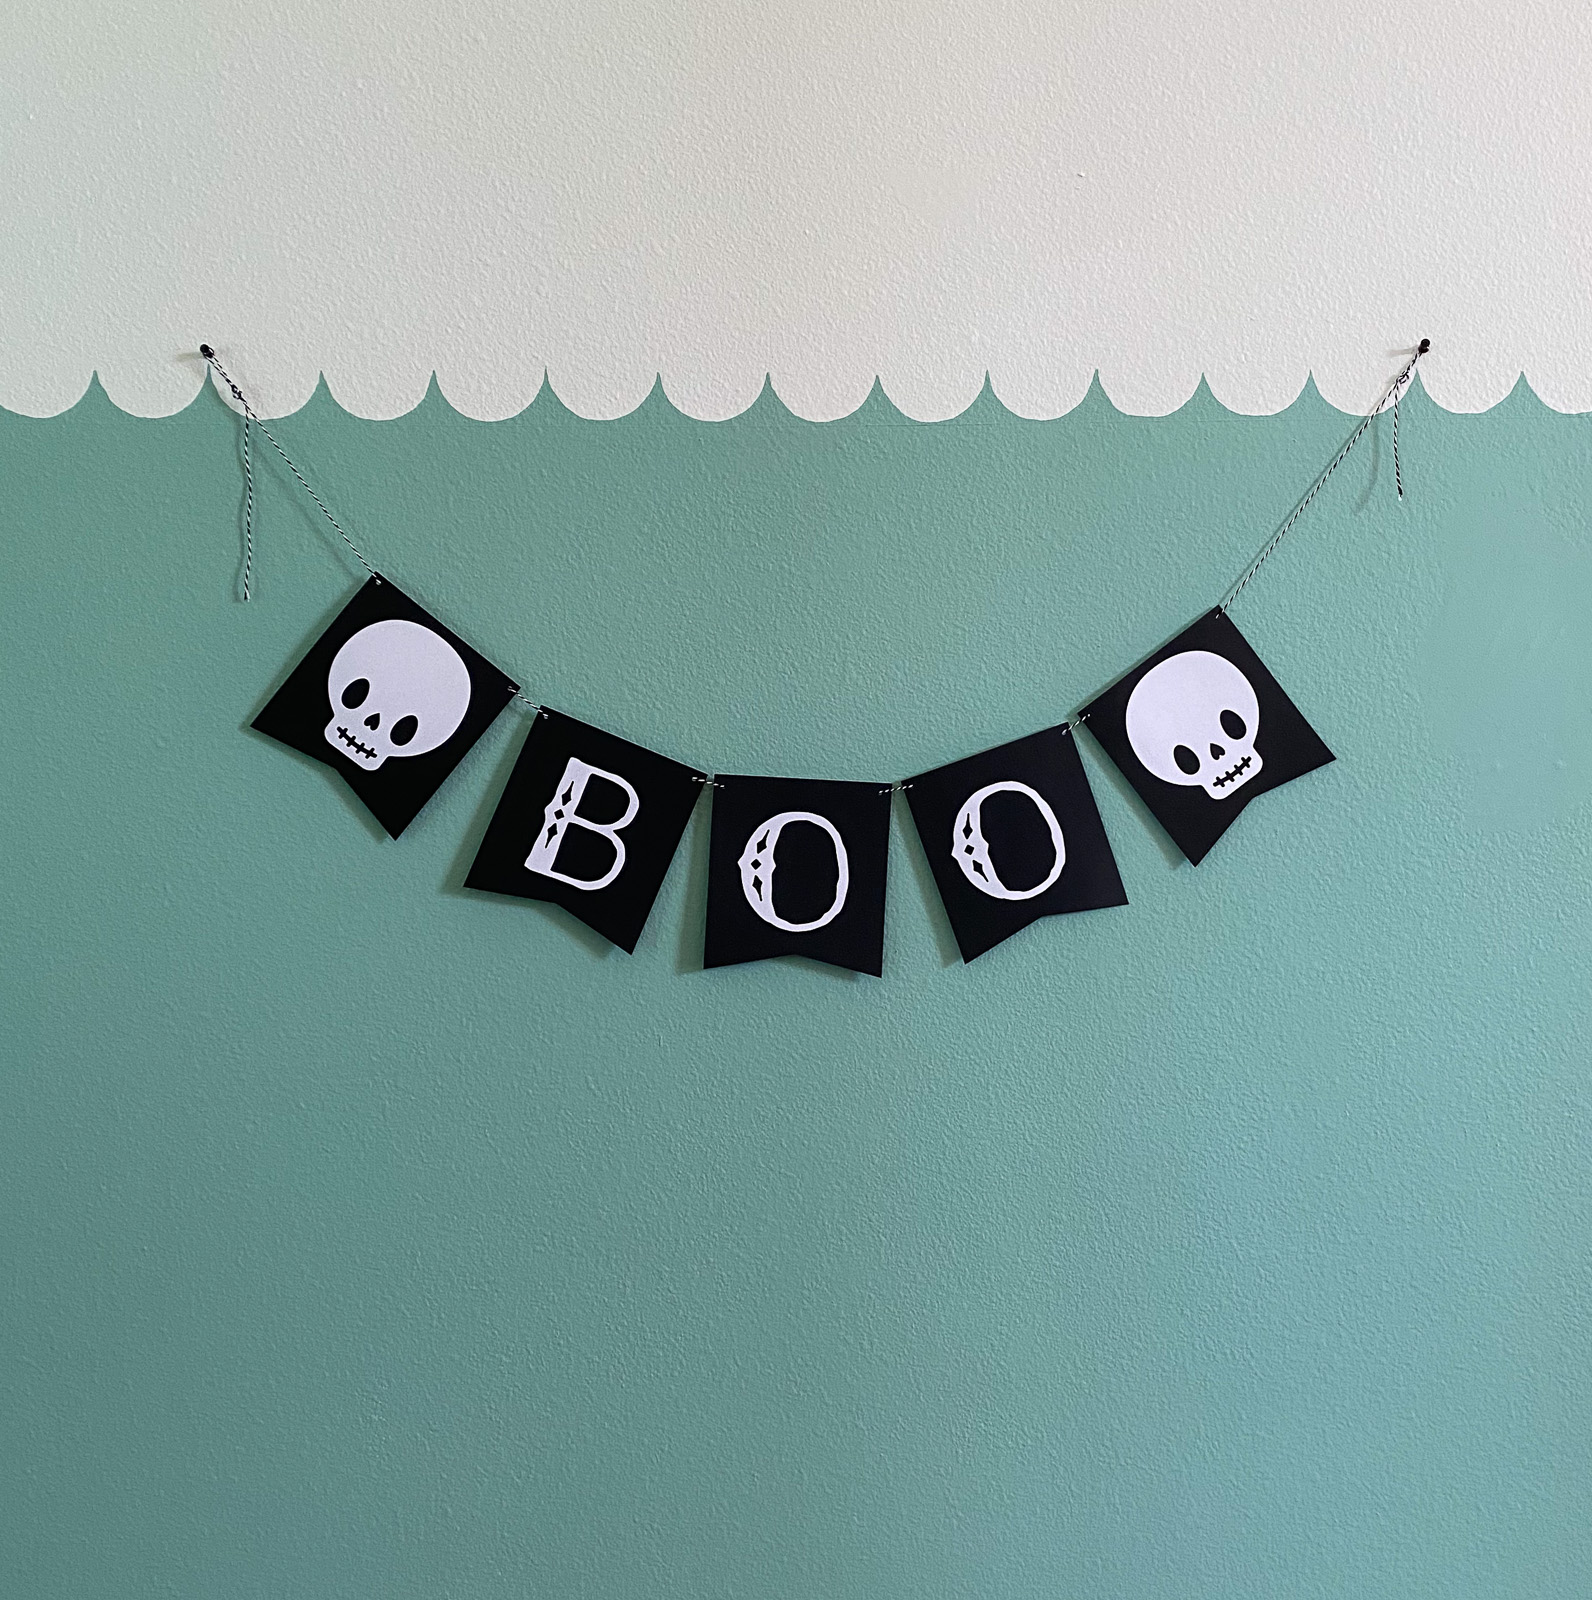
DIY Cricut Halloween Banner
Learn how to make a Cricut Halloween banner with paper. This banner features cute skeletons and the word “Boo”.
This post contains affiliate links. By purchasing an item through an affiliate link, I earn a small commission at no extra cost to you. As an Amazon Associate I earn from qualifying purchases.
Banners are one of my favorite things to make to feel festive. I prefer my Halloween decor to be on the cute side instead of the creepy side.
So I made cute skeletons and made my banner say Boo. And it’s pretty stinking cute if I do say so myself.

Cricut Halloween Banner
Supplies Needed:
- Cricut (I used my Cricut Maker 3)
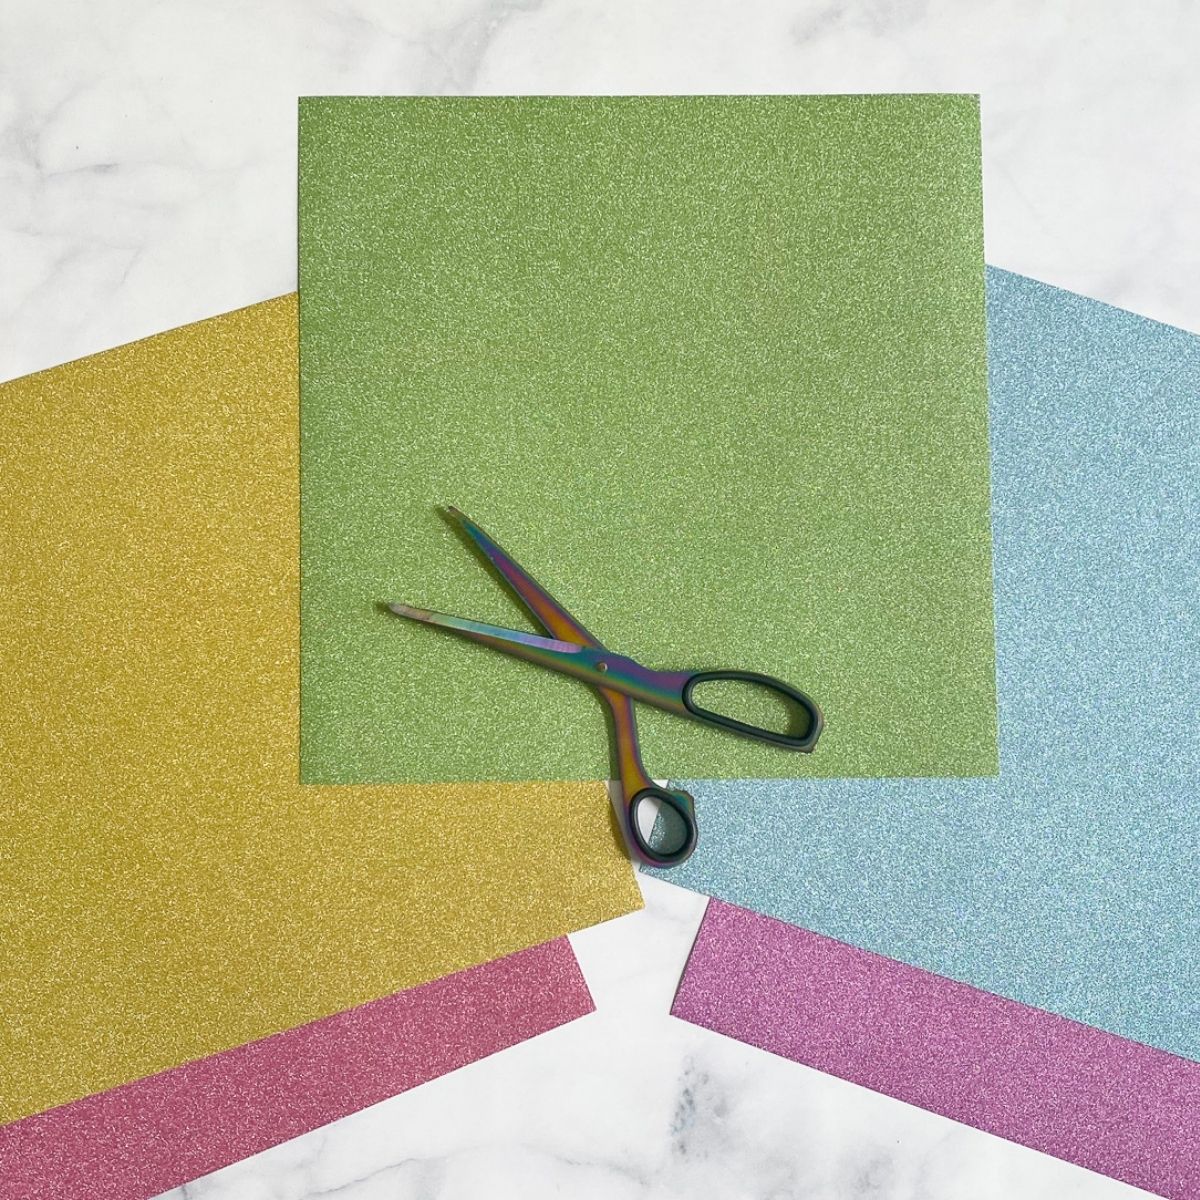
- Cardstock in Black and White
- Weeding Tools
- LightGrip Mat
- SVG (download at the bottom of this post)
- Hole punch
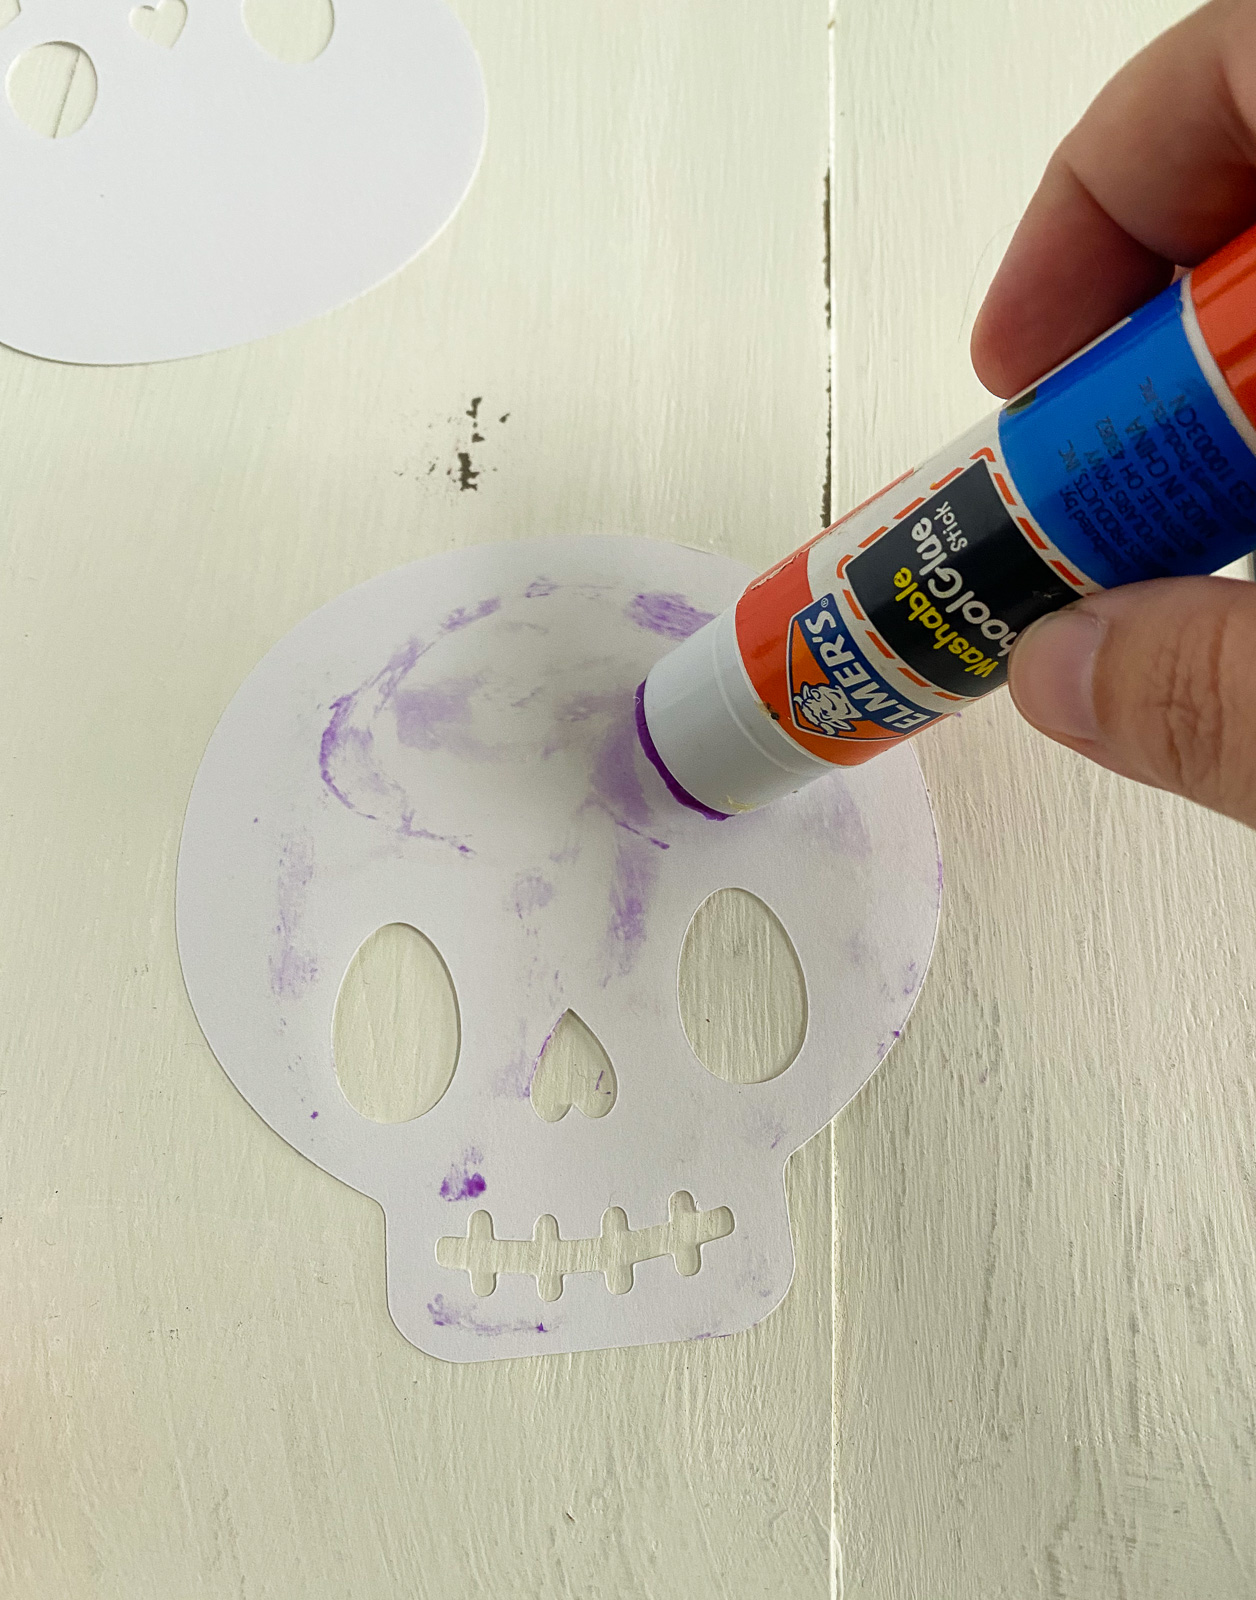
- Glue Stick
- Baker’s Twine
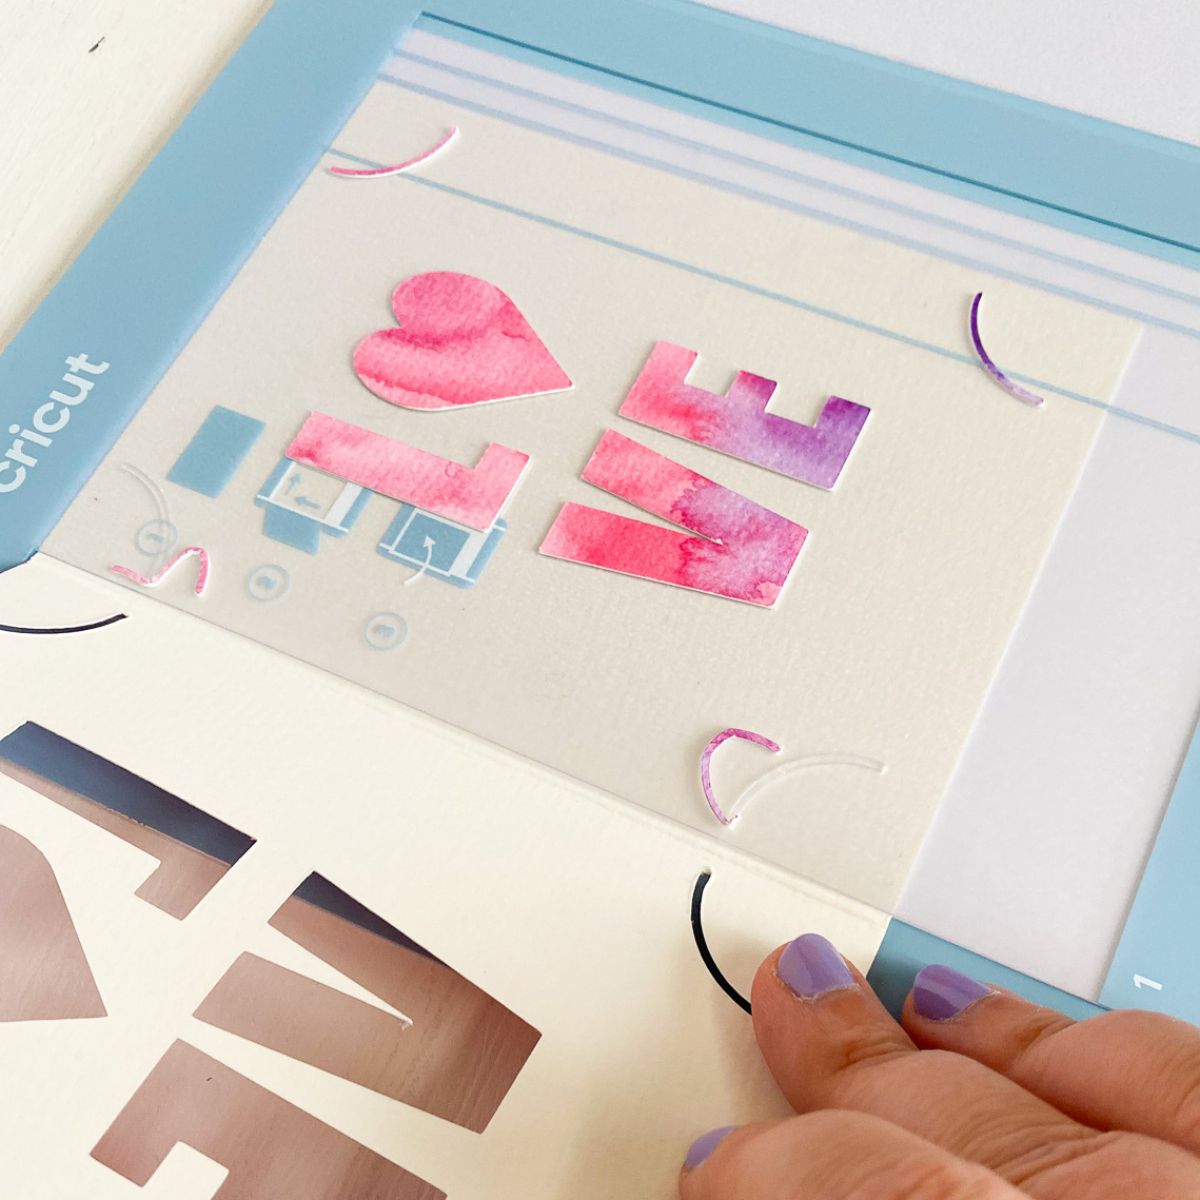
Tips for Cutting Paper on a Cricut:
Glitter cardstock can also be used. For best results, only use glitter paper for the top layer.
- Peel the mat away from the paper to avoid making the paper curl.
- Use cardstock for structural pieces and paper for details.
- If the paper does curl up, you can place it under something heavy to smooth it out.
Get more tips for cutting cardstock here.
Directions:
- Upload the SVG file and duplicate the flag 4 times for 5 total.
- Duplicate the skull once so that you have 2.
- Turn the visibility off for each color. I made the banner flags black and the other details white.
- Cut the design as normal using the LightGrip mat.
- Carefully peel the mat away from the paper.
- Weed the design as usual.
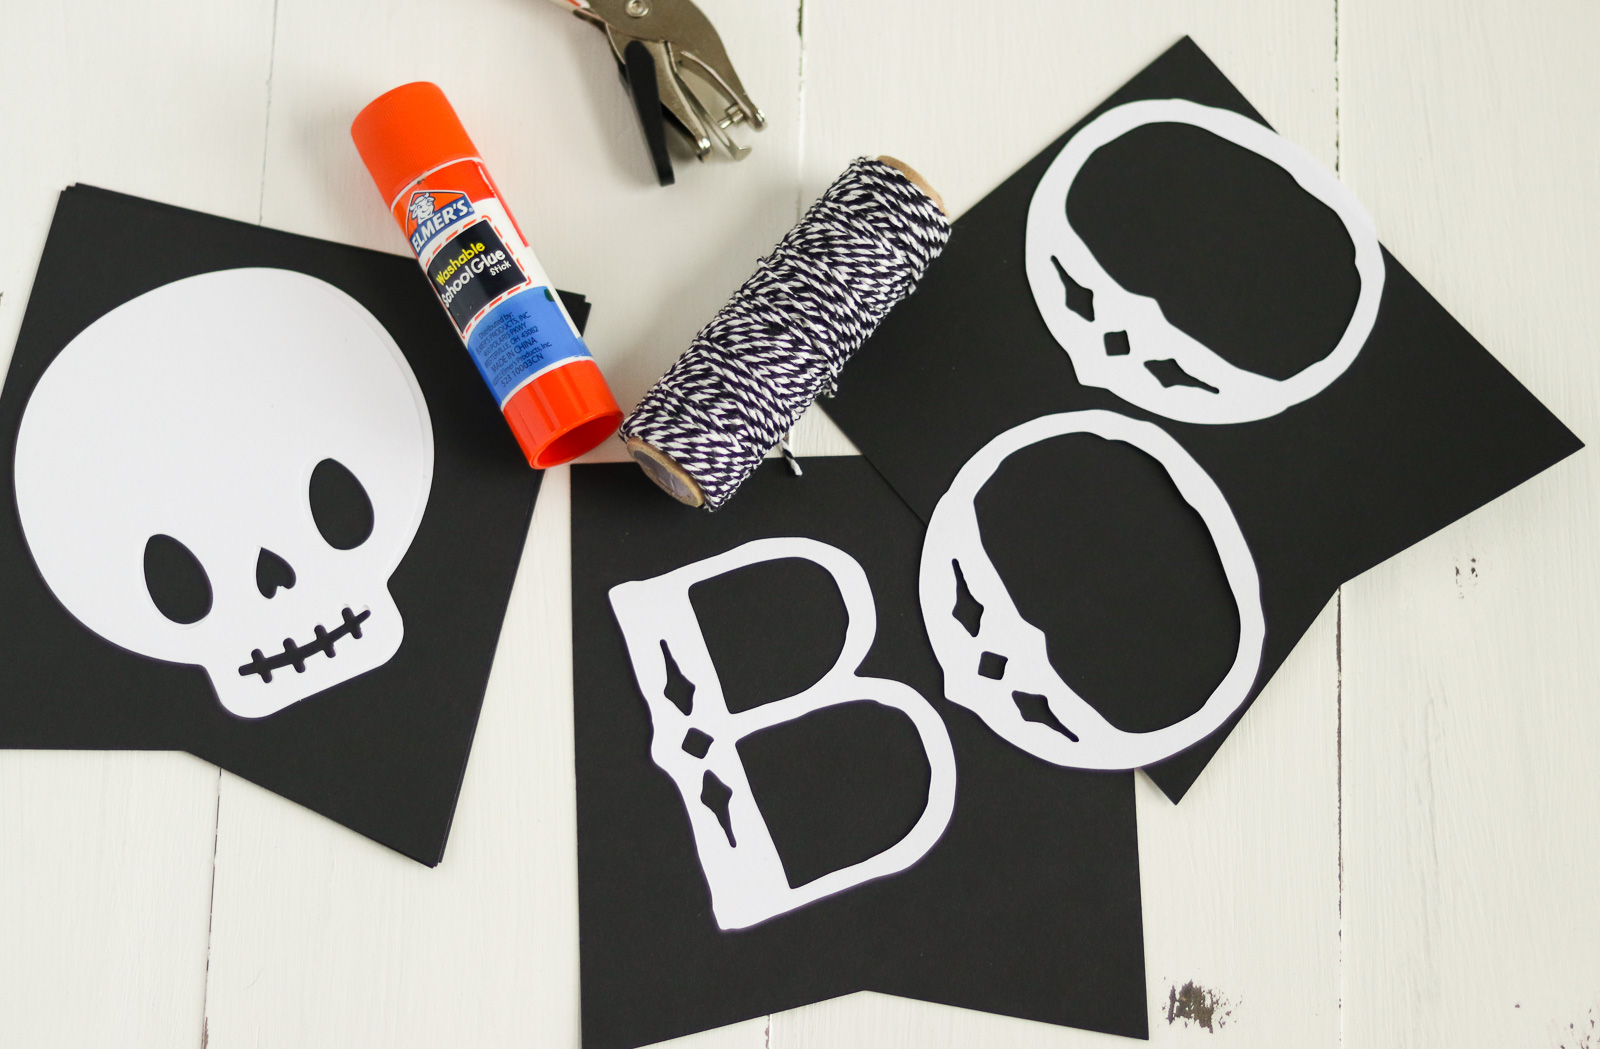
- Use a paper punch to put holes at the top of each flag.

- Center each design on the banner flags.

- Glue the designs onto the flags.
- Thread the banner flags with baker’s twine. (Thread it from the middle out.)

- Hang and enjoy.
Get more tips on cutting scrapbook paper here.
Download the Halloween Banner SVG
Free downloads are for personal use only. Please do not redistribute or sell.
Other Halloween Crafts
Pin for Later!