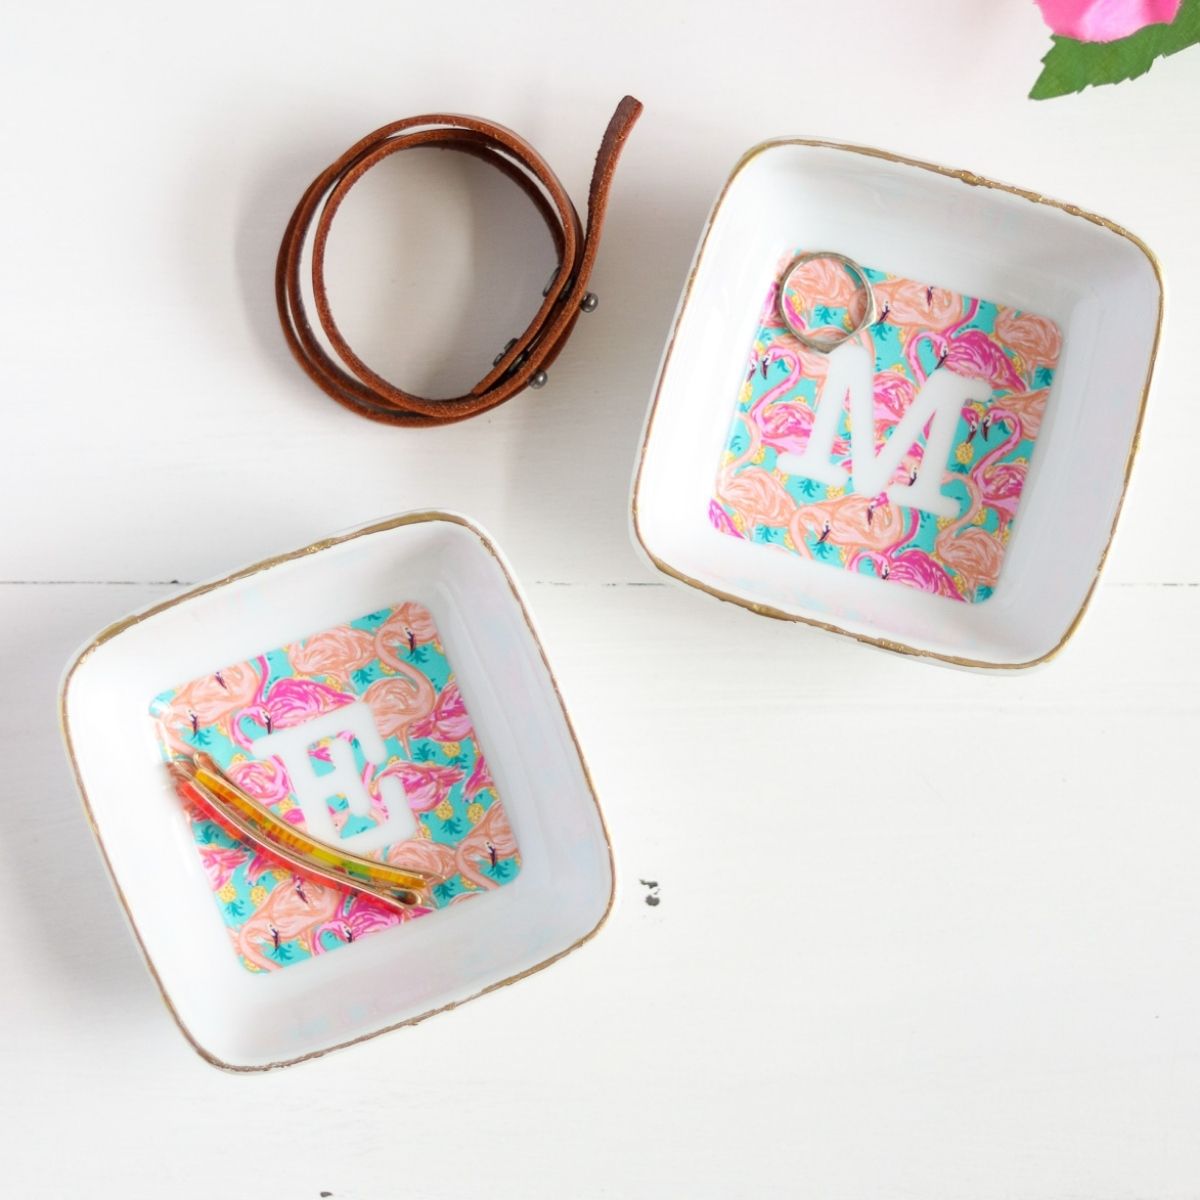
DIY Snowflake Ornament with Vinyl
Decorate for Christmas with a DIY snowflake ornament. Use your Cricut to make these cute ornaments for your tree.
If you’re new to Cricut, be sure to learn how to use vinyl here.

This post contains affiliate links. By purchasing an item through an affiliate link, I earn a small commission at no extra cost to you. As an Amazon Associate I earn from qualifying purchases.
I live in Florida, so these are probably the only snowflakes I’m going to see this year (which I’m okay with.) Winter beach days are the best.
As much as I dislike snow, I had so much fun creating these snowflakes to use for ornaments.
They look really cute in white and light blue vinyl on the wood ornament backgrounds.
These vinyl ornaments are so quick and easy to make.

DIY Snowflake Ornament
Supplies Needed:
- Vinyl
- Cricut (I use a Cricut Maker 3)
- Weeding Tools
- Transfer Tape
- Ornament Blanks
- Ribbon (for hanging)
- SVG (Link at bottom of post)
Notes about Supplies:
Ornament blanks: I left my ornament blanks plain, but you can paint yours if you want. Craft paint works great. You may need more than one coat of paint for full coverage.
Vinyl: I used white and light blue vinyl, but you can use any color you want. I linked to the Oracle brand because I like working with it more.
- Upload and cut the design as usual.
- Weed the design.
- Apply transfer tape to the design.
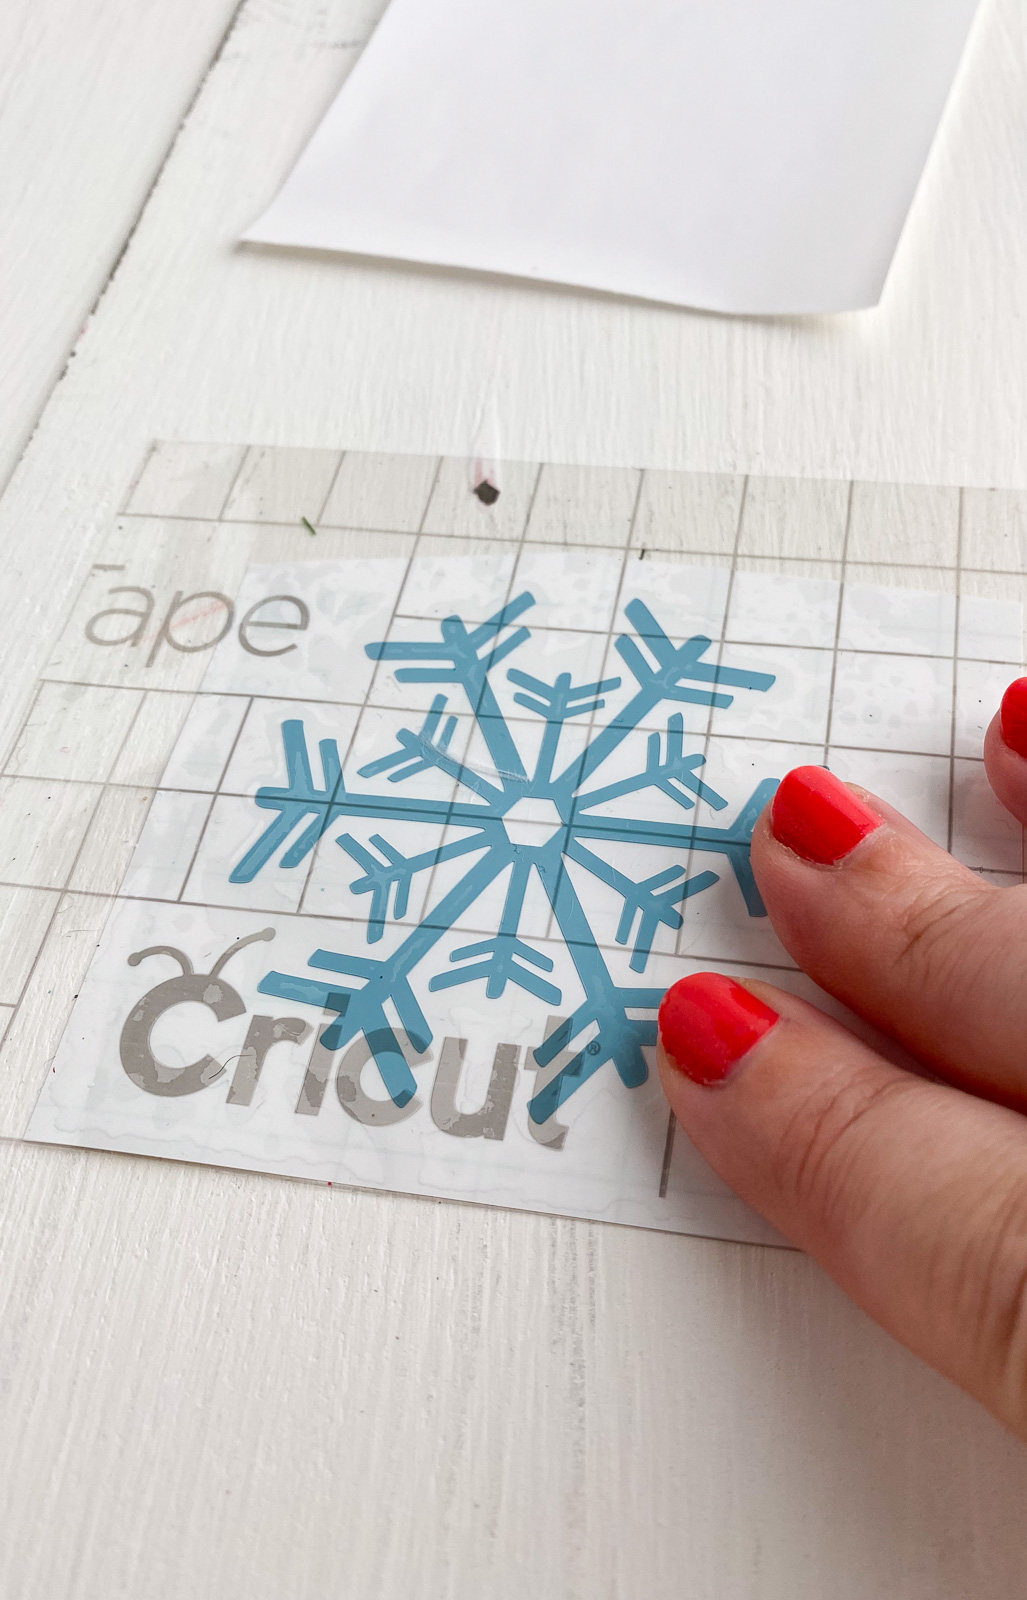
- Place the design with transfer tape onto the ornament.
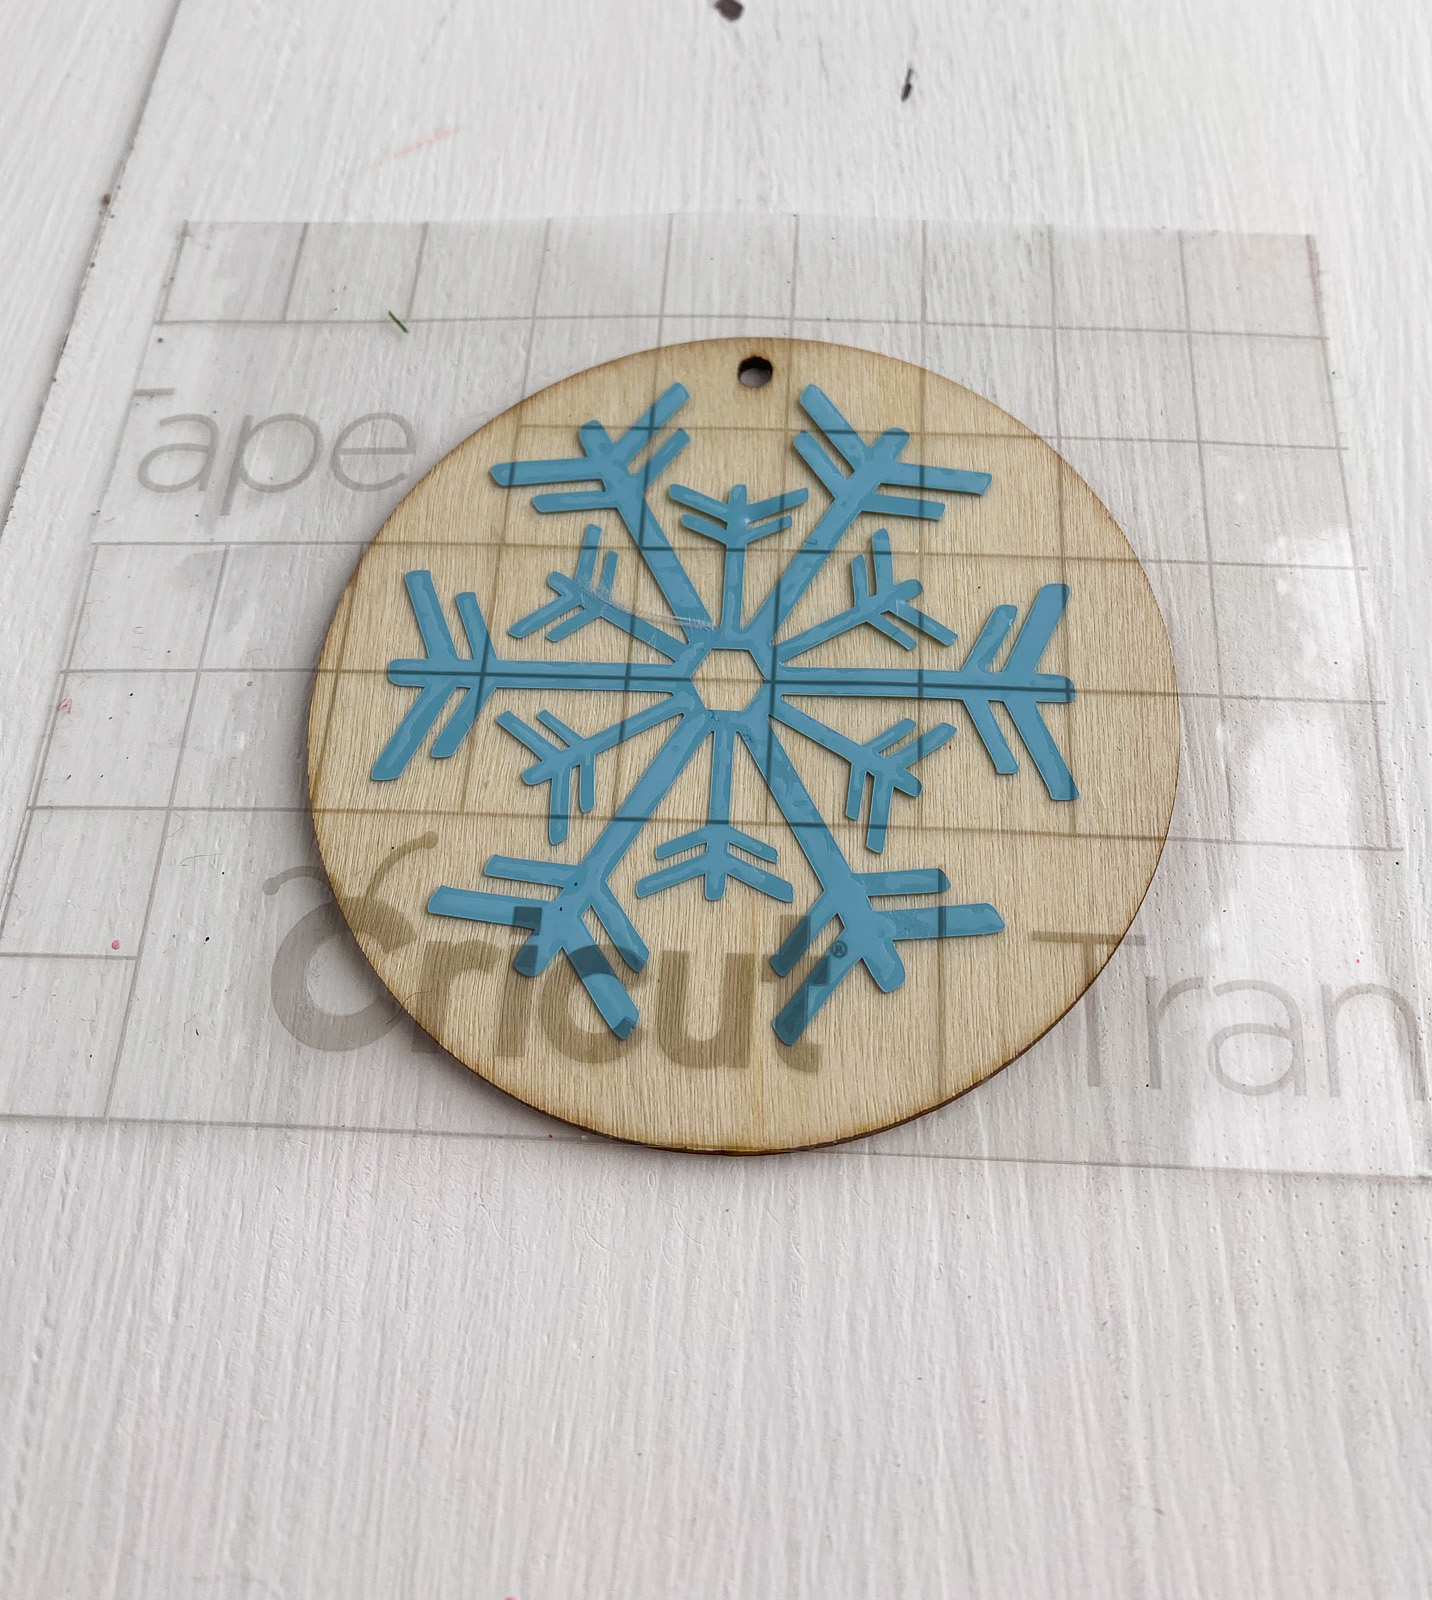
- Apply the design to the ornament blank. Vinyl has a hard time adhering to the wood, but go slow and smooth it as you go. It requires a bit of patience.
- Remove the transfer tape.
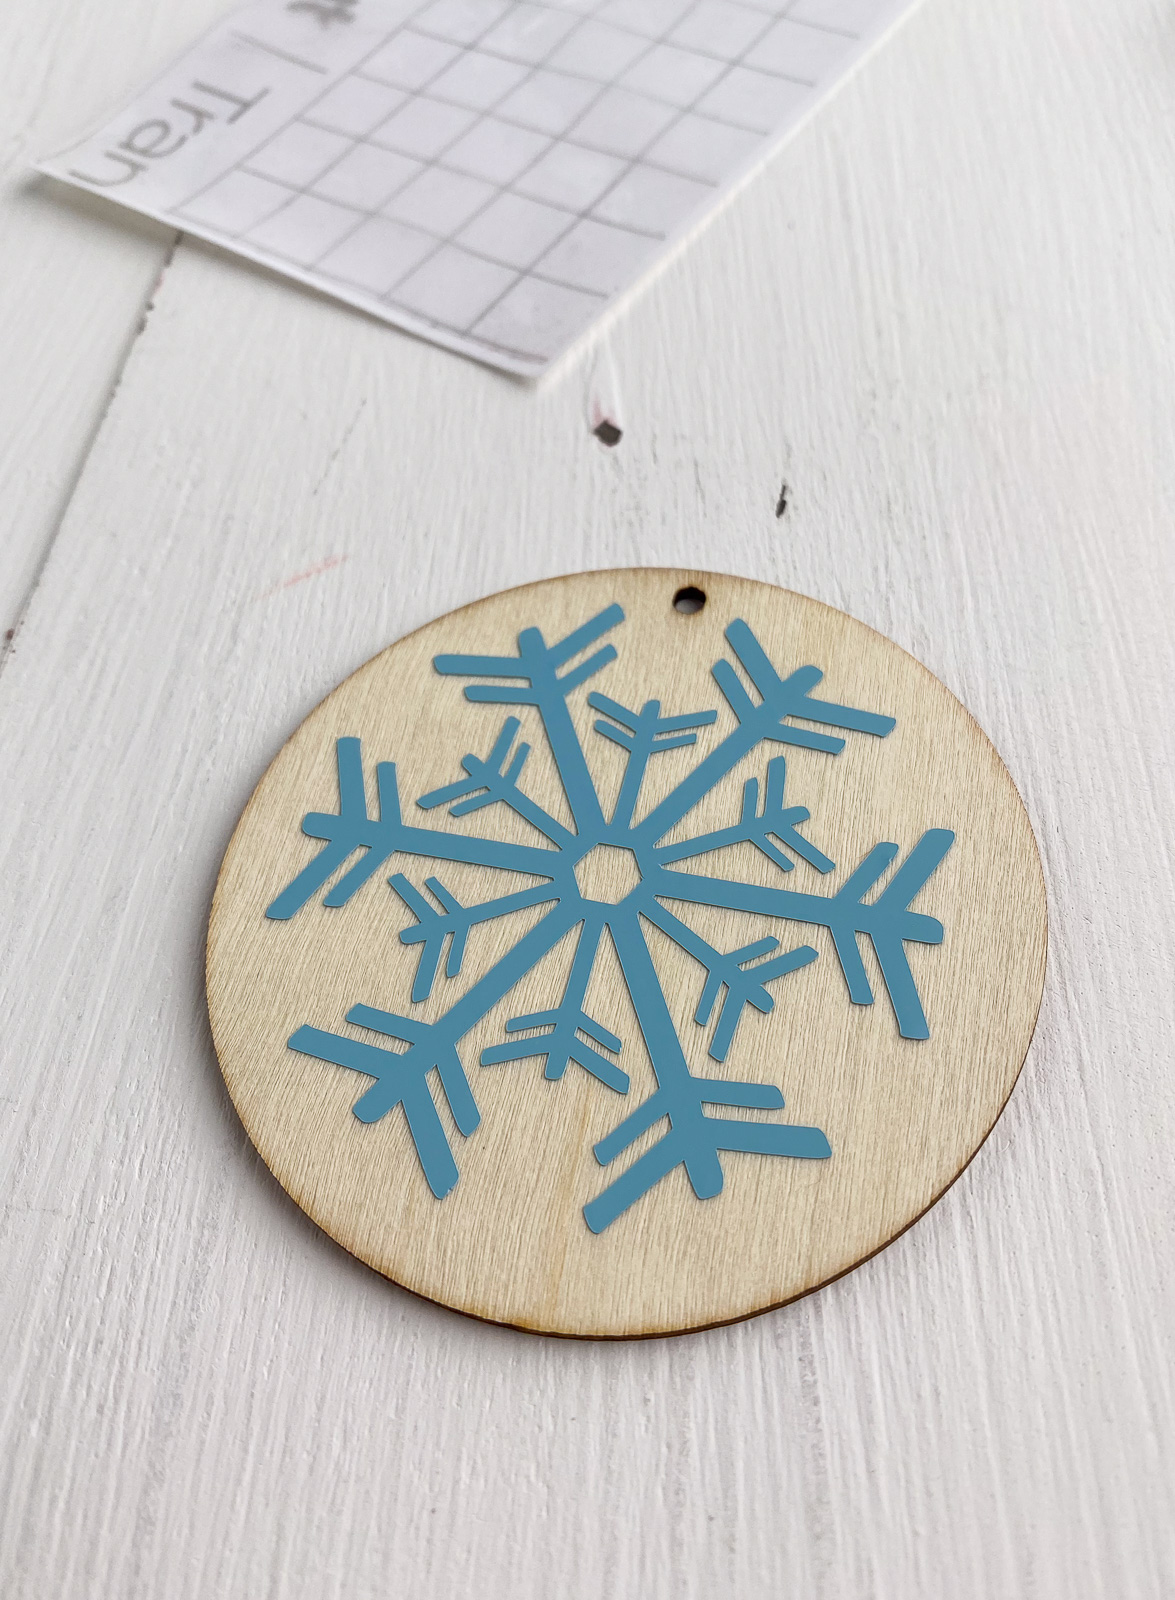
- Add a ribbon for hanging.


Other Christmas Projects
Download a Snowflake SVG Set
Free downloads are for personal use only. Please do not redistribute or sell.
Pin for Later!


