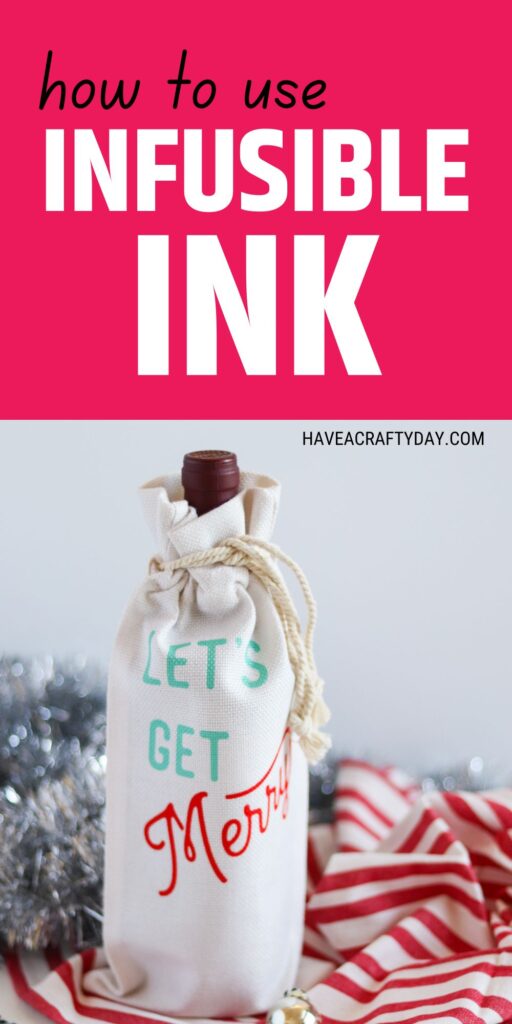
How to Use Infusible Ink: DIY Wine Bag
Learn how to use infusible ink to make a DIY wine bag for Christmas. Infusible ink creates a long-lasting permanent design that makes a great gift.
You might also like these other Cricut tutorials for beginners.
This post contains affiliate links. By purchasing an item through an affiliate link, I earn a small commission at no extra cost to you. As an Amazon Associate I earn from qualifying purchases.
All About Infusible Ink
Infusible ink is my favorite Cricut product right now, so I’m going to tell you all about it.
What is Infusible Ink?
Infusible ink is a product by Cricut that works similarly to sublimation. It creates a permanent finish by sort of melting into the surface.
It’s available in sheets and pens. The sheets are available in many colors and patterns.
It is applied with an EasyPress or a heat press because it needs to heat up to 400º for the ink to work properly.
What is the Difference Between Iron-on and Infusible Ink?
Infusible ink is similar to iron-on because they both need heat to make them adhere to the surface.
However, iron-on sits on top of the surface, while infusible ink becomes part of the surface. I would compare iron-on to a sticker and infusible ink to dye.
Can Infusible Ink Be Used on Any Fabric?
To get the best results, infusible ink should be used with fabrics that have a special coating.
Cricut has many blanks available. There are also tons of blanks available for sublimation that will work.
If you use infusible inks on other fabrics, they will lose their vibrant colors.
What Kind of Materials Can You Use with Infusible Ink?
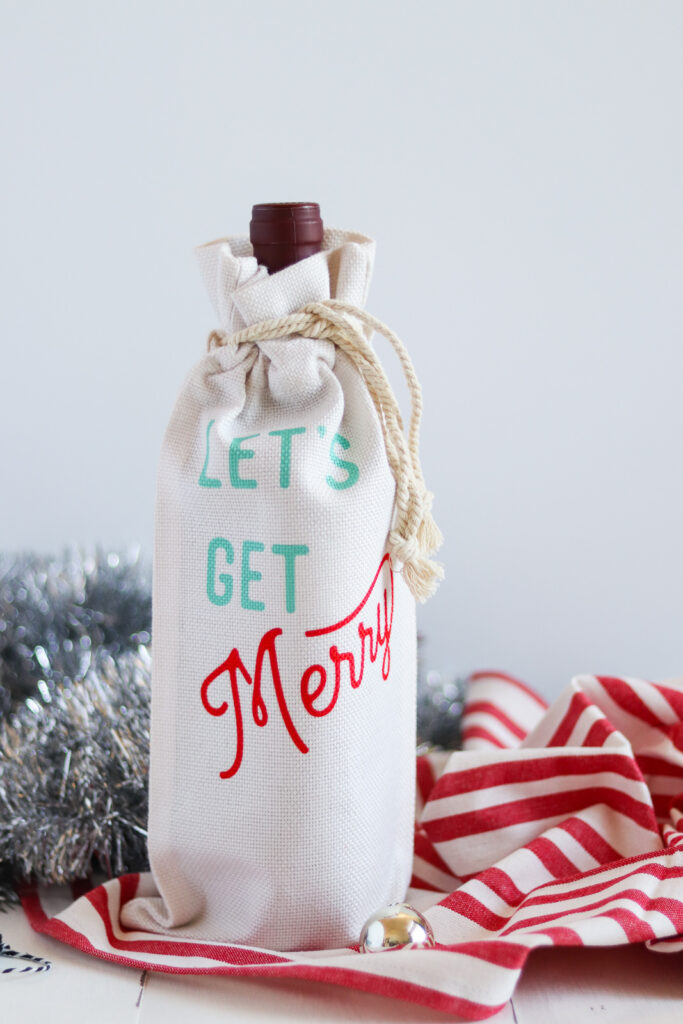
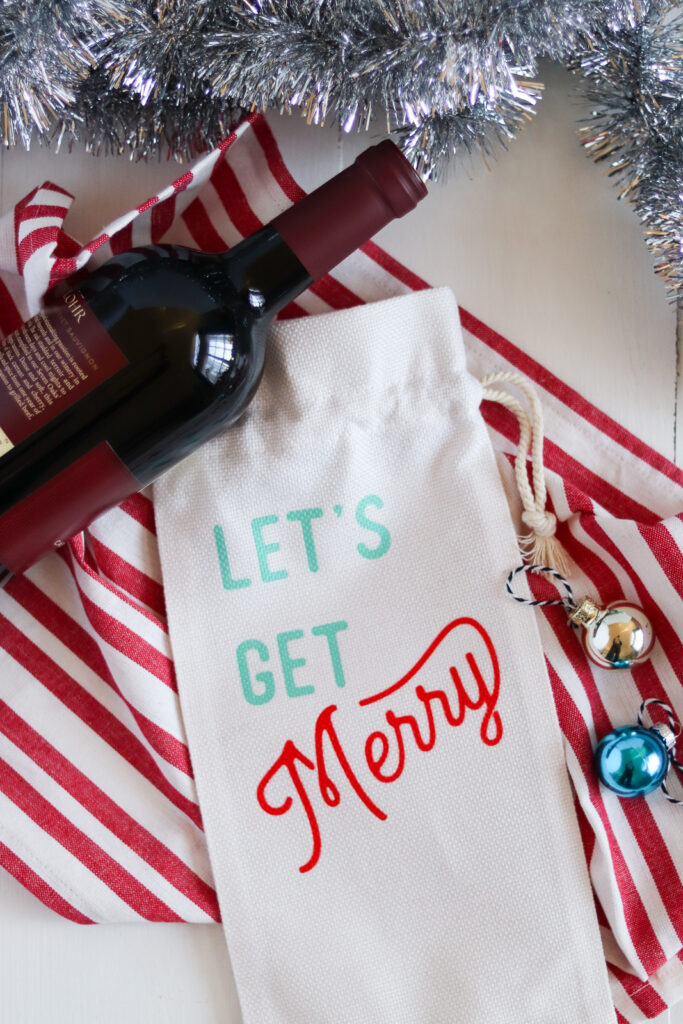
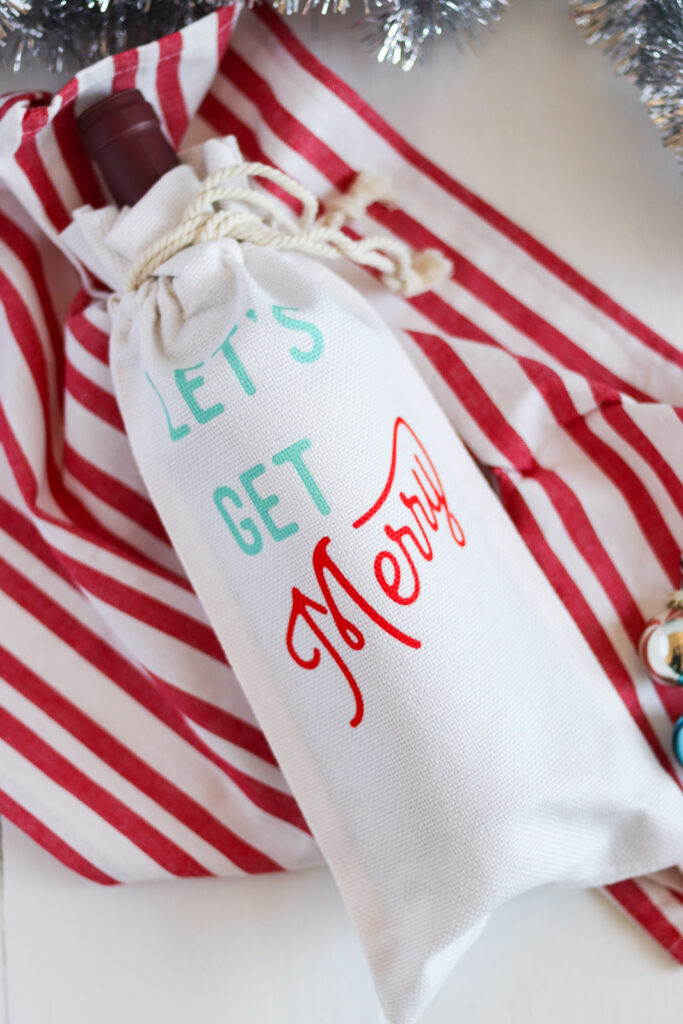
Infusible ink can be used on the Cricut blanks and sublimation blanks. There are t-shirts, pillowcases, wine bags, and coasters, as well as mugs!
Yep, infusible ink can be used on mugs too and the result is a professional, permanent finish! It’s even dishwasher-safe!
Do You Need to Pre-Wash Fabric for Infusible Ink?
No, it’s not recommended to pre-wash fabrics for infusible ink.
How Long Does Infusible Ink Last on Fabric?
Infusible ink is permanent and it’s not supposed to fade or peel.
What Temperature Should I Heat Infusible Ink?
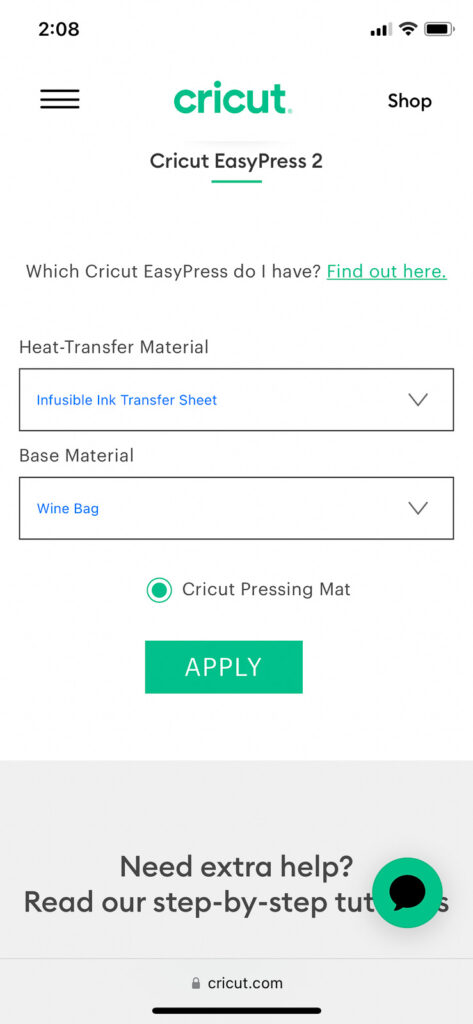
The temperature changes depending on the surface being used. I always check the Cricut heat guide and input the correct material and base material.
The wine bag with infusible ink needed a temperature of 385º for 60 seconds.
How to Use Infusible Ink
Supplies Needed:
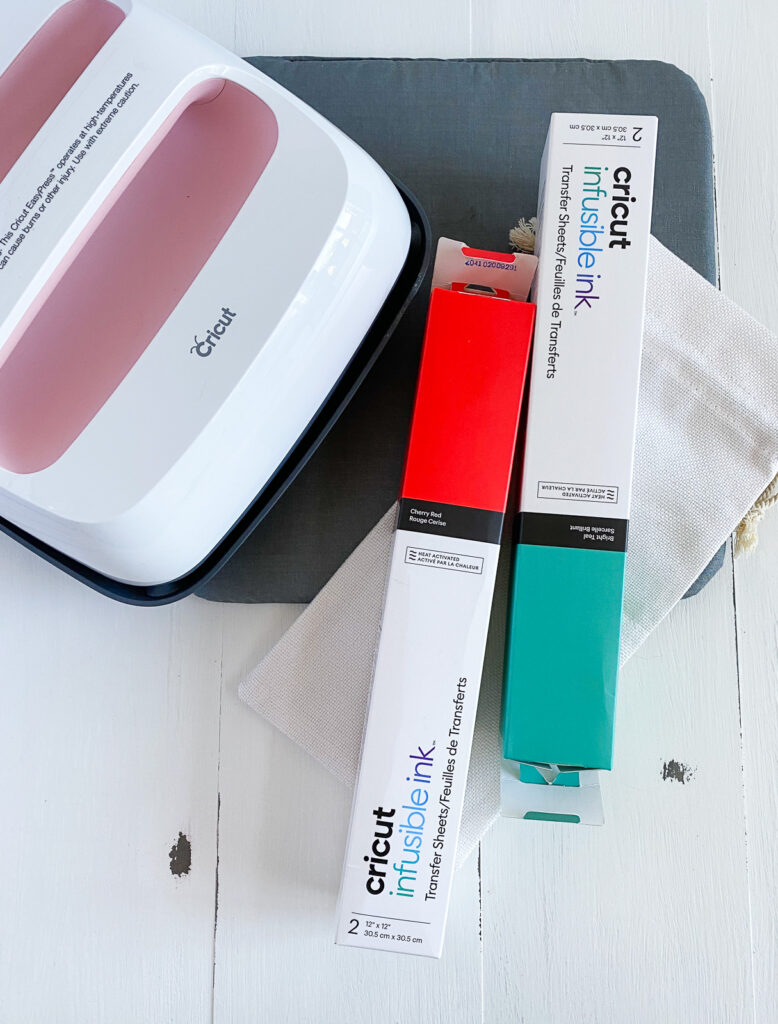
- Infusible Ink Transfer Sheet (I used Cherry and Bright Teal)
- Cricut (I used my Cricut Maker 3)
- Heat Resistant Tape
- EasyPress*
- EasyPress Mat
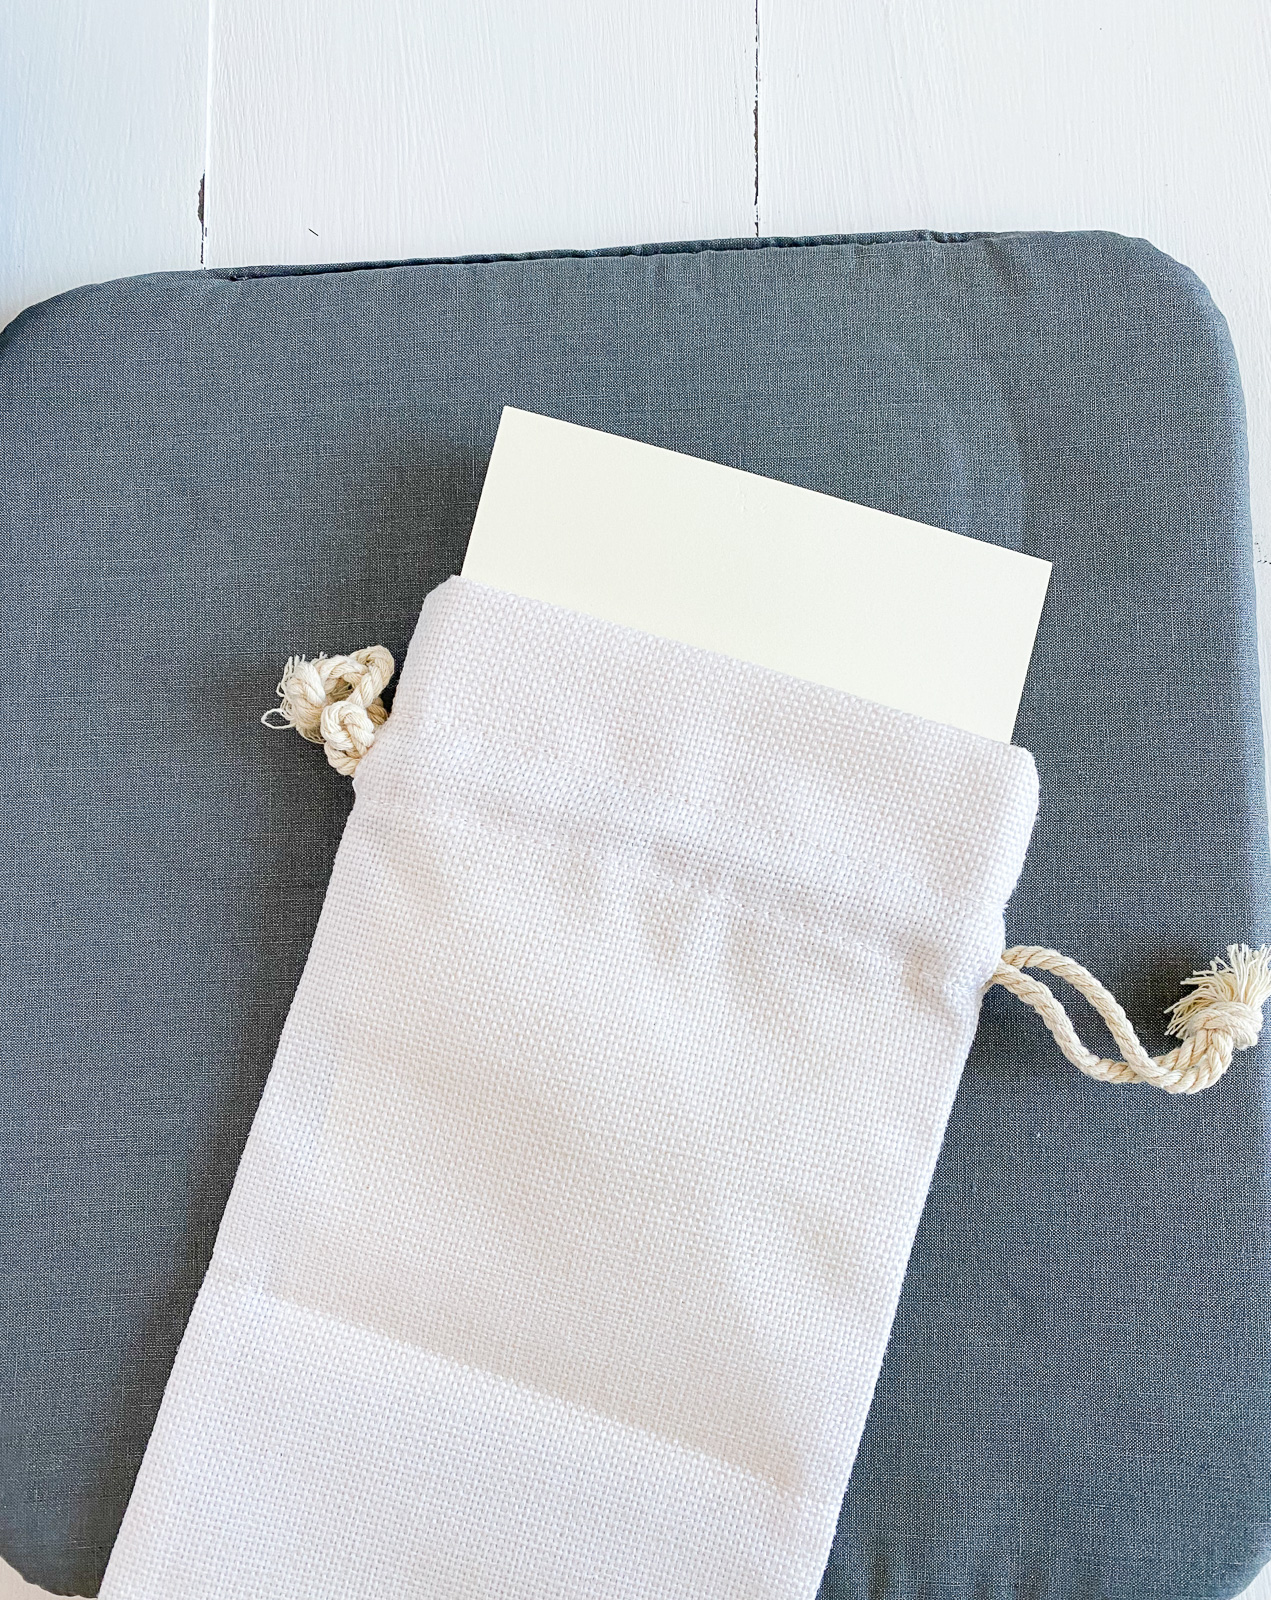
- Fabric Blank (I used this Wine Bag Blank)
- Cardstock
- SVG (link is at bottom of post)
*Infusible ink must be used with an EasyPress or heat press because a regular iron doesn’t get hot enough.
If you’ve never used your EasyPress before, be sure to check out this post first.
Cutting Infusible Ink
- Upload your design as usual.
- Be sure to attach it to keep the design together.
- Mirror the design.
- Select infusible ink in the materials menu (it’s located under iron-on.)
- Place the infusible ink on the standard mat, ink side up. (It’s normal for the ink sheet to be much lighter than the final color.)
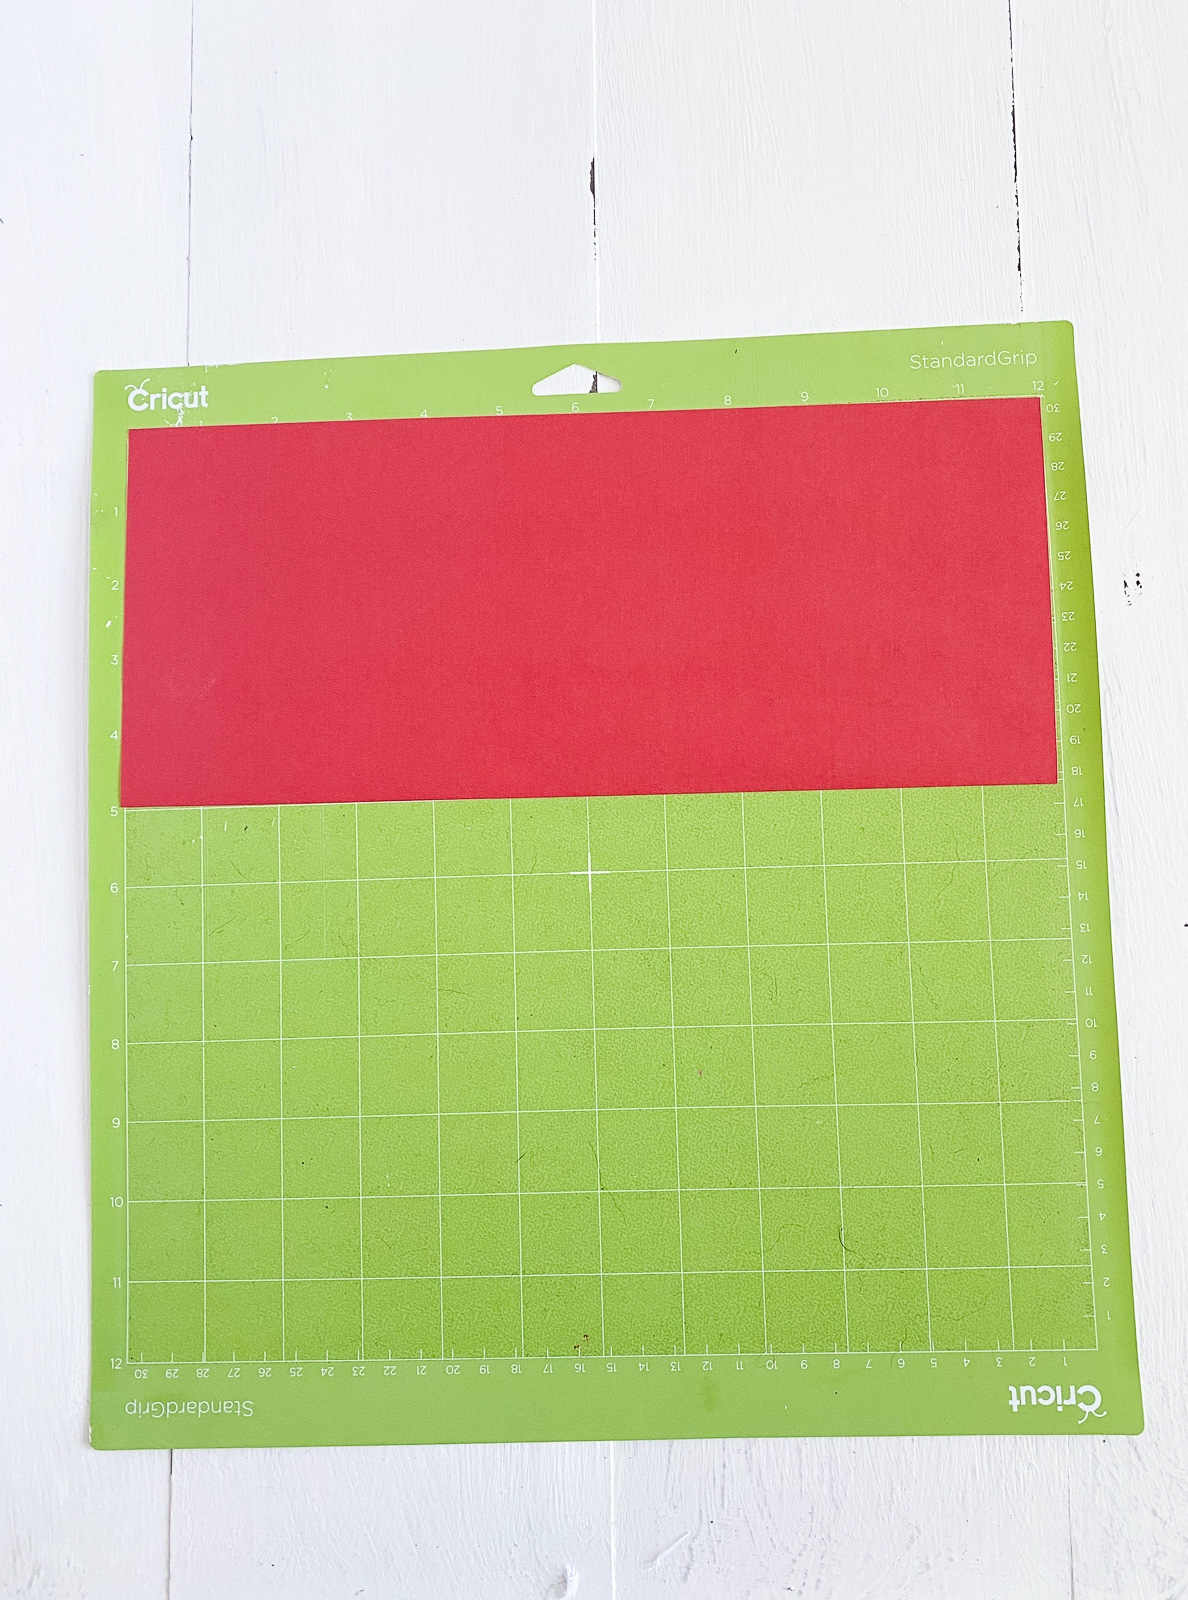
- Cut the design as usual.
How to Weed Infusible Ink
- Remove the ink sheet from the mat by peeling the mat away from the paper. This prevents it from curling.
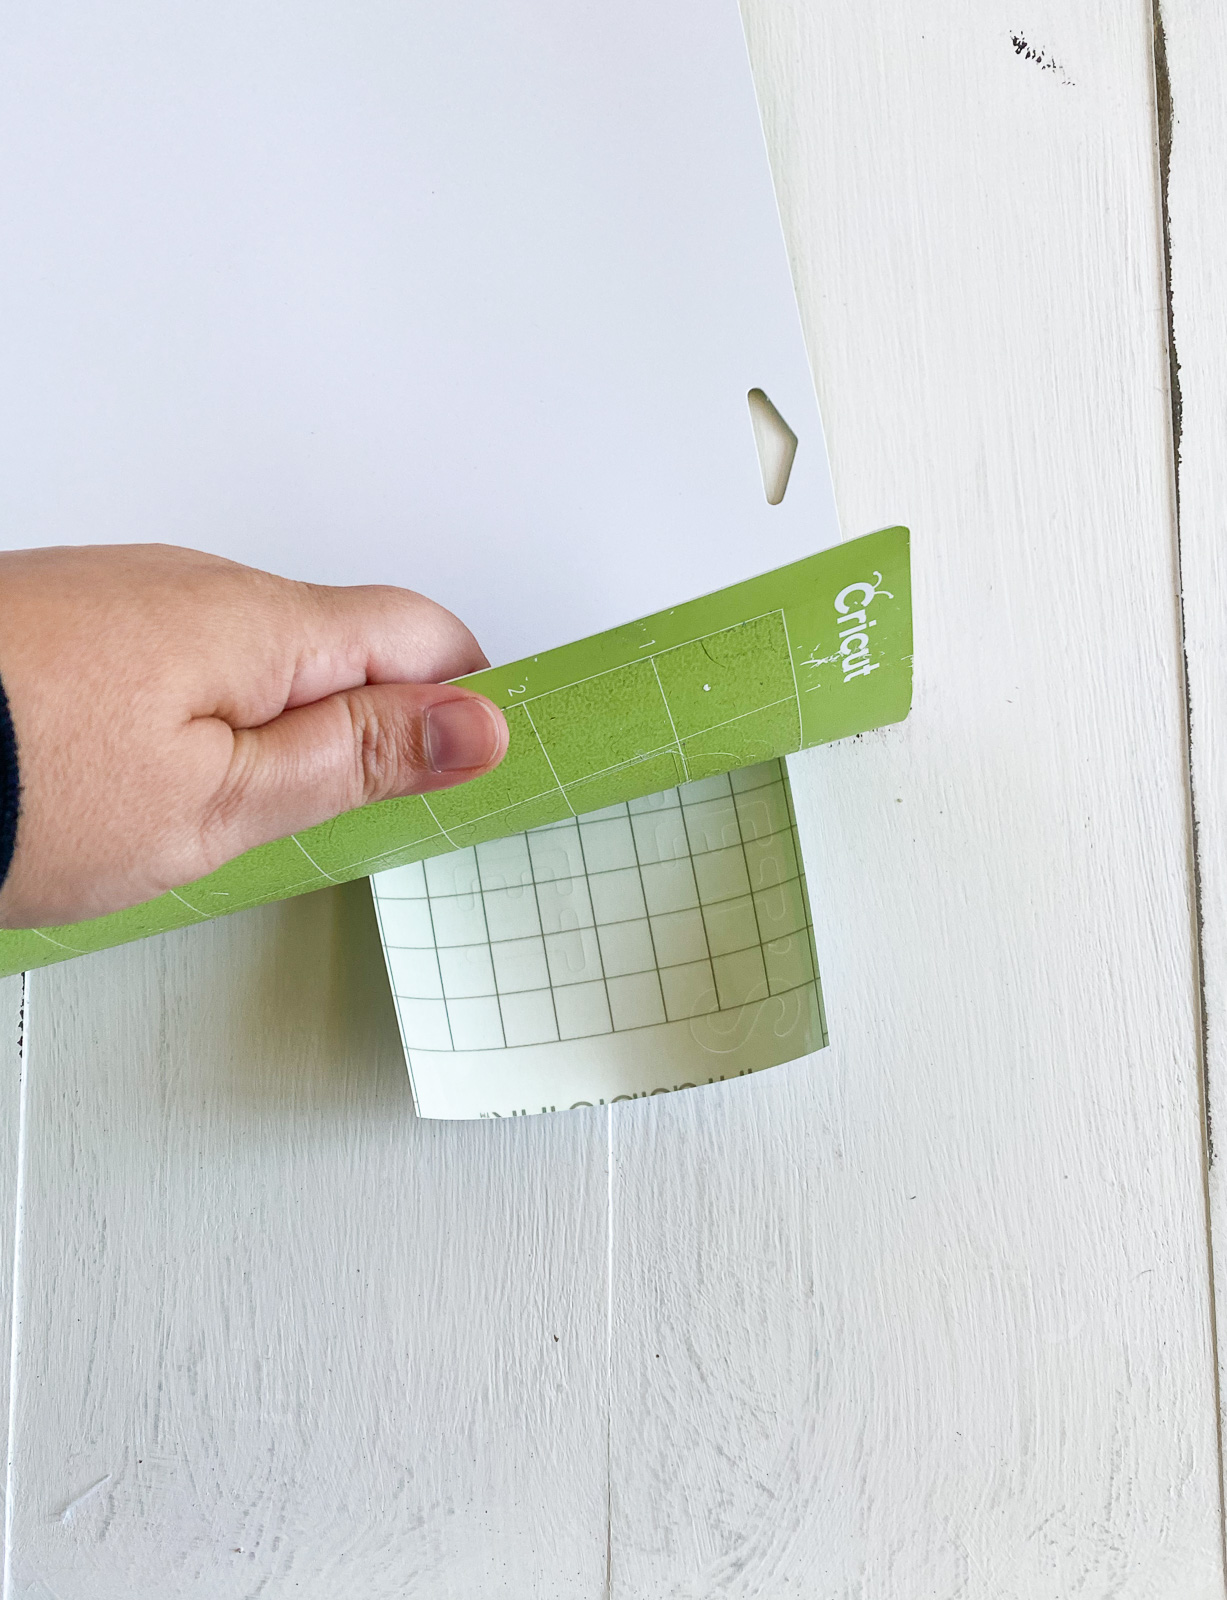
- When weeding the design, don’t use weeding tools. Instead, use your fingers to remove the ink sheet.
- It helps to roll the sheet to crack it. I also like to bend a corner to get it started.
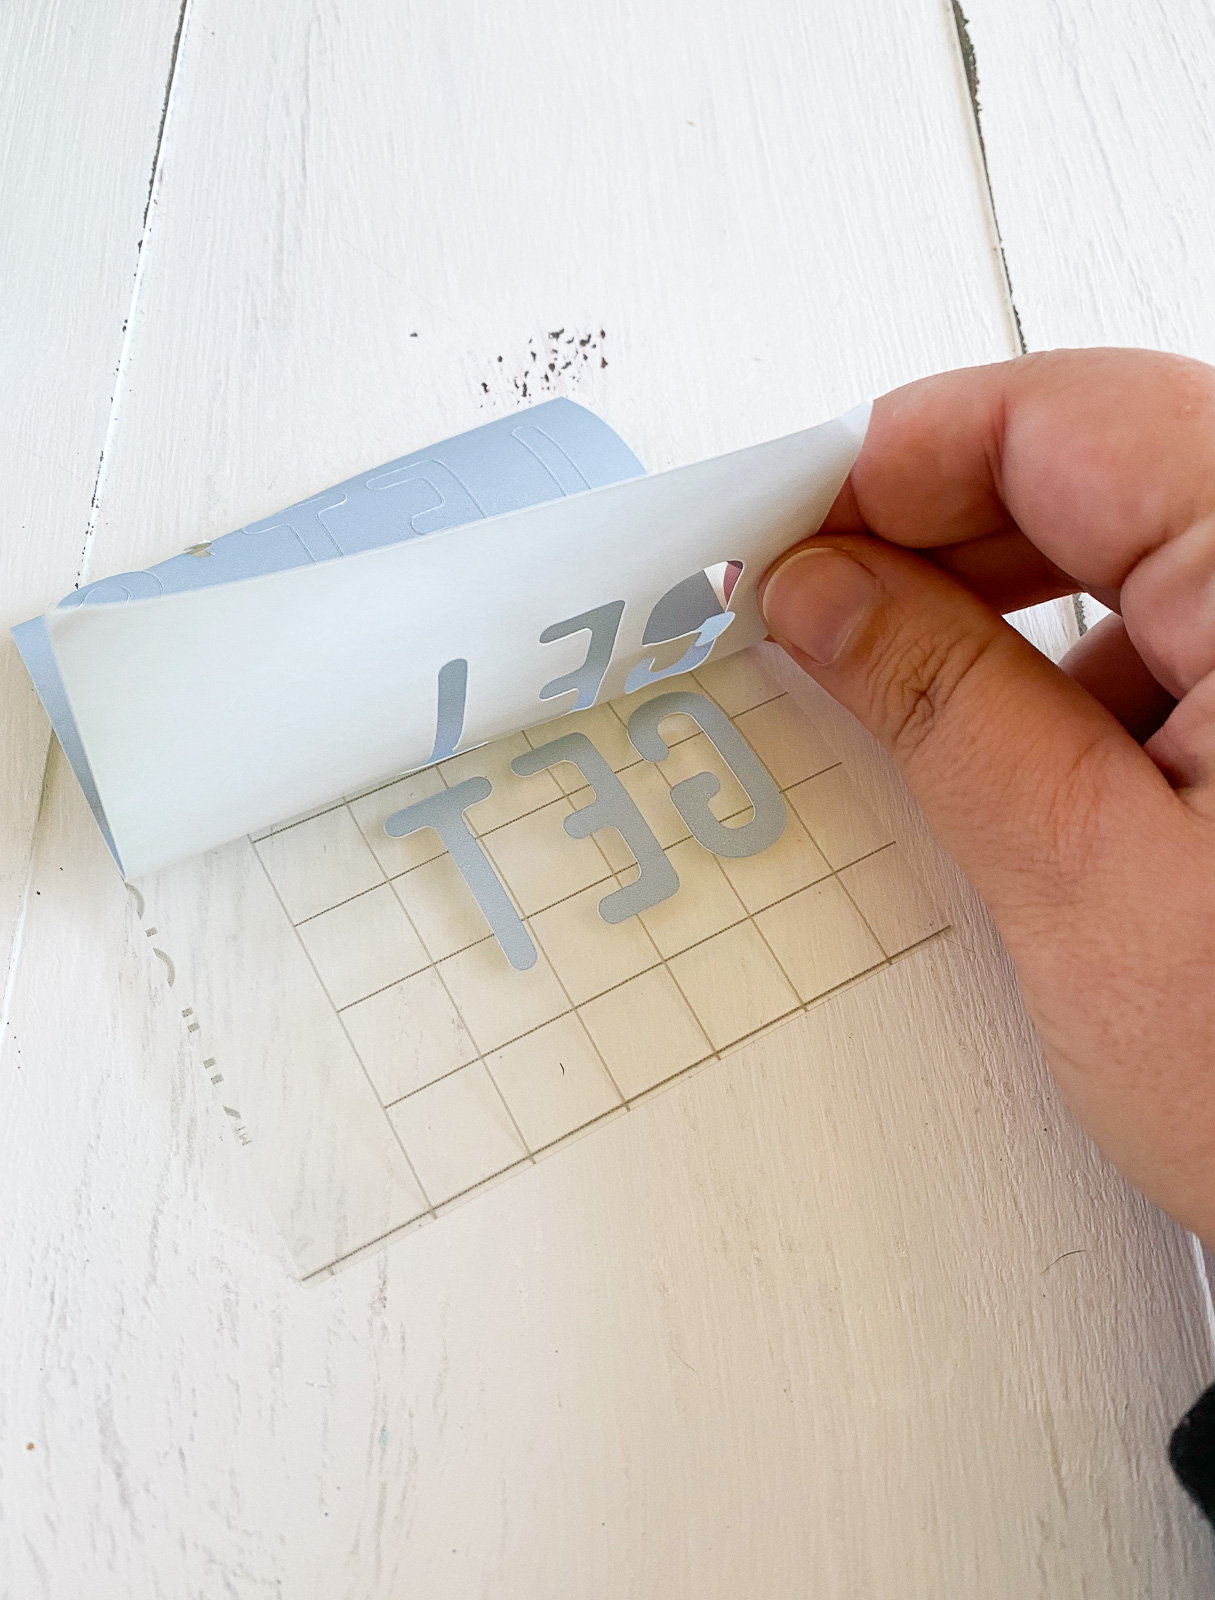
- If you accidentally remove a small piece, you can stick it back onto the carrier sheet. Just make sure that it’s facing the correct way.
- Cut away any excess backing to prevent it from being in the way of the other color.
Applying Infusible Ink to Fabric
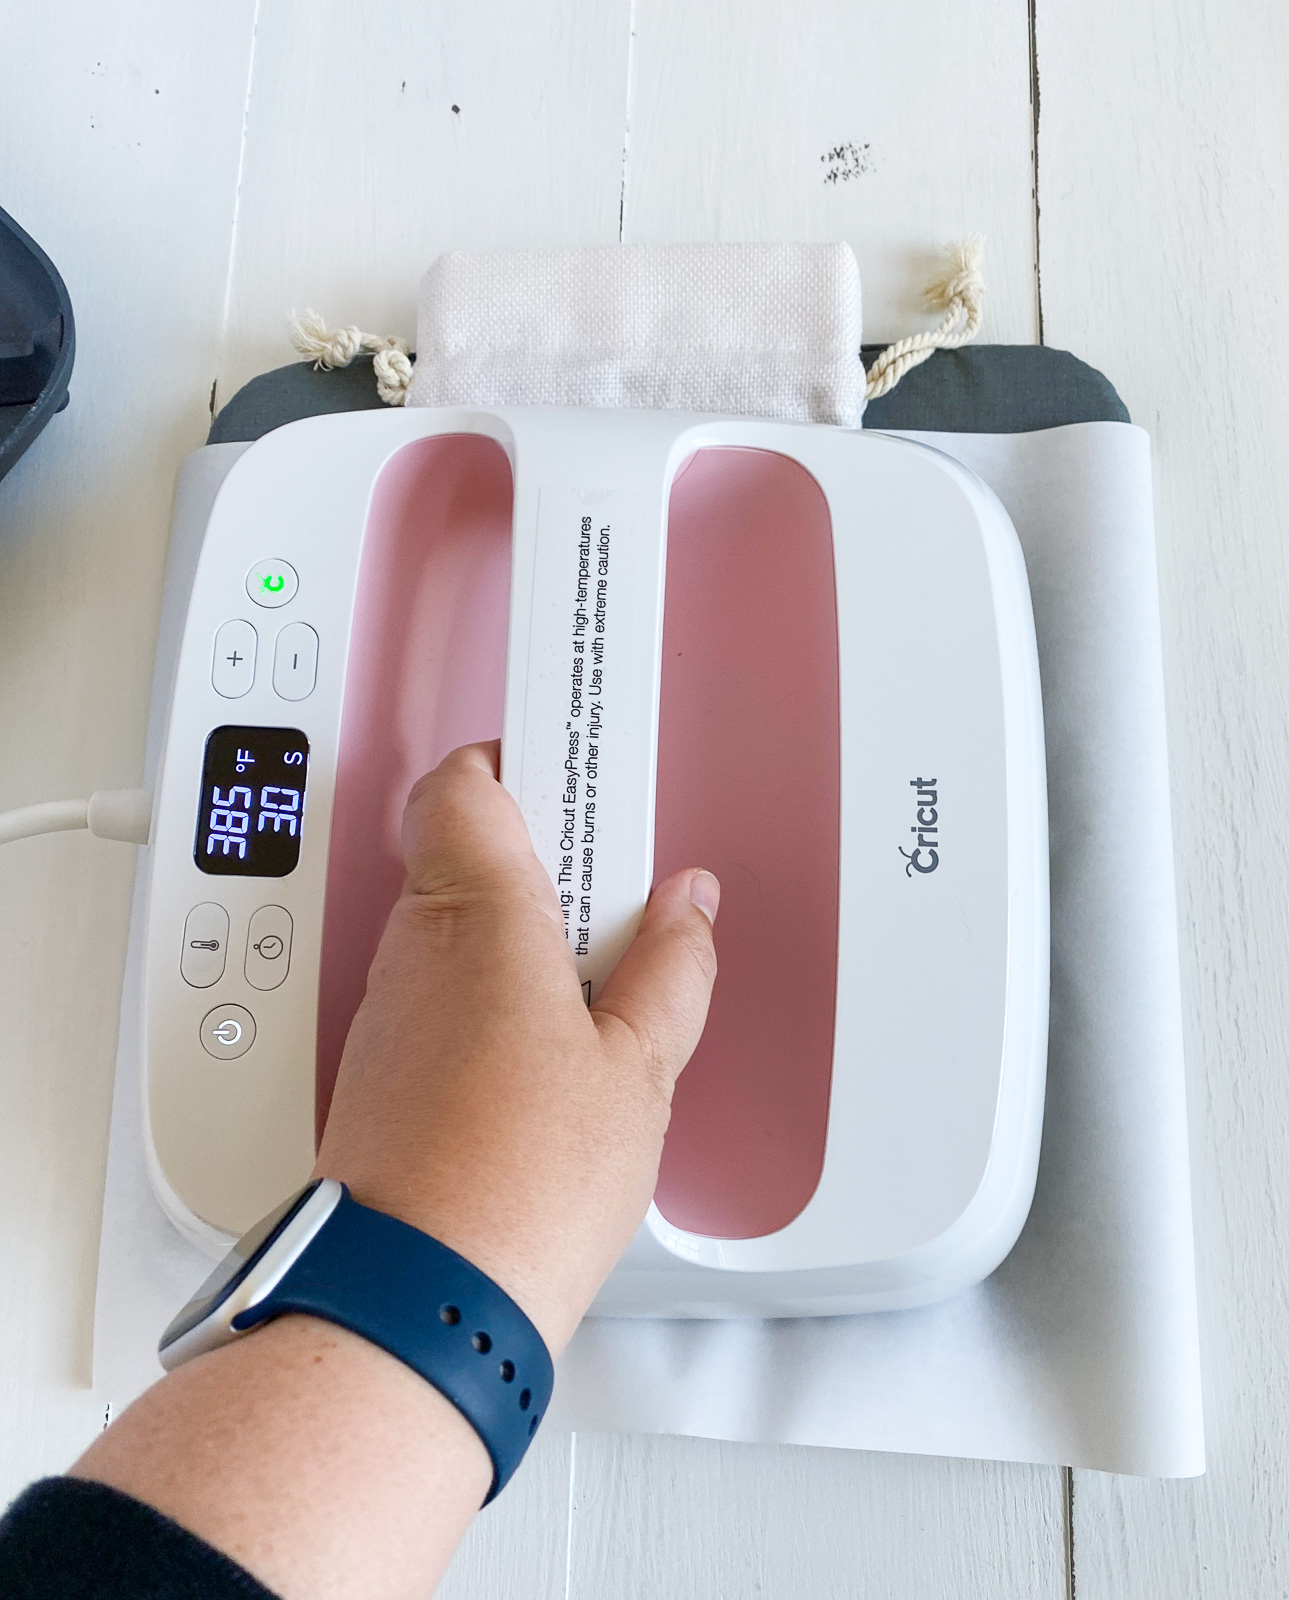
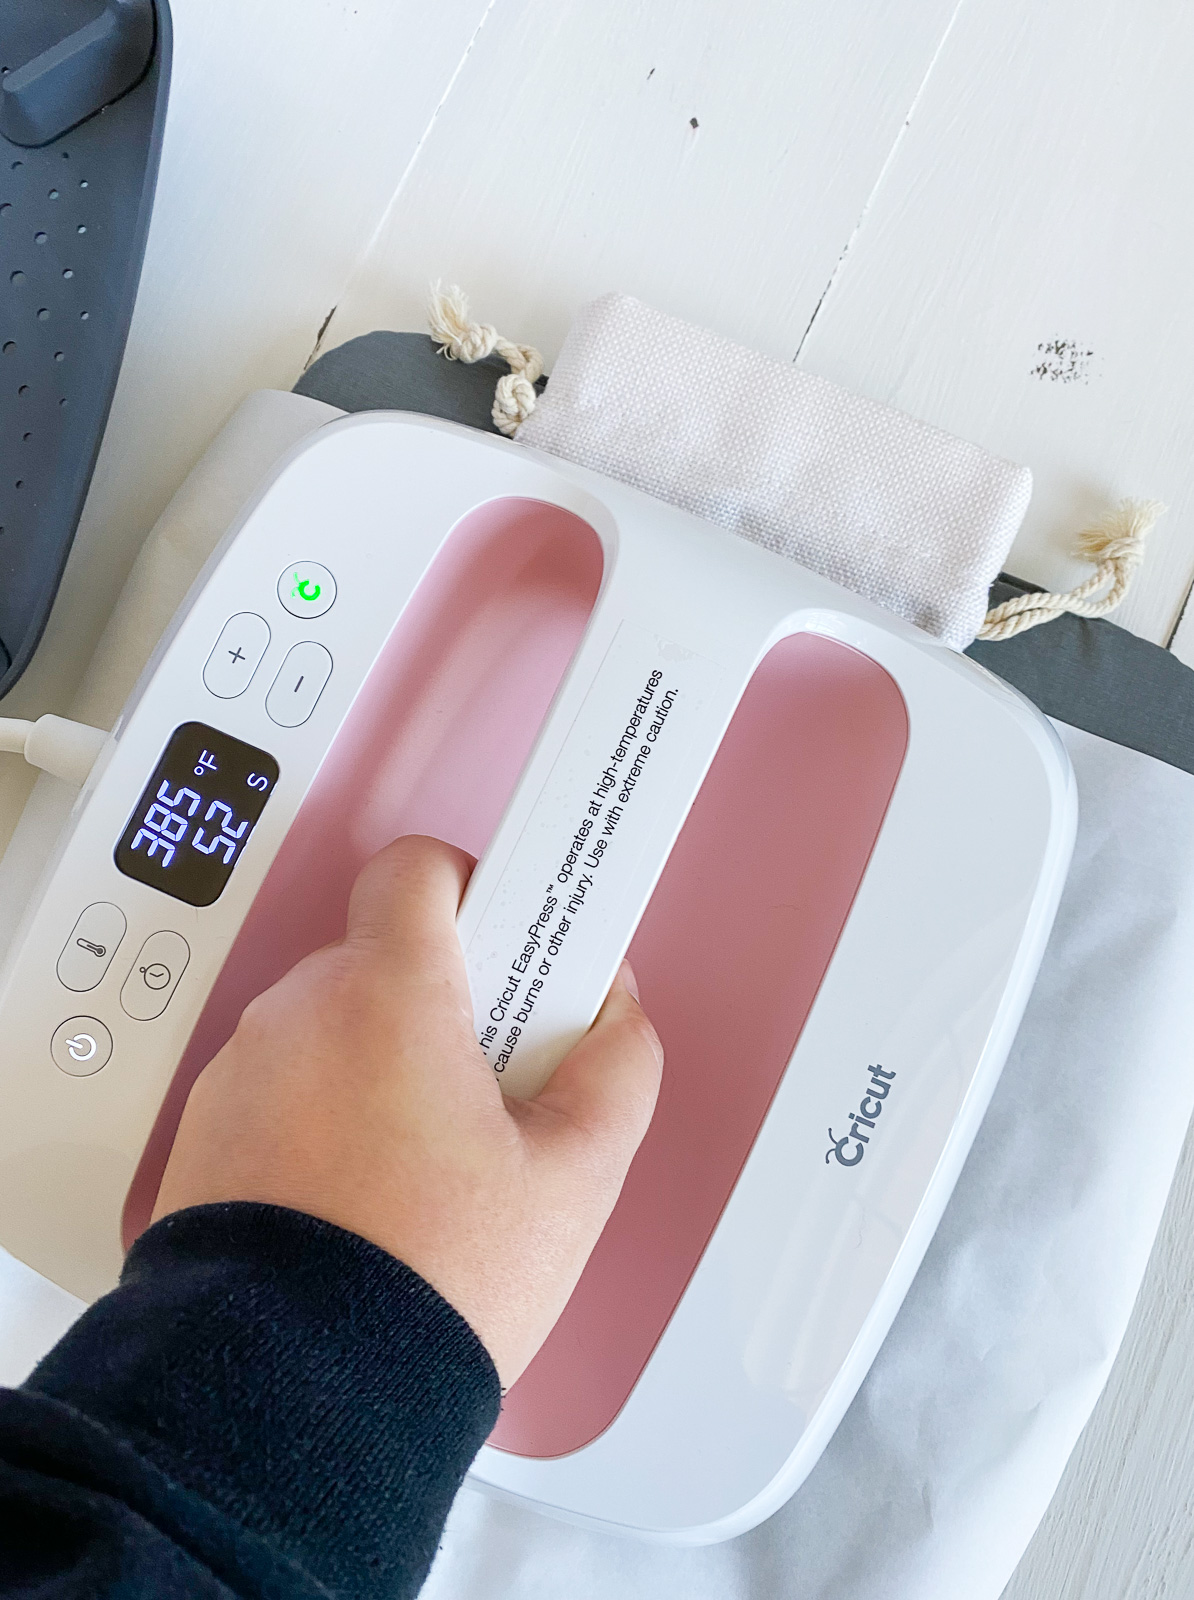
- Turn on the EasyPress and preheat it to 385º.
- Insert a sheet of cardstock inside the wine bag to protect the ink from bleeding to the back.
- Place the wine bag on the EasyPress mat to protect your work surface.
- Place the butcher paper over the bag and preheat it with the EasyPress for 15 seconds.
- Remove the EasyPress and the butcher paper from the wine bag.
- Use a lint roller to remove lint from the wine bag.
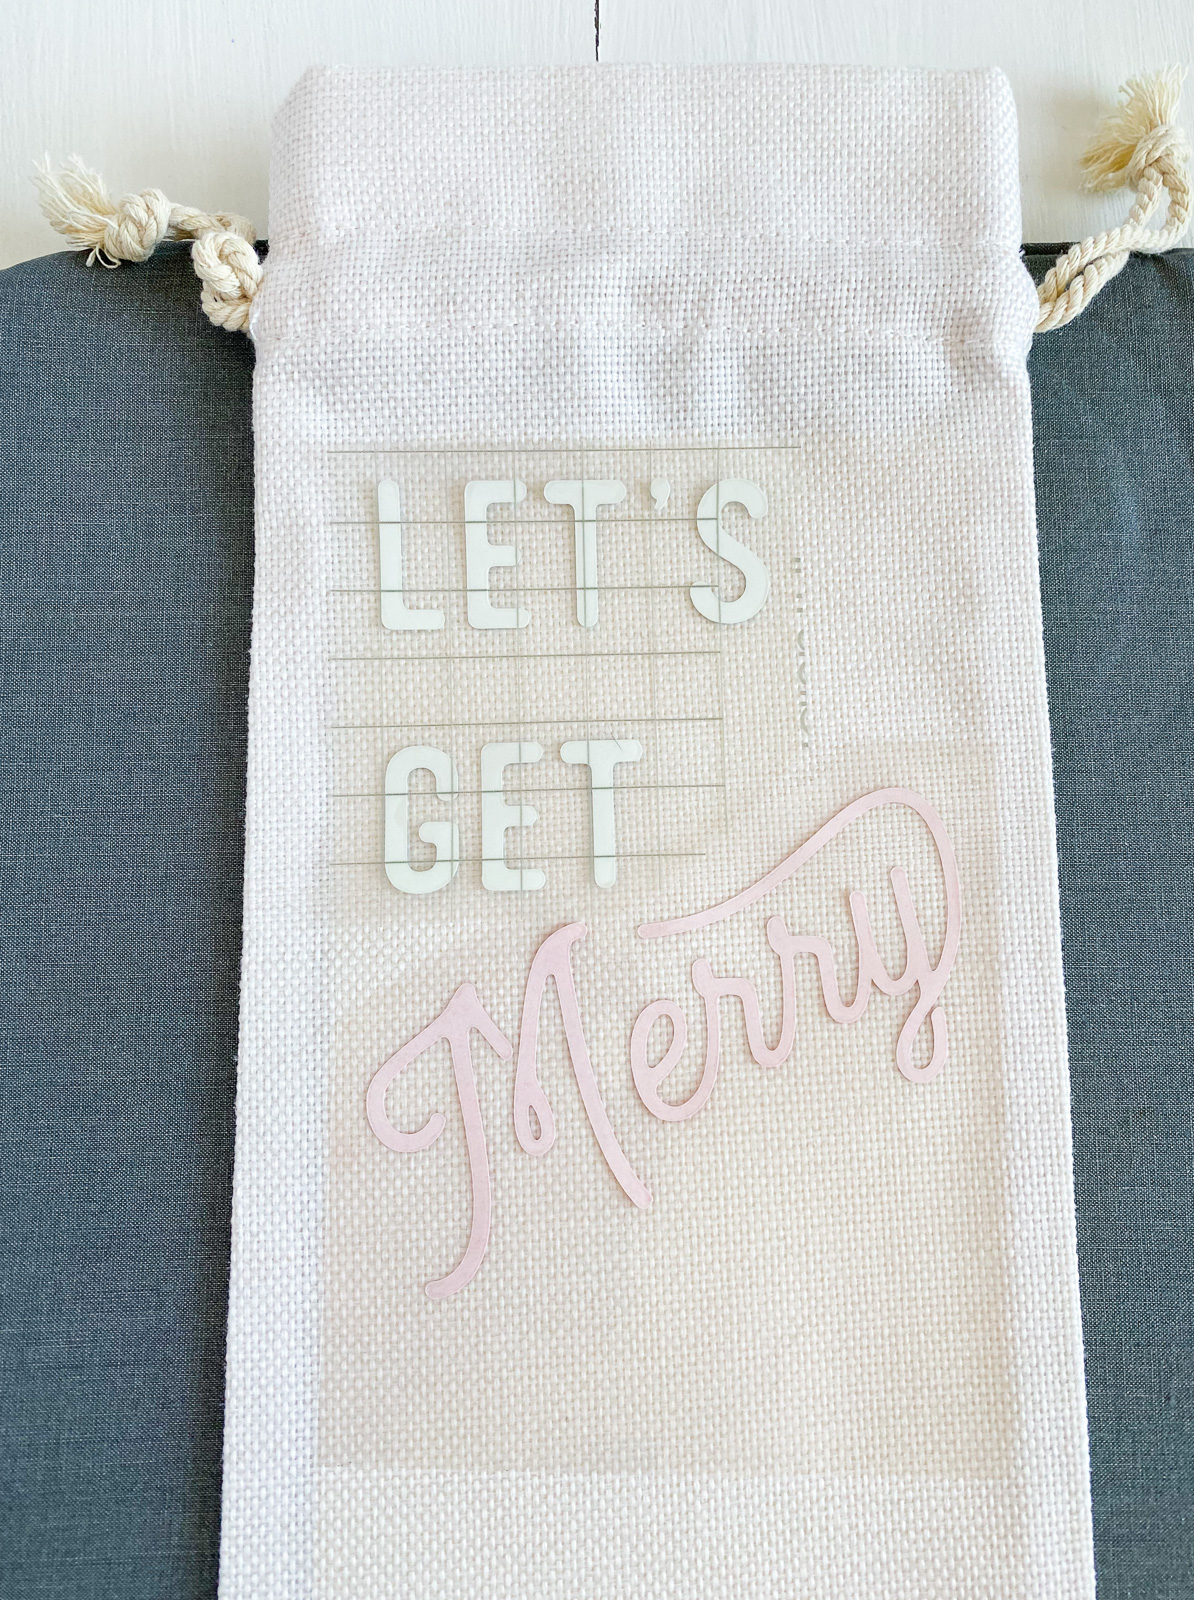
- Place the design onto the bag, making sure that the plastic backing doesn’t overlap the ink of the other color.
- If any part of it doesn’t stick, you can use heat-resistant tape. This typically isn’t necessary for fabric though.
- Place the butcher paper on top of the design.
- Apply the EasyPress for 60 seconds.
- Remove the EasyPress and replace it.
- Let the design cool before removing the backing.
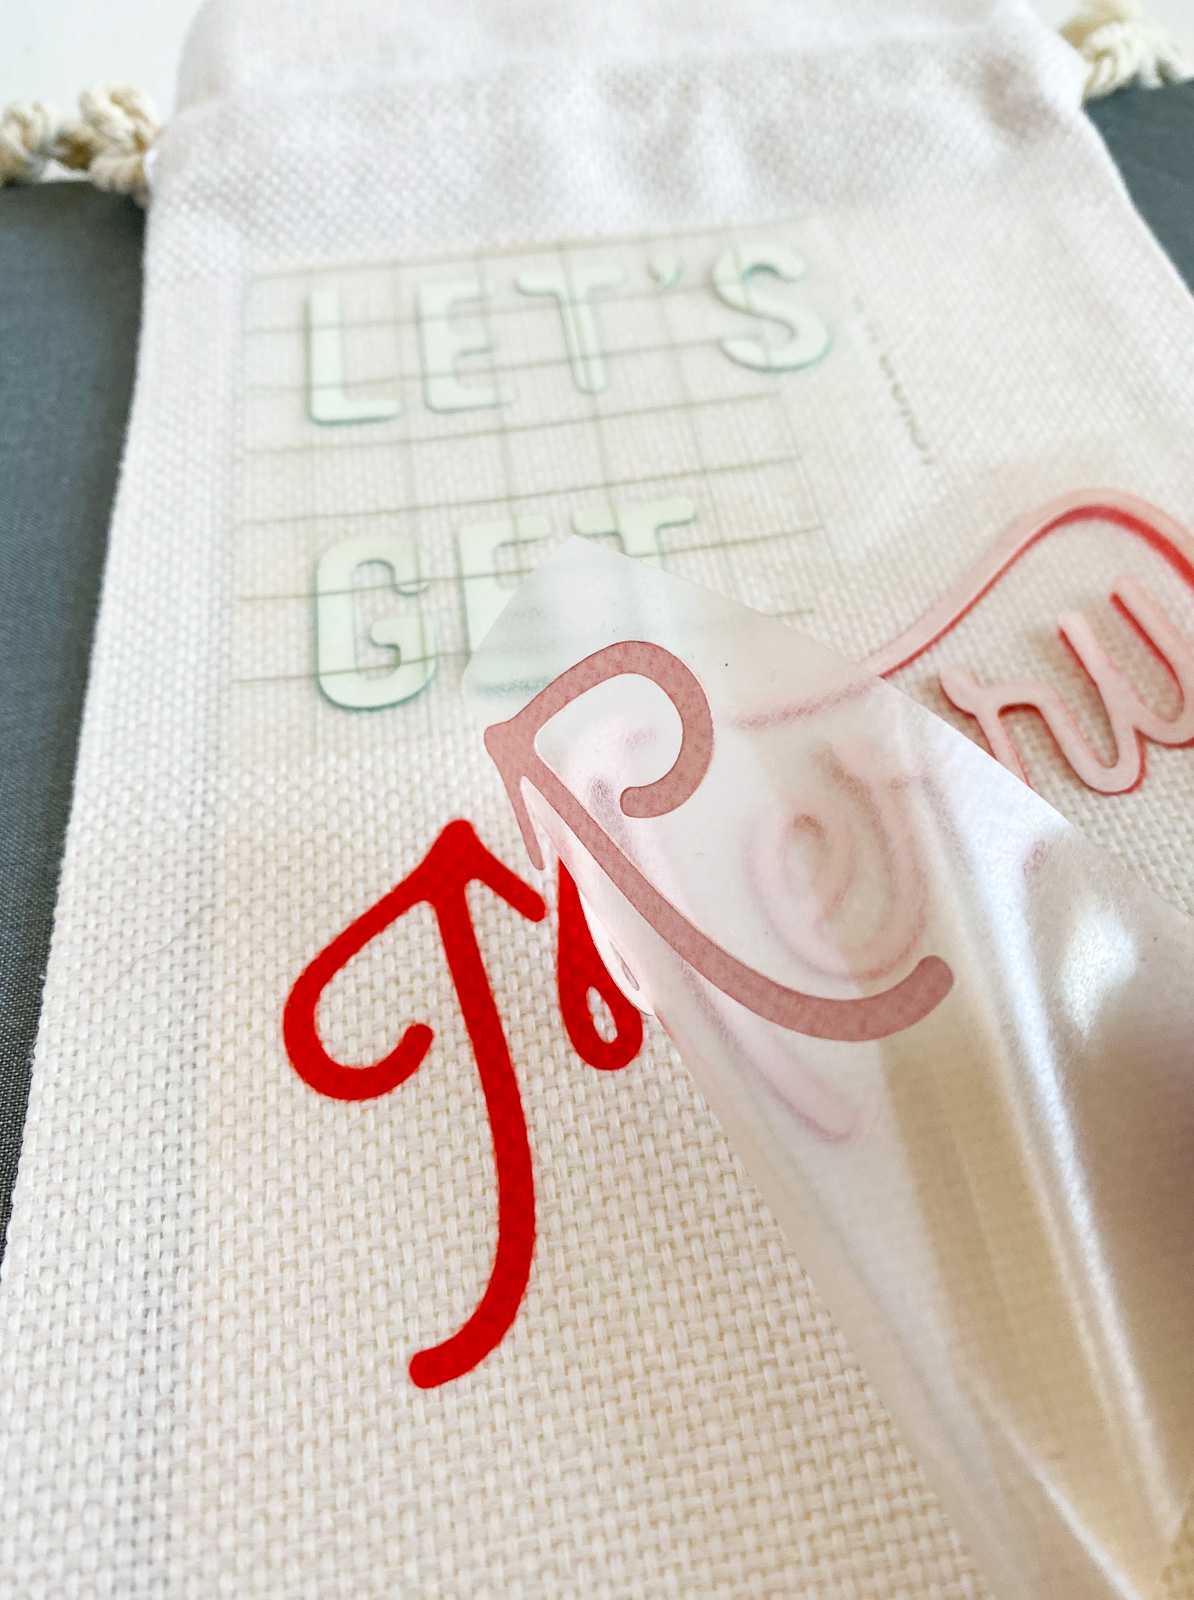
- It’s ready for use!
Tips for Making a DIY Wine Bag
- The bag measures 5.75″ x 13″, but if you want it to be readable, I suggest you make it 4.75″ x 8″ instead. I also recommend placing the design lower than I did.
- Infusible ink is a bit thick to weed, so if this is your first time using it, go with a simple design.
- If you accidentally remove a small piece when weeding, you can stick it to the transfer sheet before applying it to the fabric.
Other Christmas Posts
- DIY Acrylic Ornaments
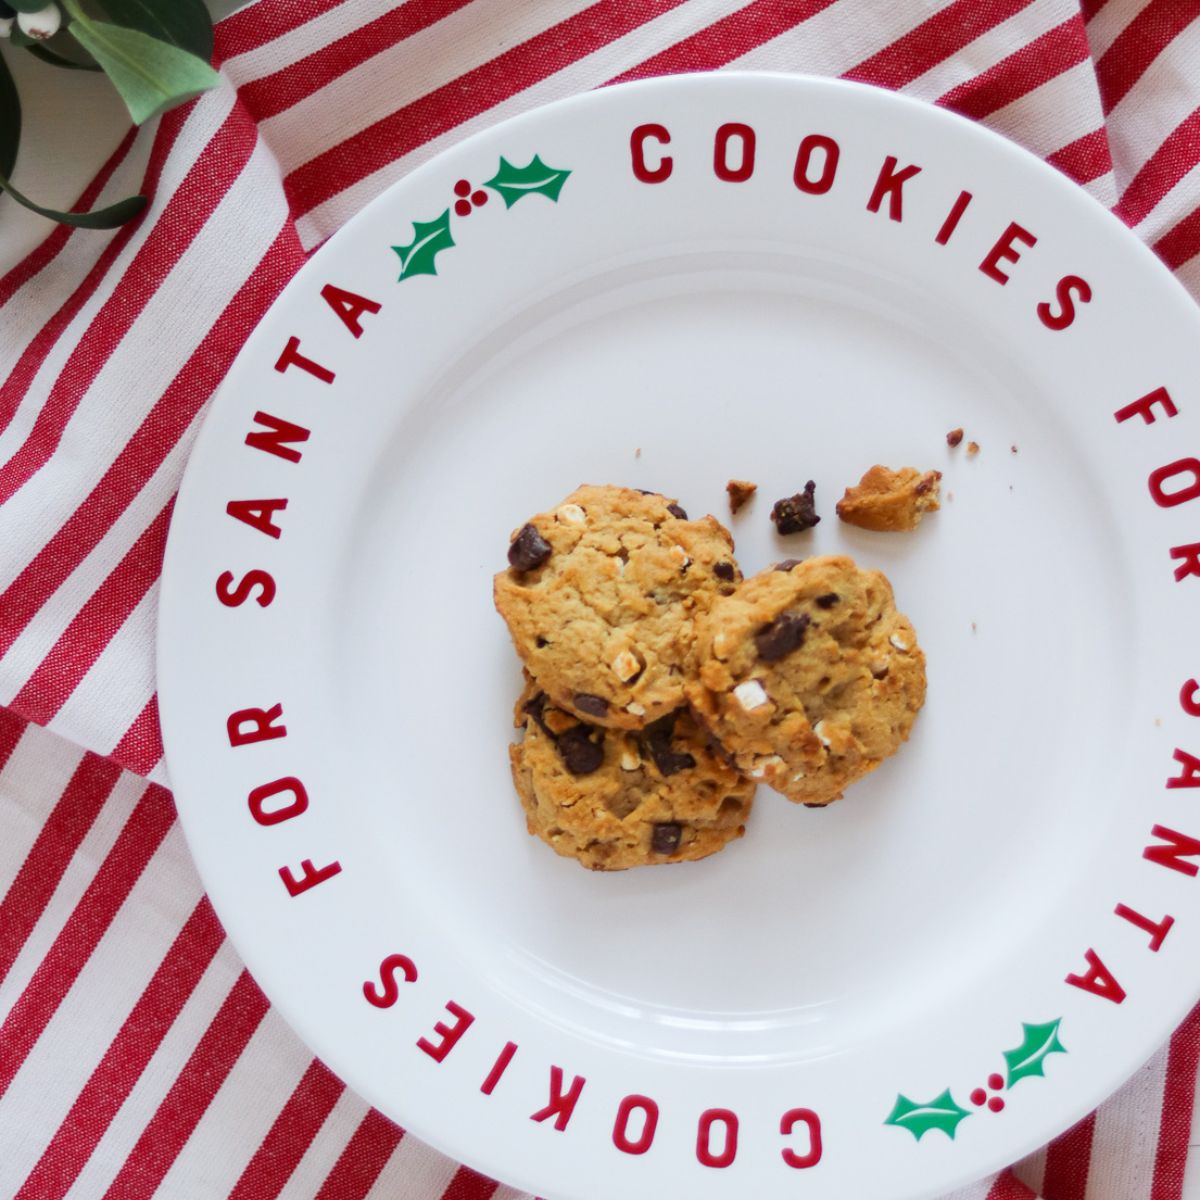
- Cookie Plate for Santa
- Layered Infusible Ink Mug for Santa
- Bow Stockings with Iron-on Vinyl
Download the Let’s Get Merry SVG
Free downloads are for personal use only. Please do not redistribute or sell.
Pin for Later!