Make Bookmarks with the Cricut Foil Transfer System
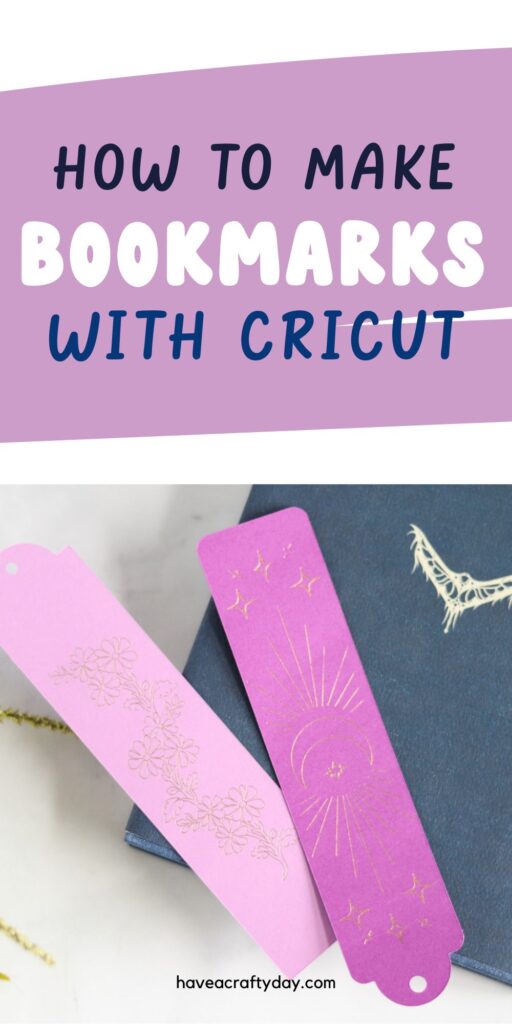
Learn how to make bookmarks with the Cricut foil transfer kit. These bookmarks feature cute designs in metallic foil without having to use messy glues!
Get more easy tutorials for Cricut beginners here.

This post contains affiliate links. By purchasing an item through an affiliate link, I earn a small commission at no extra cost to you. As an Amazon Associate I earn from qualifying purchases.
I love all things shiny, so when Cricut introduced the foil transfer kit, I was so excited to give it a try!
It’s always a bit intimidating to try to new product, especially one with multiple steps, but I found it pretty easy to use.
What Is the Cricut Foil Transfer System?
The Cricut Foil Transfer kit allows you to add gold foil to crafts. It uses pressure to apply gold foil to materials like cardstock and leather, without the messy glue.
The Cricut Foil Transfer kit works with the Cricut Maker and Cricut Explore machines.
There is a separate kit for the Cricut Joy.
How Is The Cricut Foil Transfer Different than Other Gold Foils?
Most gold foil uses glue or heat to add foil to an object. Instead, the Cricut uses pressure to apply the foil.
I’ve used other methods and they require you to print with a laser printer and use machines to apply the foil.
This method adds the foil and cuts the material without using multiple machines.
What Comes With the Cricut Foil Transfer Kit?
The Cricut Foil Transfer kit includes a 3-in-1 tool with interchangeable tips to create fine, medium, and bold linework, 12 4″ x 6″ foil sheets (6 gold and 6 silver), and tape to apply the foil to the material.

The tips are marked with lines to indicate the thickness. One line indicates fine, 2 lines indicate medium, and 3 lines indicate bold.

Extra foil sheets are also available in other colors and sizes.
The interchangeable tool works just like the blades. Push the button on the top to release the tip. Insert the correct tip.
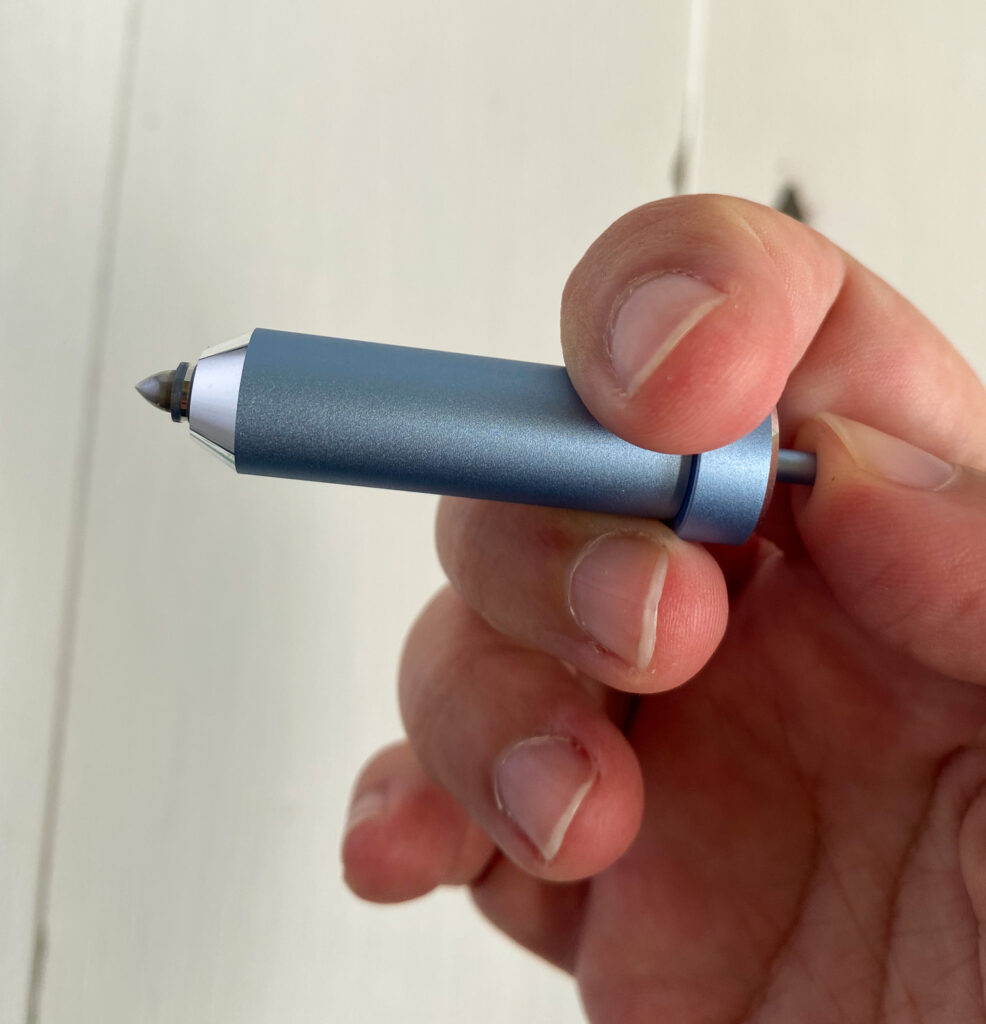
Please note that although the Cricut will prompt you to change the tool, it can’t tell if the correct tool is installed. It also can’t tell if you have the correct tip, so be careful of that as you work.
What Materials Work with the Cricut Foil Transfer System?
The foil works on paper, cardstock, balsa wood, and leather.
How to Make Bookmarks with the Cricut Foil Transfer System
Supplies Needed:
- Cricut Foil Transfer Kit
- Cardstock
- Cricut (I’m using my Cricut Maker 3)
- SVG for bookmark shape and design (scroll to the bottom of the post to access the design.)
I used the rose gold foil from this kit for the darker purple bookmark. It’s really pretty in person, but the rose gold looks really similar to regular gold on the purple background.

Tips for Designing Your Bookmark
If you have a subscription to Cricut Access, there are tons of cute designs that work with the Cricut Foil Transfer. You can search for what you want or just scroll until you find something cute.
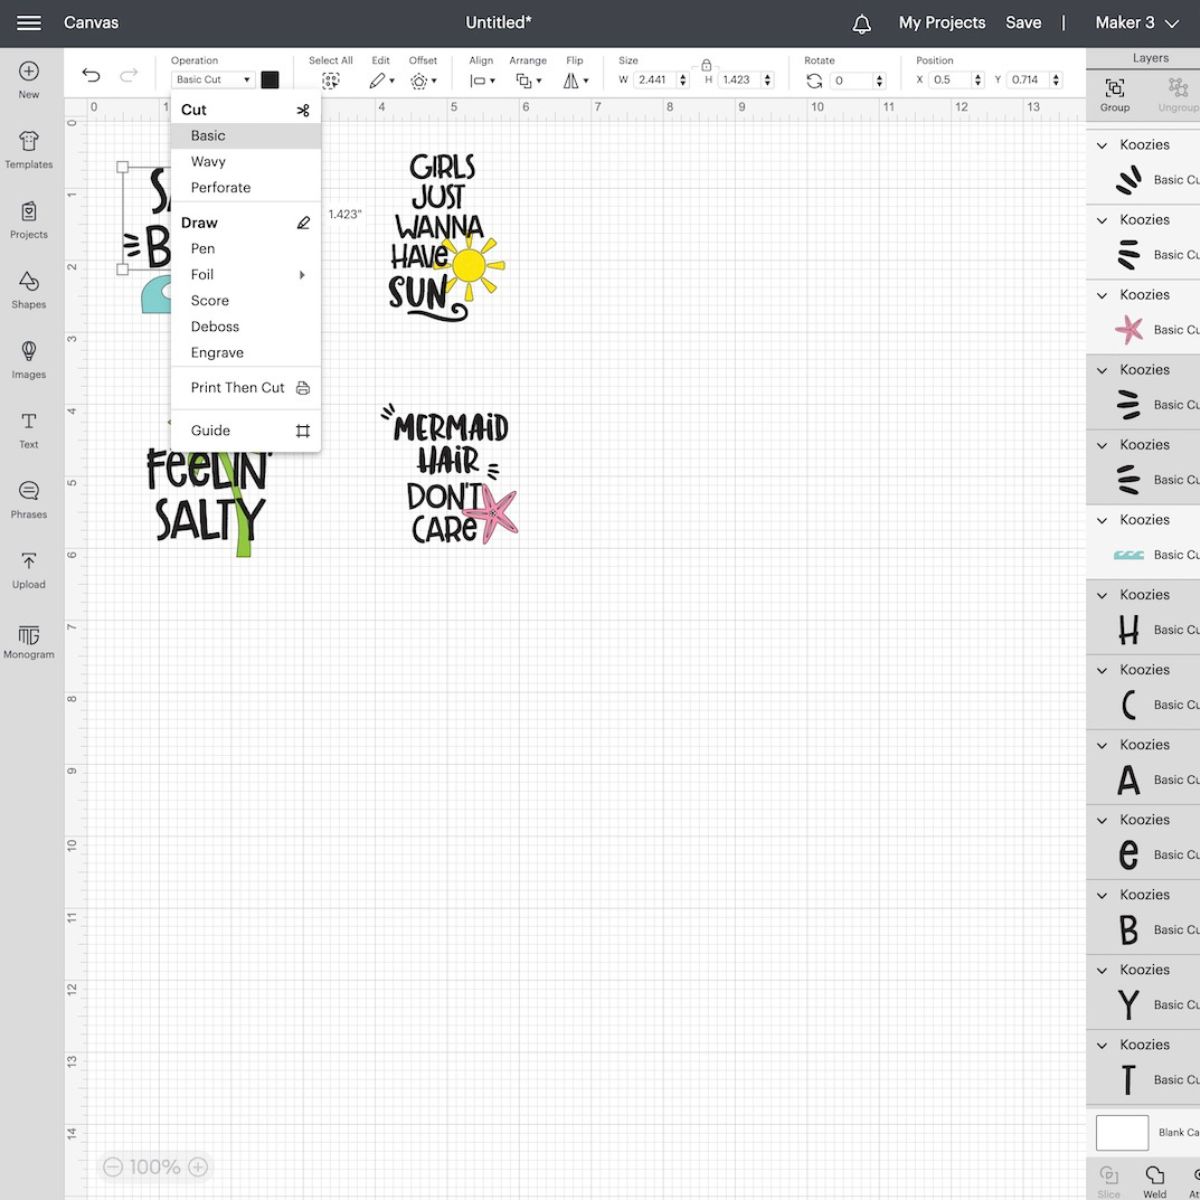
Be sure to check the box by the “Draw only” option (Under Operation Type) to see which designs will work with it.

If you’re making your own design, here are a few tips to keep in mind. I made my design in Adobe Illustrator, but these tips will work for other programs too.
- Your designs need to be made up of lines, not solid shapes.
- I used a .5 pt line in Adobe Illustrator for my moon design. (The floral design is from Cricut Access.)
- Thicker lines may result in an outline, rather than a solid line.
- If you’re using Procreate to design, use a solid brush (versus a textured brush.) I like the Monoline brush.
- All fonts will appear as outlines (even really skinny ones.) This is true even for the Cricut fonts.
- You can use Cricut Design Space to get an idea of how foil colors will look against cardstock colors.
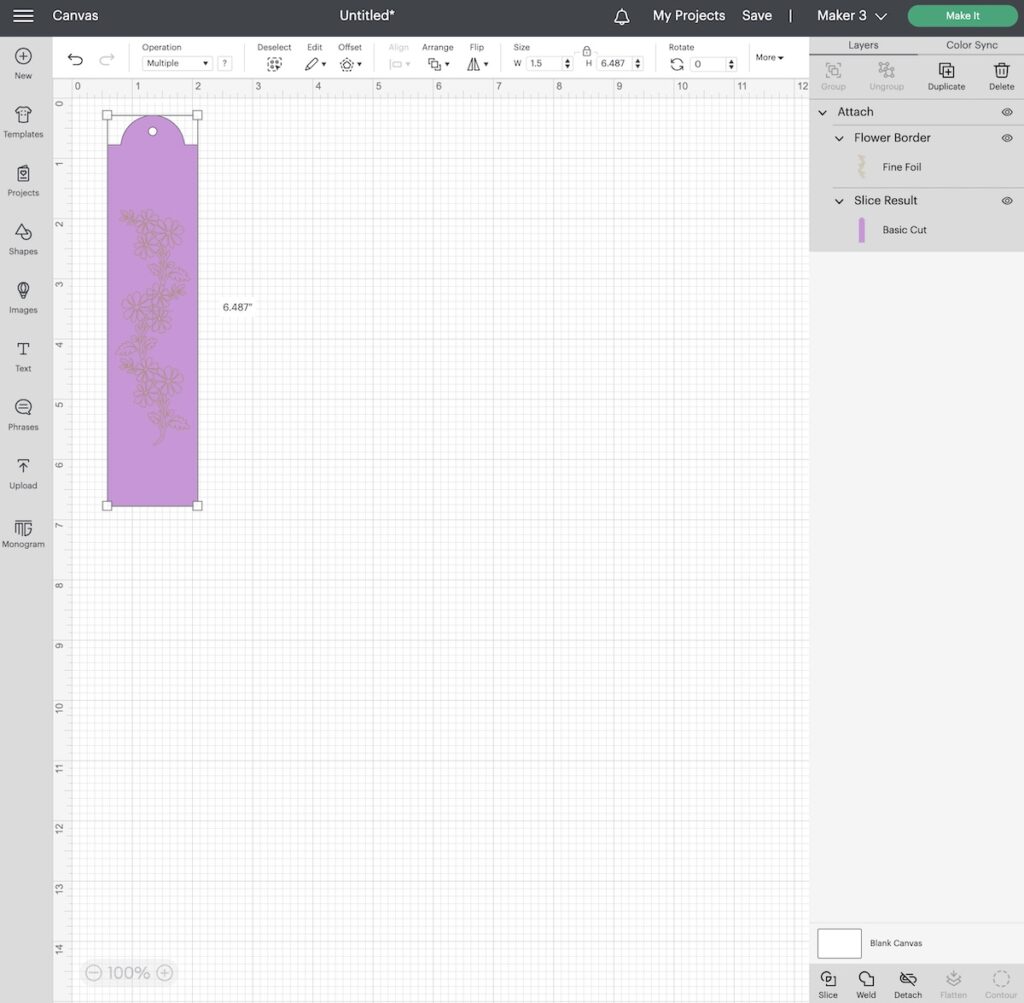
Directions
- Upload or make your design as usual. I have provided an SVG file with basic bookmark shapes if you want to use those.
- Select the design layers and choose foil and the foil thickness. You can change the foil color if you want. (This allows you to use multiple colors in one design.)

- Make sure that your bookmark shape is set to cut.
- Attach the design and bookmark layers to ensure that the design stays together.
- Click Make it.
- Move the bookmark design about an inch down and an inch away from the edge to make it easier to remove the foil from the cardstock and mat.

- Set the Base Material to Heavy Cardstock.
- The machine will prompt you to change out the blade to the foil transfer tool. Make sure to choose the right tip size. (It can’t see if the correct blade is inserted though.)
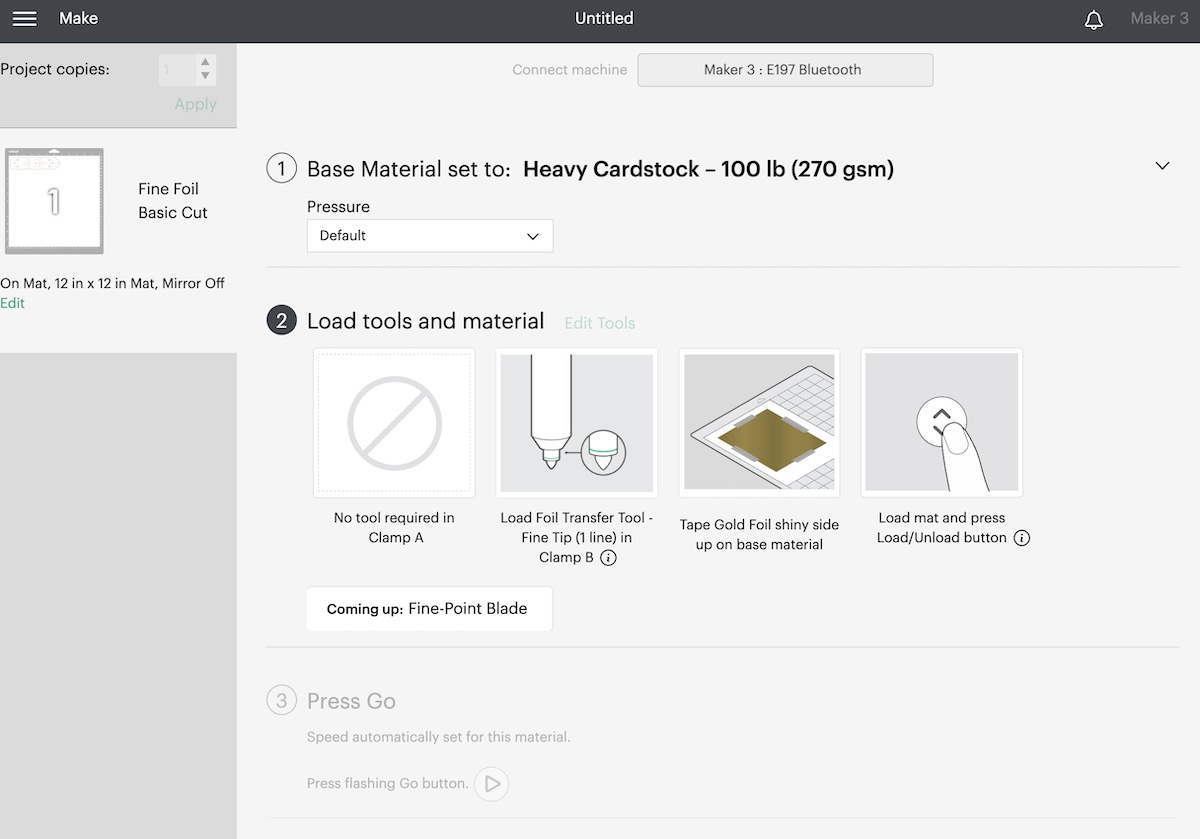
- On your Cricut, move the white rollers to the side of the design. (If they roll over the foil, they will leave marks.)

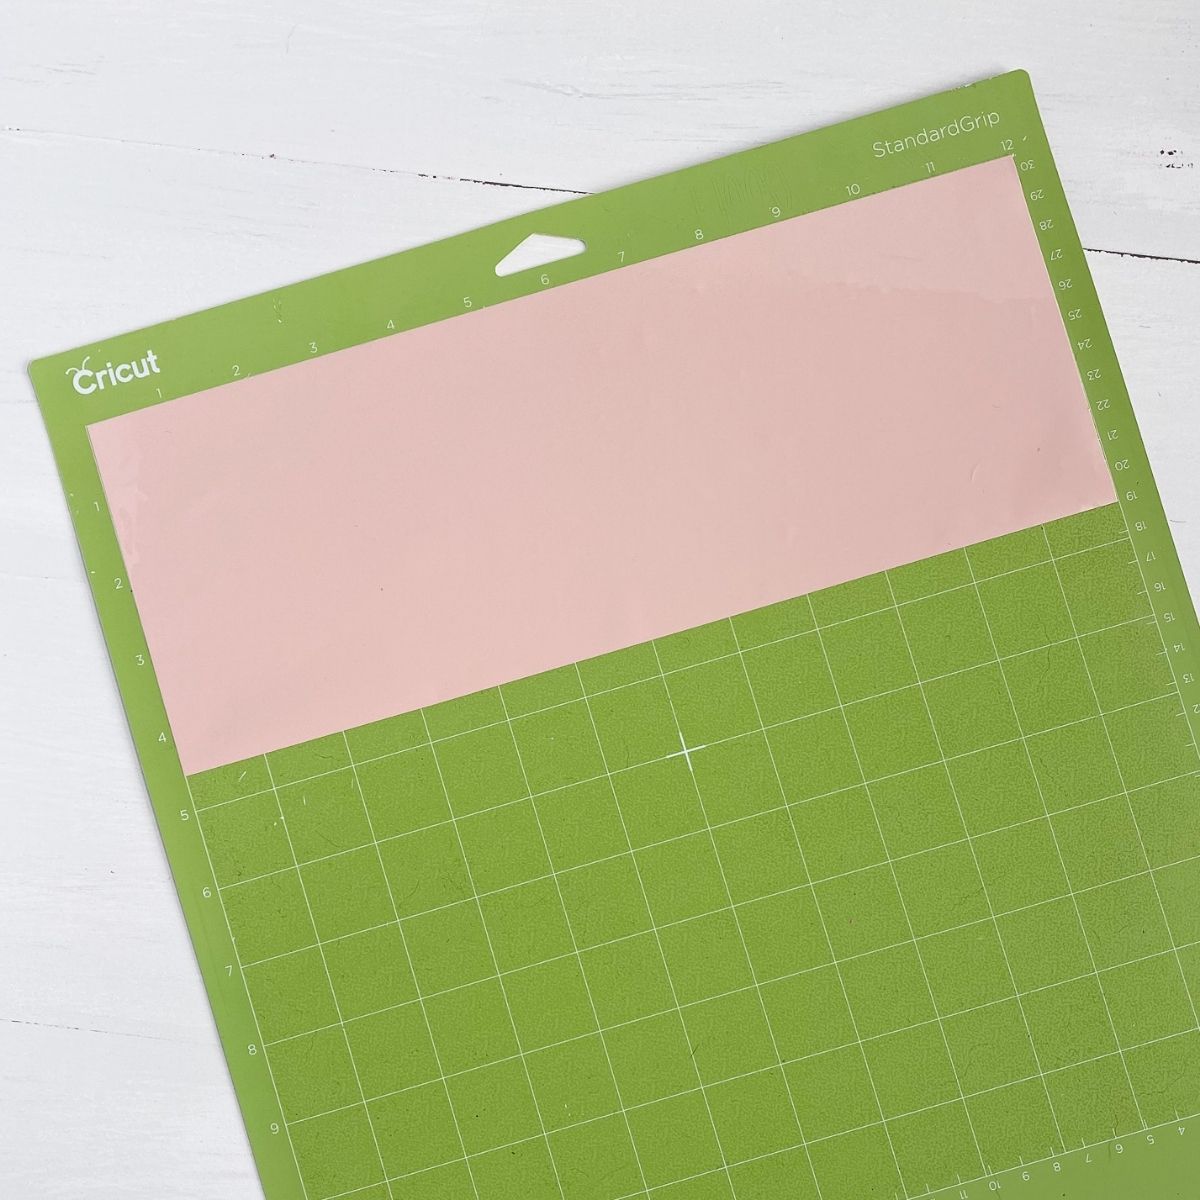
- Place your cardstock onto your mat. I used the standard green mat, but you can use the LightGrip mat if you want.

- Tape each side of the foil sheet over the design in the correct area.

- Load the mat.
- Click the start button on your Cricut.
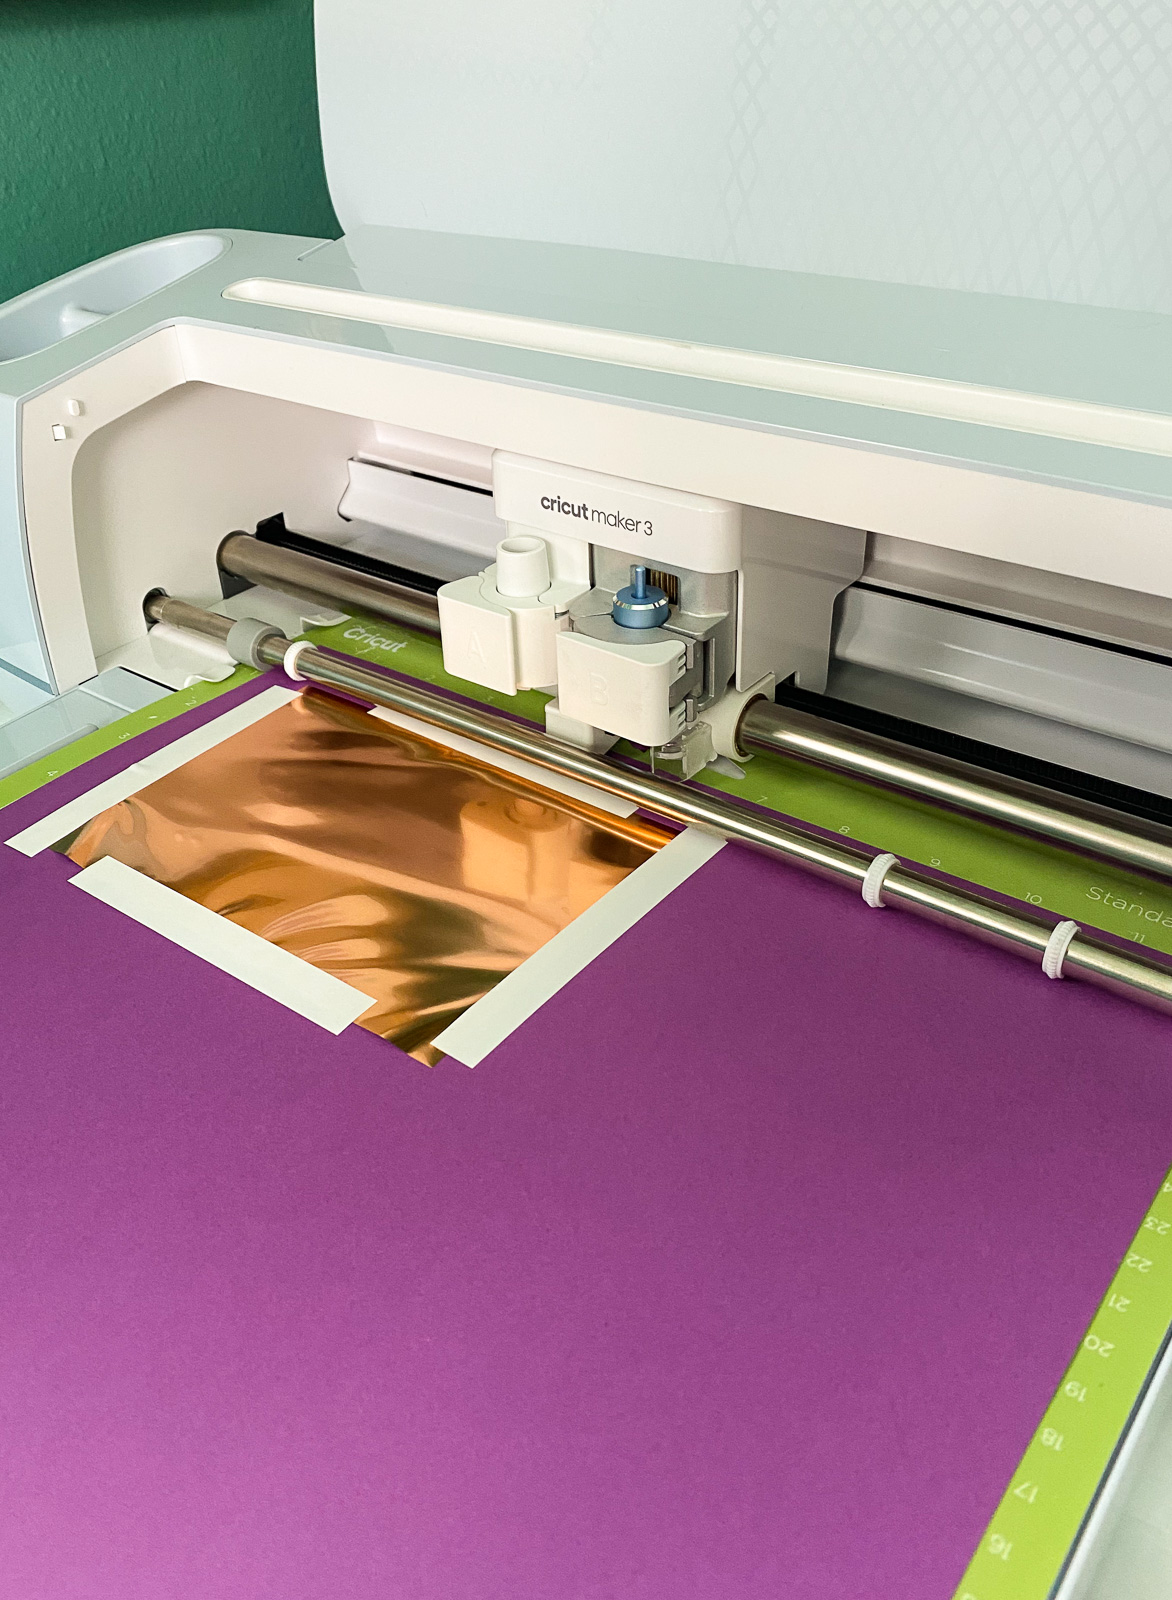
- When it’s finished, leave the mat loaded and remove the foil sheet. (It’s easier to remove it with the tape still attached.)
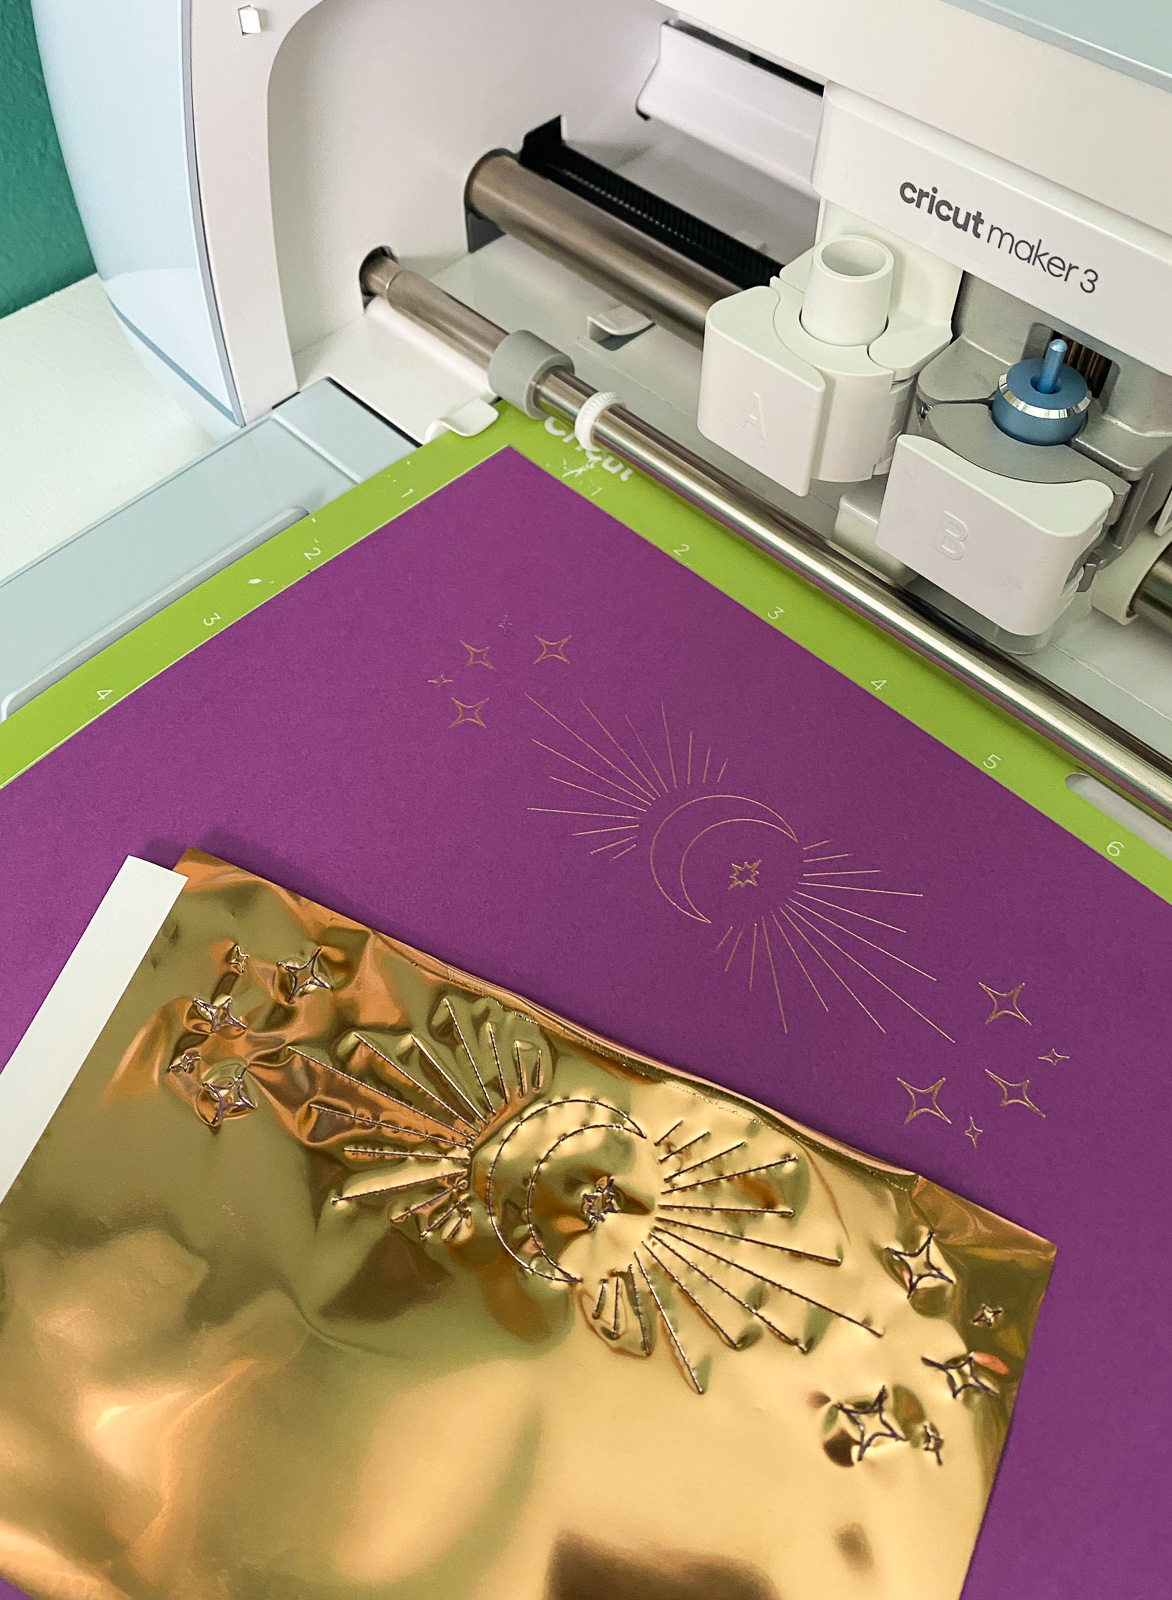
- Change the foil tool back to the fine-point blade.
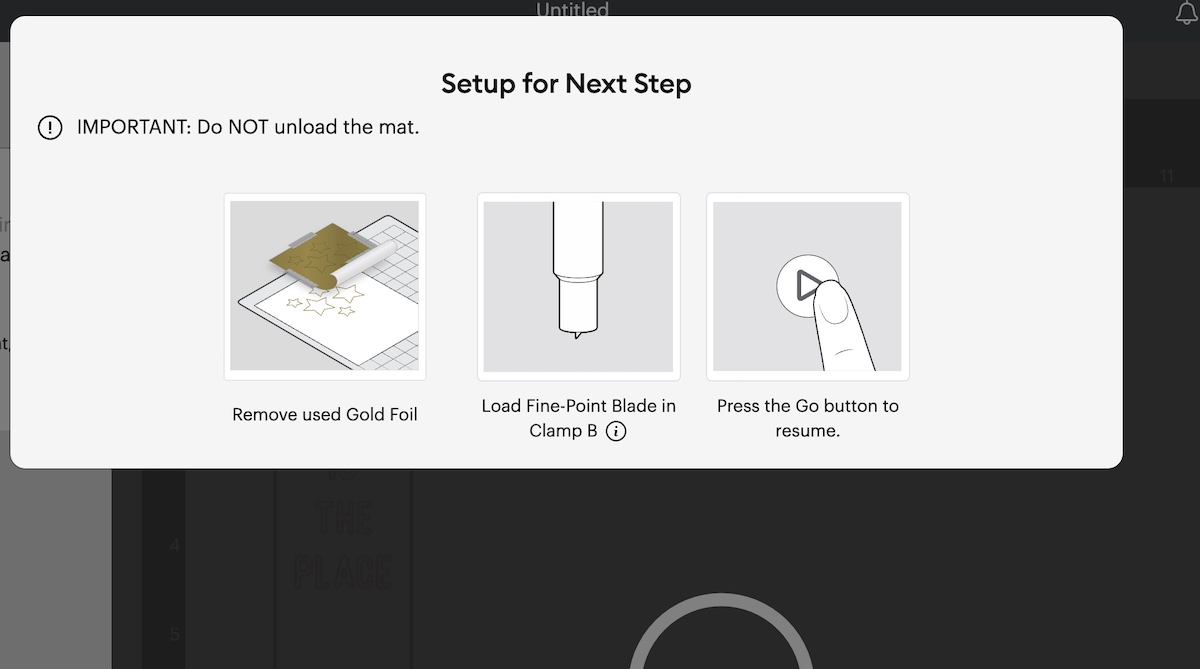
- Click the Cricut start button to cut the bookmark.

- When the machine is finished, be sure the bookmark is cut before unloading the mat.

- Peel away the mat from the paper to avoid curling it.
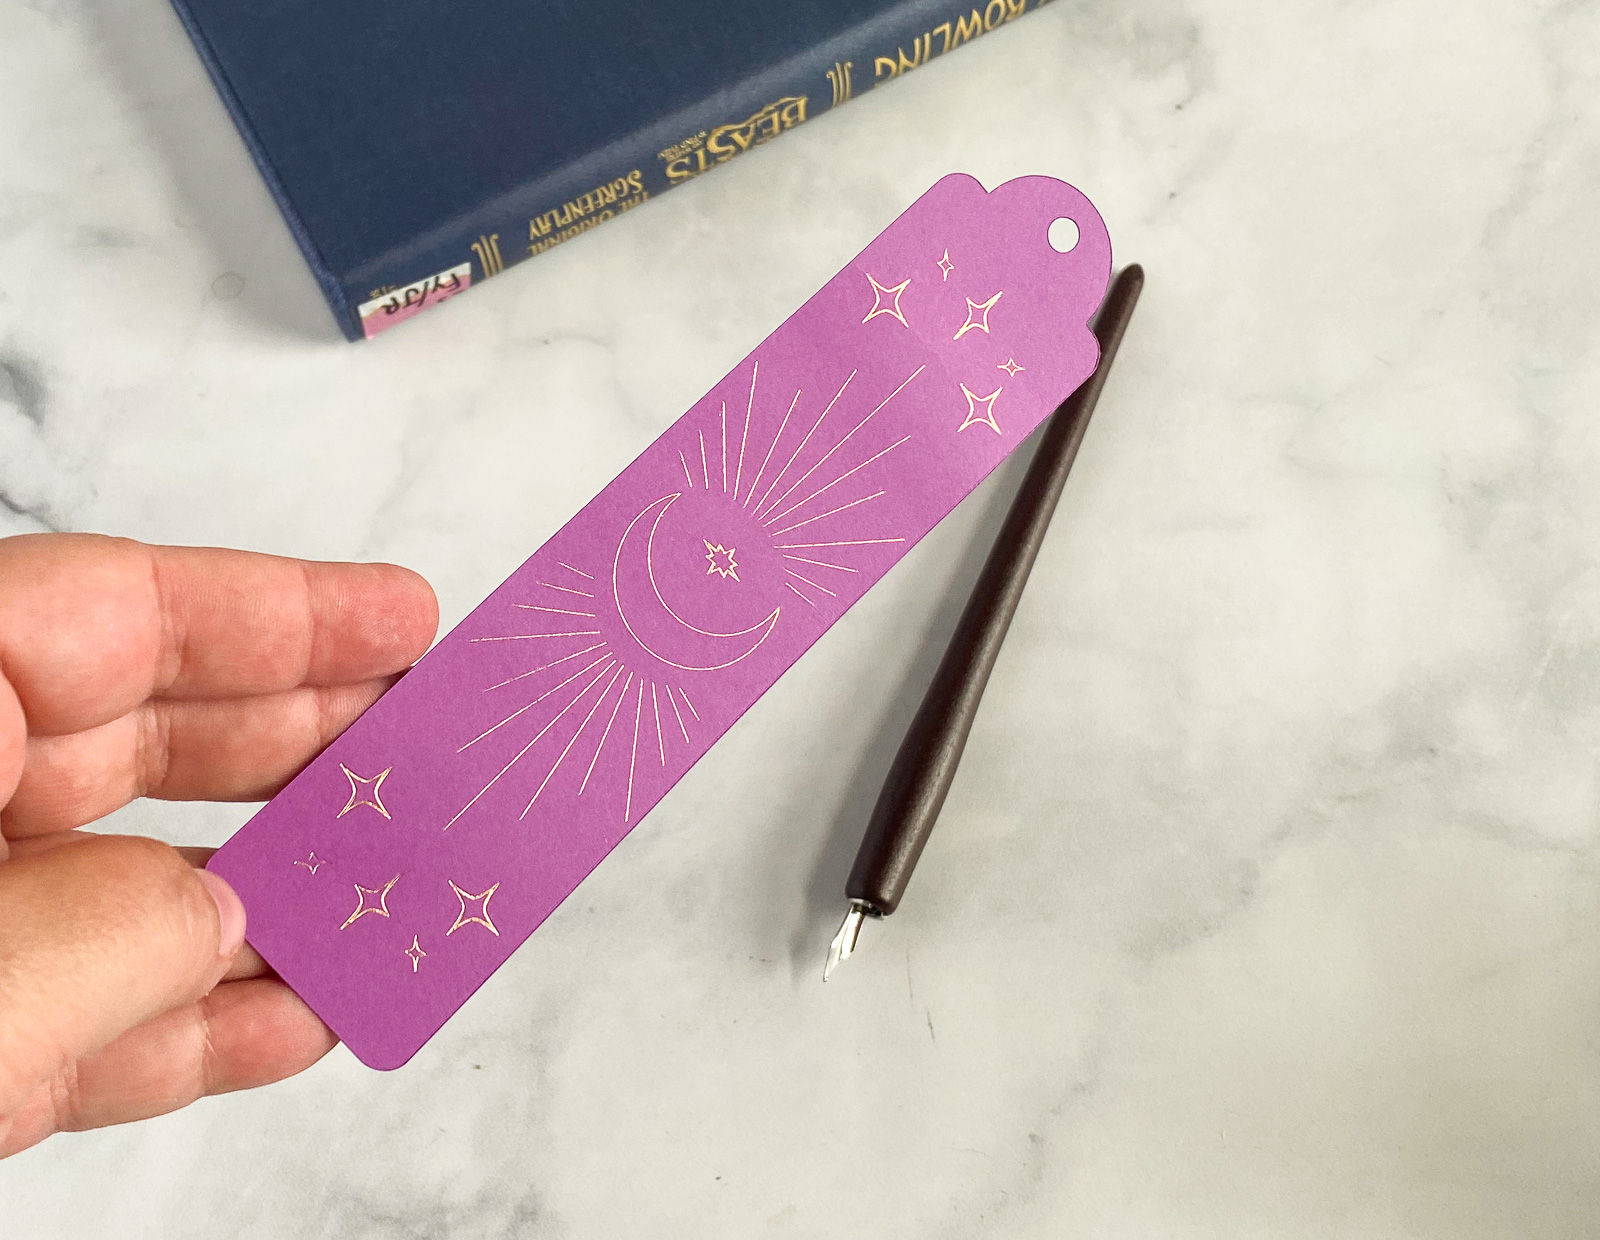
- Enjoy your bookmark! If desired, you can add a fun tassel.
By the way. if you forget to remove the foil and send it to cut, it’s not the end of the world. It just cuts the foil.

Get a Free Bookmark SVG and Moon Design
Free downloads are for personal use only. Please do not redistribute or sell.

Other Paper Crafts
Pin for Later!
