Easy Christmas Card with Smart Cardstock
Make an easy Christmas card with smart cardstock. Use this adhesive-backed cardstock to create a bold greeting card for Christmas.

This post contains affiliate links. By purchasing an item through an affiliate link, I earn a small commission at no extra cost to you. As an Amazon Associate I earn from qualifying purchases.
Cards are one of my favorite things to make with my Cricut. I absolutely love how this Christmas card turned out. It was so fun to design and so easy to make.
How to Make a Card with Cricut Smart Cardstock
Supplies Needed:
- Card (or cardstock to make your own)
- Cricut Smart Cardstock (Pastel and Brights)
- Cricut Maker 3
- SVG (at the bottom of this post)
Thoughts about Using Cricut Smart Cardstock
The Cricut Smart Cardstock is designed to be used without a mat on the Cricut Maker 3. The sheets have an adhesive backing that makes crafting very fast and convenient.
It’s nice not to need a mat, but honestly, it’s not that hard to just use a mat. I do love the adhesive backing, though.
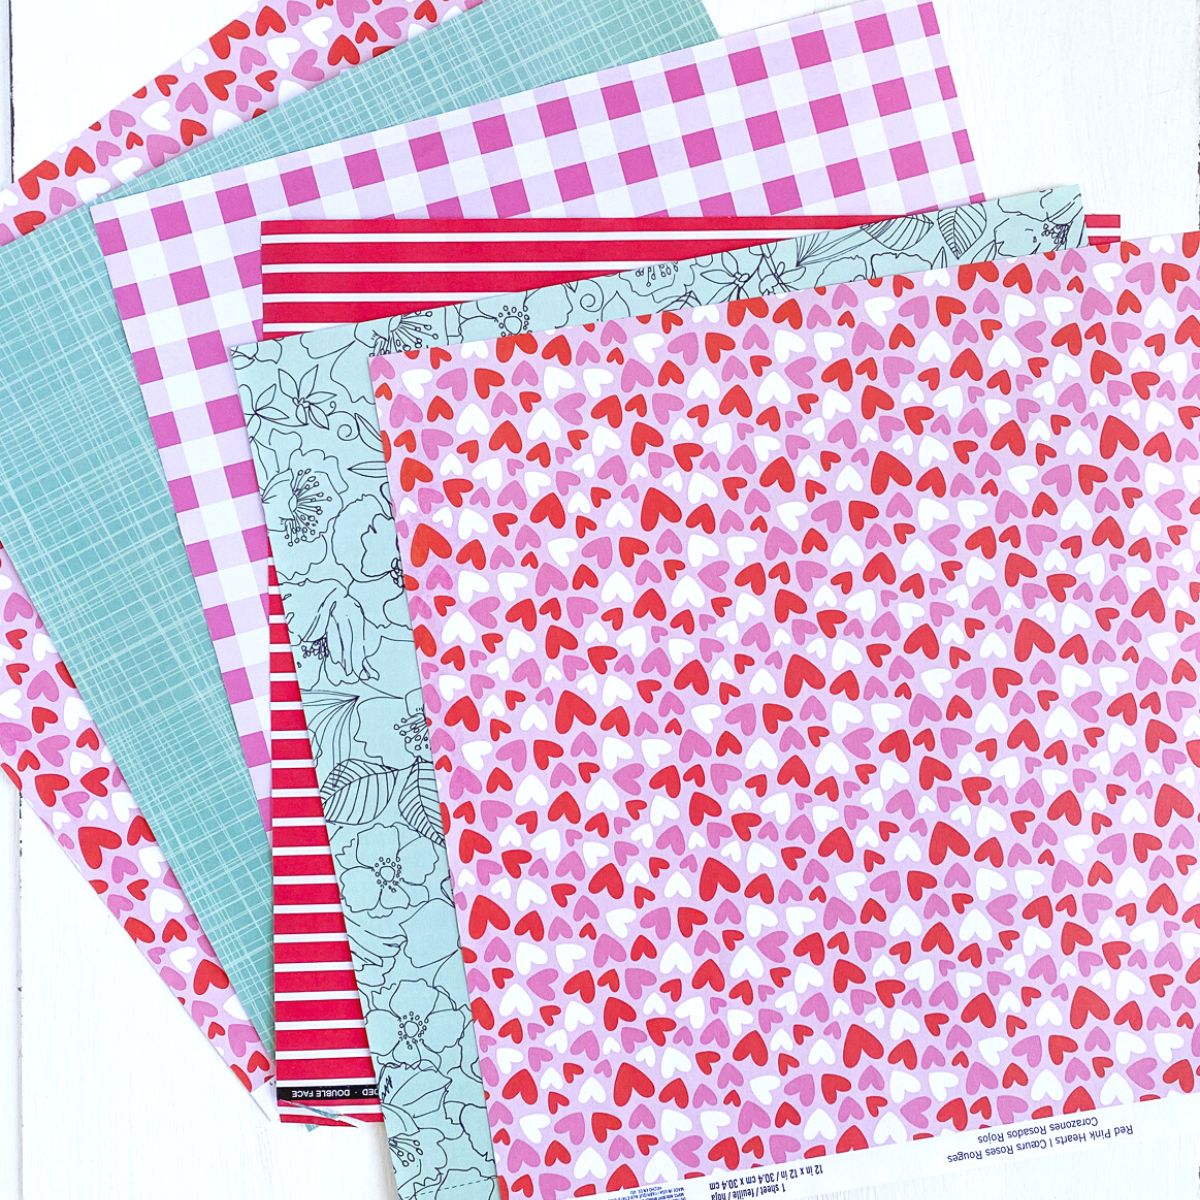
At the time of writing, the colors are pretty limited. I had to combine the pastel pack with the bright pack to get the look I liked. The pastel green is very pretty in person (it’s the teal color at the bottom.)

This paper is pretty expensive, so wait for a sale to buy it.
Directions
- Upload the design as usual.
- Resize if needed. This card was made to fit a 4.25″ x 5.5″ (R-20 or A2) size.
- I made my own card using white cardstock, but you can buy card blanks and use those instead.
- When your design is ready, choose “without mat” from the options.
- Select smart cardstock from the materials list.
- Load the cardstock, just like you would load a mat.

- Cut as usual.
- Press unload when the cut is finished. You will be able to see the cut in the paper. (It didn’t do anything on my first attempt, so I just cut the paper again.)
- Repeat for every color.

- Weed as usual.
- Peel the backing from the squares and apply it to the card.

- Then, apply the letters to the center of each square.

- Enjoy your card. No need to wait for glue to dry!

Notes About Making This Card
- If you don’t own a Cricut Maker 3, it’s still possible to use Cricut Smart Cardstock. Place it on the mat and cut as usual.
- You can also make this card with regular cardstock. Use glue to affix the design to the card.

Download this Cut File
Free downloads are for personal use only. Please do not redistribute or sell.

Other Christmas Projects
Pin for Later!