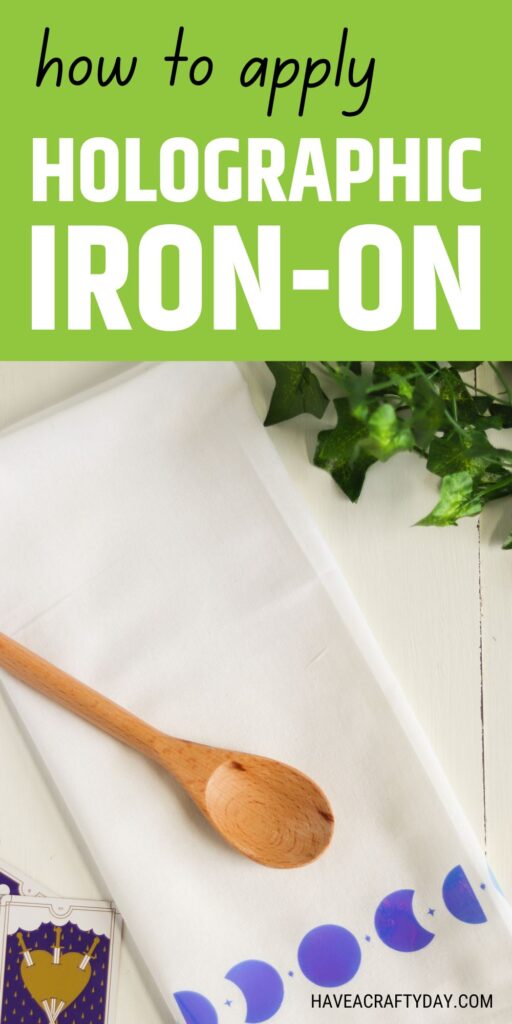
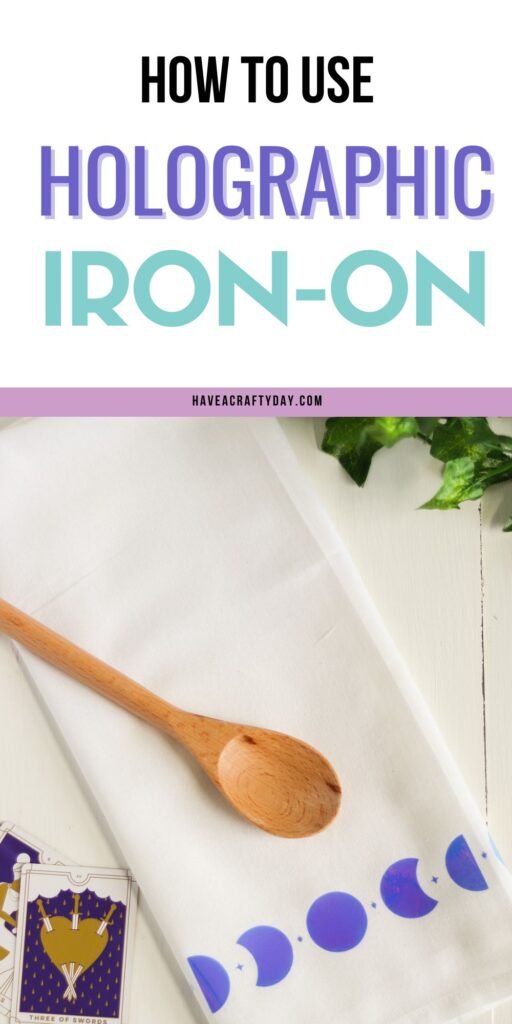
How to Use Holographic Iron-On Vinyl
Learn how to use holographic iron-on vinyl to make a moon-phase tea towel. Get easy tips for adding this reflective surface to your craft projects.
If you’re new to Cricut, you might want to read this detailed post on using iron-on vinyl first.
This post contains affiliate links. By purchasing an item through an affiliate link, I earn a small commission at no extra cost to you. As an Amazon Associate I earn from qualifying purchases.
All About Holographic Iron-on Vinyl
Holographic iron-on vinyl is really fun to work with. It adds a fun, shiny effect to your projects.
What is Holographic Iron-on Vinyl?
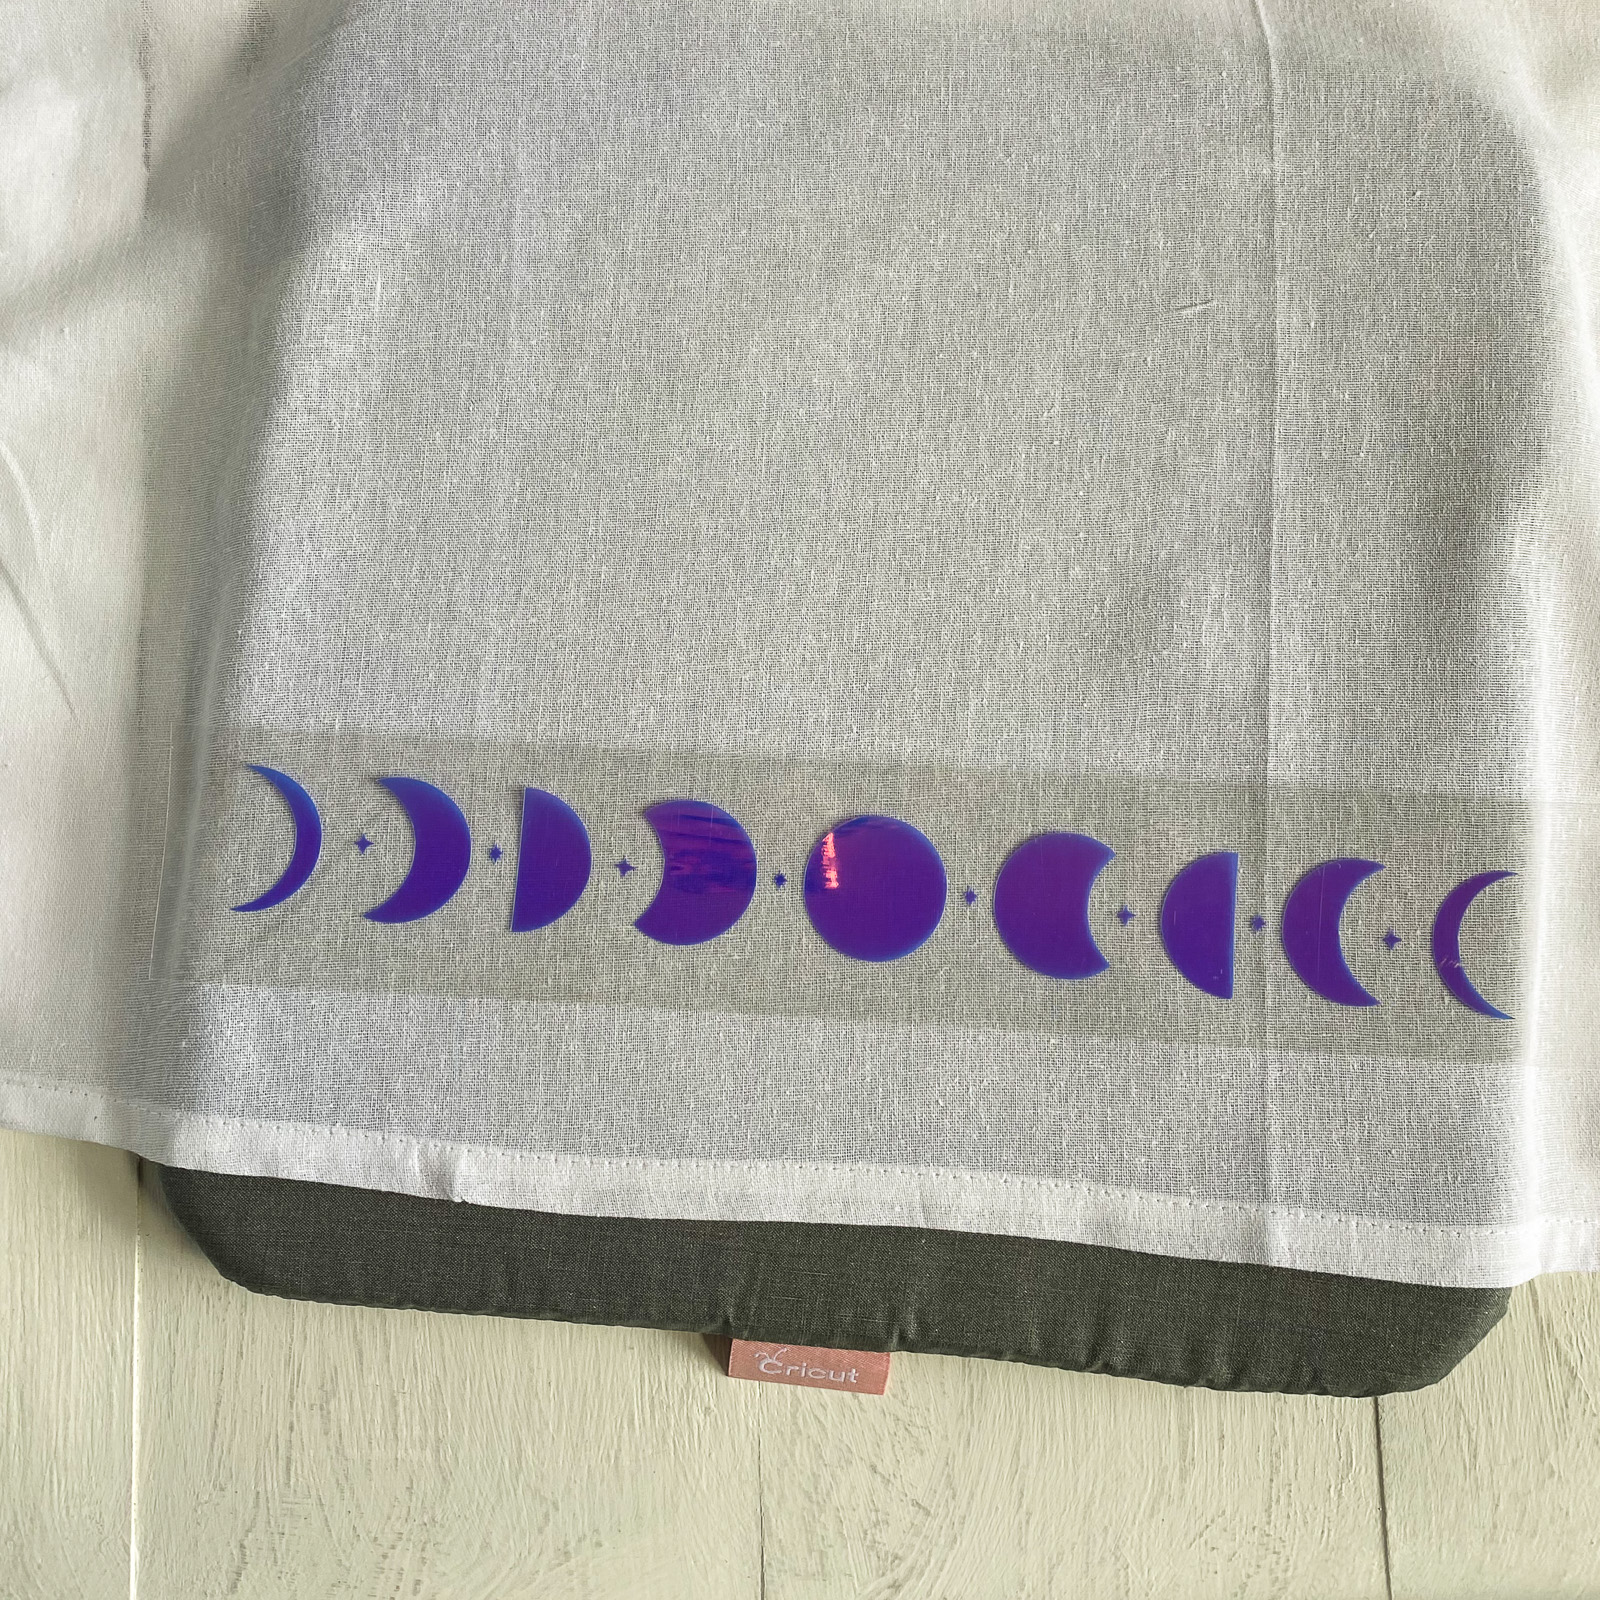
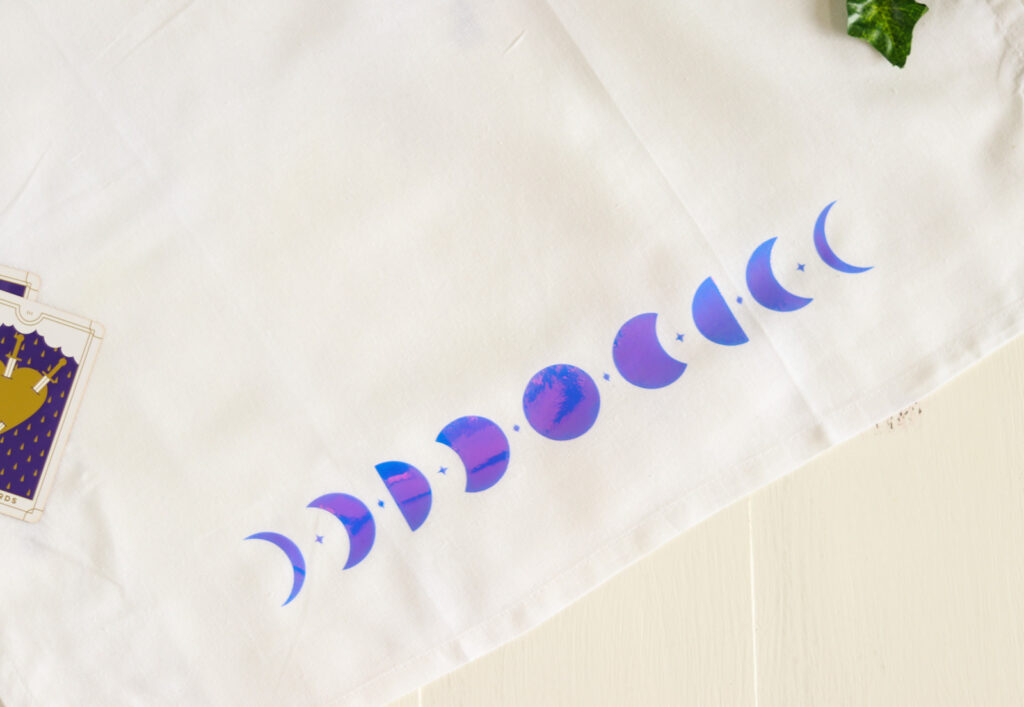
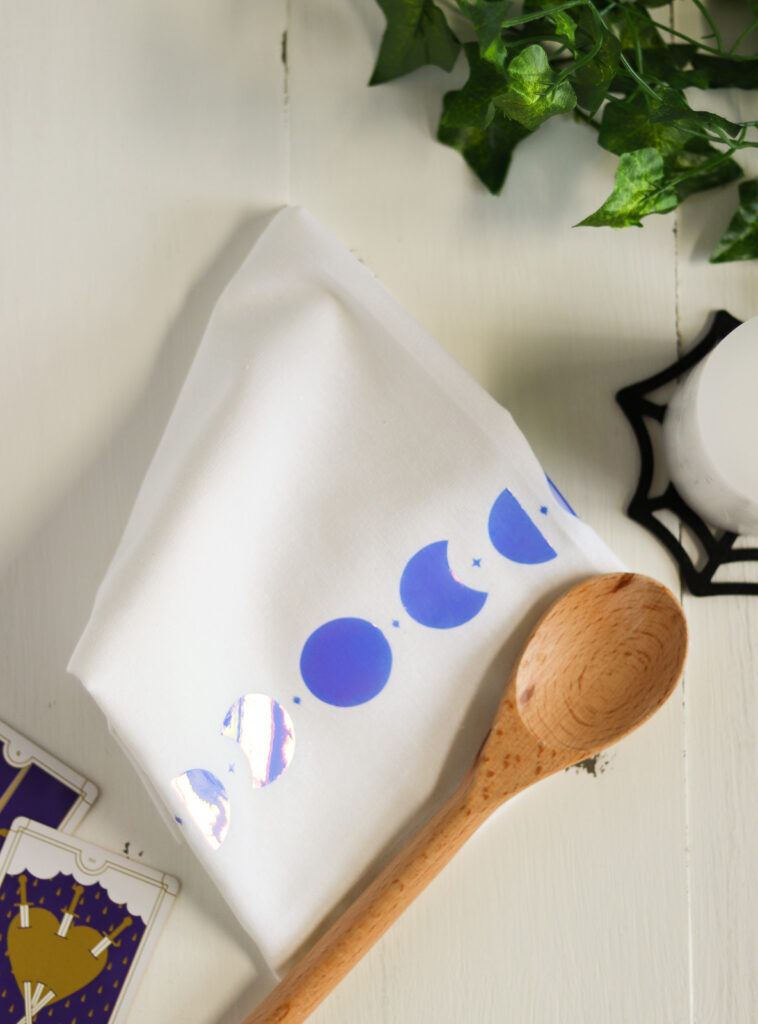
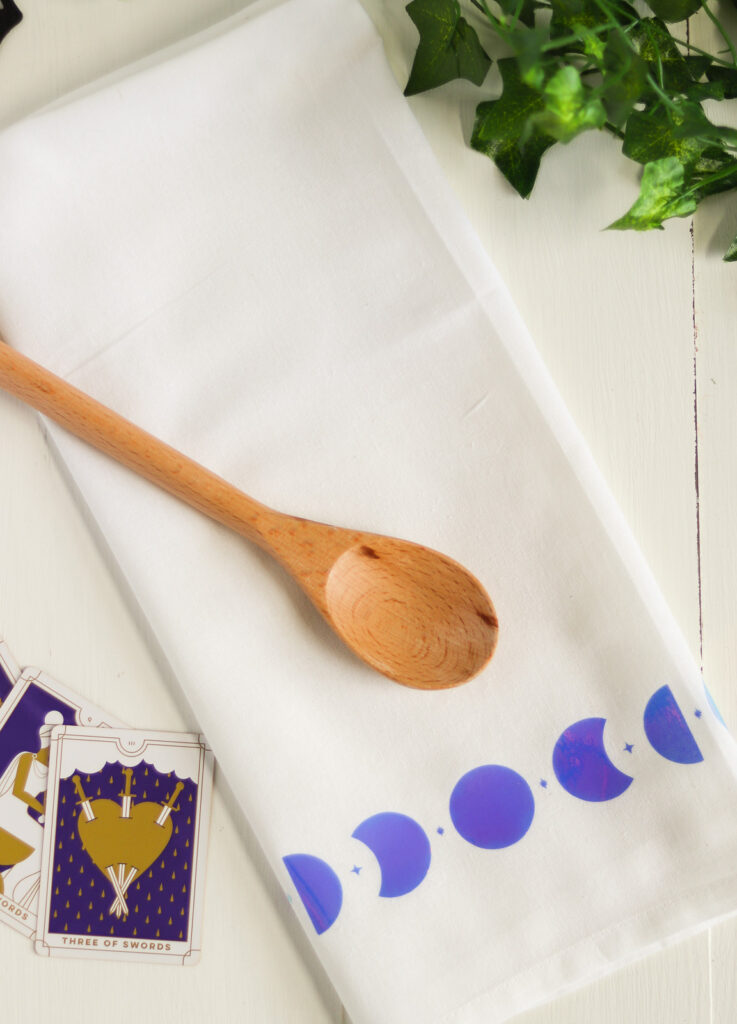
Holographic iron-on vinyl is a shiny vinyl that changes color depending on the angle you look at it. It might look pink from one angle and blue from another angle.
The one I used changes from blue to purple.
It’s available in many colors and textures/prints. Many other brands make it as well.
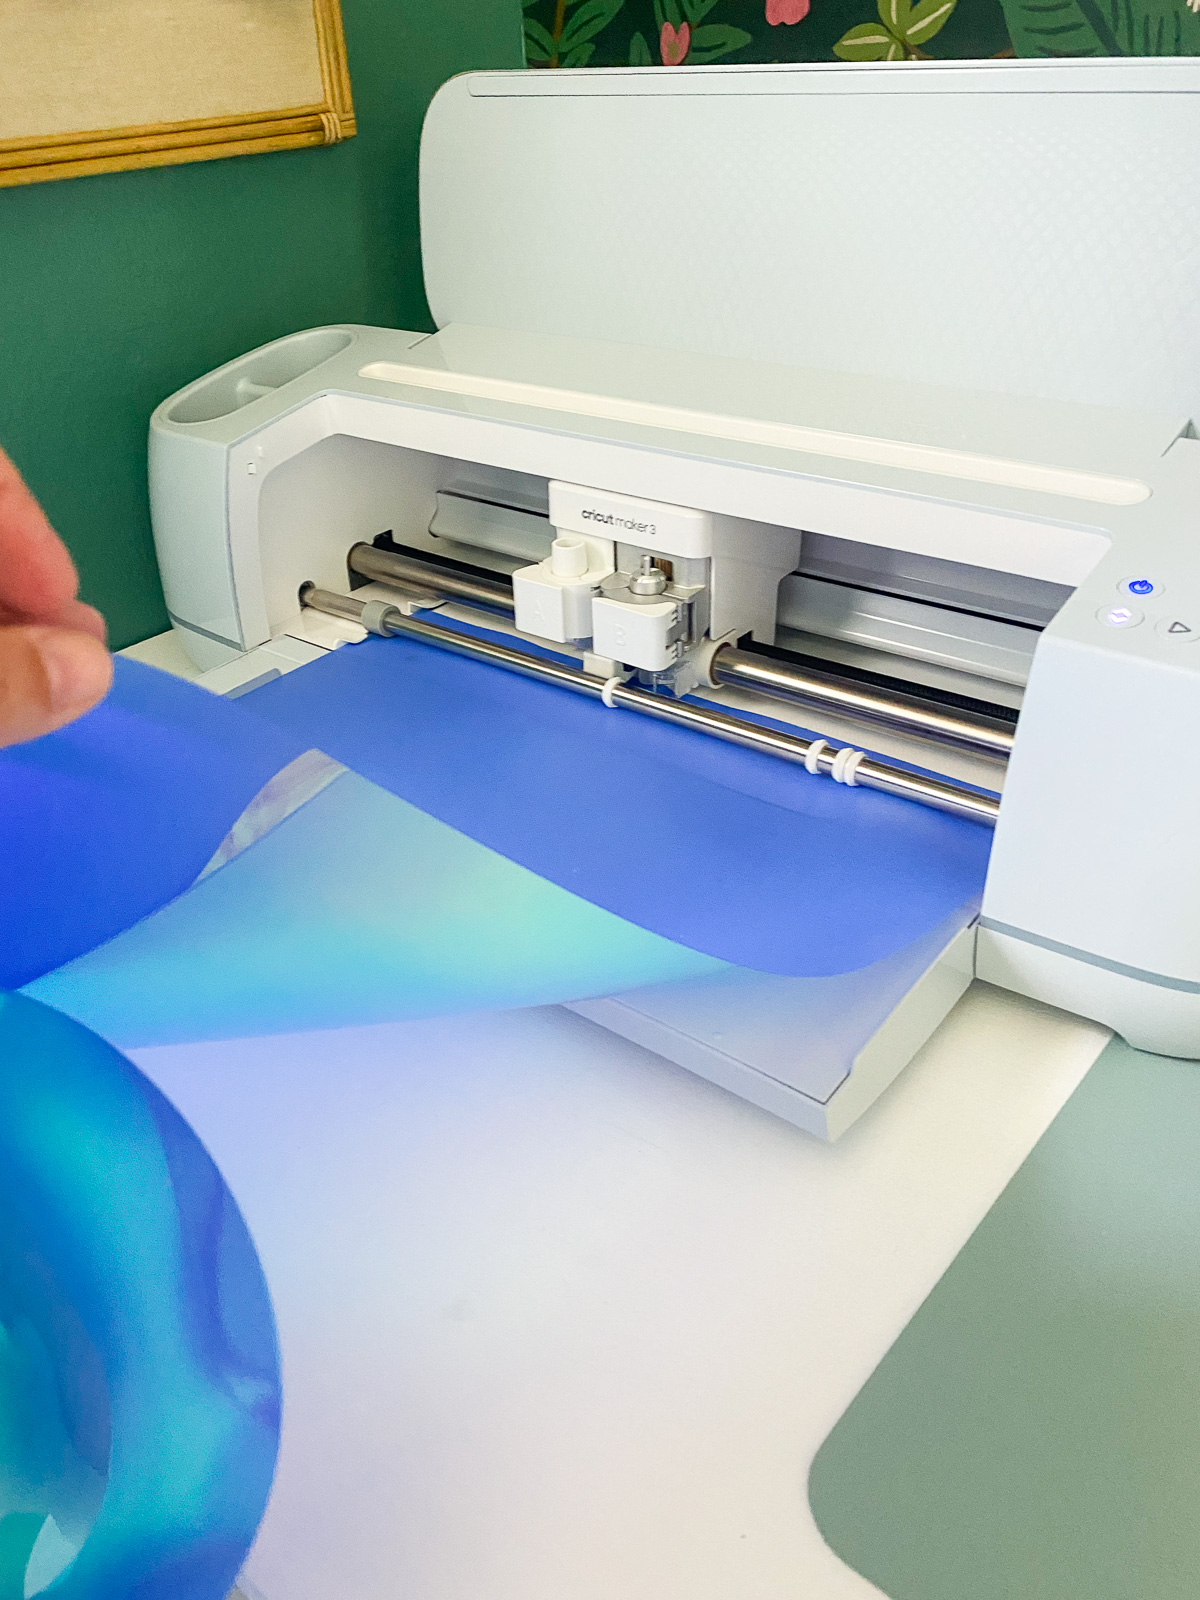
I used the Cricut smart iron-on vinyl for this project. Smart iron-on is slightly wider than normal iron-on and can be cut without a mat using compatible machines.
I used my Cricut Maker 3 for this project, but it can also be used with a Cricut Explore 3 or with a mat.
This iron-on vinyl has a very thick backing layer, but when it’s applied, it’s only a tiny bit thicker than a normal iron-on.
Do You Mirror Holographic Iron-on?
Like all iron-on vinyl, you will need to mirror holographic iron-on. Cricut will remind you when you select the material.
Does Holographic Iron-on Go Shiny Side Down?
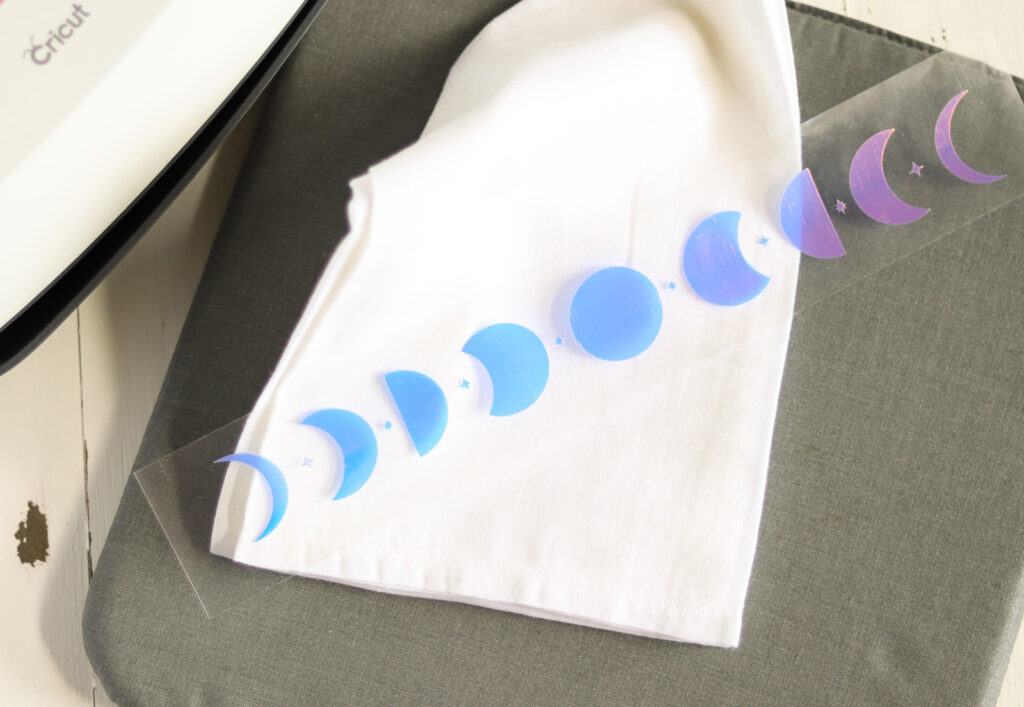
When cutting the holographic iron-on, place it shiny side down.
When applying it to a surface, place it shiny side up.
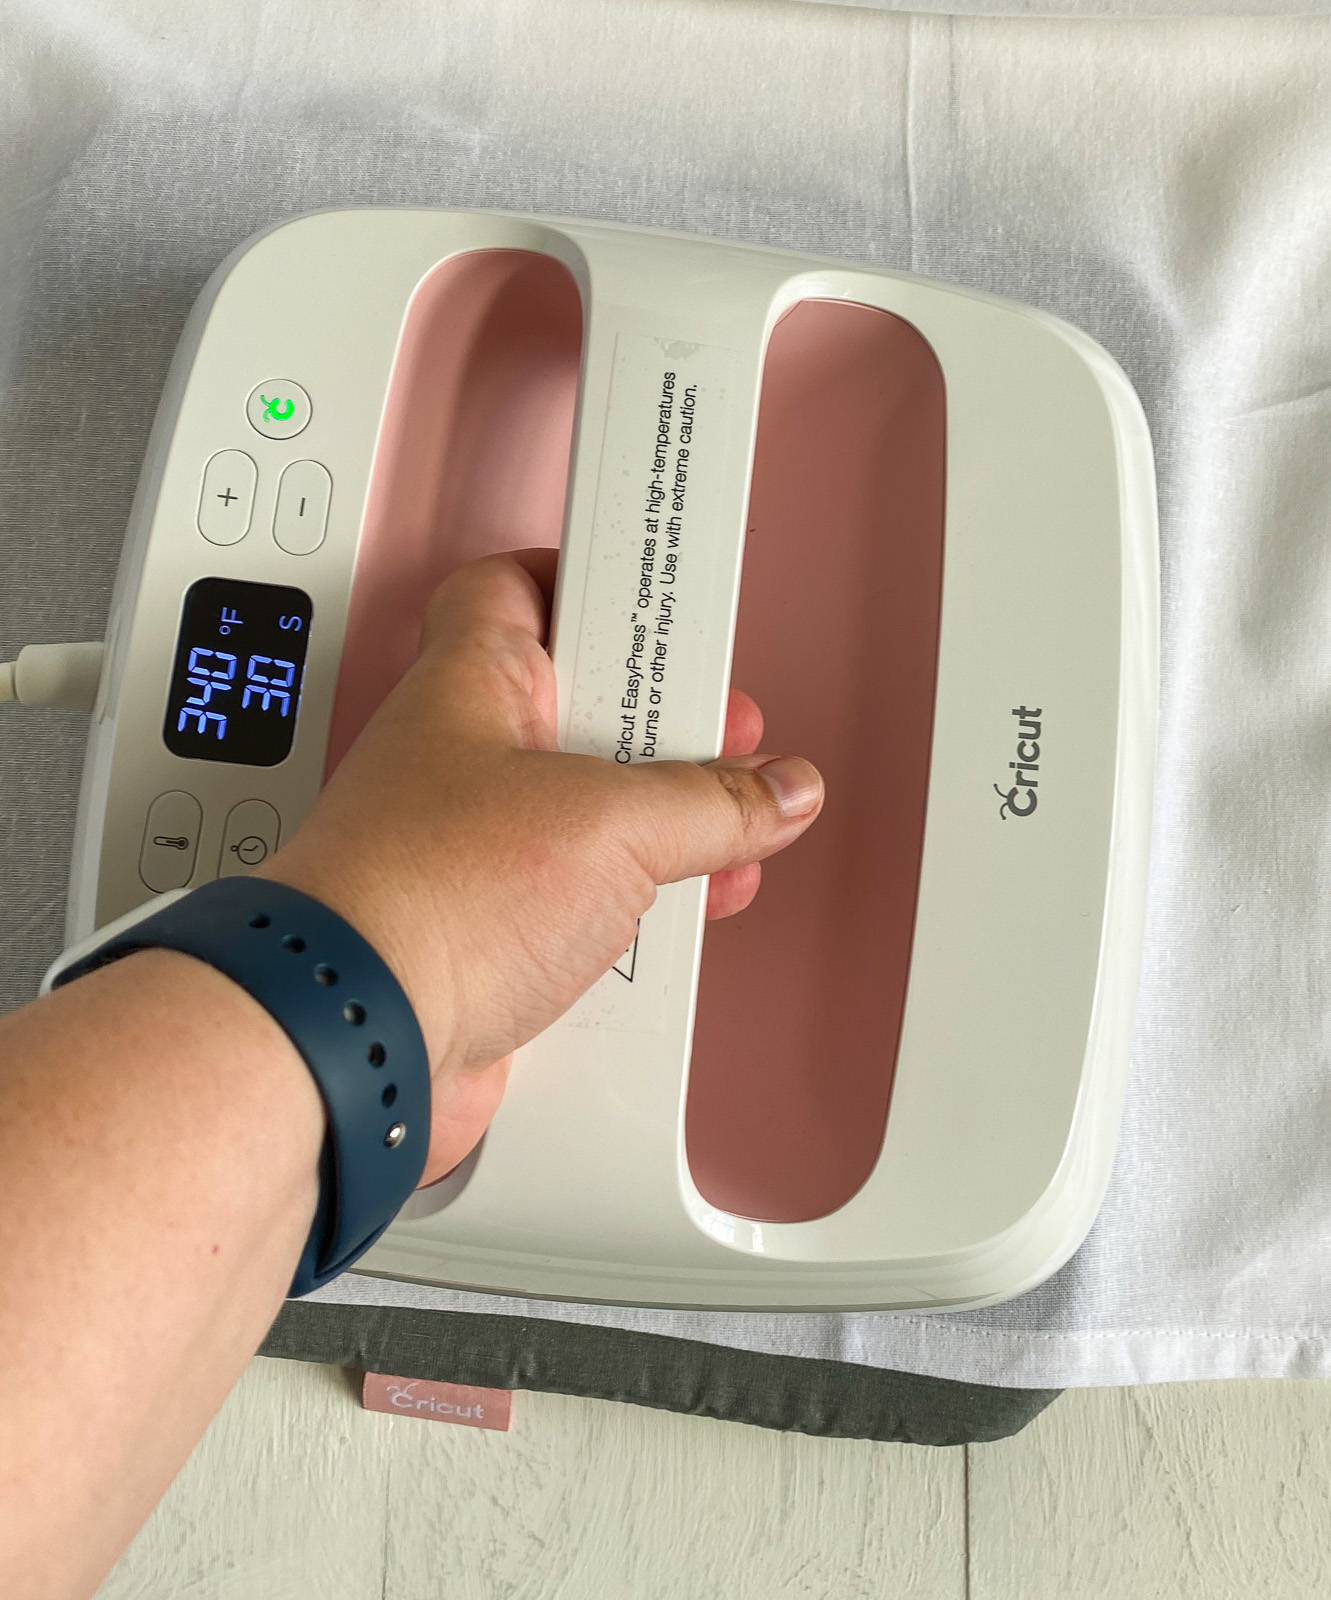
What Temperature Do You Use for Holographic Iron-On?
I used my Cricut EasyPress to apply the iron-on and I set it to 330ºF for 30 seconds.
Temperature and time may vary depending on what material you’re applying the iron-on to.
If you’re new to EasyPress, learn how to use it.
Can You Layer Holographic Vinyl?
No, you cannot layer holographic vinyl.
How Do You Wash Holographic Iron-on?
After applying holographic vinyl to the surface wait at least 24 hours before washing it.
Wash and dry tumble inside out. Don’t use bleach. Iron from the back if needed.
How to Use Holographic Iron-on Vinyl
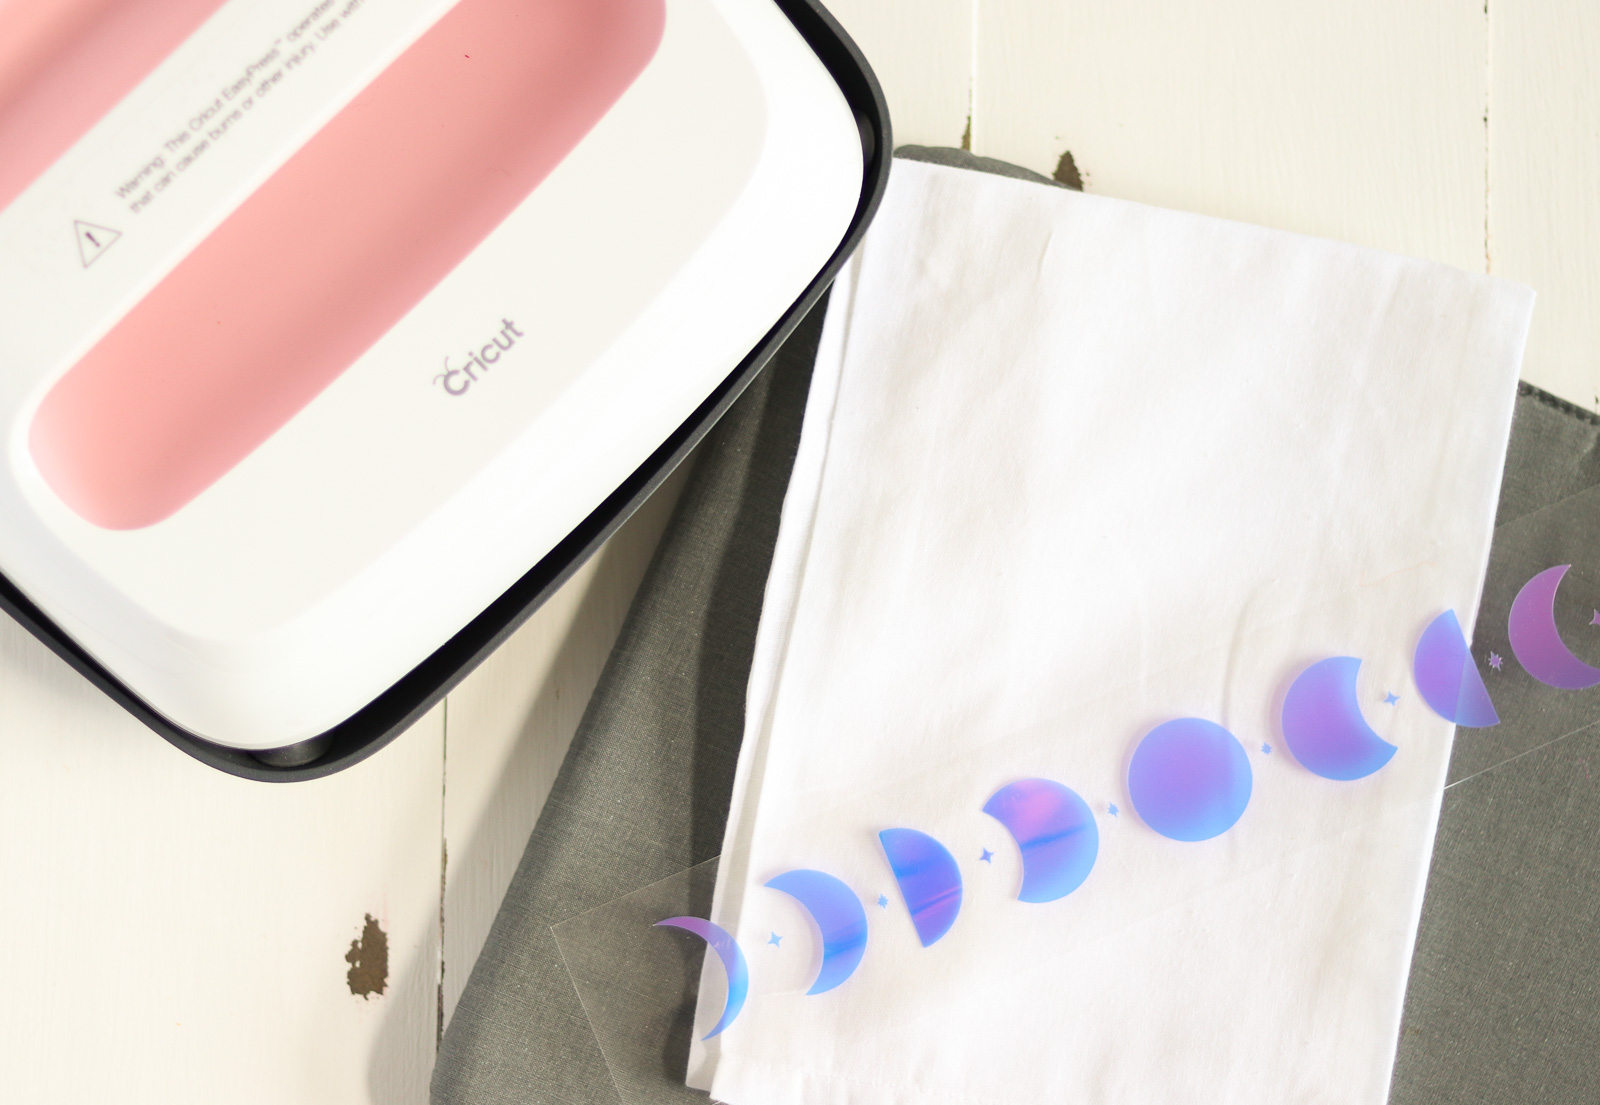
Supplies Needed:
- Cricut (I used my Cricut Maker 3)
- Holographic Vinyl ( I used Smart Vinyl in Holographic Blue)
- Weeding Tools
- EasyPress or Iron
- EasyPress Mat
- Surface for design (I used a tea towel)
- SVG (The moon design is linked to at the bottom of this post.)
Directions for Cutting the Design
If this is your first time using holographic iron-on (especially the Smart variety), choose a simple design. Since it’s a little thicker than normal iron-on vinyl, weeding may be an issue for complicated designs.
- Add your design to Cricut Design Space as usual.
- Attach the layers to ensure that it cuts in the correct layout.
- Click Make It when it’s ready.
- Click the box to mirror it.
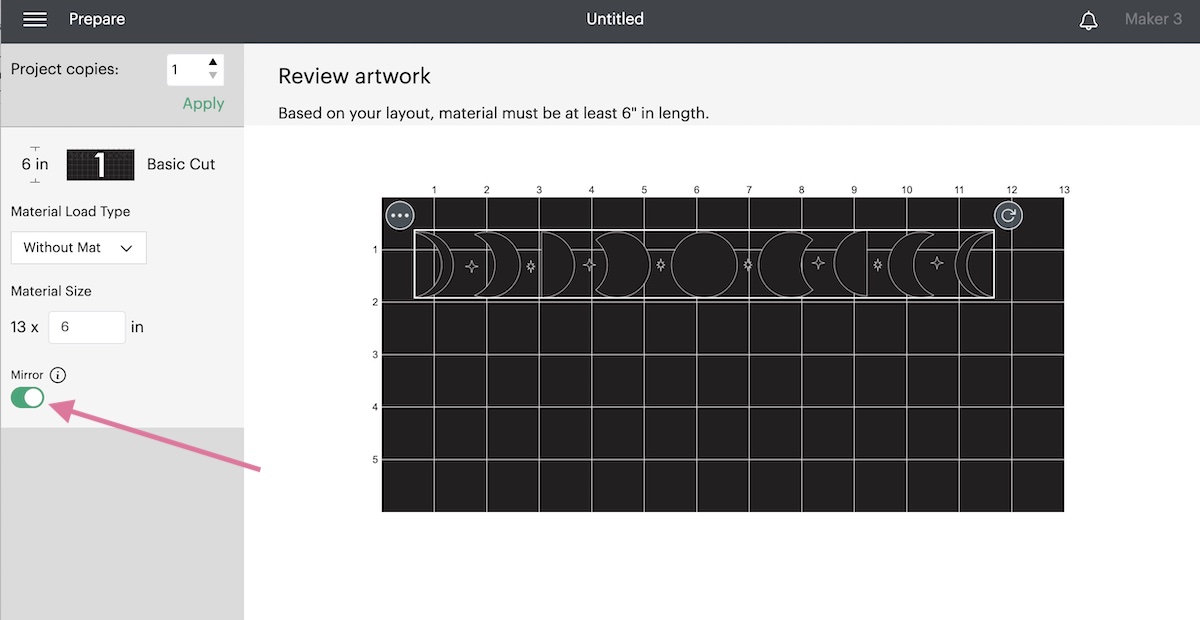
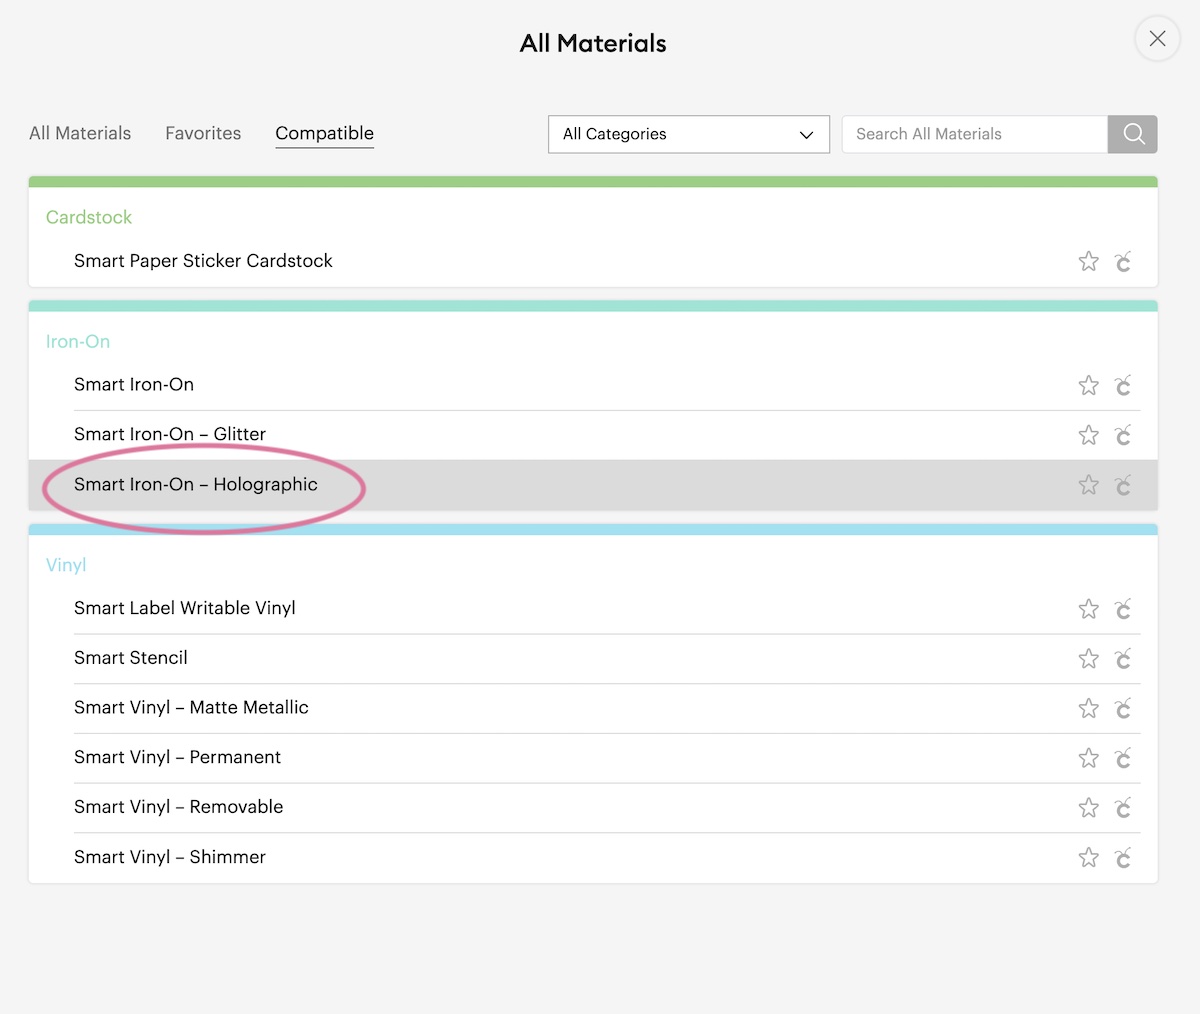
- Select your material. I chose Smart Iron-on, Holographic.
- Load the iron-on (or mat if used) and click go to start cutting. The shiny side should be face down.
- When it’s finished cutting, unload the mat.
- Use a paper cutter to cut the design from the roll of vinyl.
- Weed the design, as usual, being careful around the small stars.
Applying the Holographic Iron-On
- Turn on the EasyPress and set it to 330ºF.
- When it’s ready, place the towel on the mat and press it for about 5 seconds to remove any wrinkles.
- Place the weeded design face down, liner side up onto the tea towel.
- Apply the EasyPress for 30 seconds, pressing firmly.
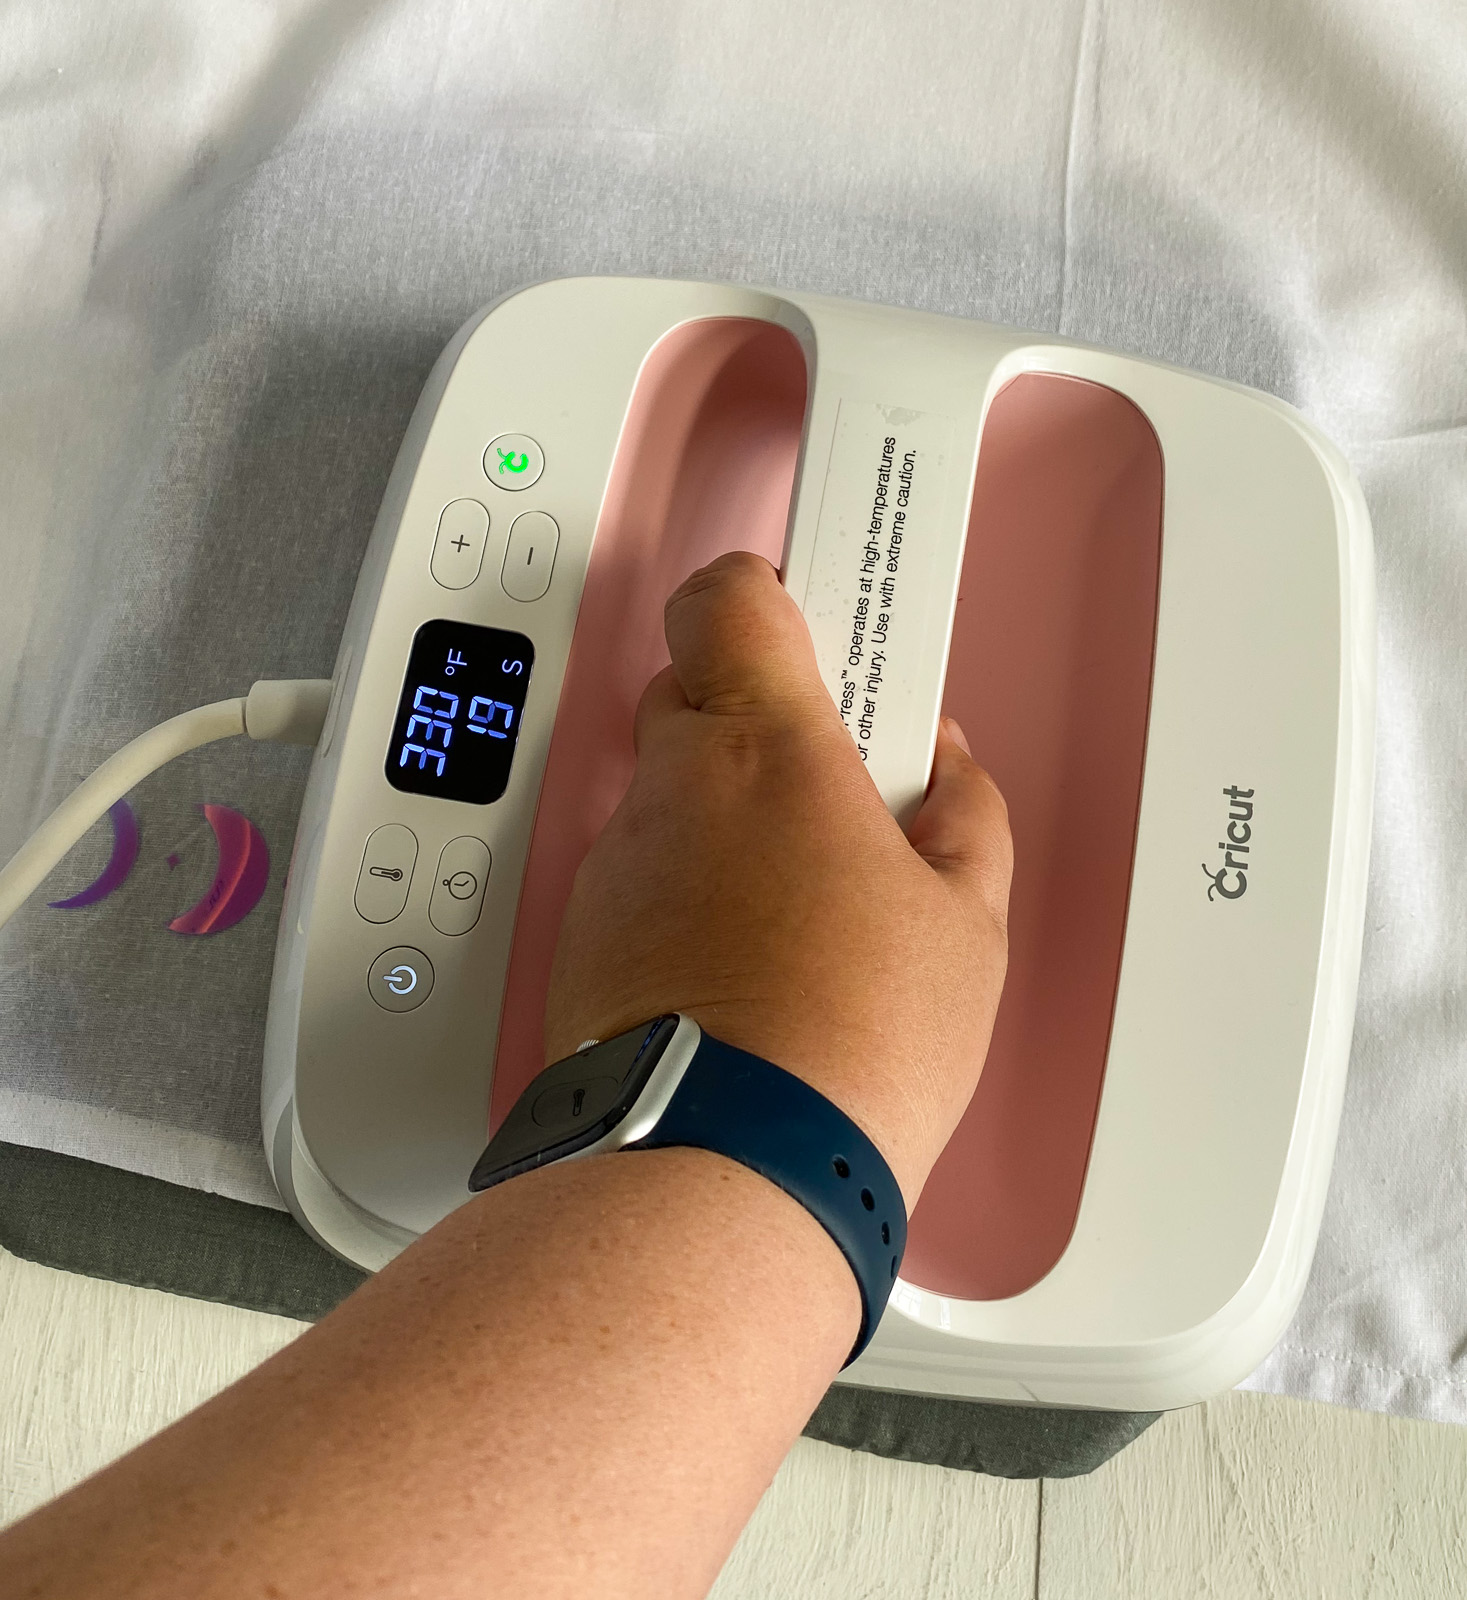
- Flip the towel over and press it again for another 15 seconds.
- Let the liner cool before removing it.
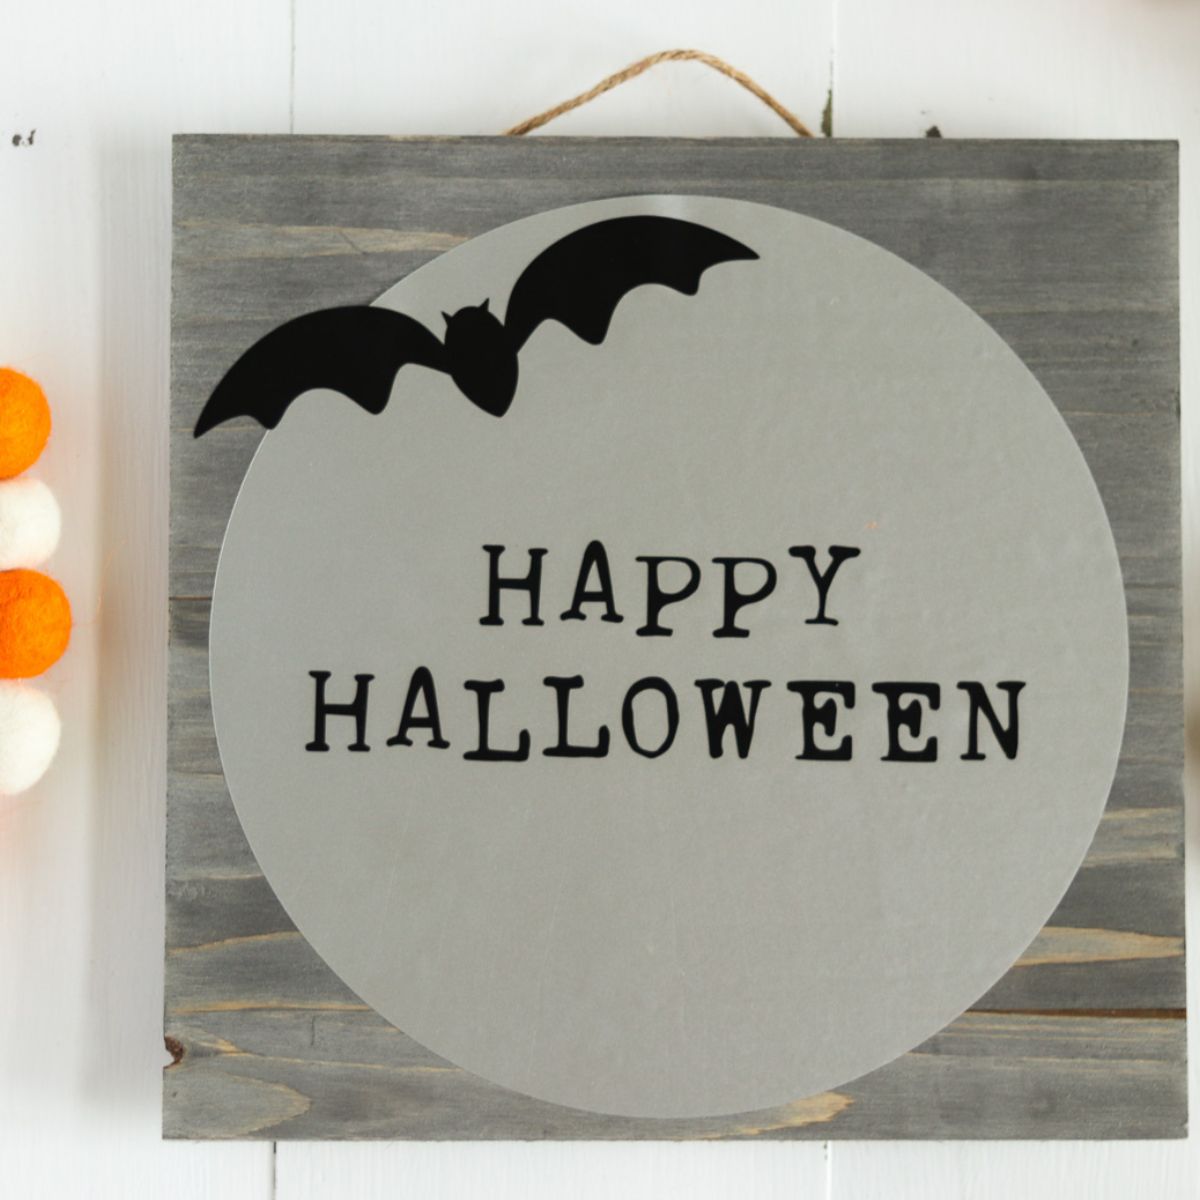
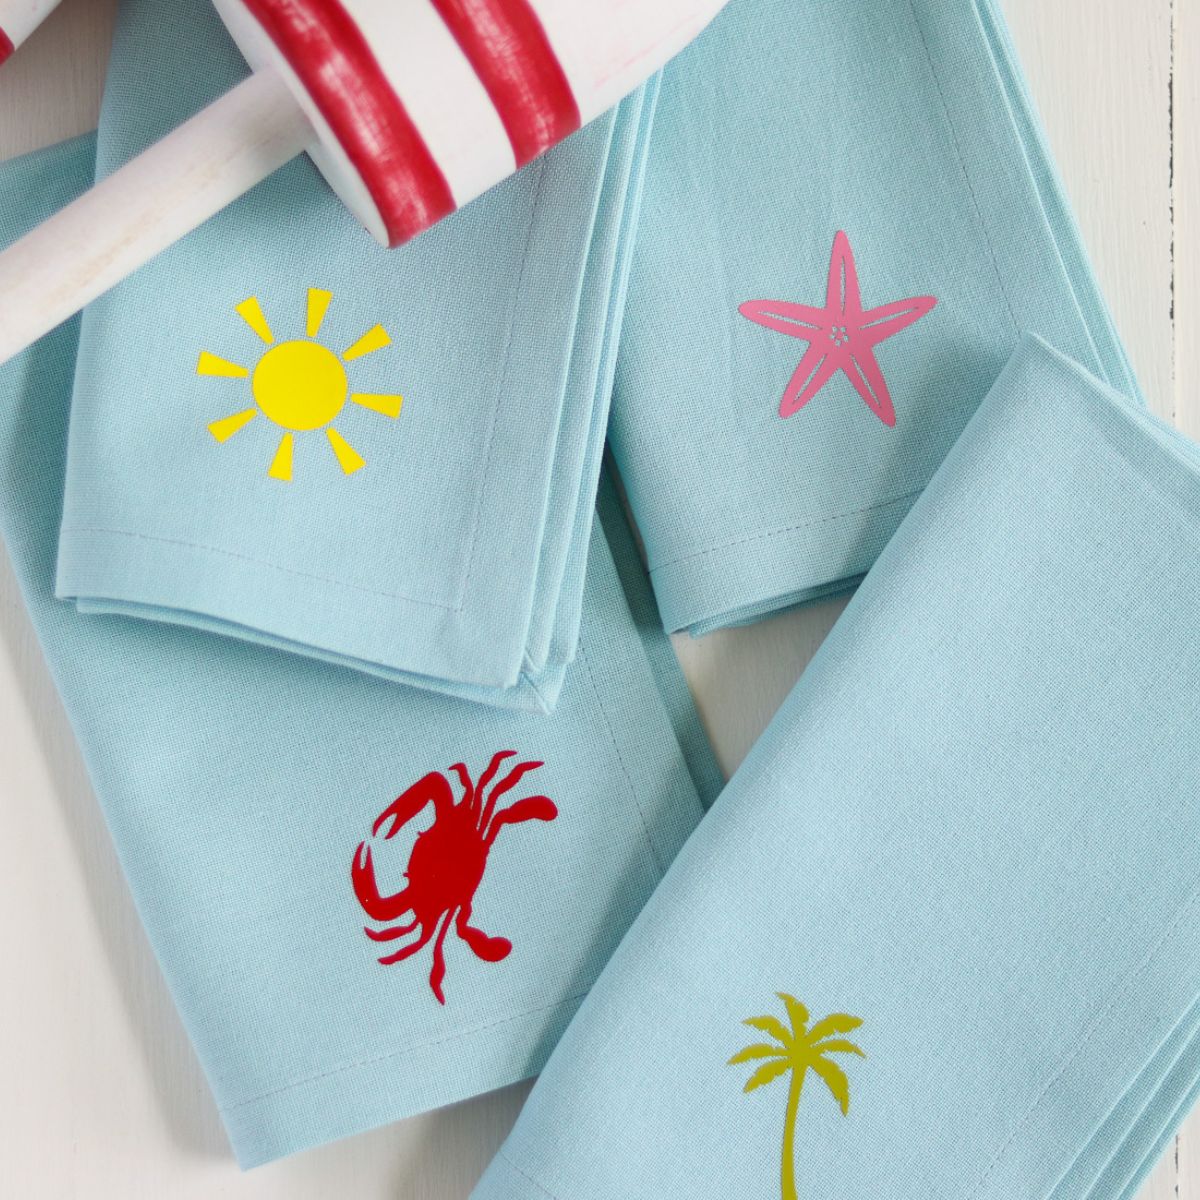
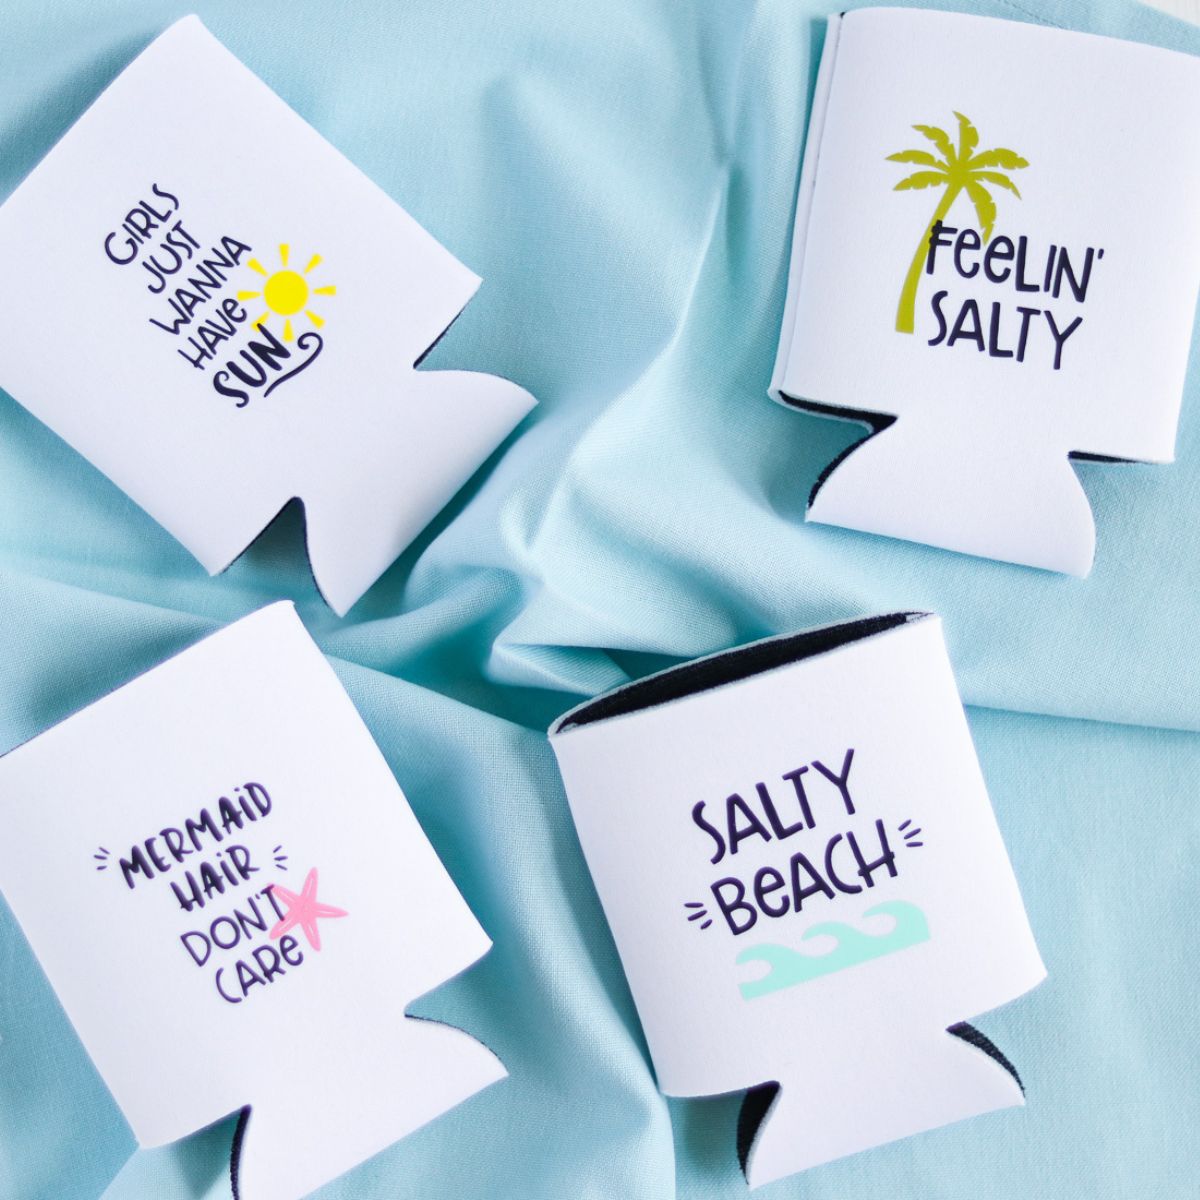
Other Iron-On Vinyl Projects
Be sure to check out these celestial ornaments.
Download the Moon Phase SVG
Free downloads are for personal use only. Please do not redistribute or sell.
Pin for Later!


I am about to do my first HTV project, I chose holographic not realising I had no idea what I was doing. I have searched the internet looking for instructions. I read this article plus your other HTV one and I now understand what to do. I have not found another article written on how to use holographic HTV. I didnt realise the plastic sheet is what you iron on. Thanks