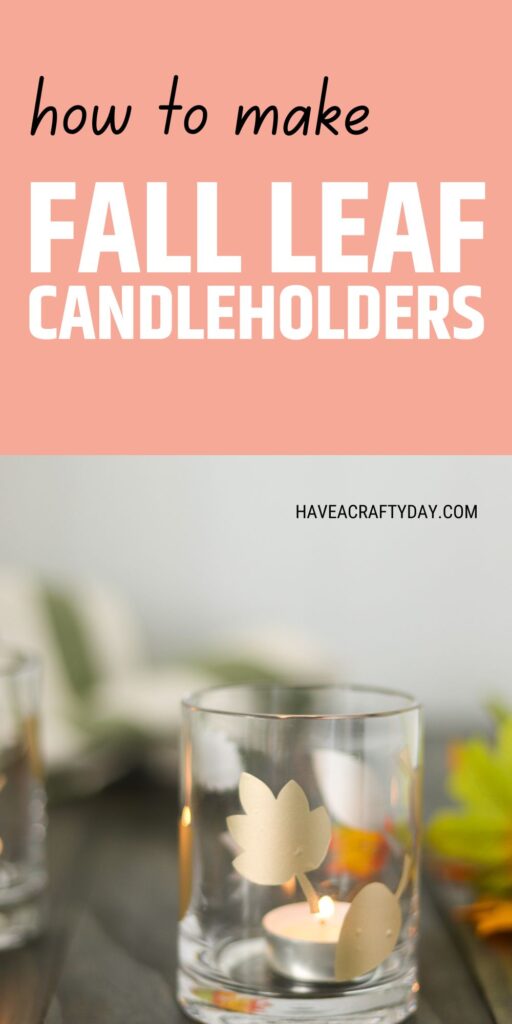
DIY Fall Leaf Candleholder
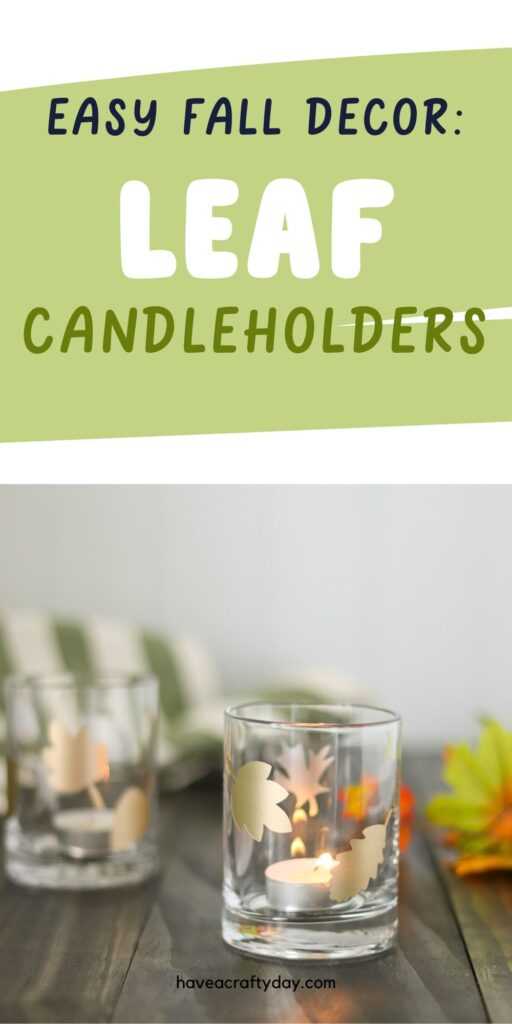
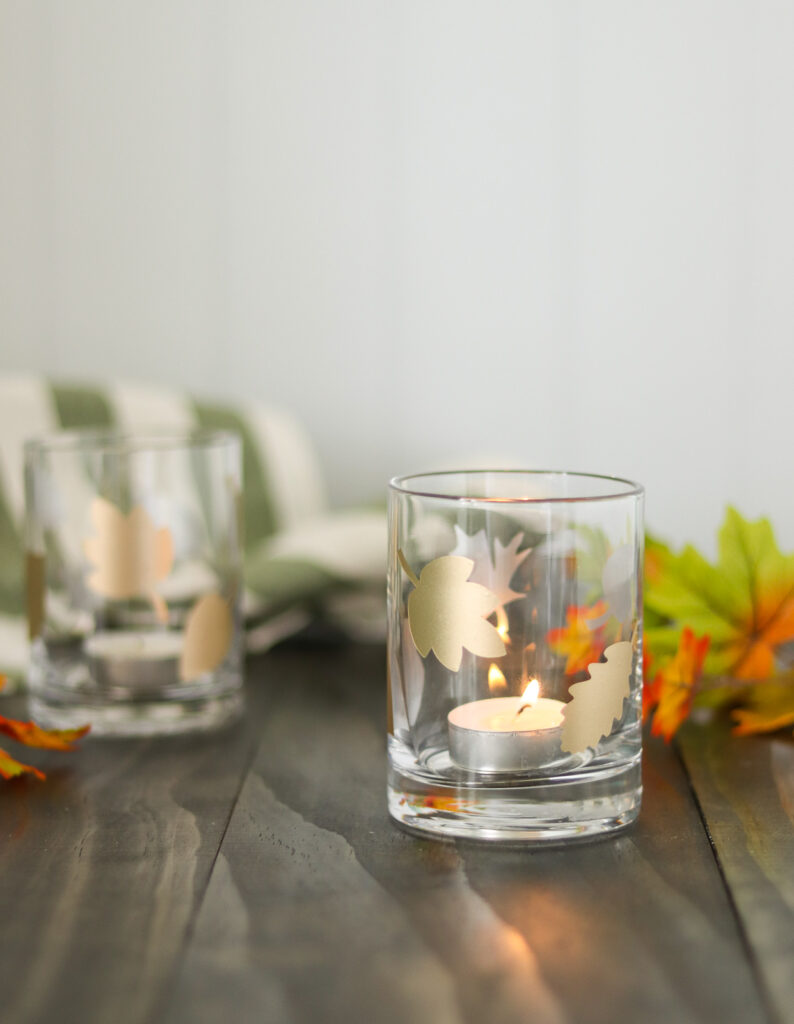
Learn how to make these easy DIY Fall leaf candleholders. Decorate for fall with this easy craft project.
This post contains affiliate links. By purchasing an item through an affiliate link, I earn a small commission at no extra cost to you. As an Amazon Associate I earn from qualifying purchases.
I’m craving that cozy Fall feeling, but I live in Florida where it’s still 90º. The easiest way to get that feeling is to light a candle and cozy up with a book and a cup of tea.
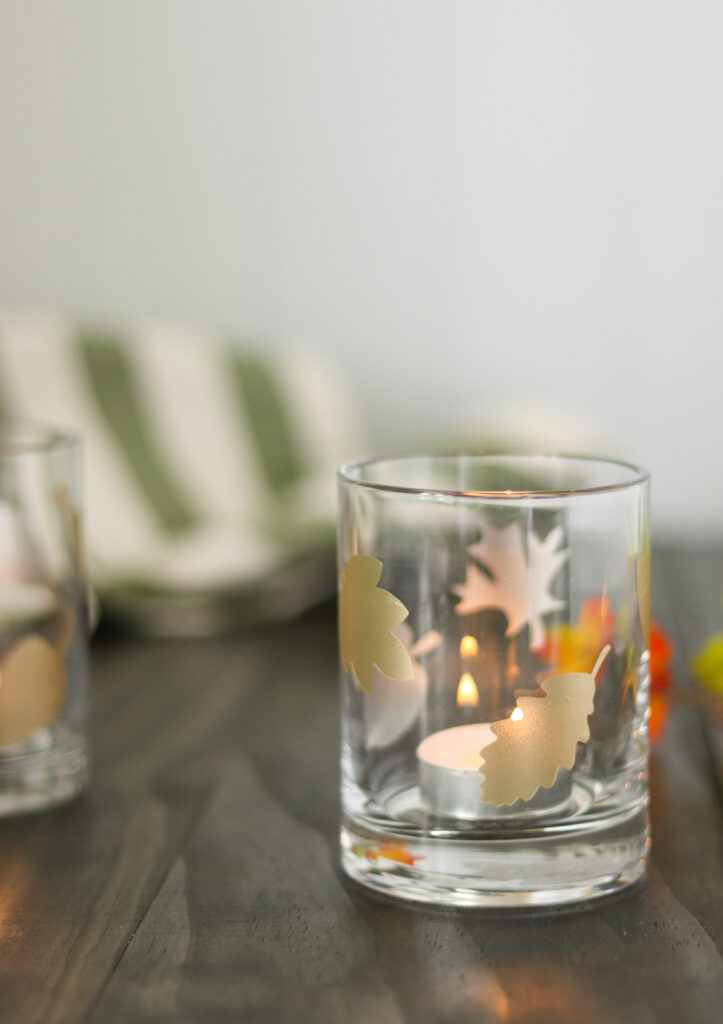
So I made these cute fall leaf candleholders to pretend that it’s even cozier.
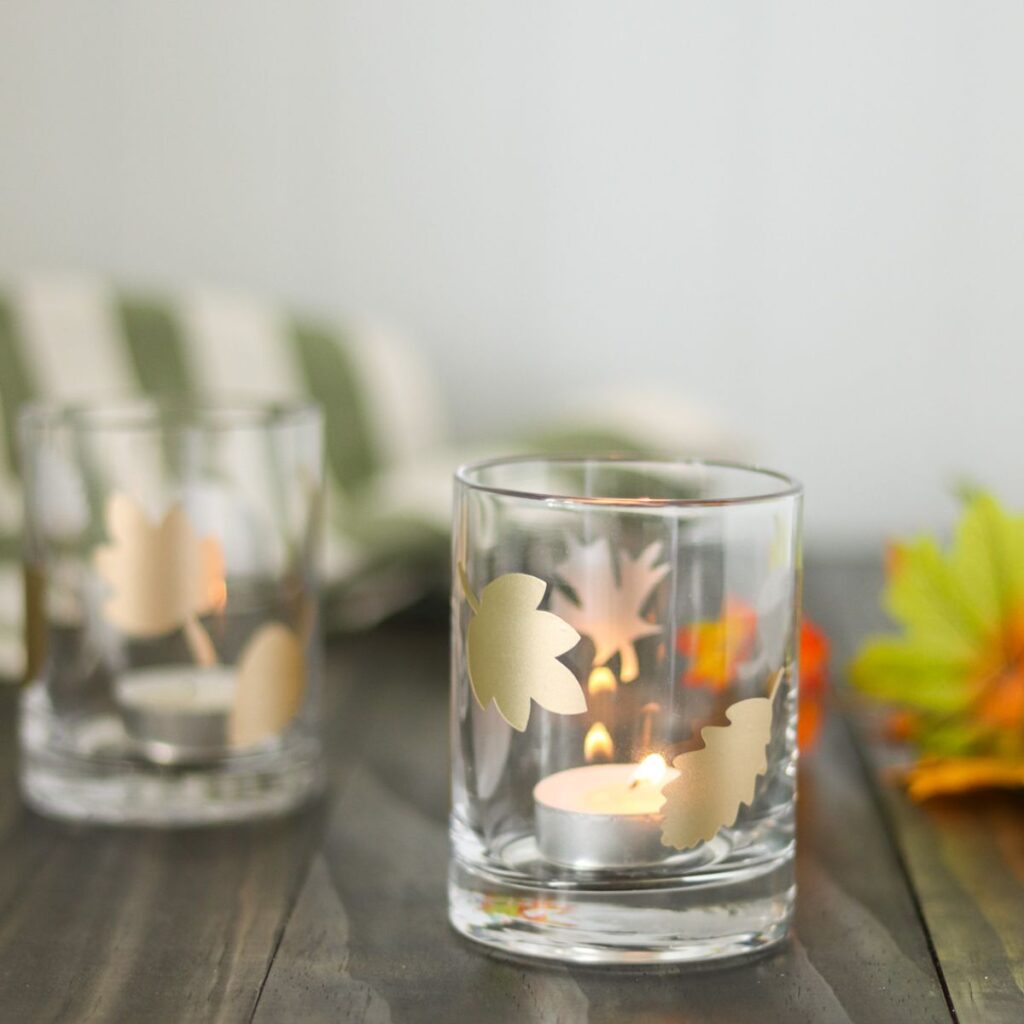
How to Make a DIY Fall Leaf Candleholder
Supplies Needed:
- Cricut (I used my Cricut Maker 3)
- Gold Vinyl (I used Smart Vinyl)
- Small Glass Vases or Candleholders*
- Rubbing Alcohol
- Transfer Tape
- Weeding Tools
- Leaf SVGs (scroll to the end of post)
I bought these small vases to use as candleholders, but they were a little too small to use for the pillars that I bought. However, they would work perfectly with votives or tea lights as I used.
If you’re new to Cricut, be sure to check out this post on working with vinyl.
Directions
- Clean the vase or candleholder with rubbing alcohol. This removes any oils from your skin to make the vinyl stick better.
- Cut your design as usual. My candleholders were about 4″ high, so I resized each leaf to be about 2″ tall.
- Cut each leaf apart.
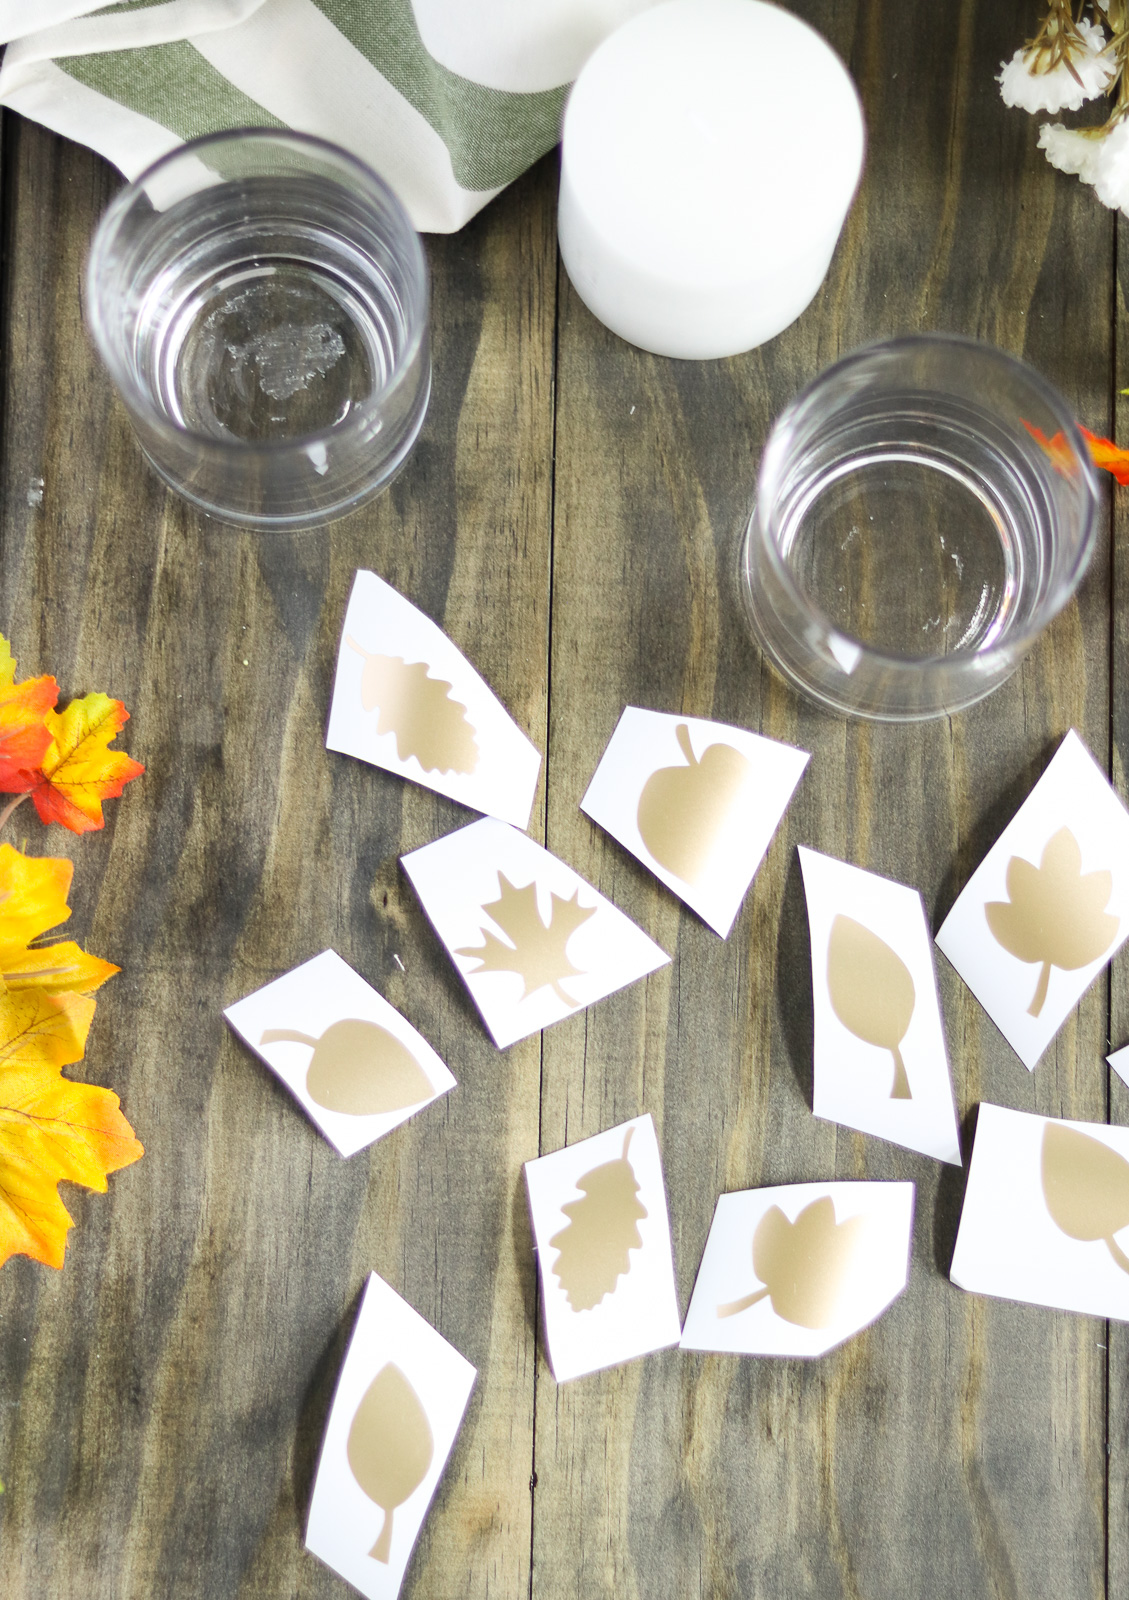
- Weed the vinyl.
- Apply the transfer tape to the vinyl.
- Apply the leaves to the candleholder in a random pattern.
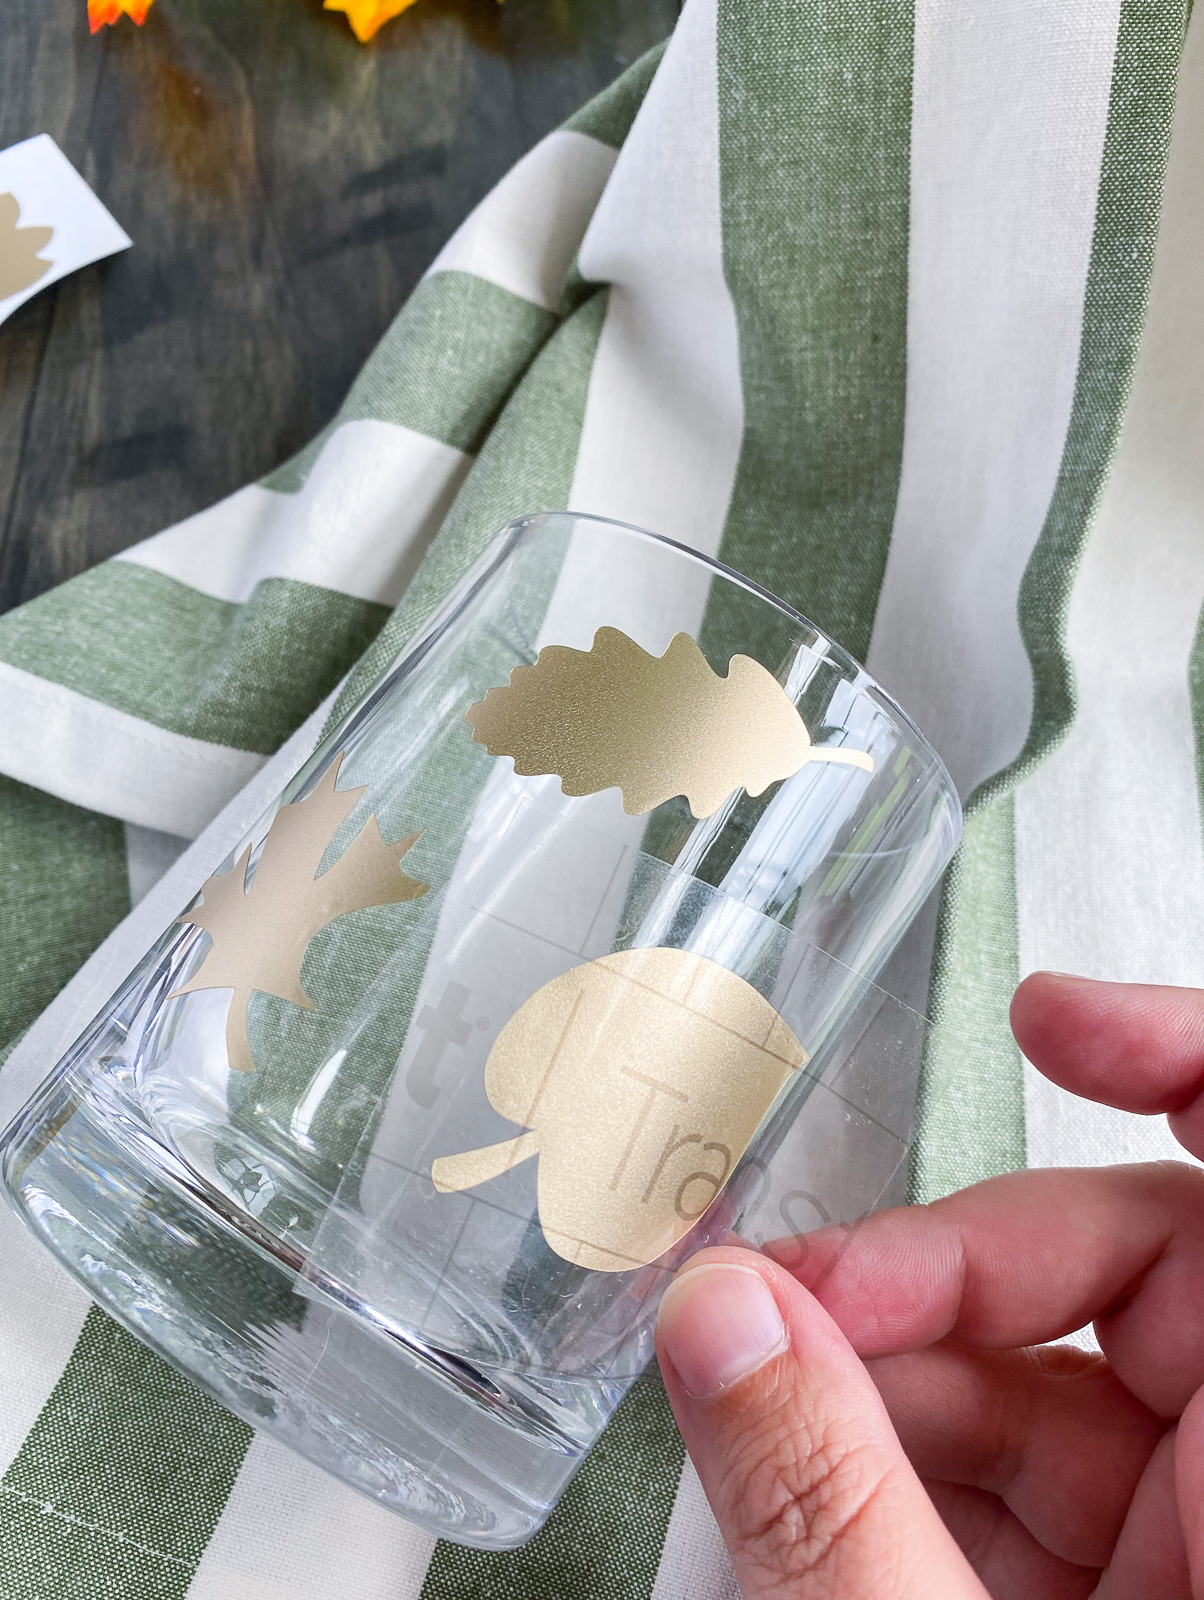
- Keep going until your candleholder is covered to your satisfaction.
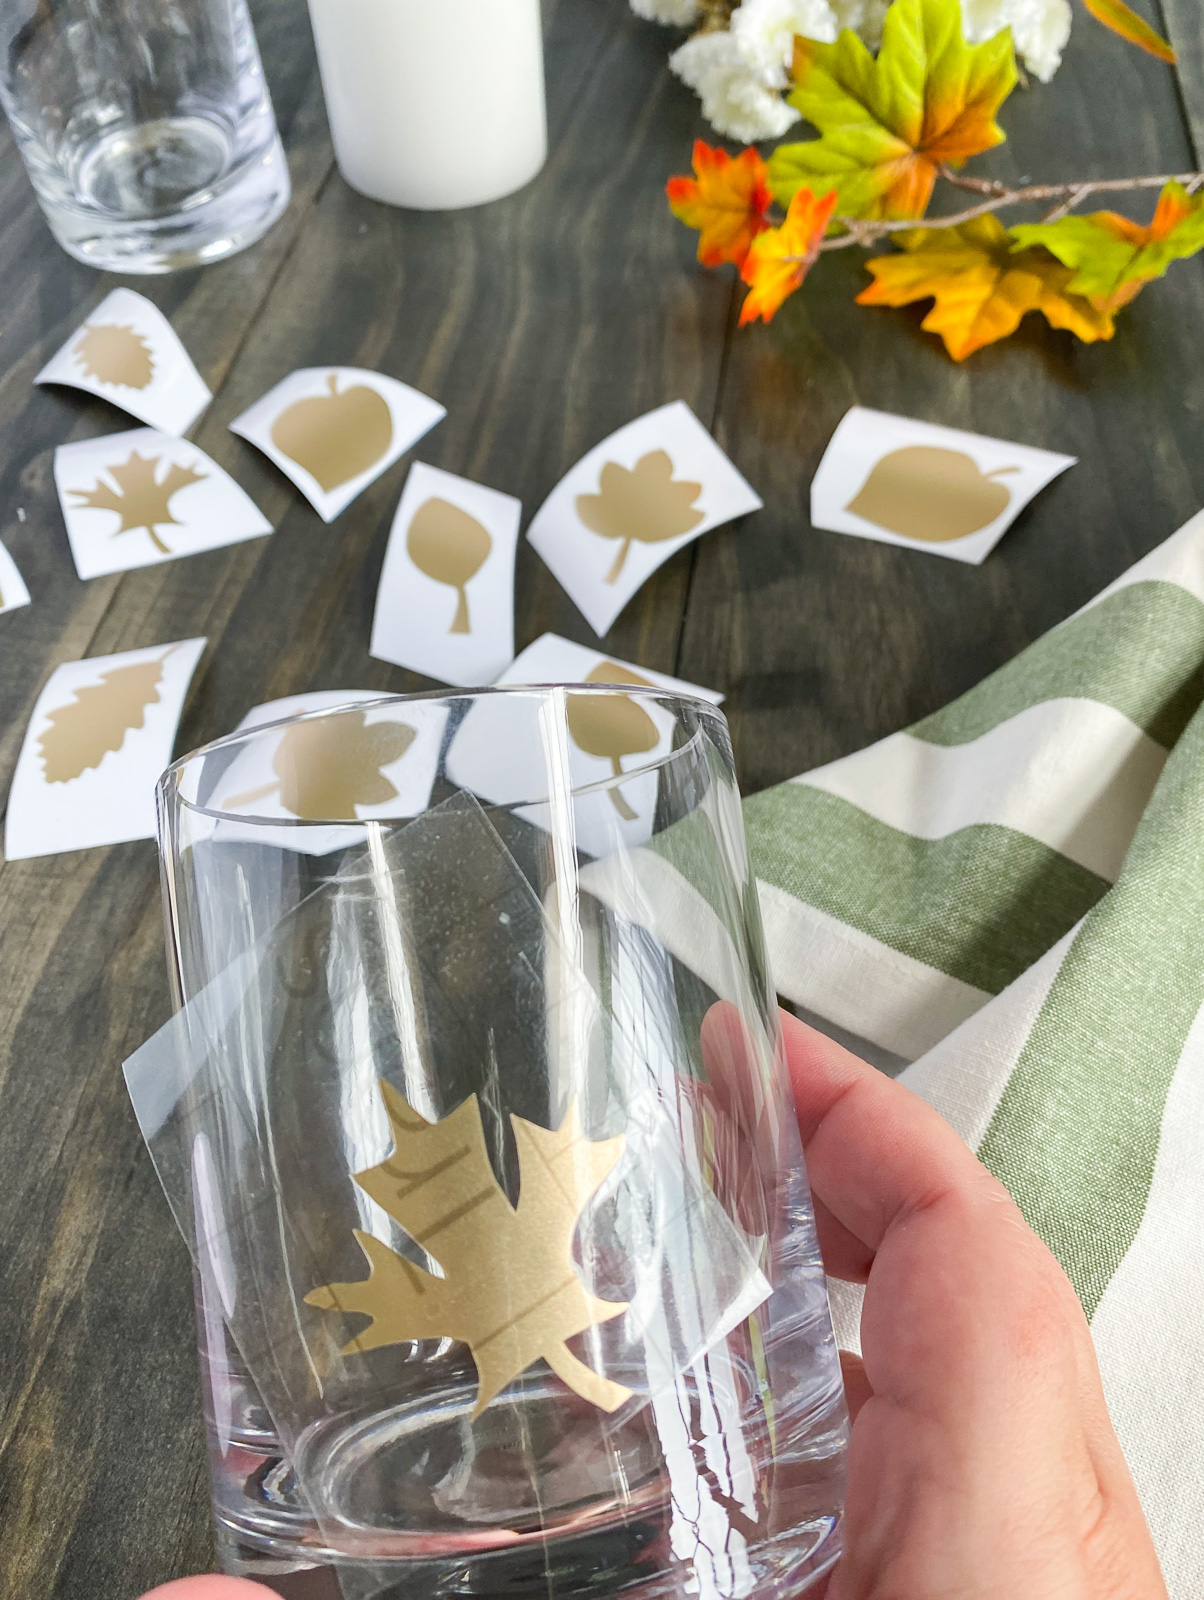
- Enjoy your candleholder.
Download Fall Leaf SVGs
Free downloads are for personal use only. Please do not redistribute or sell.
Other Vinyl Projects
Pin for Later!
