How to Make Faux Leather Earrings with a Cricut
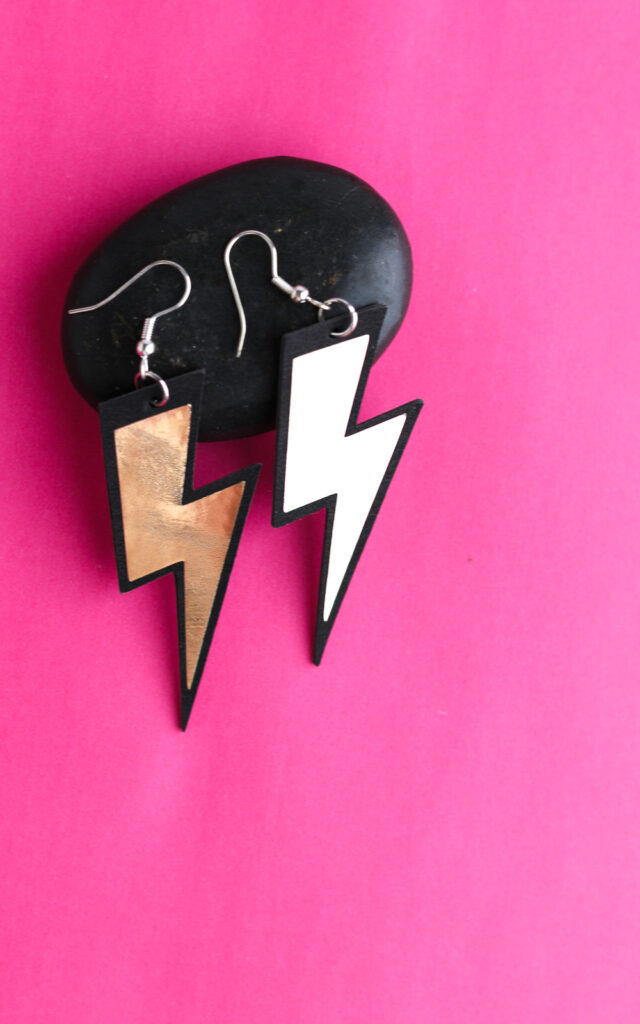
Learn how to use your Cricut to make faux leather earrings. These lightweight earrings feature a cute lightning bolt design that is layered with foil iron-on.
If you’re new to Cricut, be sure to check out these Cricut posts for beginners.

This post contains affiliate links. By purchasing an item through an affiliate link, I earn a small commission at no extra cost to you. As an Amazon Associate I earn from qualifying purchases.
I love the concept of faux leather earrings because they’re lightweight, but the typical designs feel a bit dated. So, I decided to make this cute lightning bolt leather earring set.
These earrings were a lot of fun to make, and I love that I took a simple concept and updated it to fit my personal style. The layered foil iron-on over the faux leather looks really cool.
By the way, the SVG link is available at the end of the post.
DIY Faux Leather Earrings
Supplies Needed:
- Cricut (Ised my Cricut Maker 3)
- Faux Leather *
- Cricut Foil Iron-On** (Rose Gold)
- Standard Mat
- Weeding Tools
- Cricut Easy Press Mini
- Heat Resistant Tape
- Cricut EasyPress Mat
- Parchment Paper
- Earring Hooks and Jump Rings
- Glue
- Leather Punch Tool***
- Jewelry Pliers
Notes About Supplies
Faux Leather*
I used this faux leather pack from Cricut, and it was really nice to craft with. It can be cut with any Cricut using the standard fine-point blade.
(I’ve used real leather before, and it’s a bit trickier to get right; plus, it requires a Cricut Maker so that you can use the rotary blade.)
This pack contains five different colors of faux leather. I used the black sheet for these earrings.
Iron-on Foil**
This was my first time using iron-on foil. It’s very similar to standard iron-on, but it’s a bit shinier. If you have trouble getting it to stick to the mat, tape it down with some washi tape.

If you want to use standard iron-on vinyl, that’s fine, too. It works the same.
Leather Punch Tool***
I chose to use a leather punch tool to create the holes in my earrings. I have more control over the tool and don’t risk ruining my earrings in the cutting process.
Cutting the Faux Leather
Be sure to mirror both the iron-on and the faux leather.
- Upload the design as usual.
- Click Make.
- Mirror the gold iron-on design.
- Choose “Foil Iron-On” under Iron-on.
- Place the foil on the standard mat, shiny side down. Use tape to secure it in place if needed.

- Load the mat and cut as usual.
- Unload the mat when the cut is finished.
- Remove the foil from the mat and place the faux leather on the mat, fuzzy side up.
- Load the mat.
- Mirror the leather design.
- Select “Faux Leather (Paper Thin)” under Fabric.
- Cut as usual.
- When the cut finishes, make sure that it cuts all the way through. If it didn’t, it will need to be cut again.
- Unload the mat.


Applying Iron-on Foil to Faux Leather
- Weed the foil iron-on just like regular iron-on.
- Place the front faux leather design onto the EasyPress mat.
- Position the foil iron-on design onto the faux leather, centering it.
- Use heat-resistant tape to keep the foil iron-on in place.

- Turn on the EasyPress Mini. Pressing it once turns it on and sets it to low, which is the temperature needed.

- It turns green when it’s heated up.
- Cover the design with parchment paper (shiny side down).
- Apply the EasyPress Mini to the design and press for 10 seconds.
- Remove the EasyPress and replace it in the cradle.
- Peel away the plastic backing.
- Repeat for the other earring.

Assembling the Earrings
Due to the shape of these earrings, I designed them to have a backing that is layered. This creates a firmer earring shape that is still lightweight.
- Apply a thin layer of glue to the fuzzy side of the leather.

- Place the other piece on top and press firmly.
- Clean up any glue that comes out.
- Place something heavy on the faux leather designs until they dry.
- When they dry, you can make them into earrings.
- Use the leather press to make holes in the top of each earring. I used the smallest punch.
- Attach the faux leather to the earring hook with a jump ring using jewelry pliers.
- Enjoy your earrings.


Other Posts You Might Like:
Download a Lightning Bolt Earring SVG
Free downloads are for personal use only. Please do not redistribute or sell.
Pin for Later!