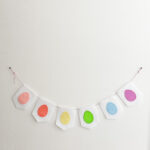
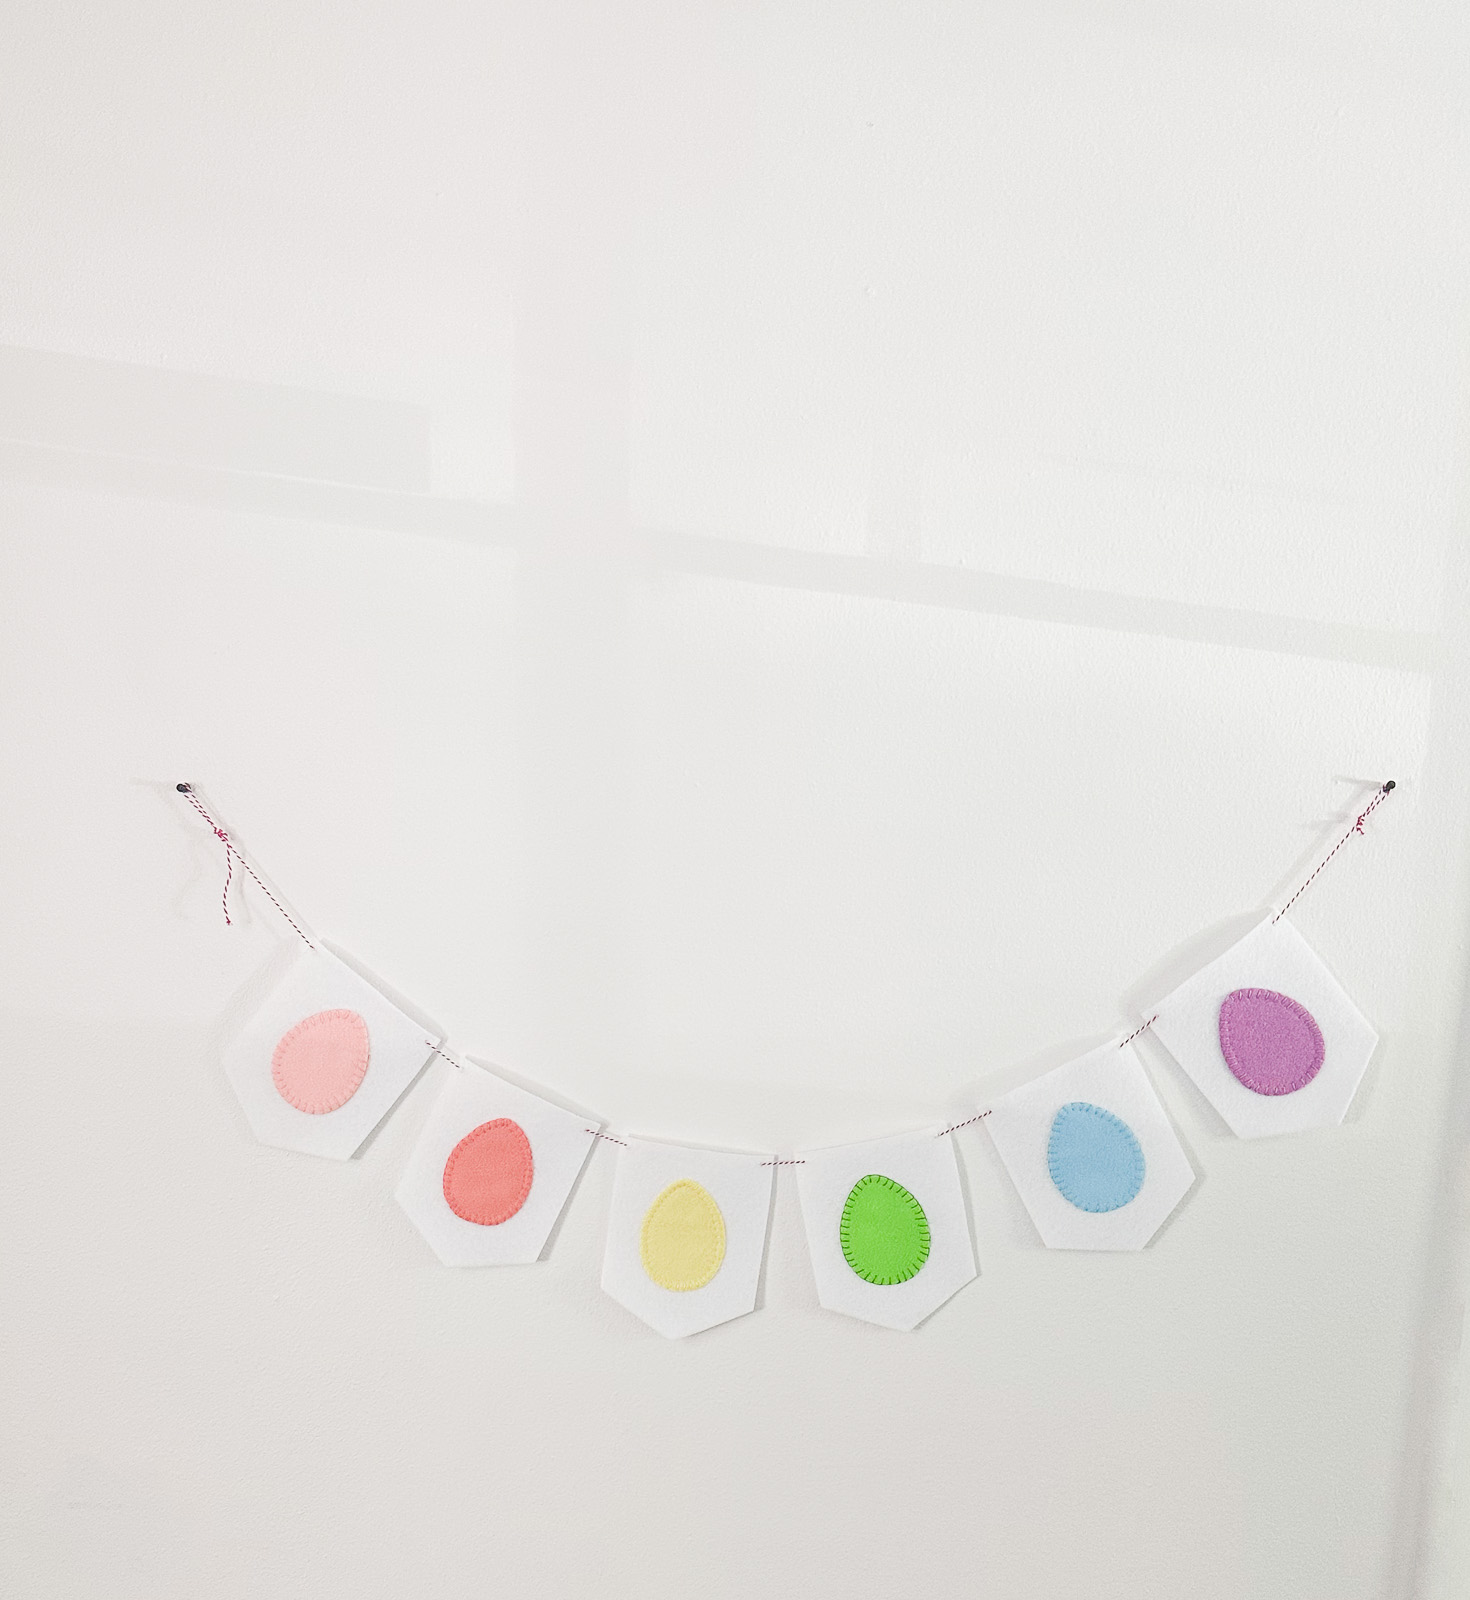
DIY Felt Easter Banner
This DIY felt Easter banner is perfect for decorating your mantle for spring. Learn how to make this cute banner for your Easter gathering.

This post contains affiliate links. By purchasing an item through an affiliate link, I earn a small commission at no extra cost to you. As an Amazon Associate I earn from qualifying purchases.
Felt banners are so fun to make. DIY banners are an easy way to decorate for a holiday.
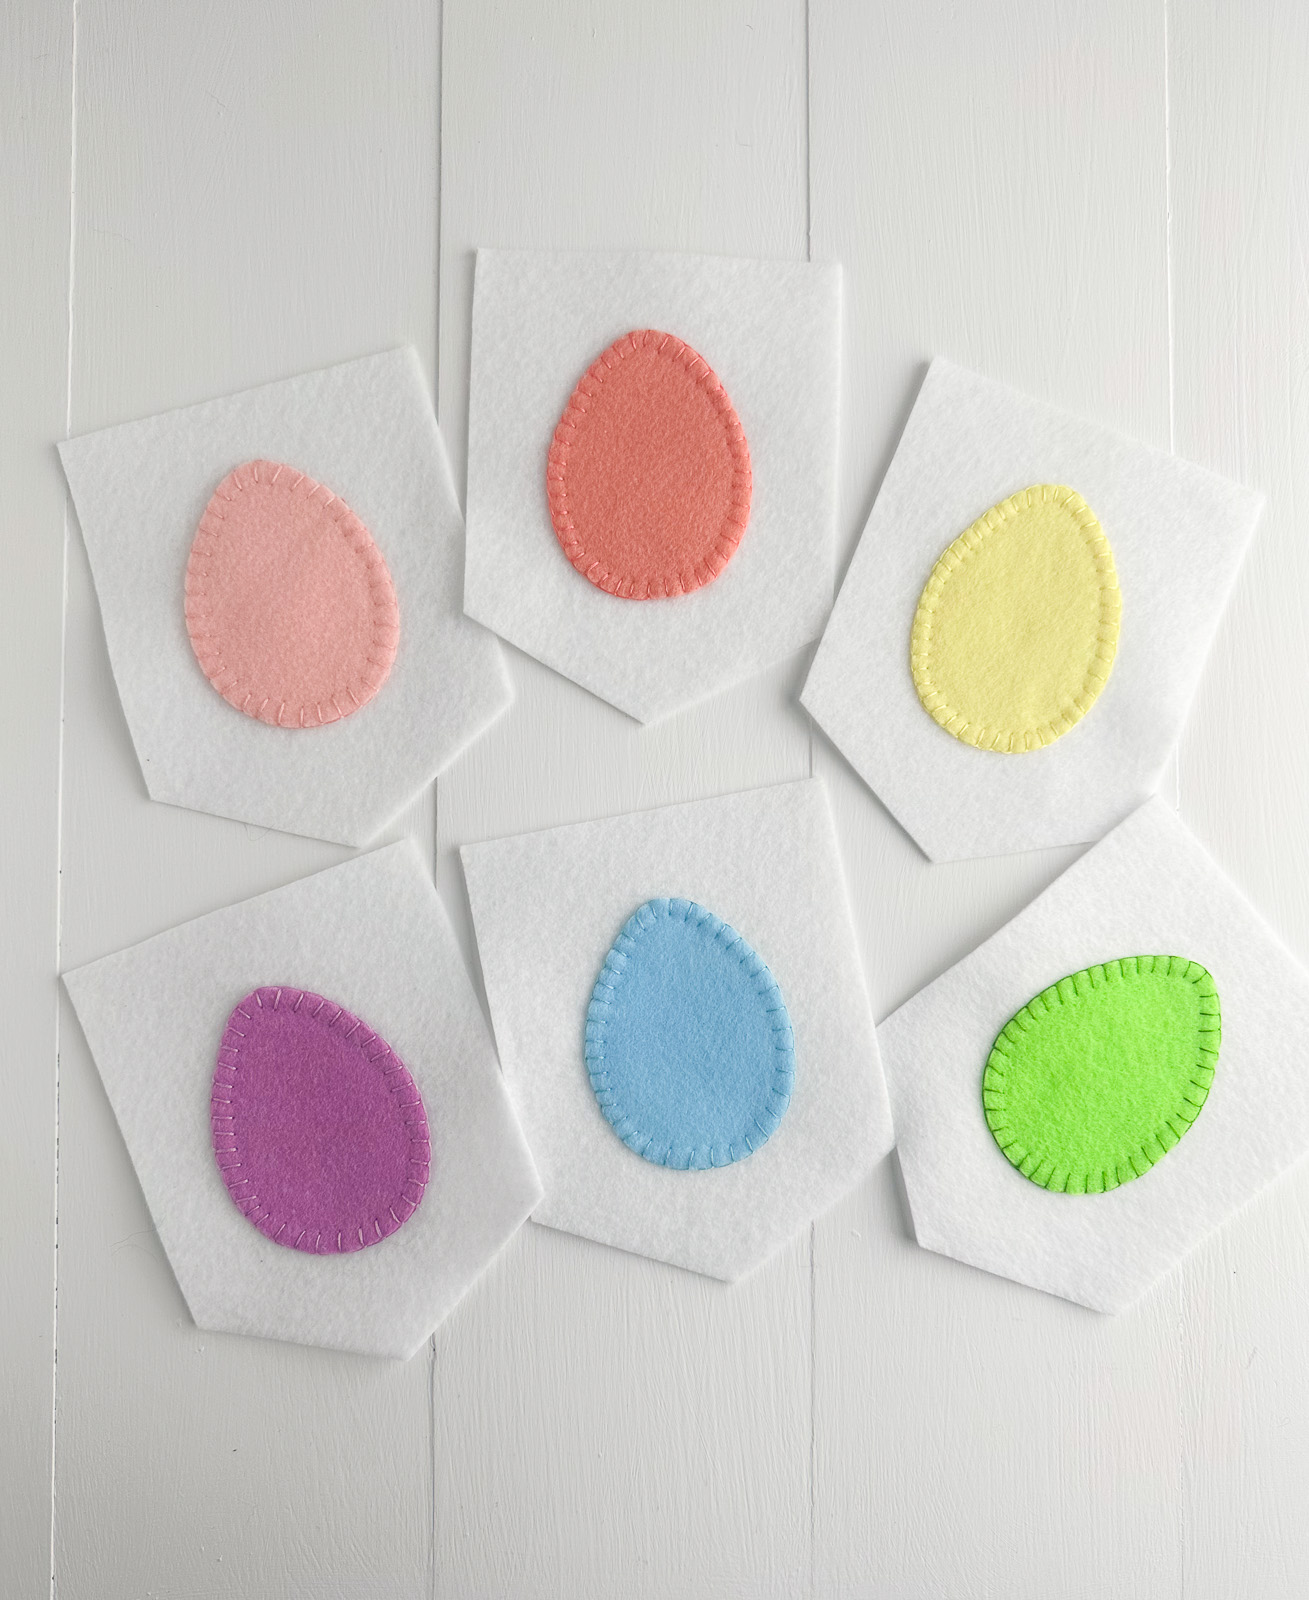
You can use any colors that you want. I chose to use a rainbow color scheme because it’s my favorite.

DIY Felt Easter Banner
Supplies Needed:
- Cricut Maker (I used my Cricut Maker 3)
- Fabric Grip Mat
- Rotary Blade
- Felt
- Embroidery Floss and Needle
- Baker’s Twine
- Hole Punch
Notes About Supplies
Cricut Maker – As noted above, a Cricut Maker is required to cut felt. However, you can cut it by hand if you don’t have a Cricut Maker.
I’ve included a printable PDF to cut and use as a template.
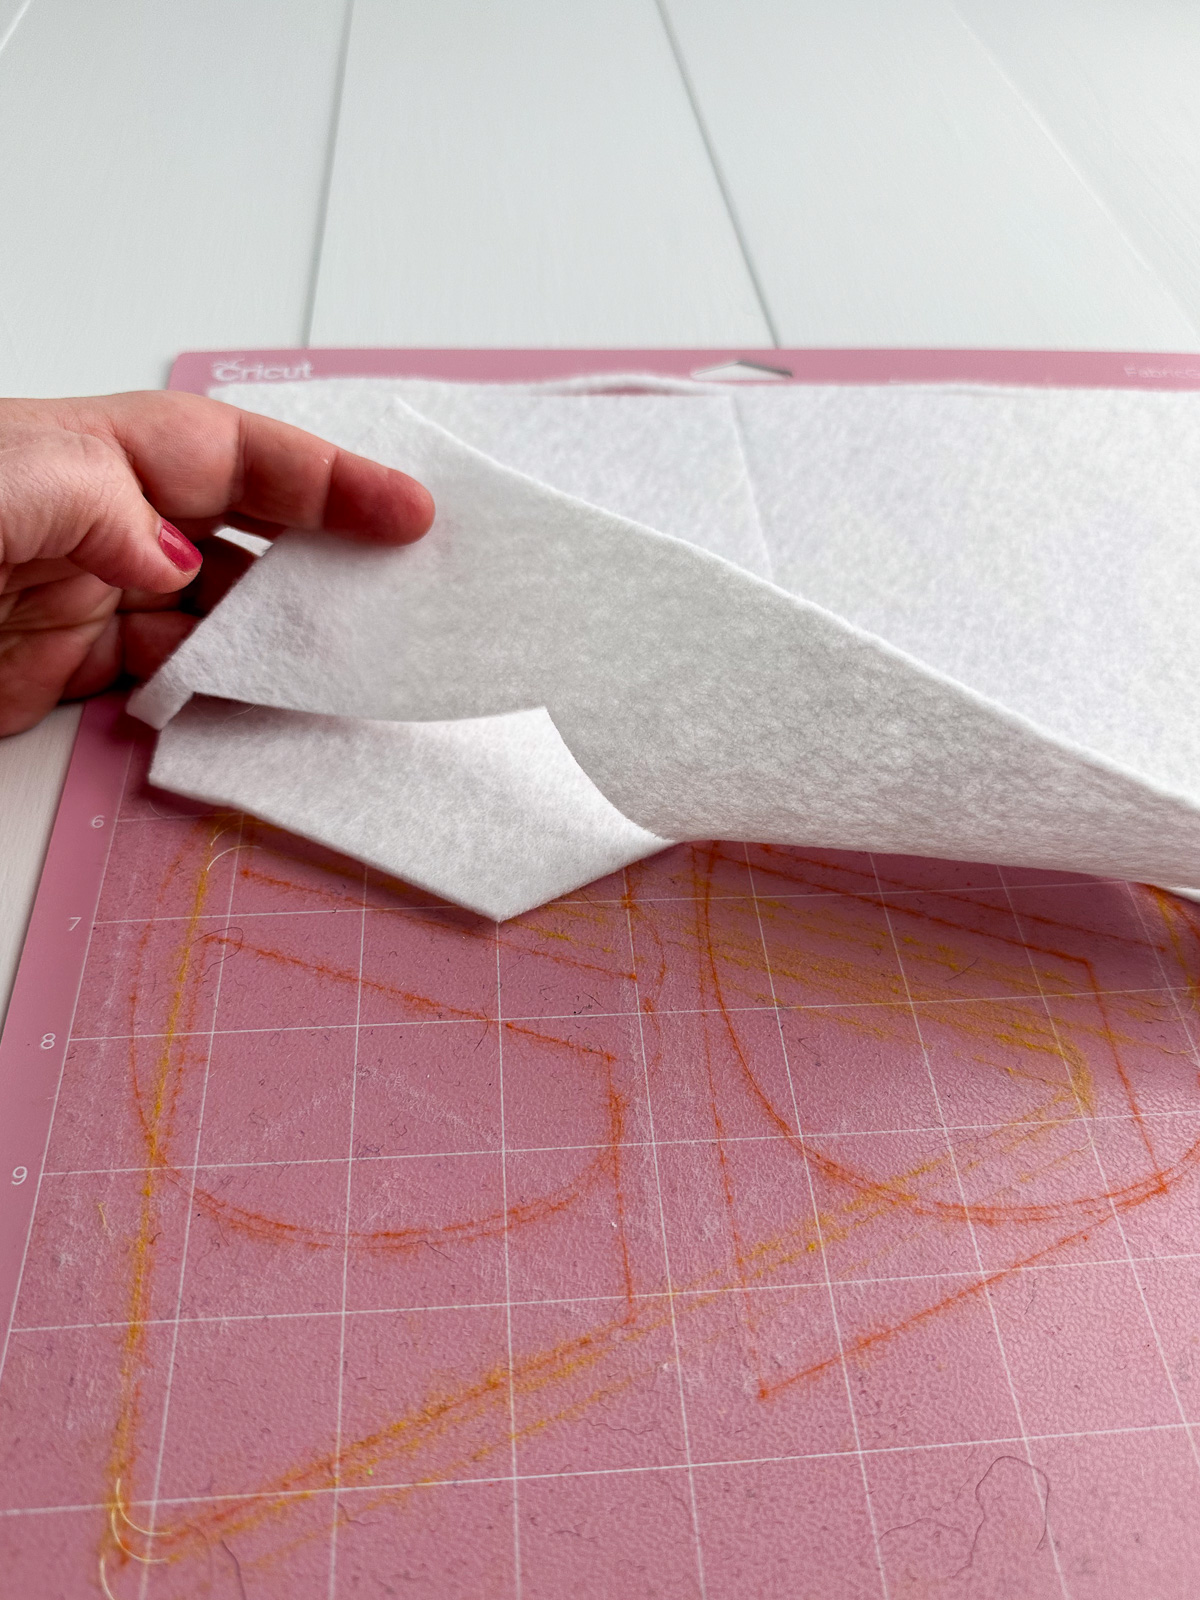
Fabric Mat – Use a fabric mat when cutting felt.
The mat will get fuzzy, and eventually, it will die. Either buy them in bulk or be willing to risk ruining the mat further by cleaning them with dish soap and a scrub brush. (I revived a dead mat, but I don’t think it will last a lot longer.)
Felt – I used mostly acrylic felt for the project, but you can use wool felt if you want. It’s much nicer to work with.
Embroidery Floss – I love using a blanket stitch and embroidery floss to attach felt projects, but you can also use fabric glue.
The colors don’t have to match perfectly. Find colors that are close enough, and it will be fine.
Baker’s Twine – You can use string, yarn, or any twine for your banner. I love using Baker’s twine because it comes in so many pretty colors and looks vintage.
Hole Punch – The Cricut Maker isn’t great for making the holes in the banner, so use a hole punch instead. You could also use scissors to cut a small slit.
Cricut Cut Info for Felt
Fabric Mat (pink)
Rotary Blade (only works with Cricut Maker)
Felt, Acrylic Fabric
Cutting the Felt for the Banner
- Upload the design as usual.
- Resize if needed.
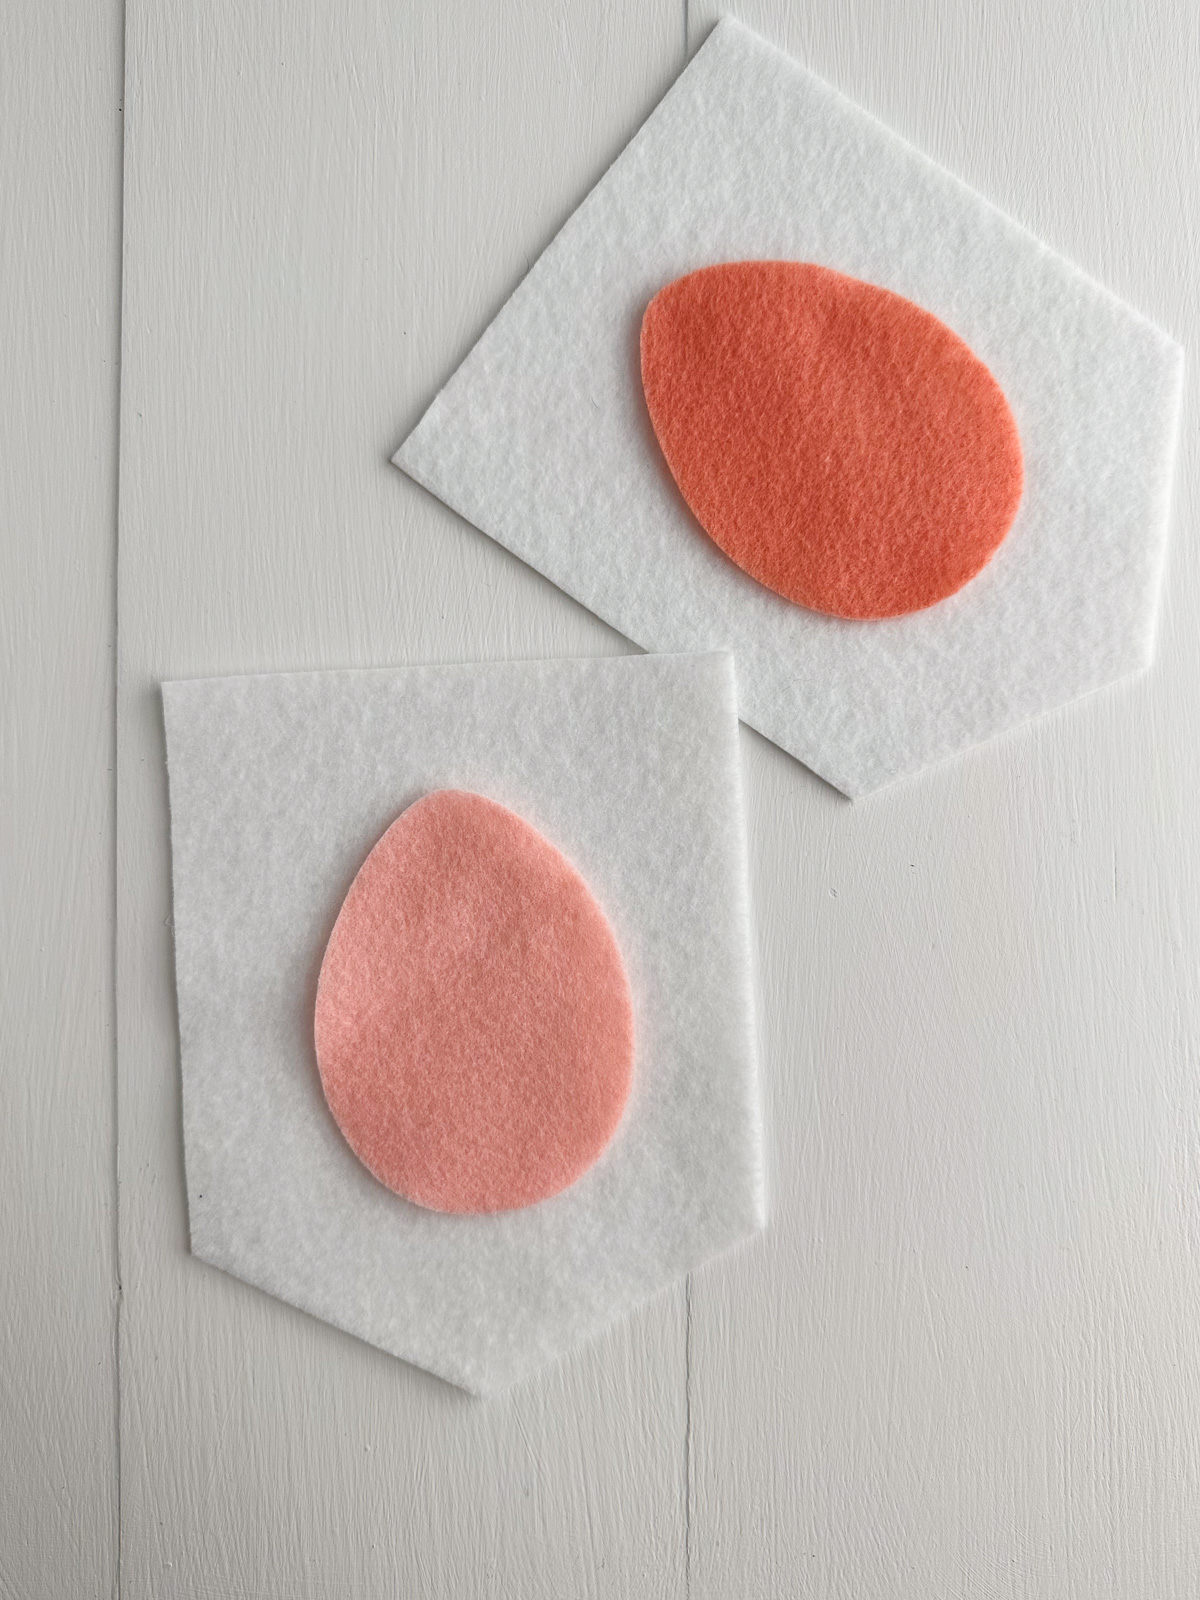
- Duplicate the design as many times as needed and change the eggs’ color. I duplicated it five more times for a total of 6.
- When you’re happy with the design, click Make it.
- Apply a piece of felt to the fabric grip mat. Smooth it to make sure it sticks to the mat.
- Change the blade to the rotary blade.
- Select the material (felt, acrylic fabric.)
- Load the mat and click to start.
- When the cut is finished, unload the mat and repeat for each color.

Assembling the Banner
- Layout the banner, centering each egg in the middle of each flag.
- Attach the egg with embroidery floss using a blanket stitch.
- Repeat for all colors.
- Use a hole punch to add holes to each corner of the flags.

- Thread a length of baker’s twine through the flags, making sure that the string goes behind each flag.
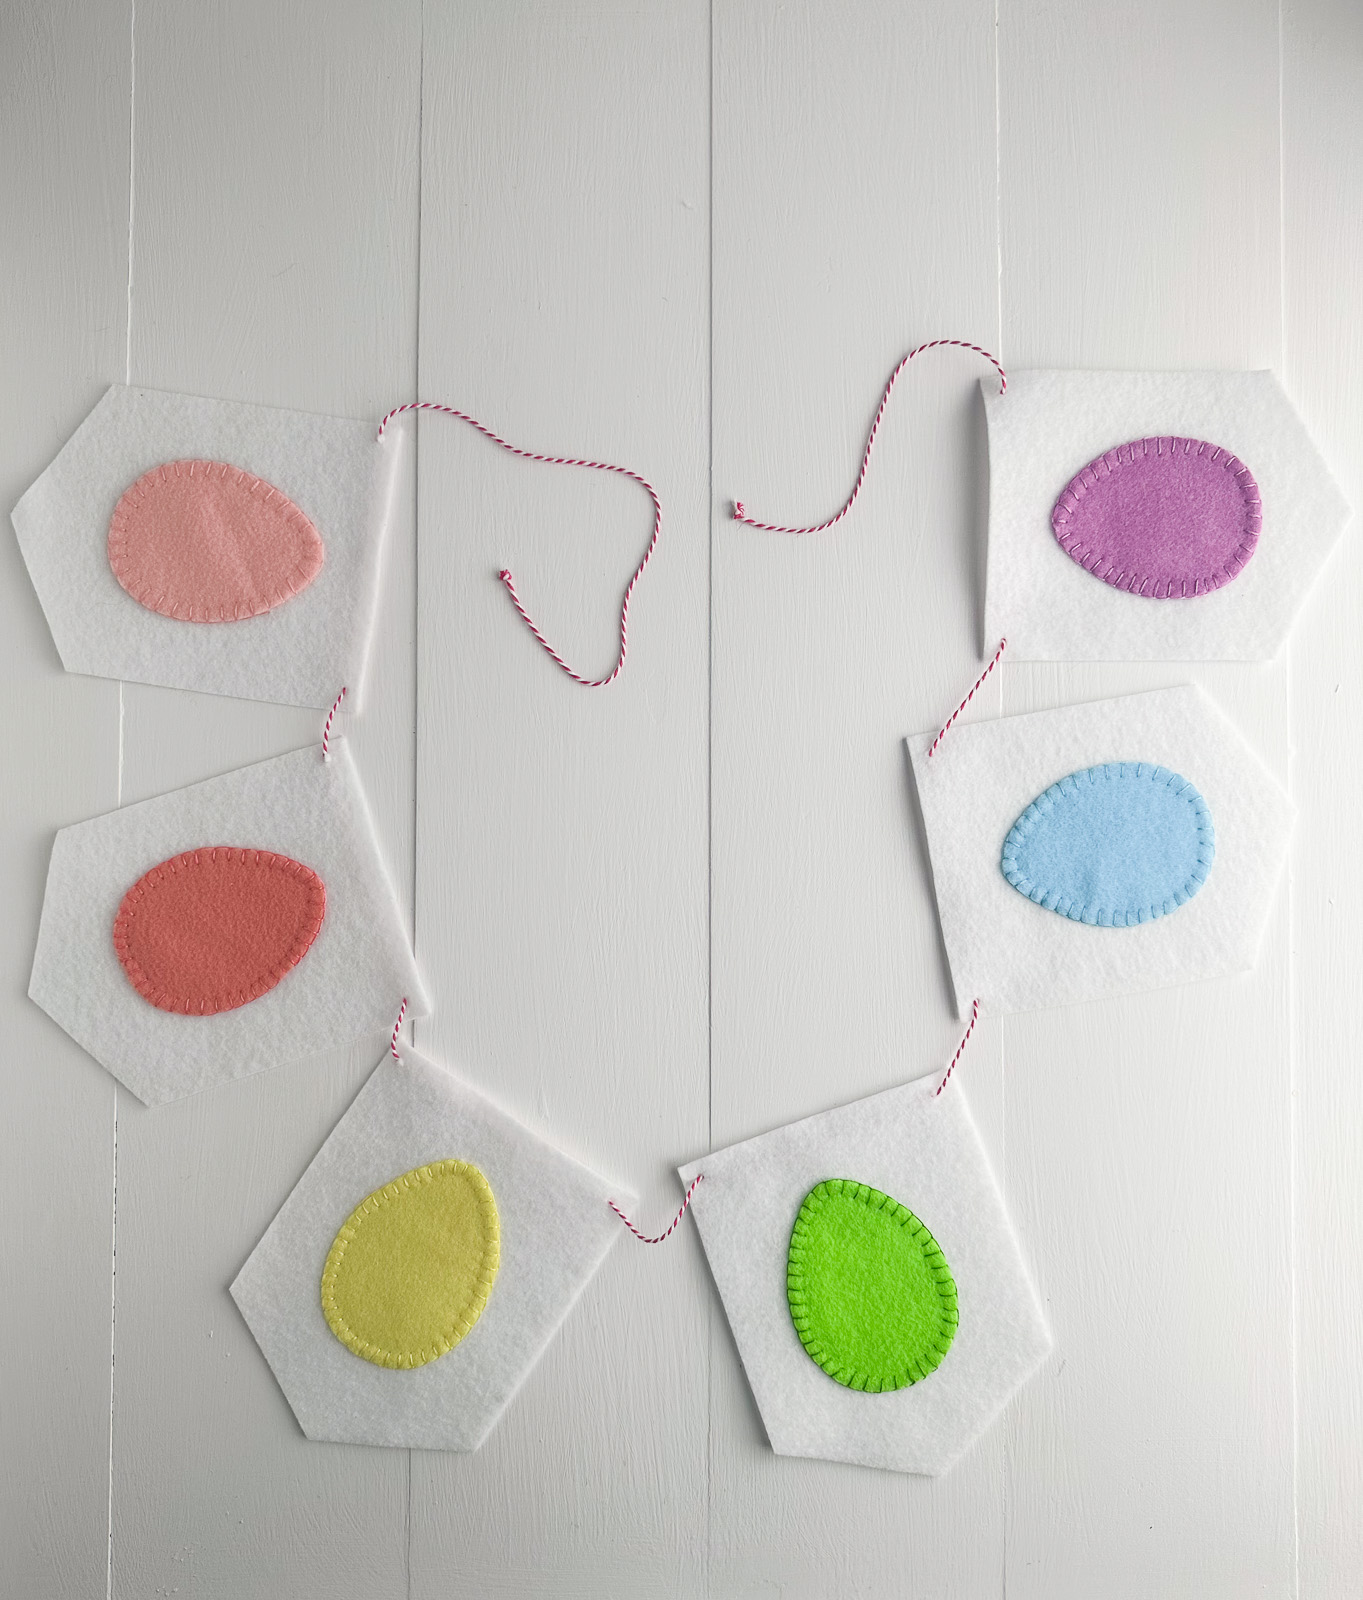
- Hang and enjoy!
Download an Easter Banner SVG
Free downloads are for personal use only. Please do not redistribute or sell.
Printable PDF Easter Banner Template
Pin for Later!